All posts by admin

TGB13 tunnel rebuild

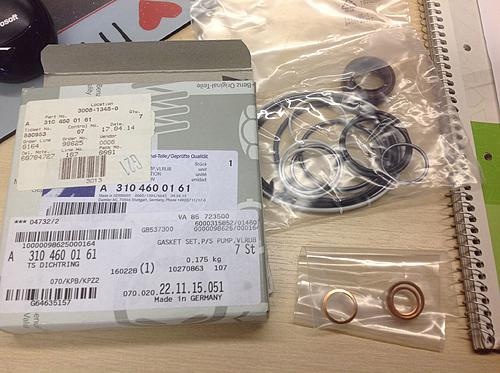
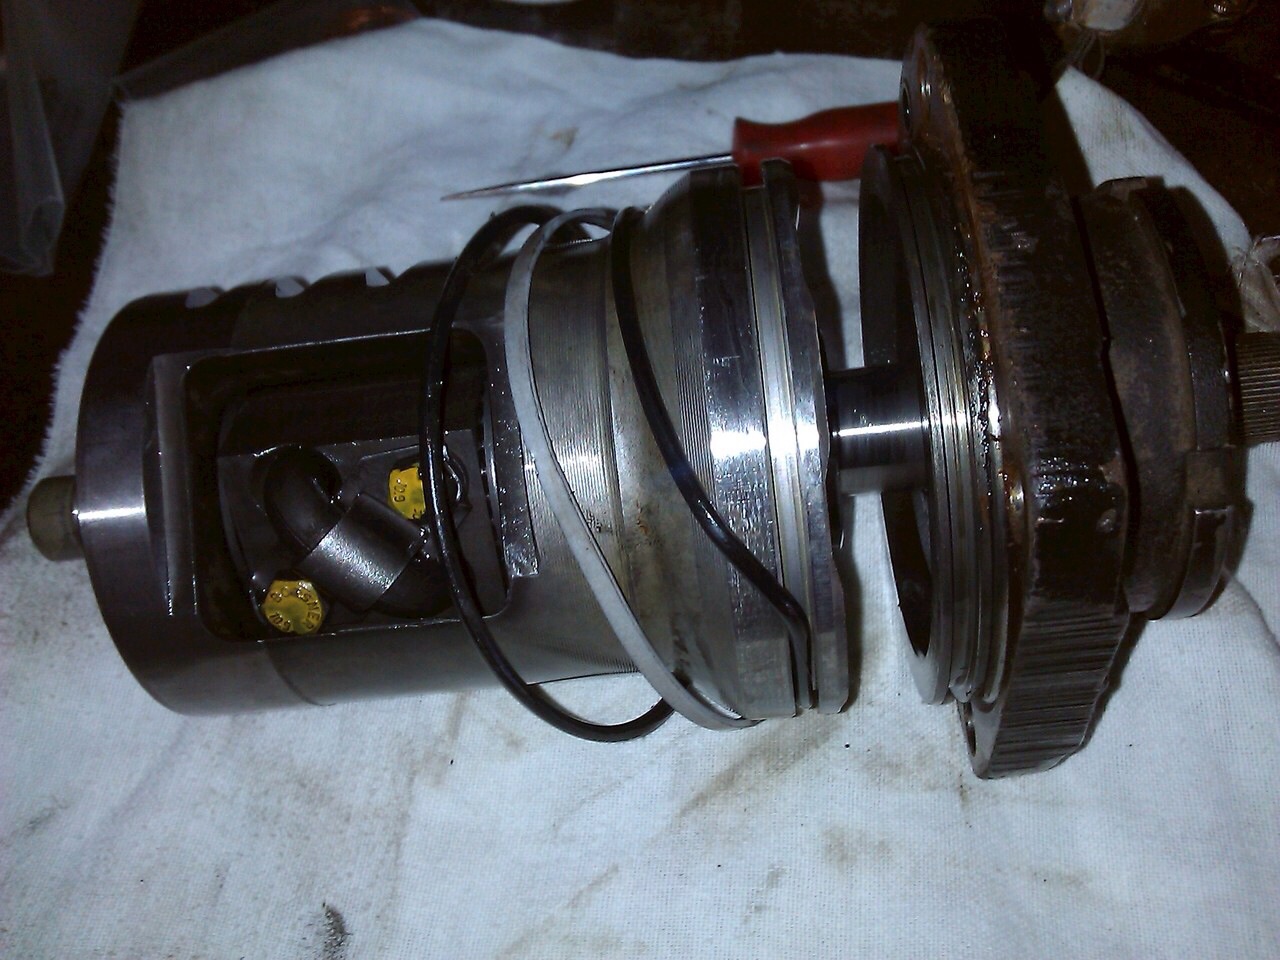
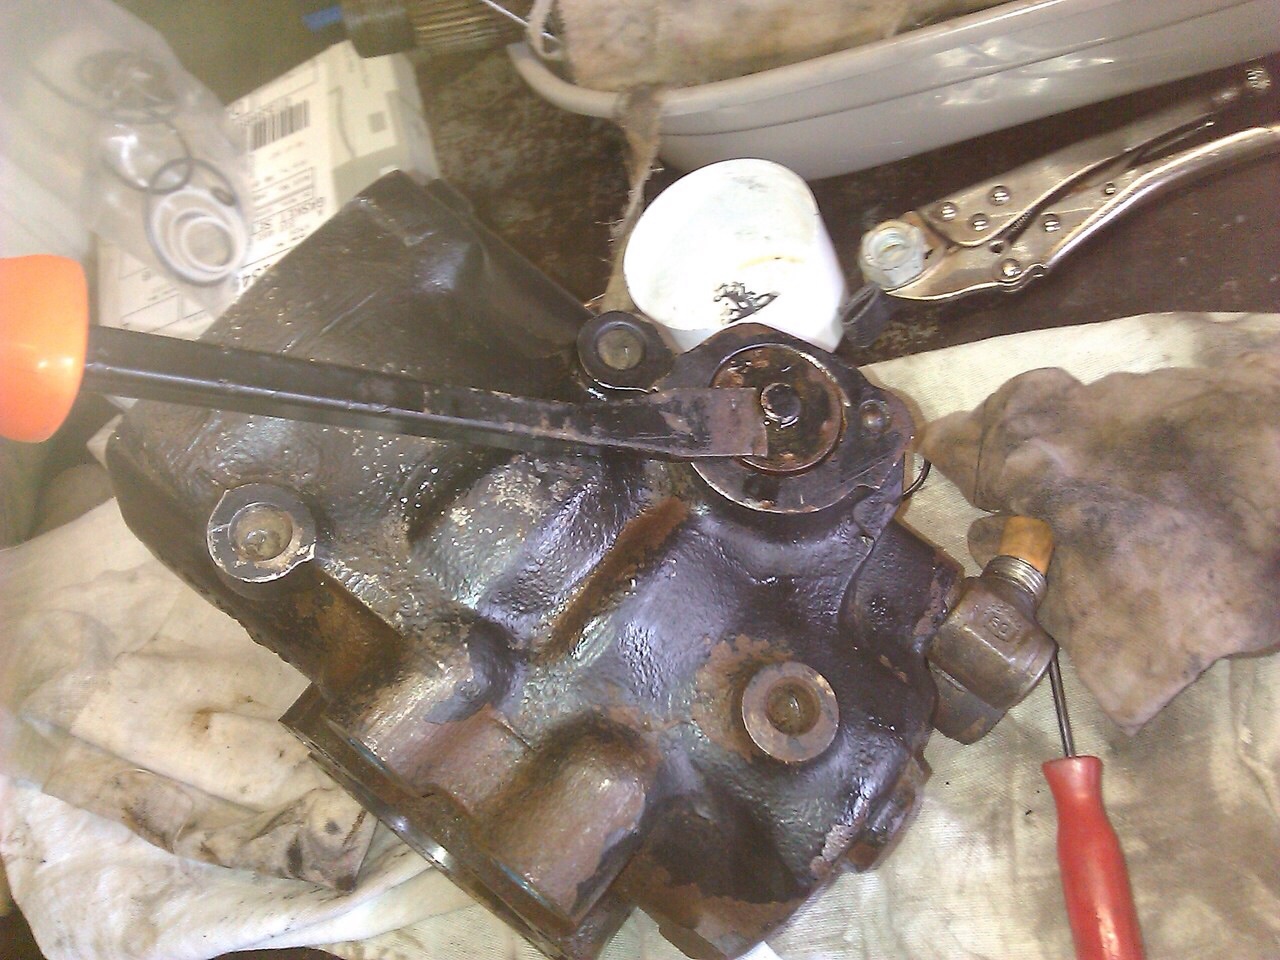
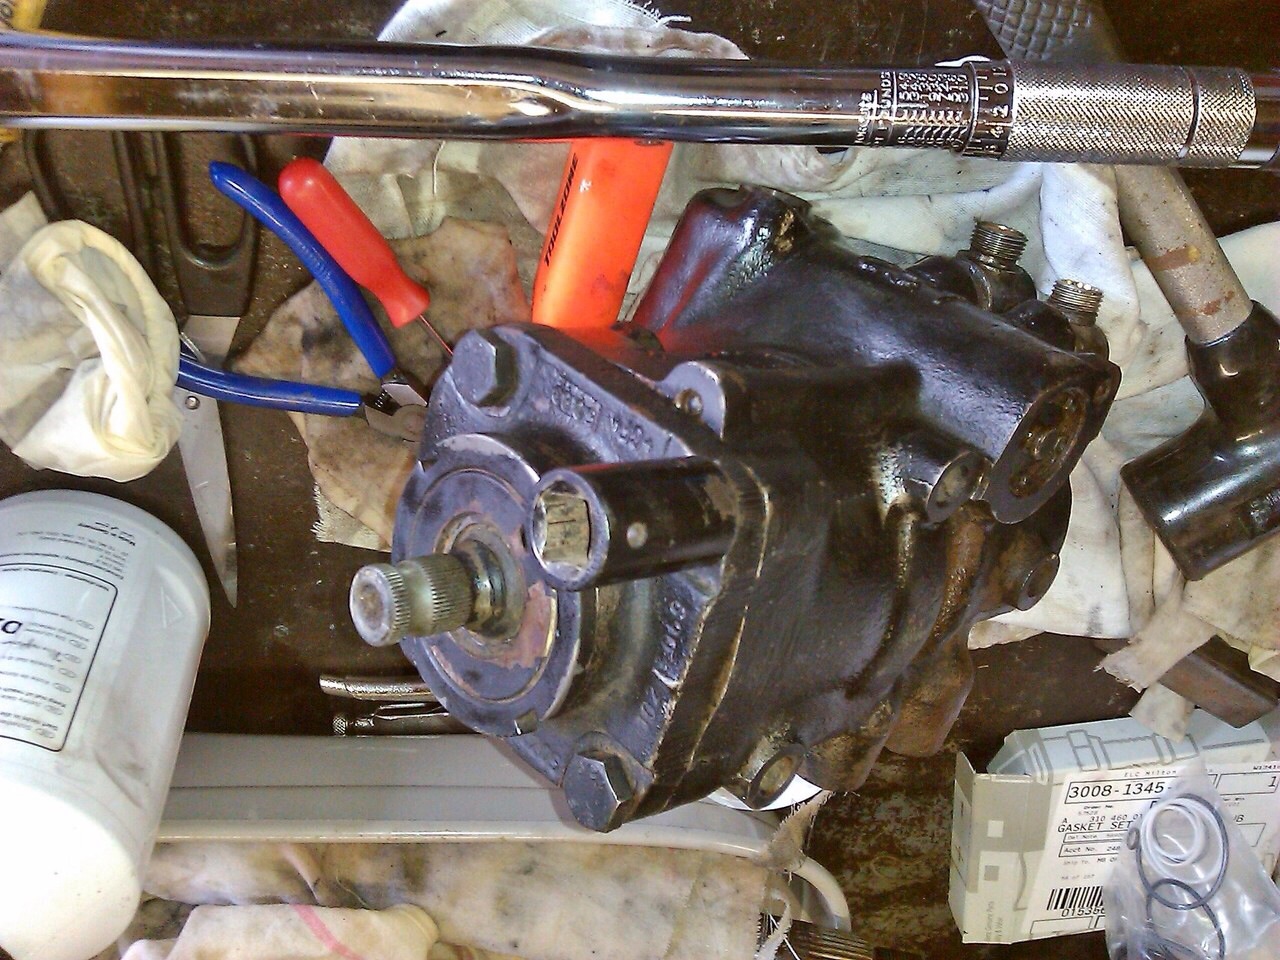
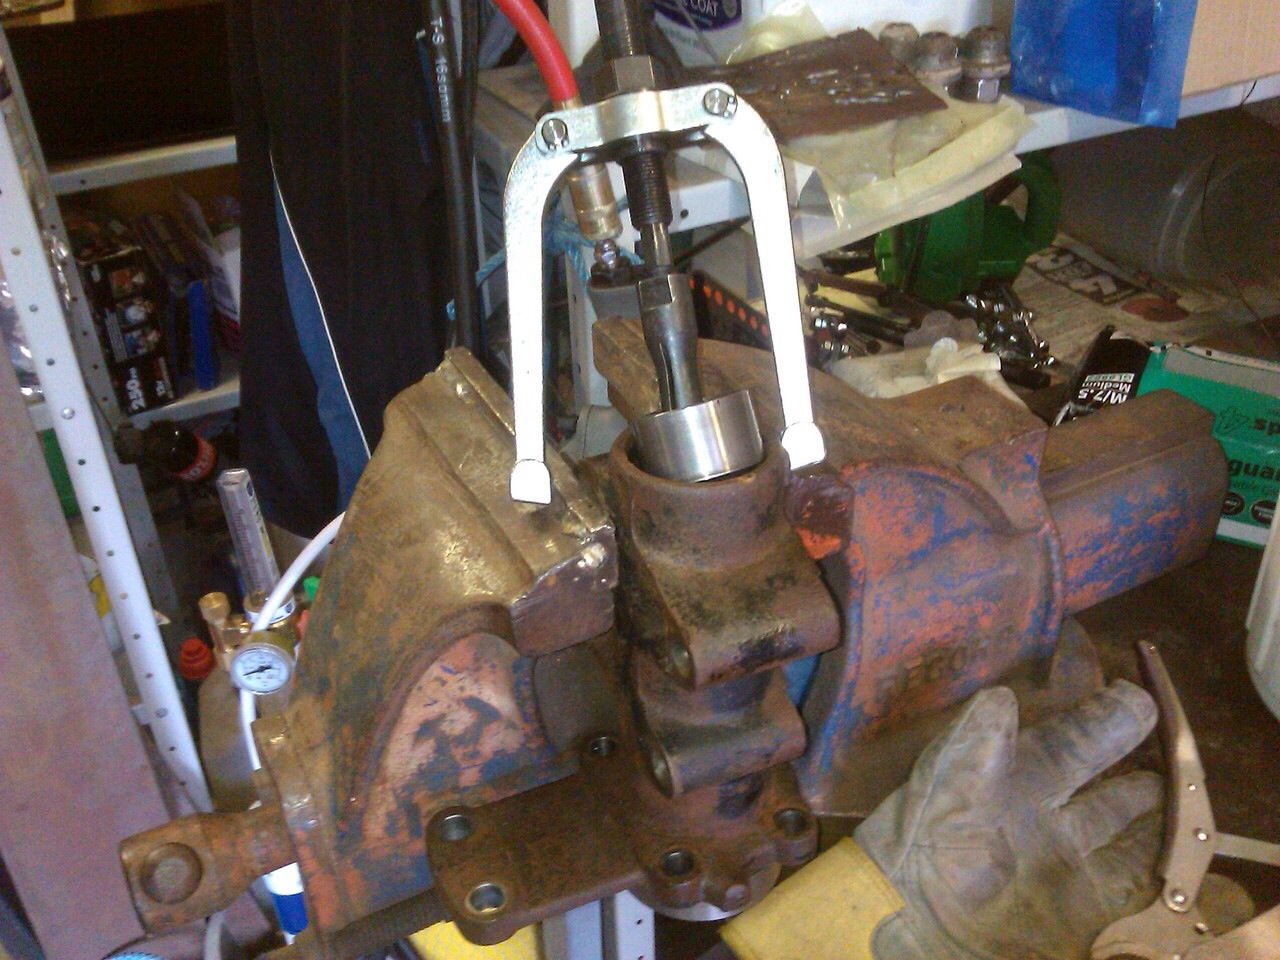
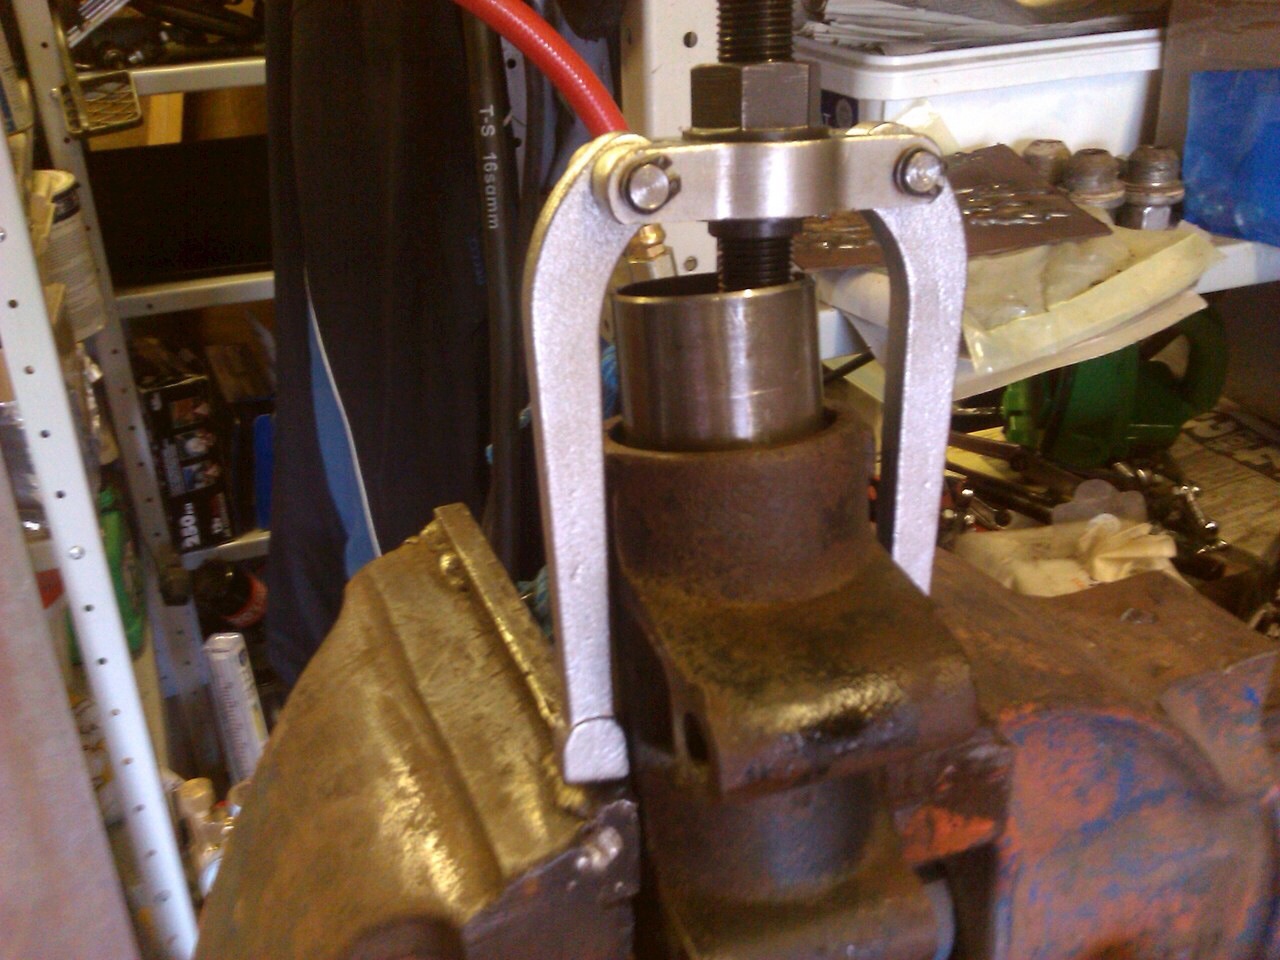
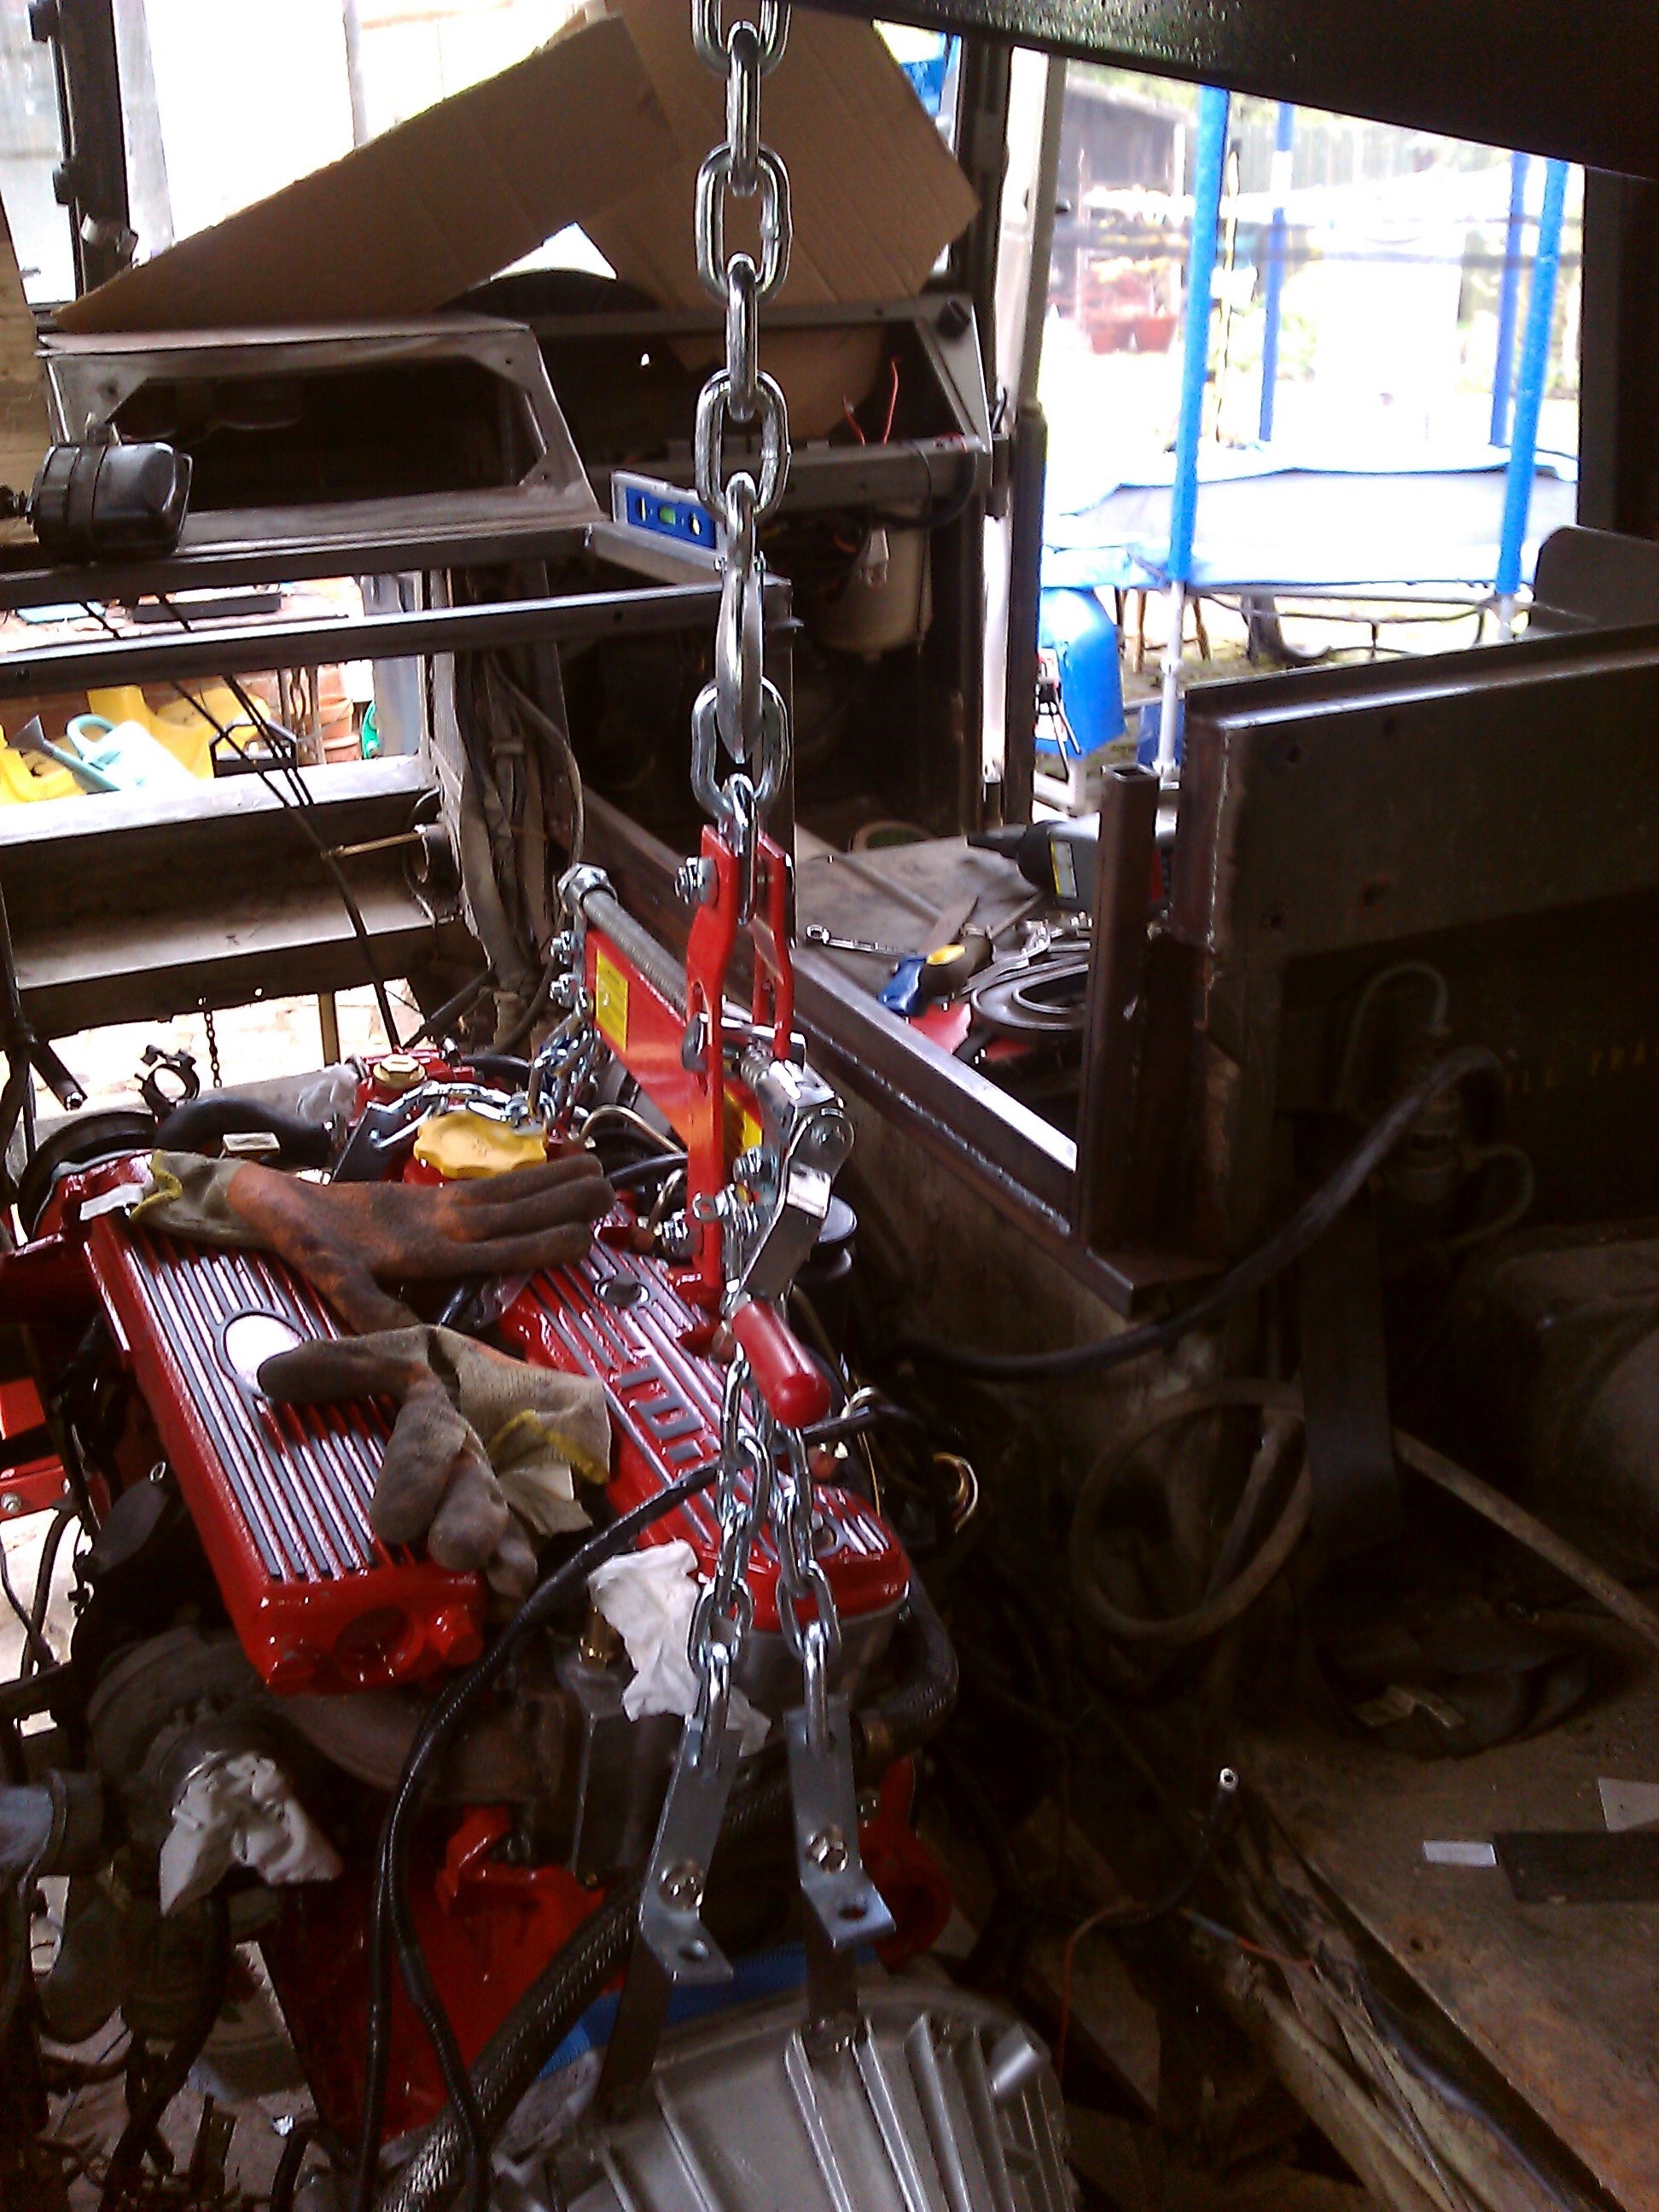
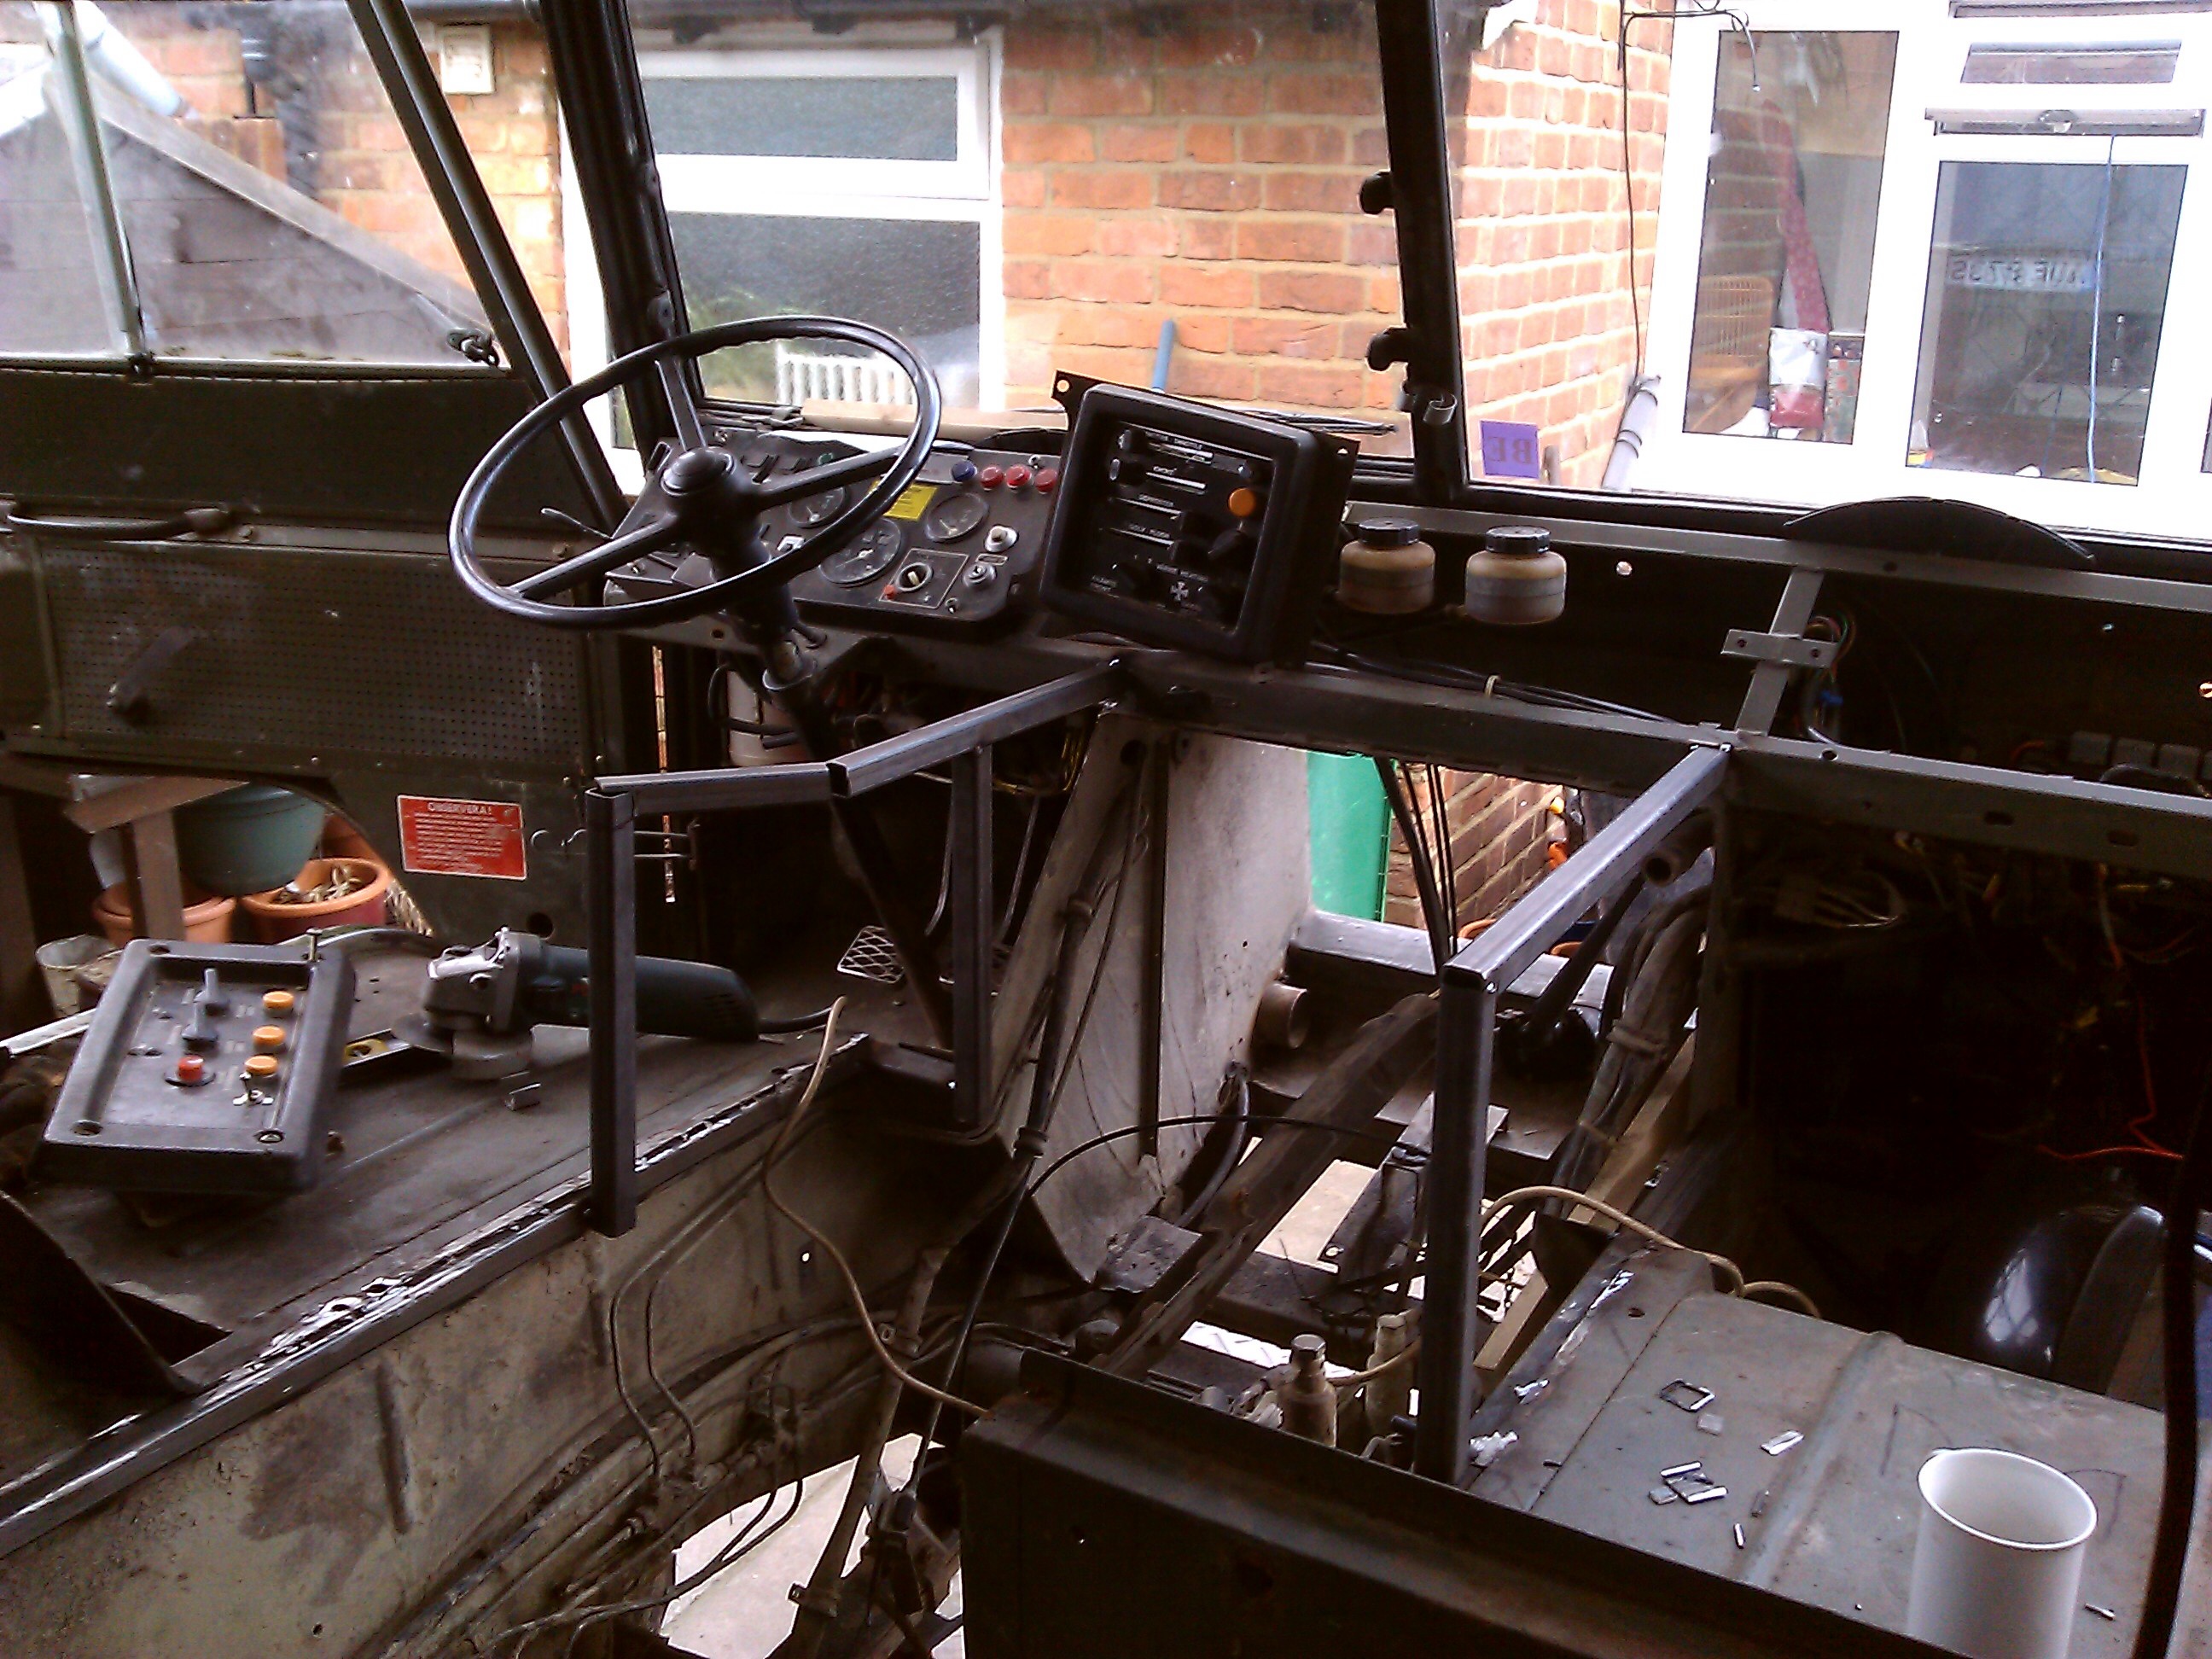
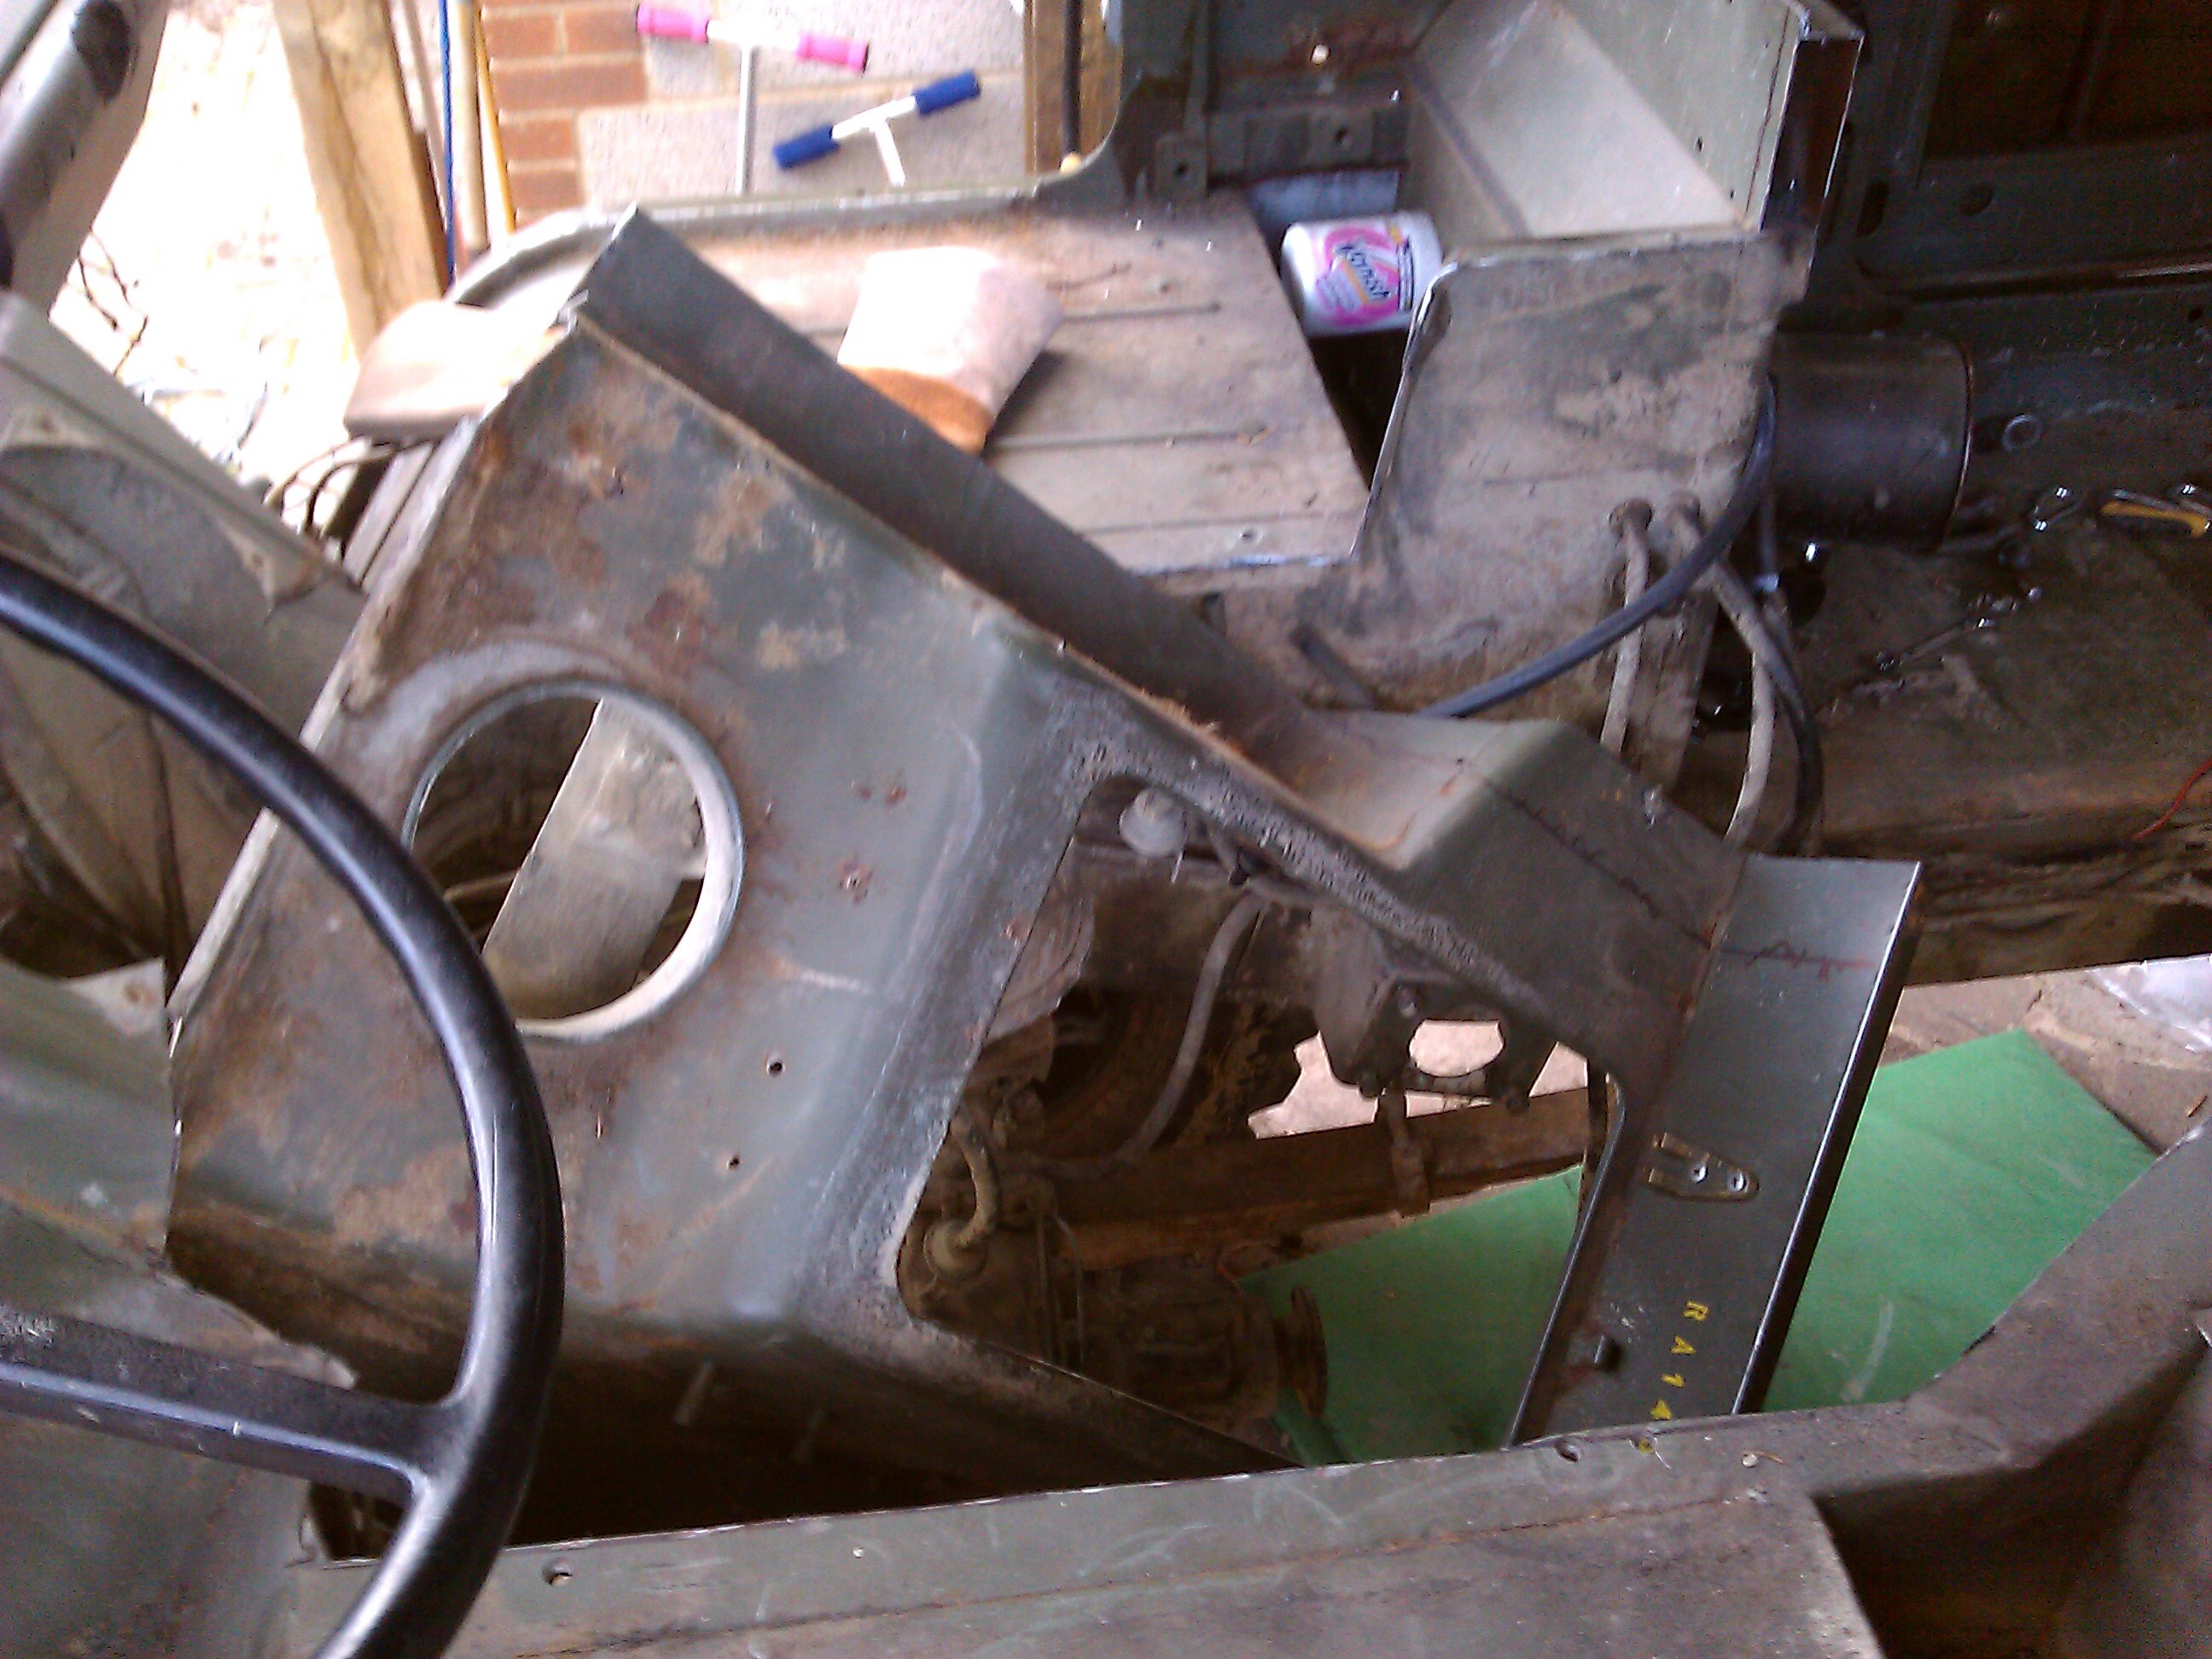
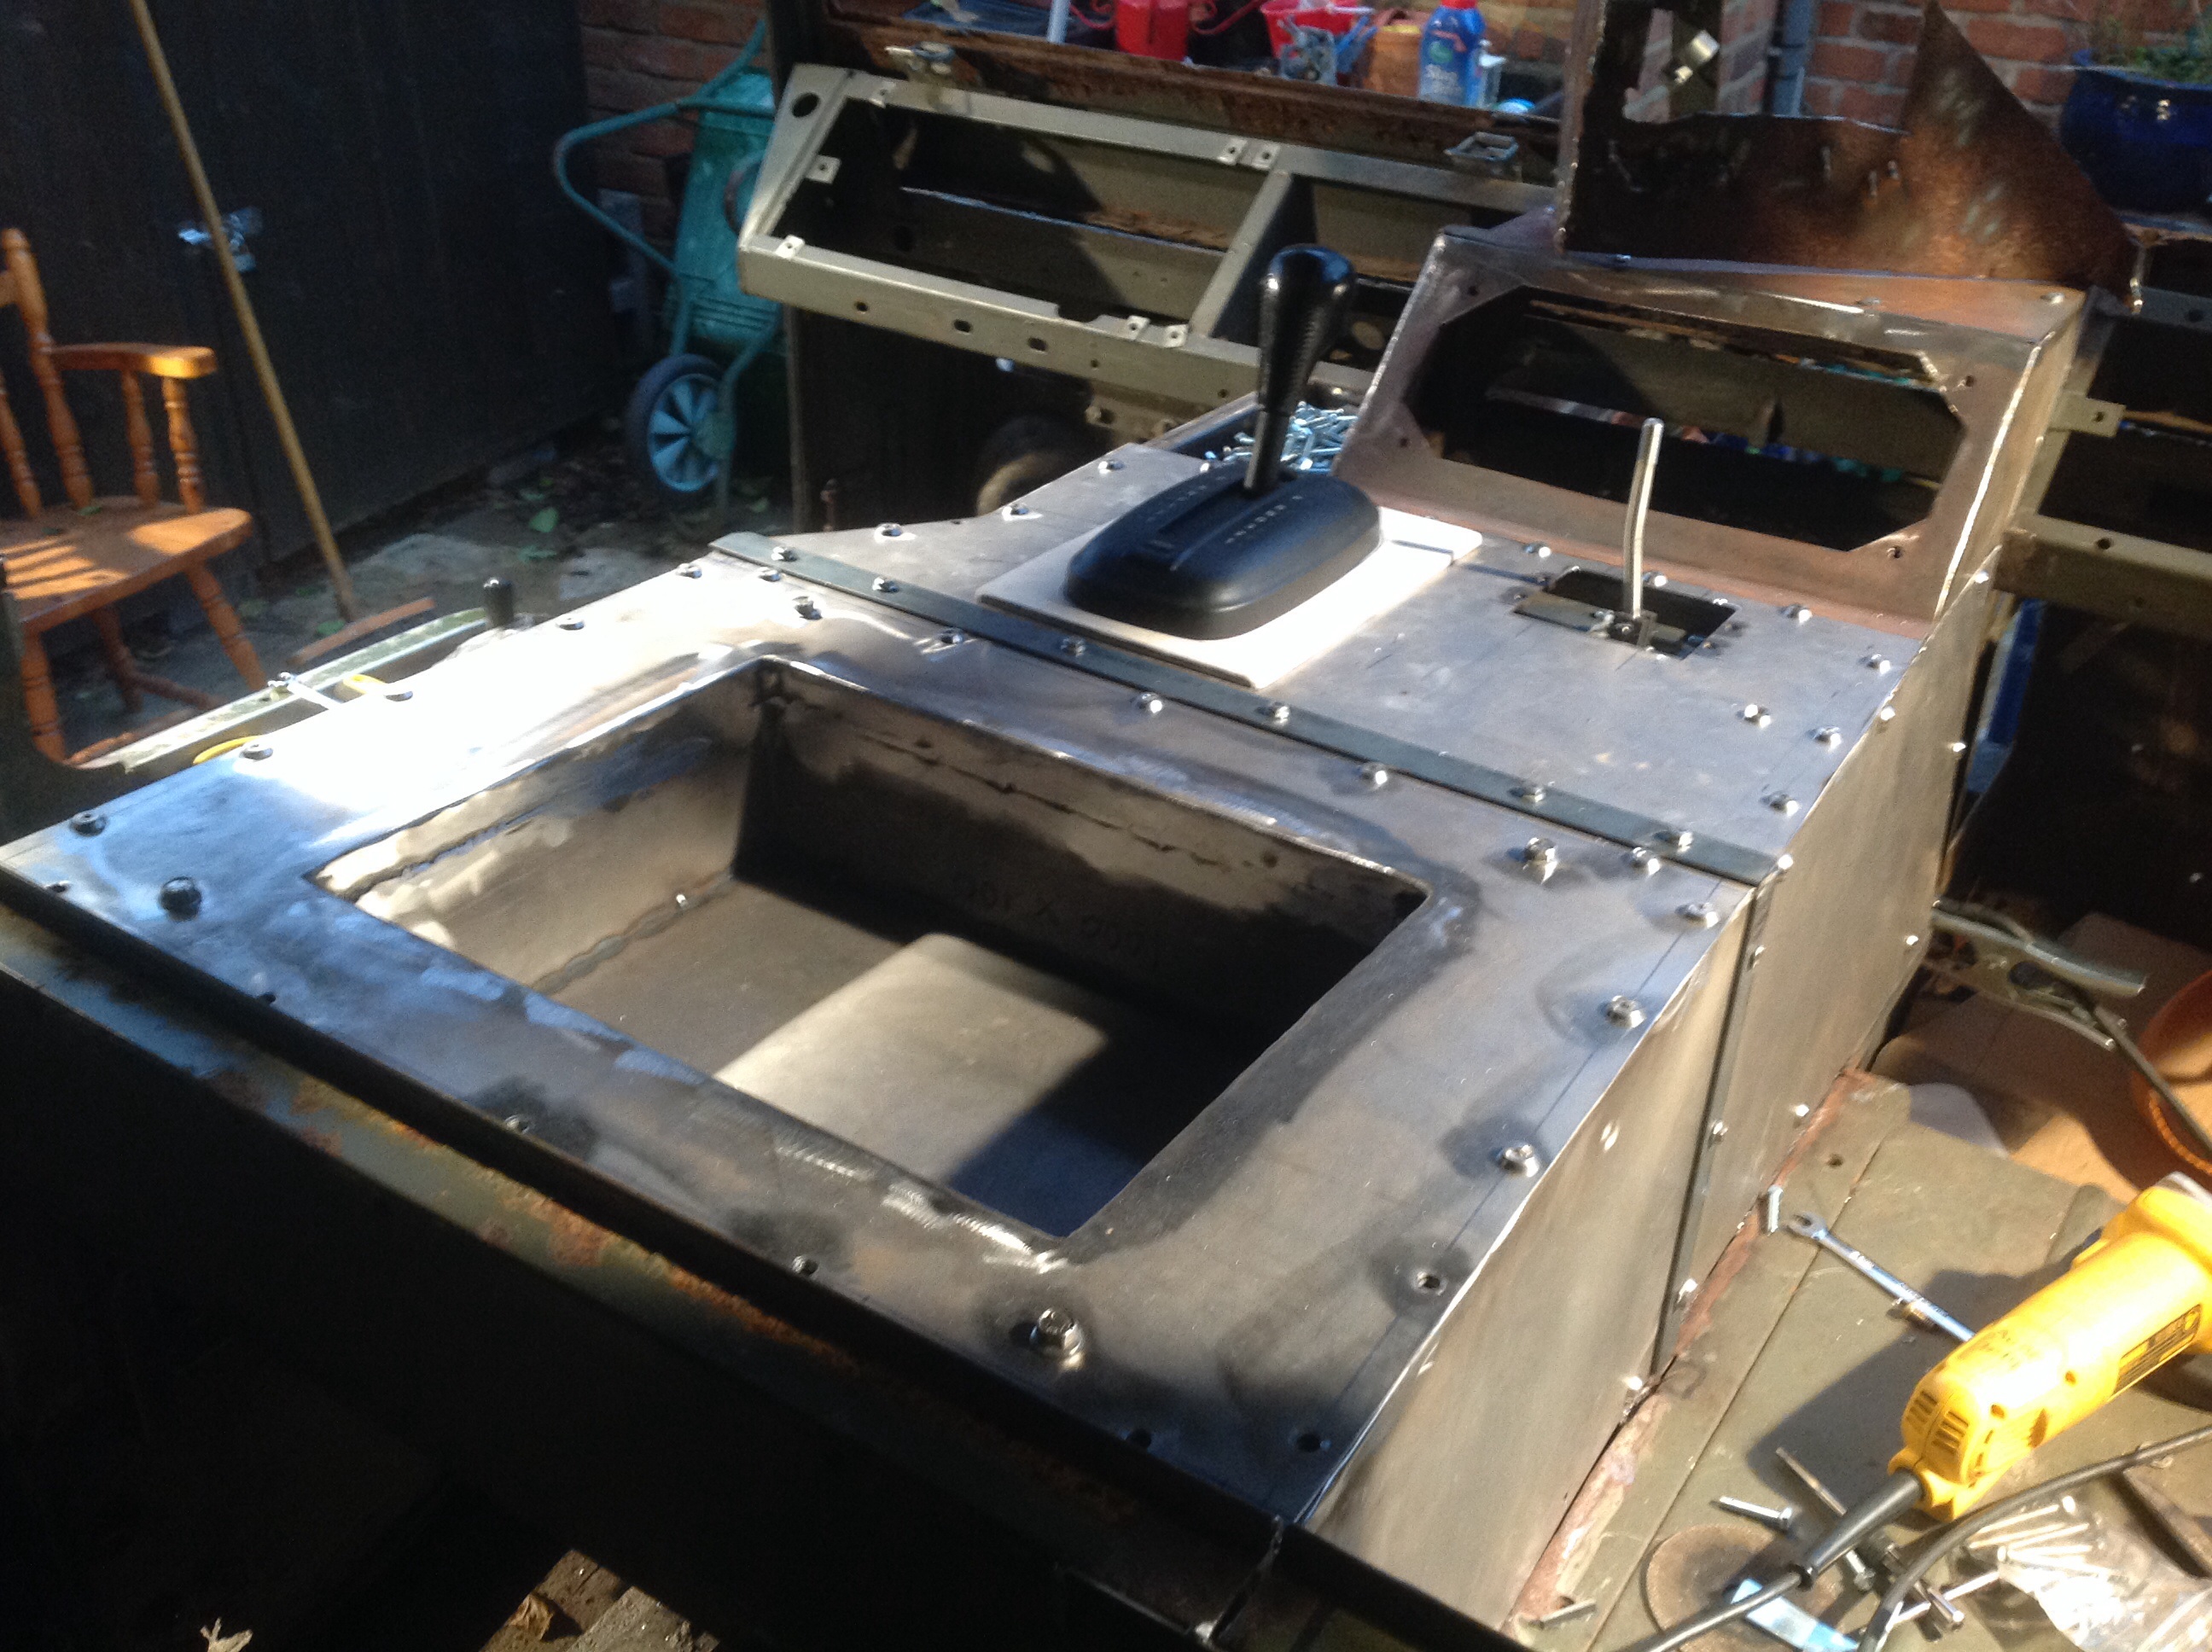
So waiting for the PAS box to return I turn my attention back to the tunnel.

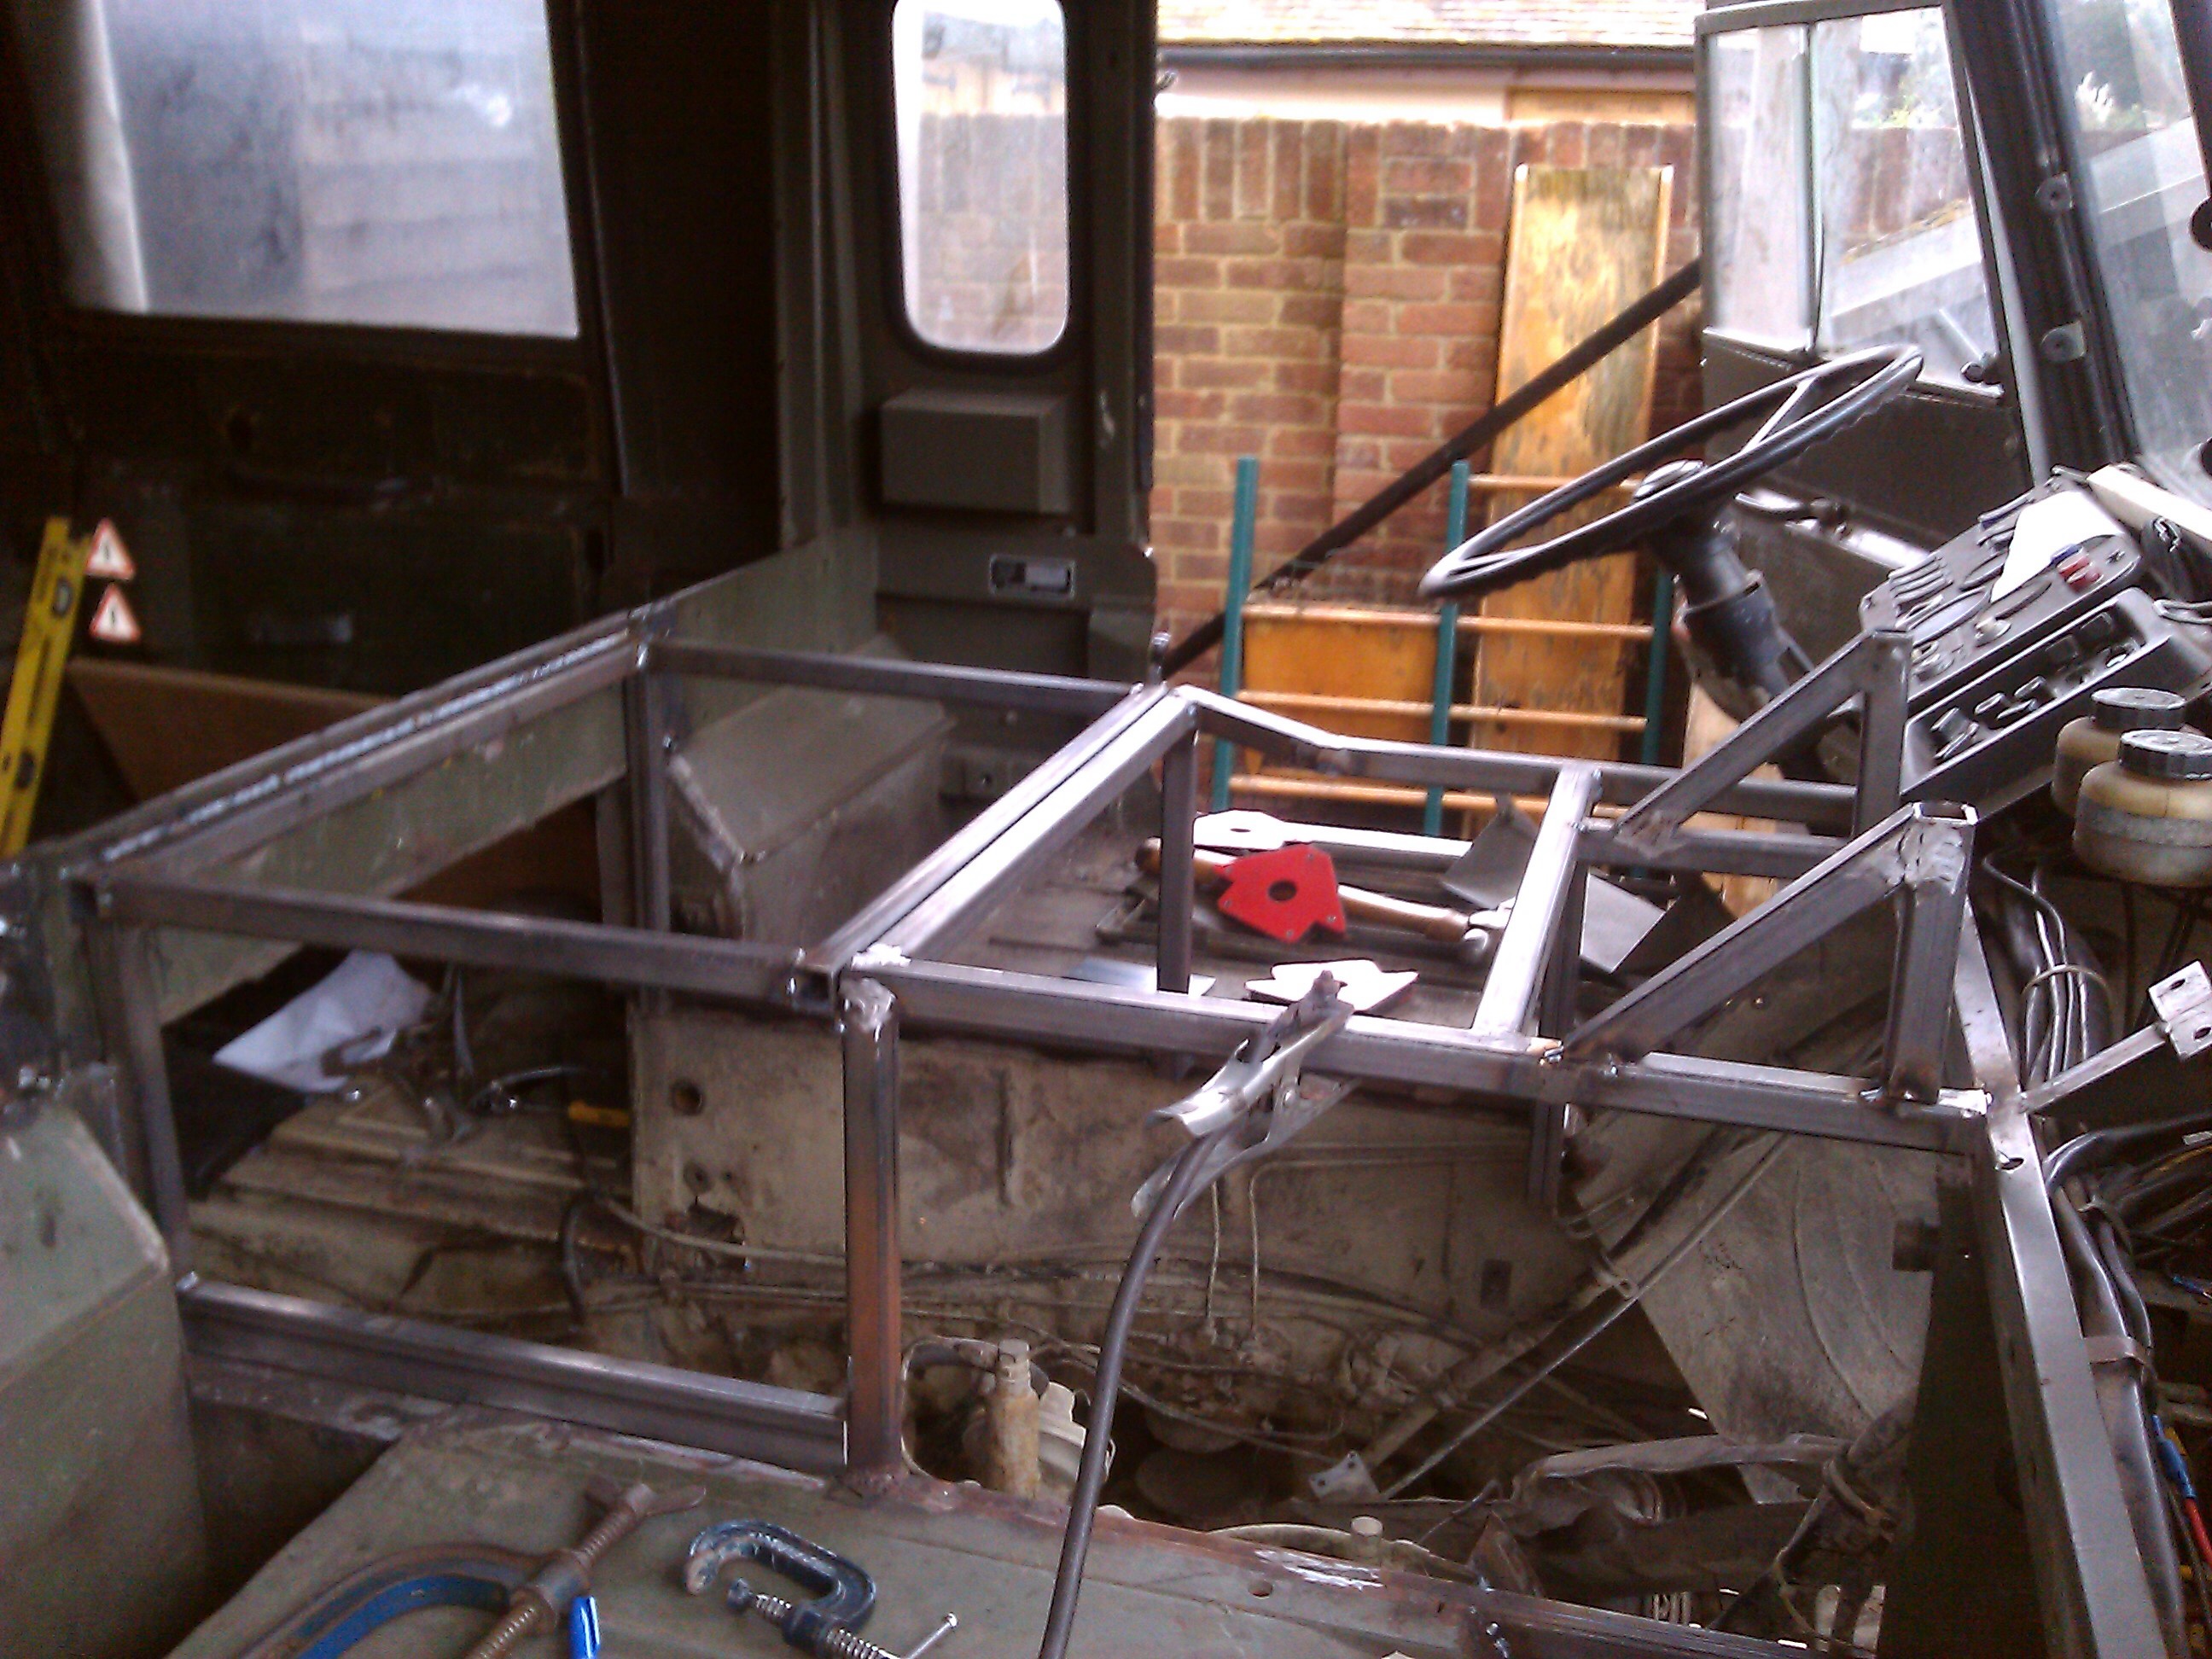
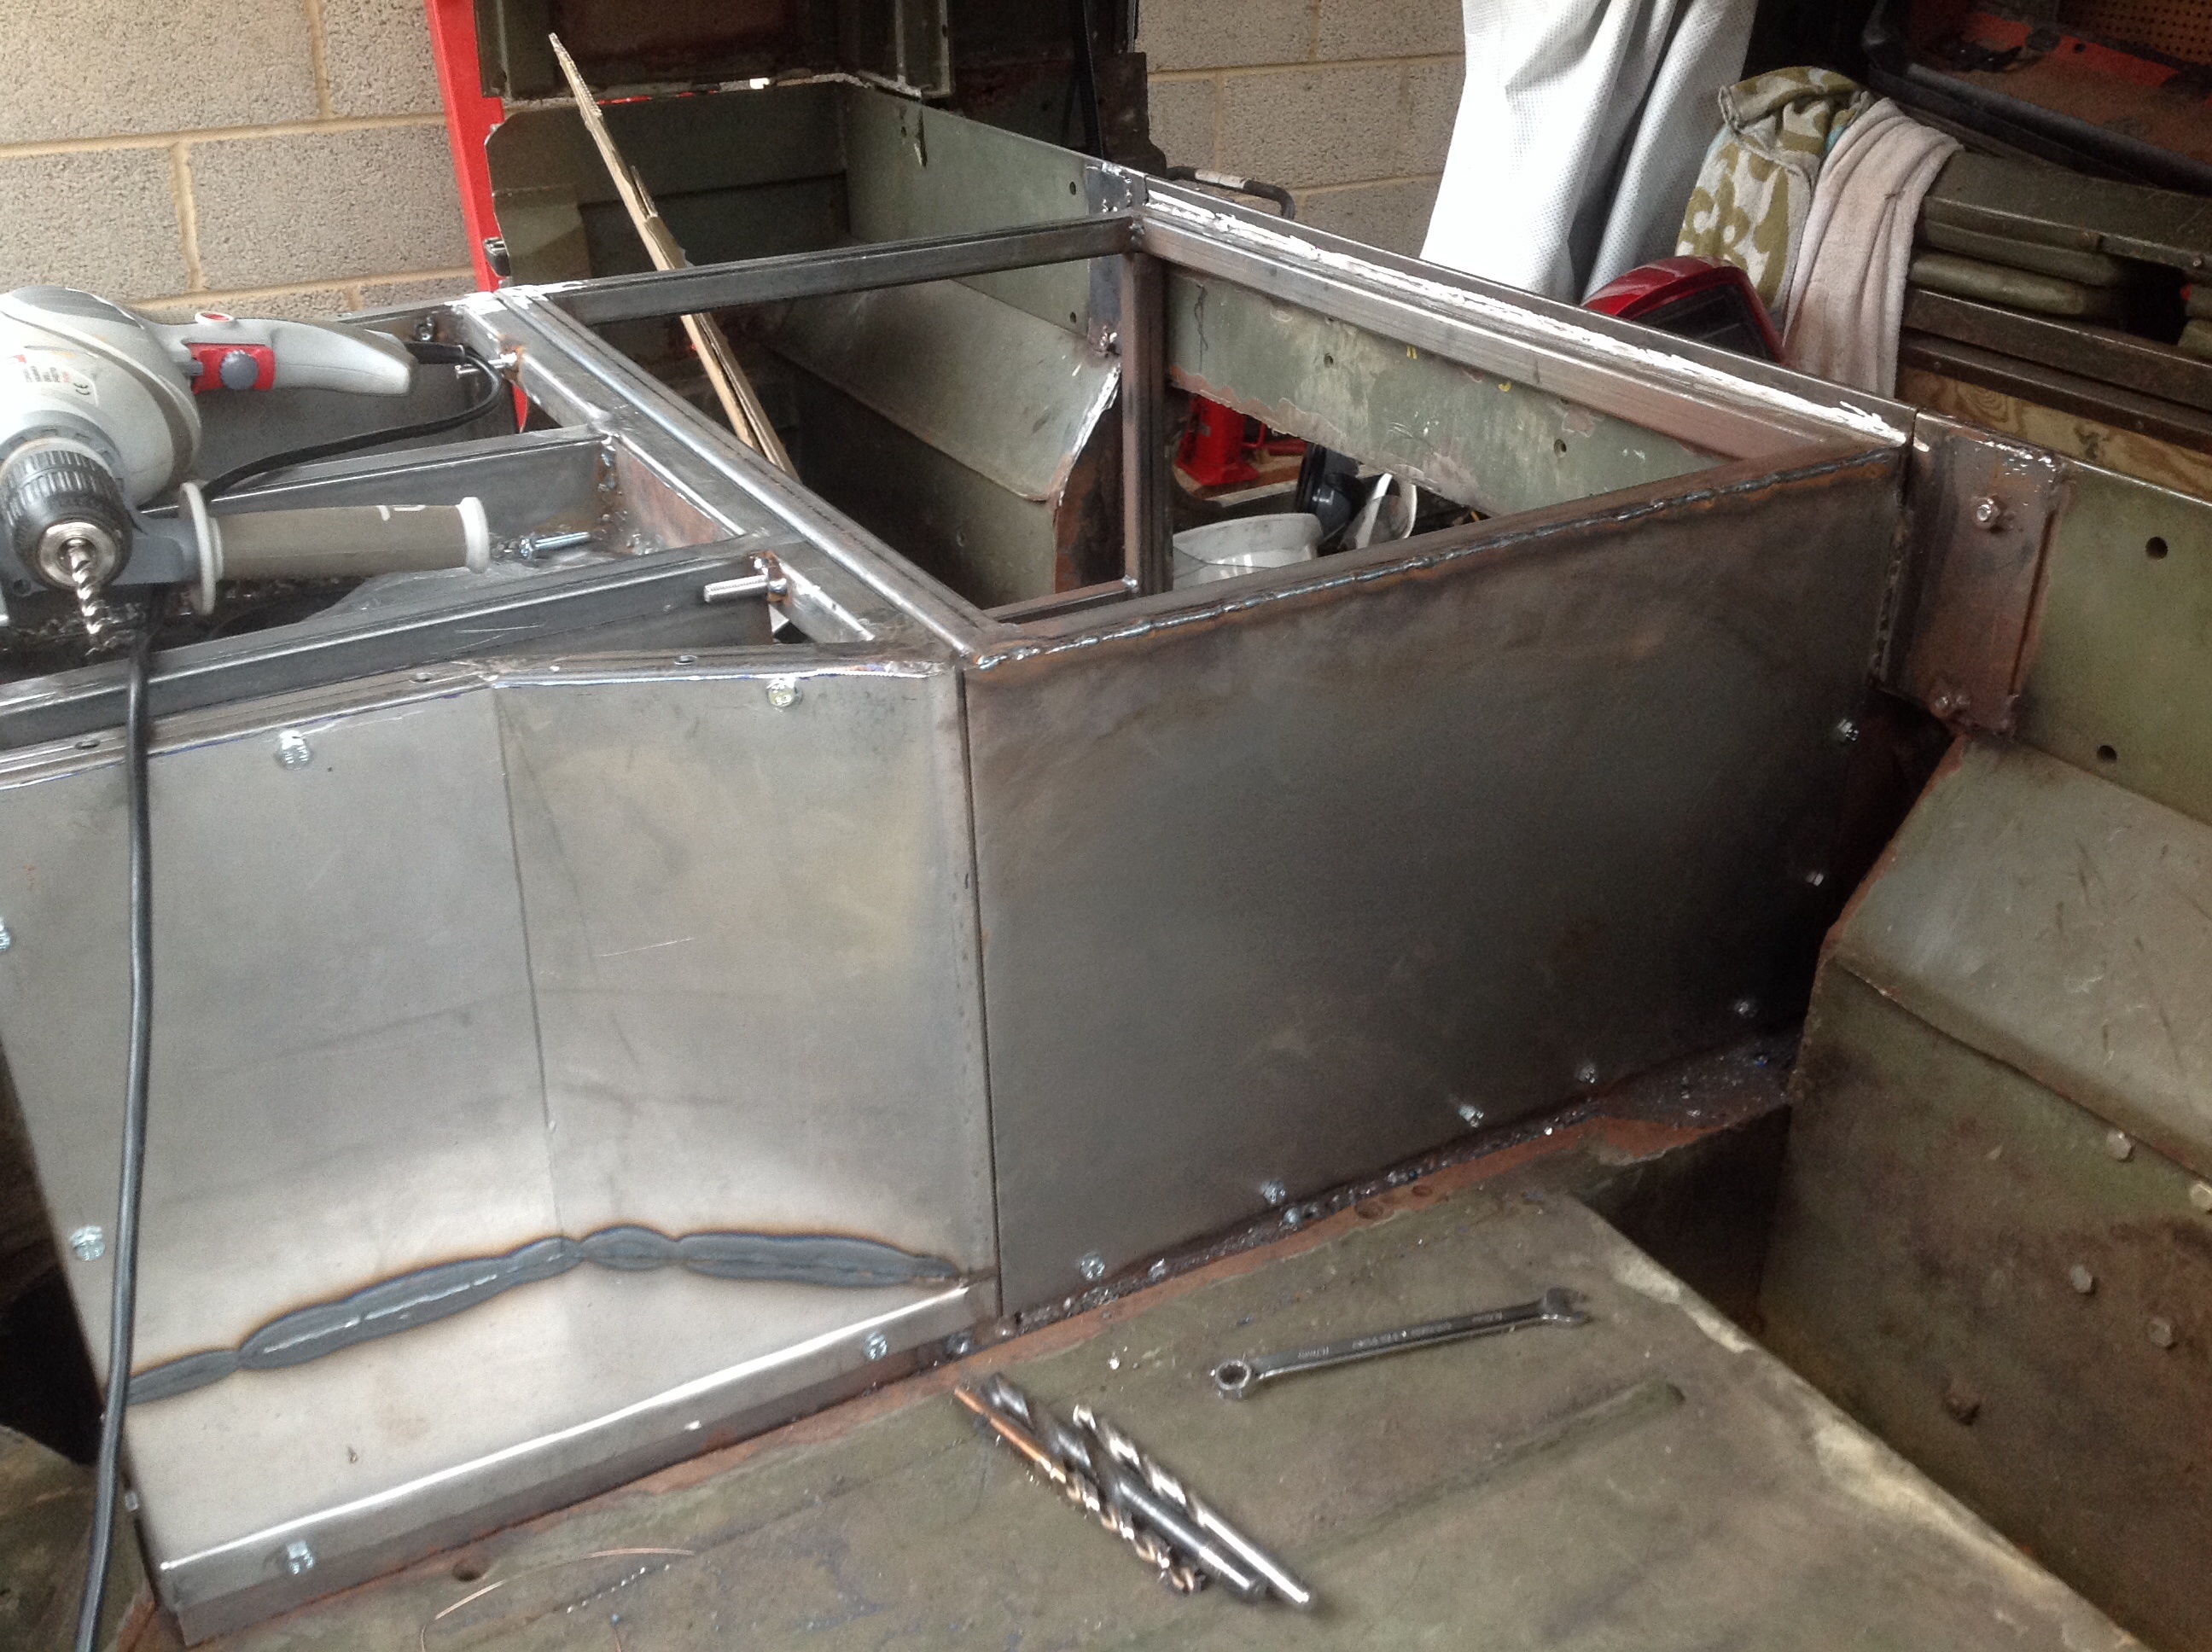
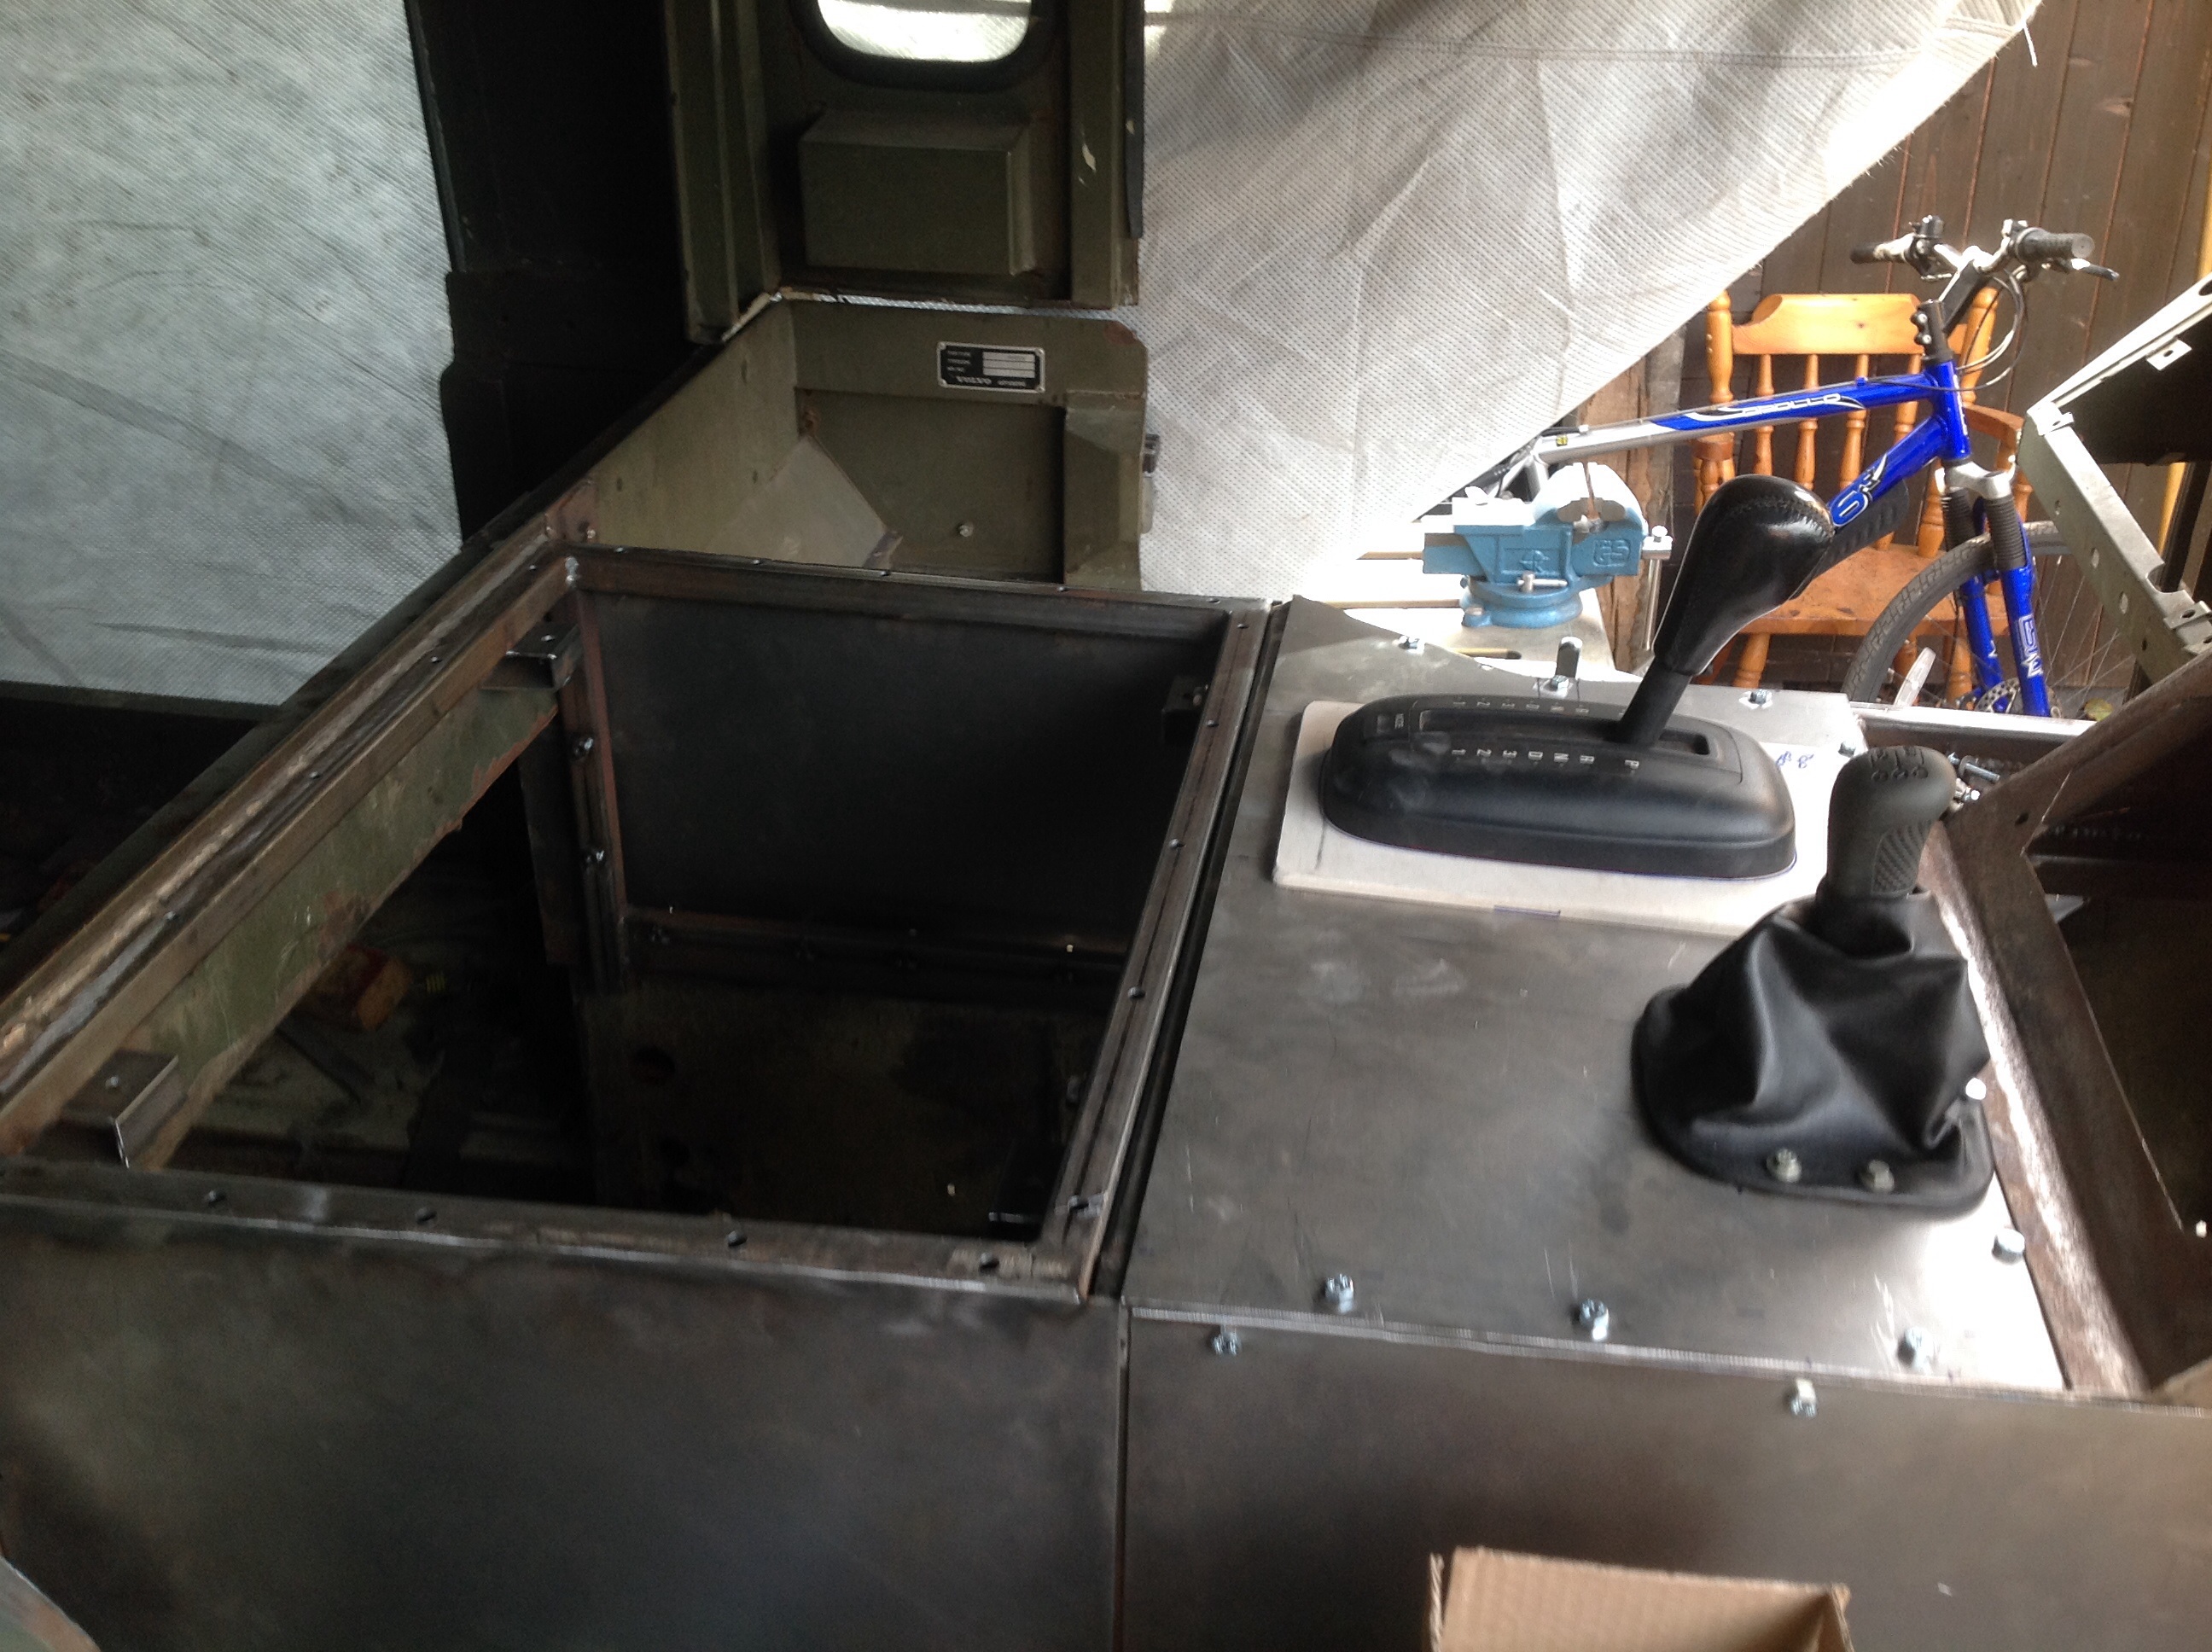
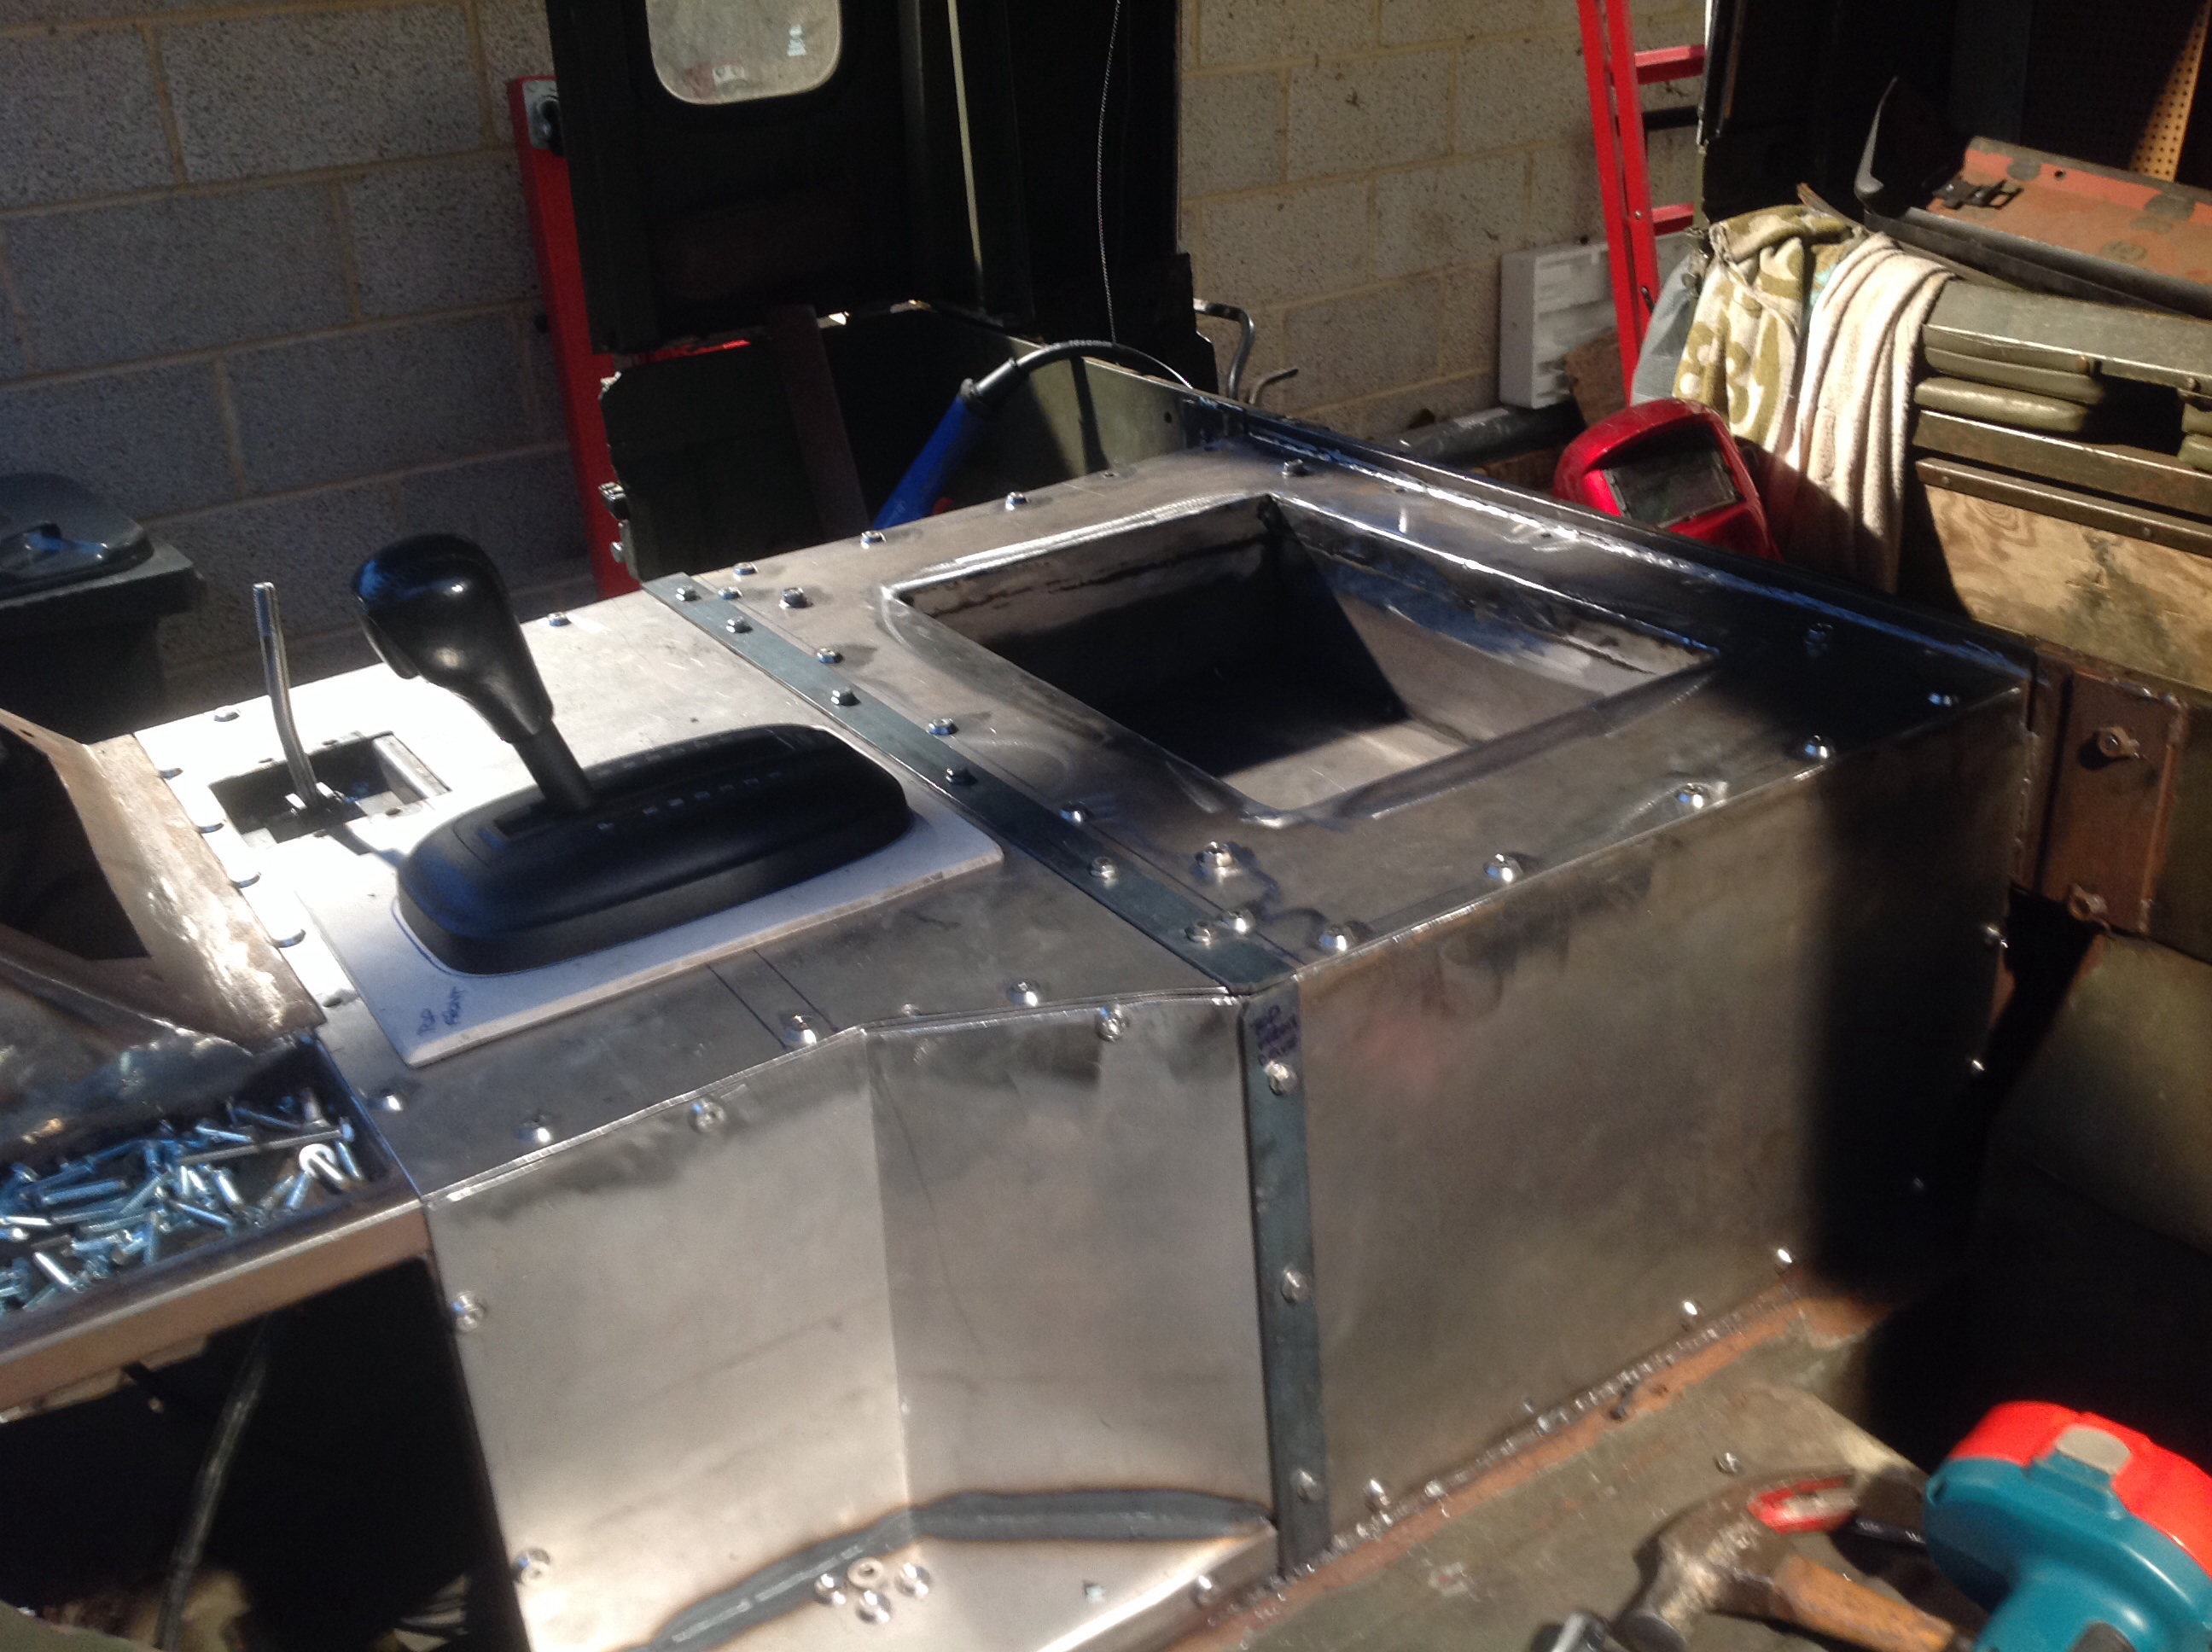
looking for maximum access the panels will be detachable.  Captive nuts and bolts

image

image image


image


image


image


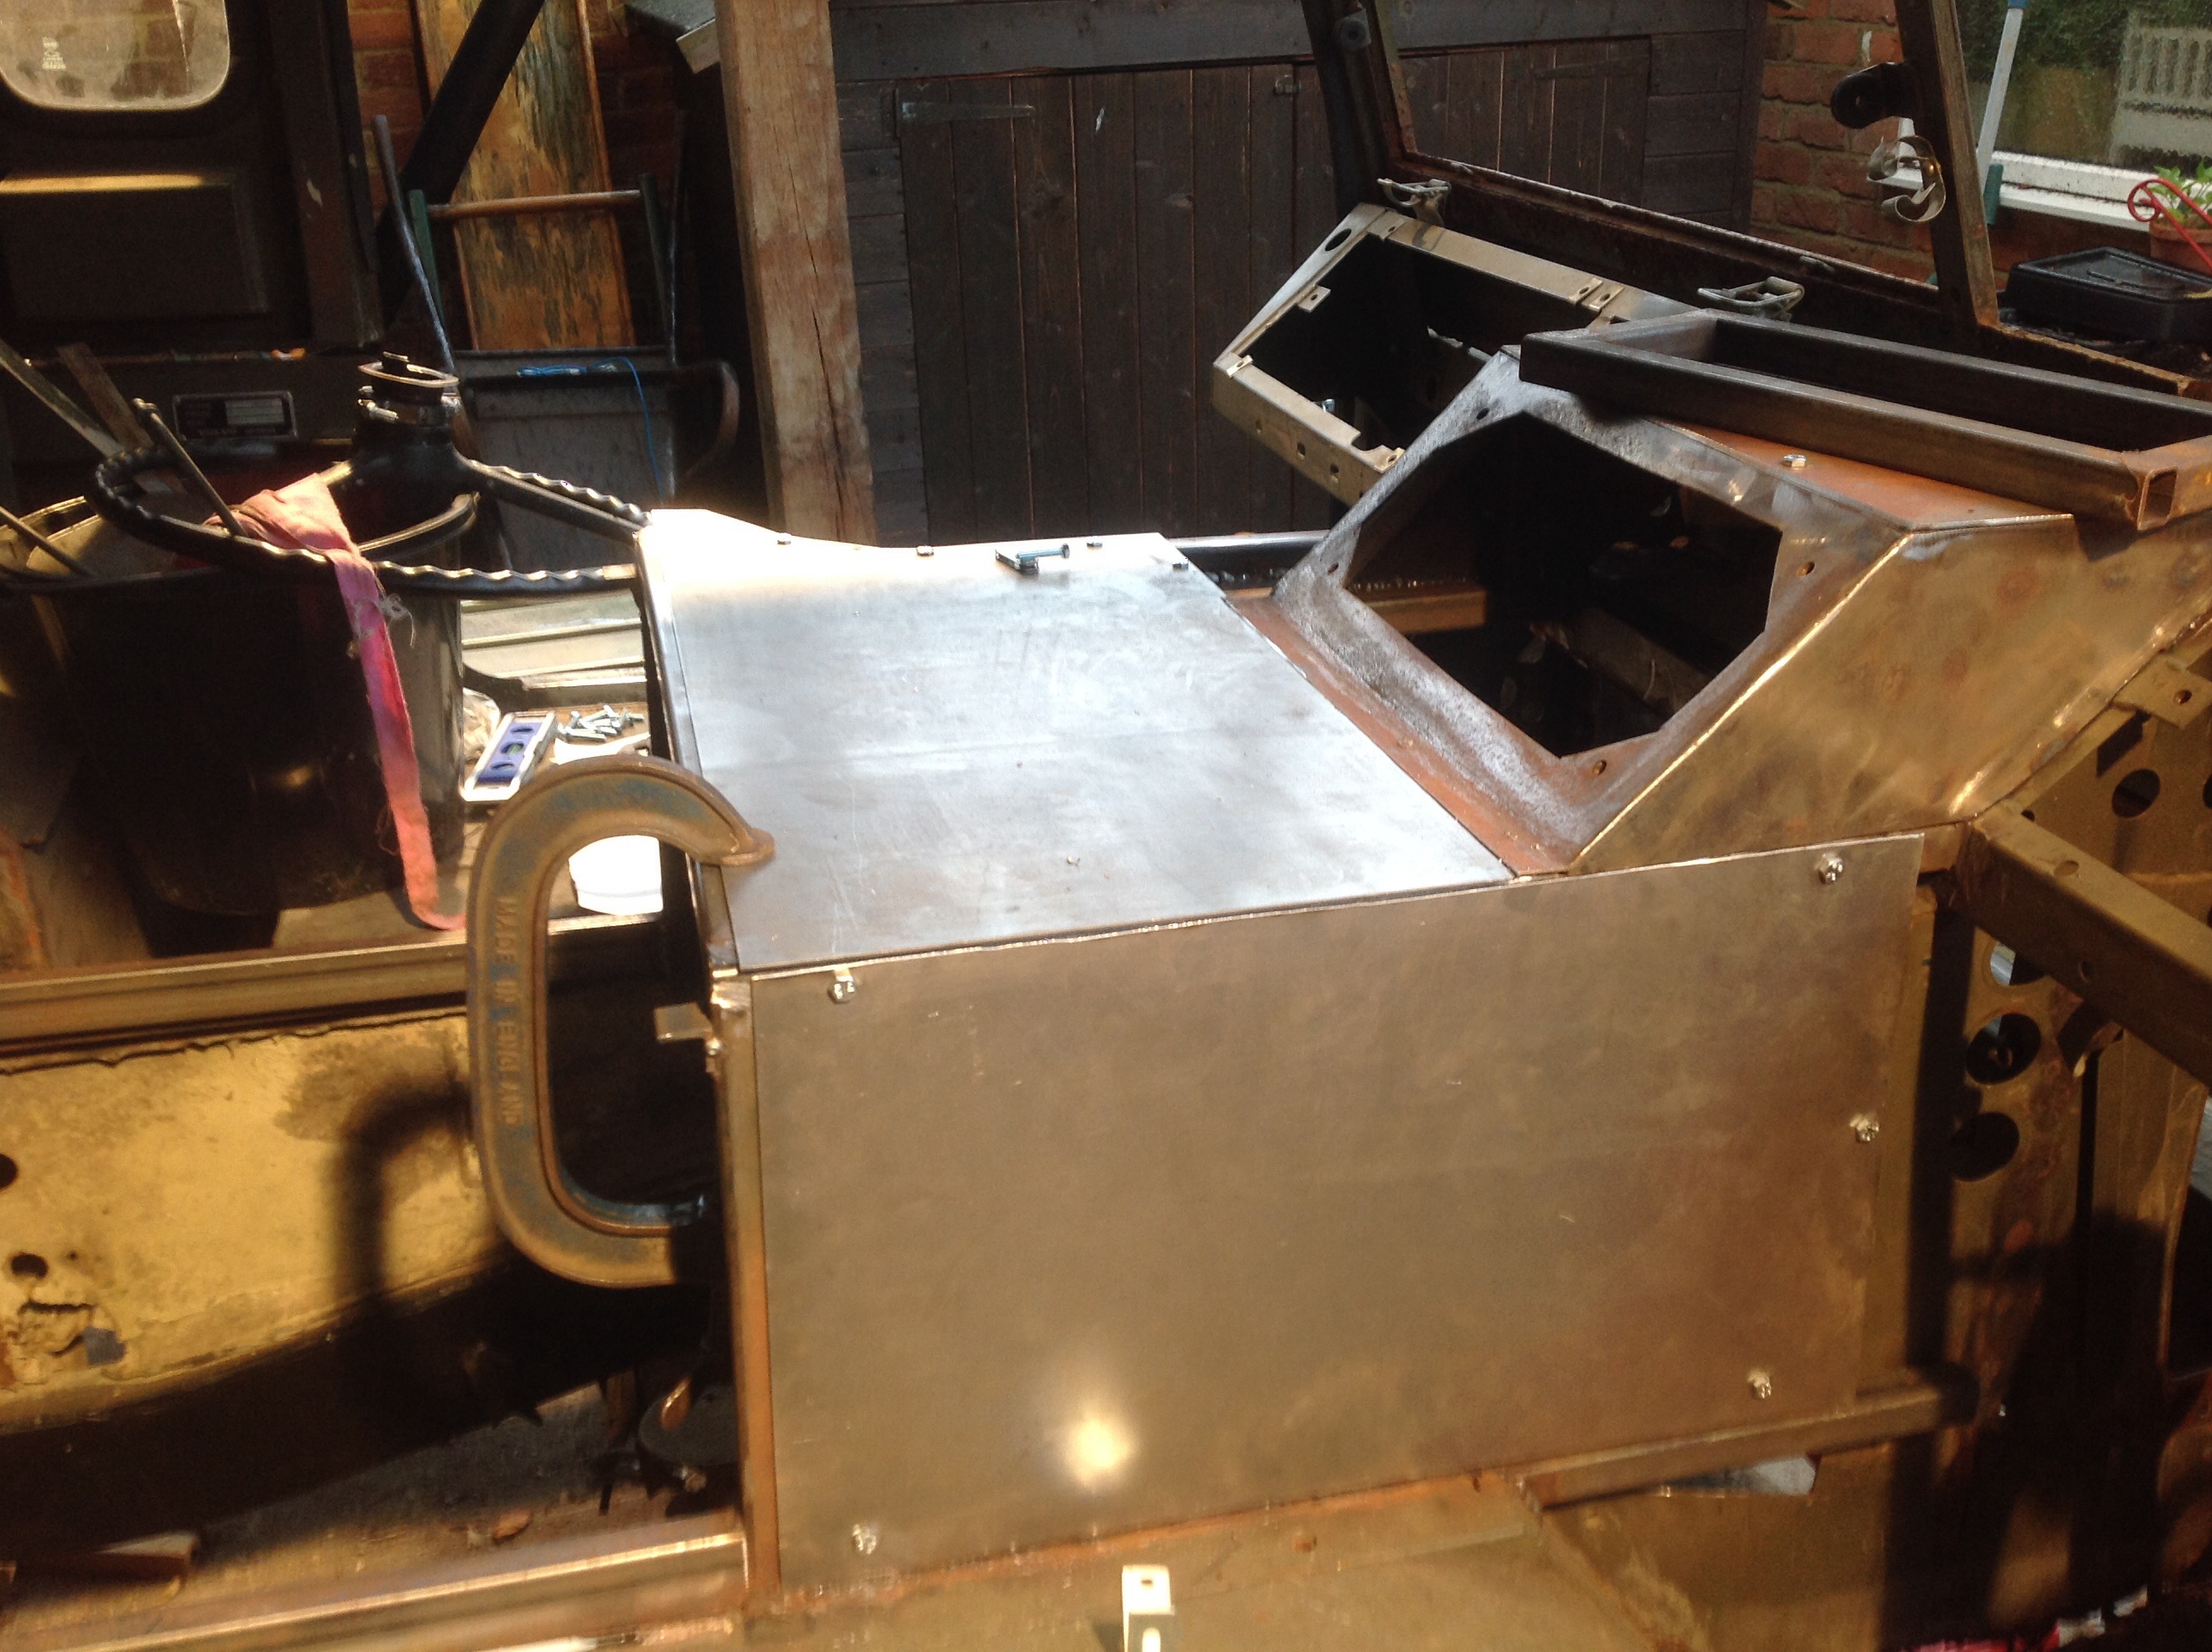
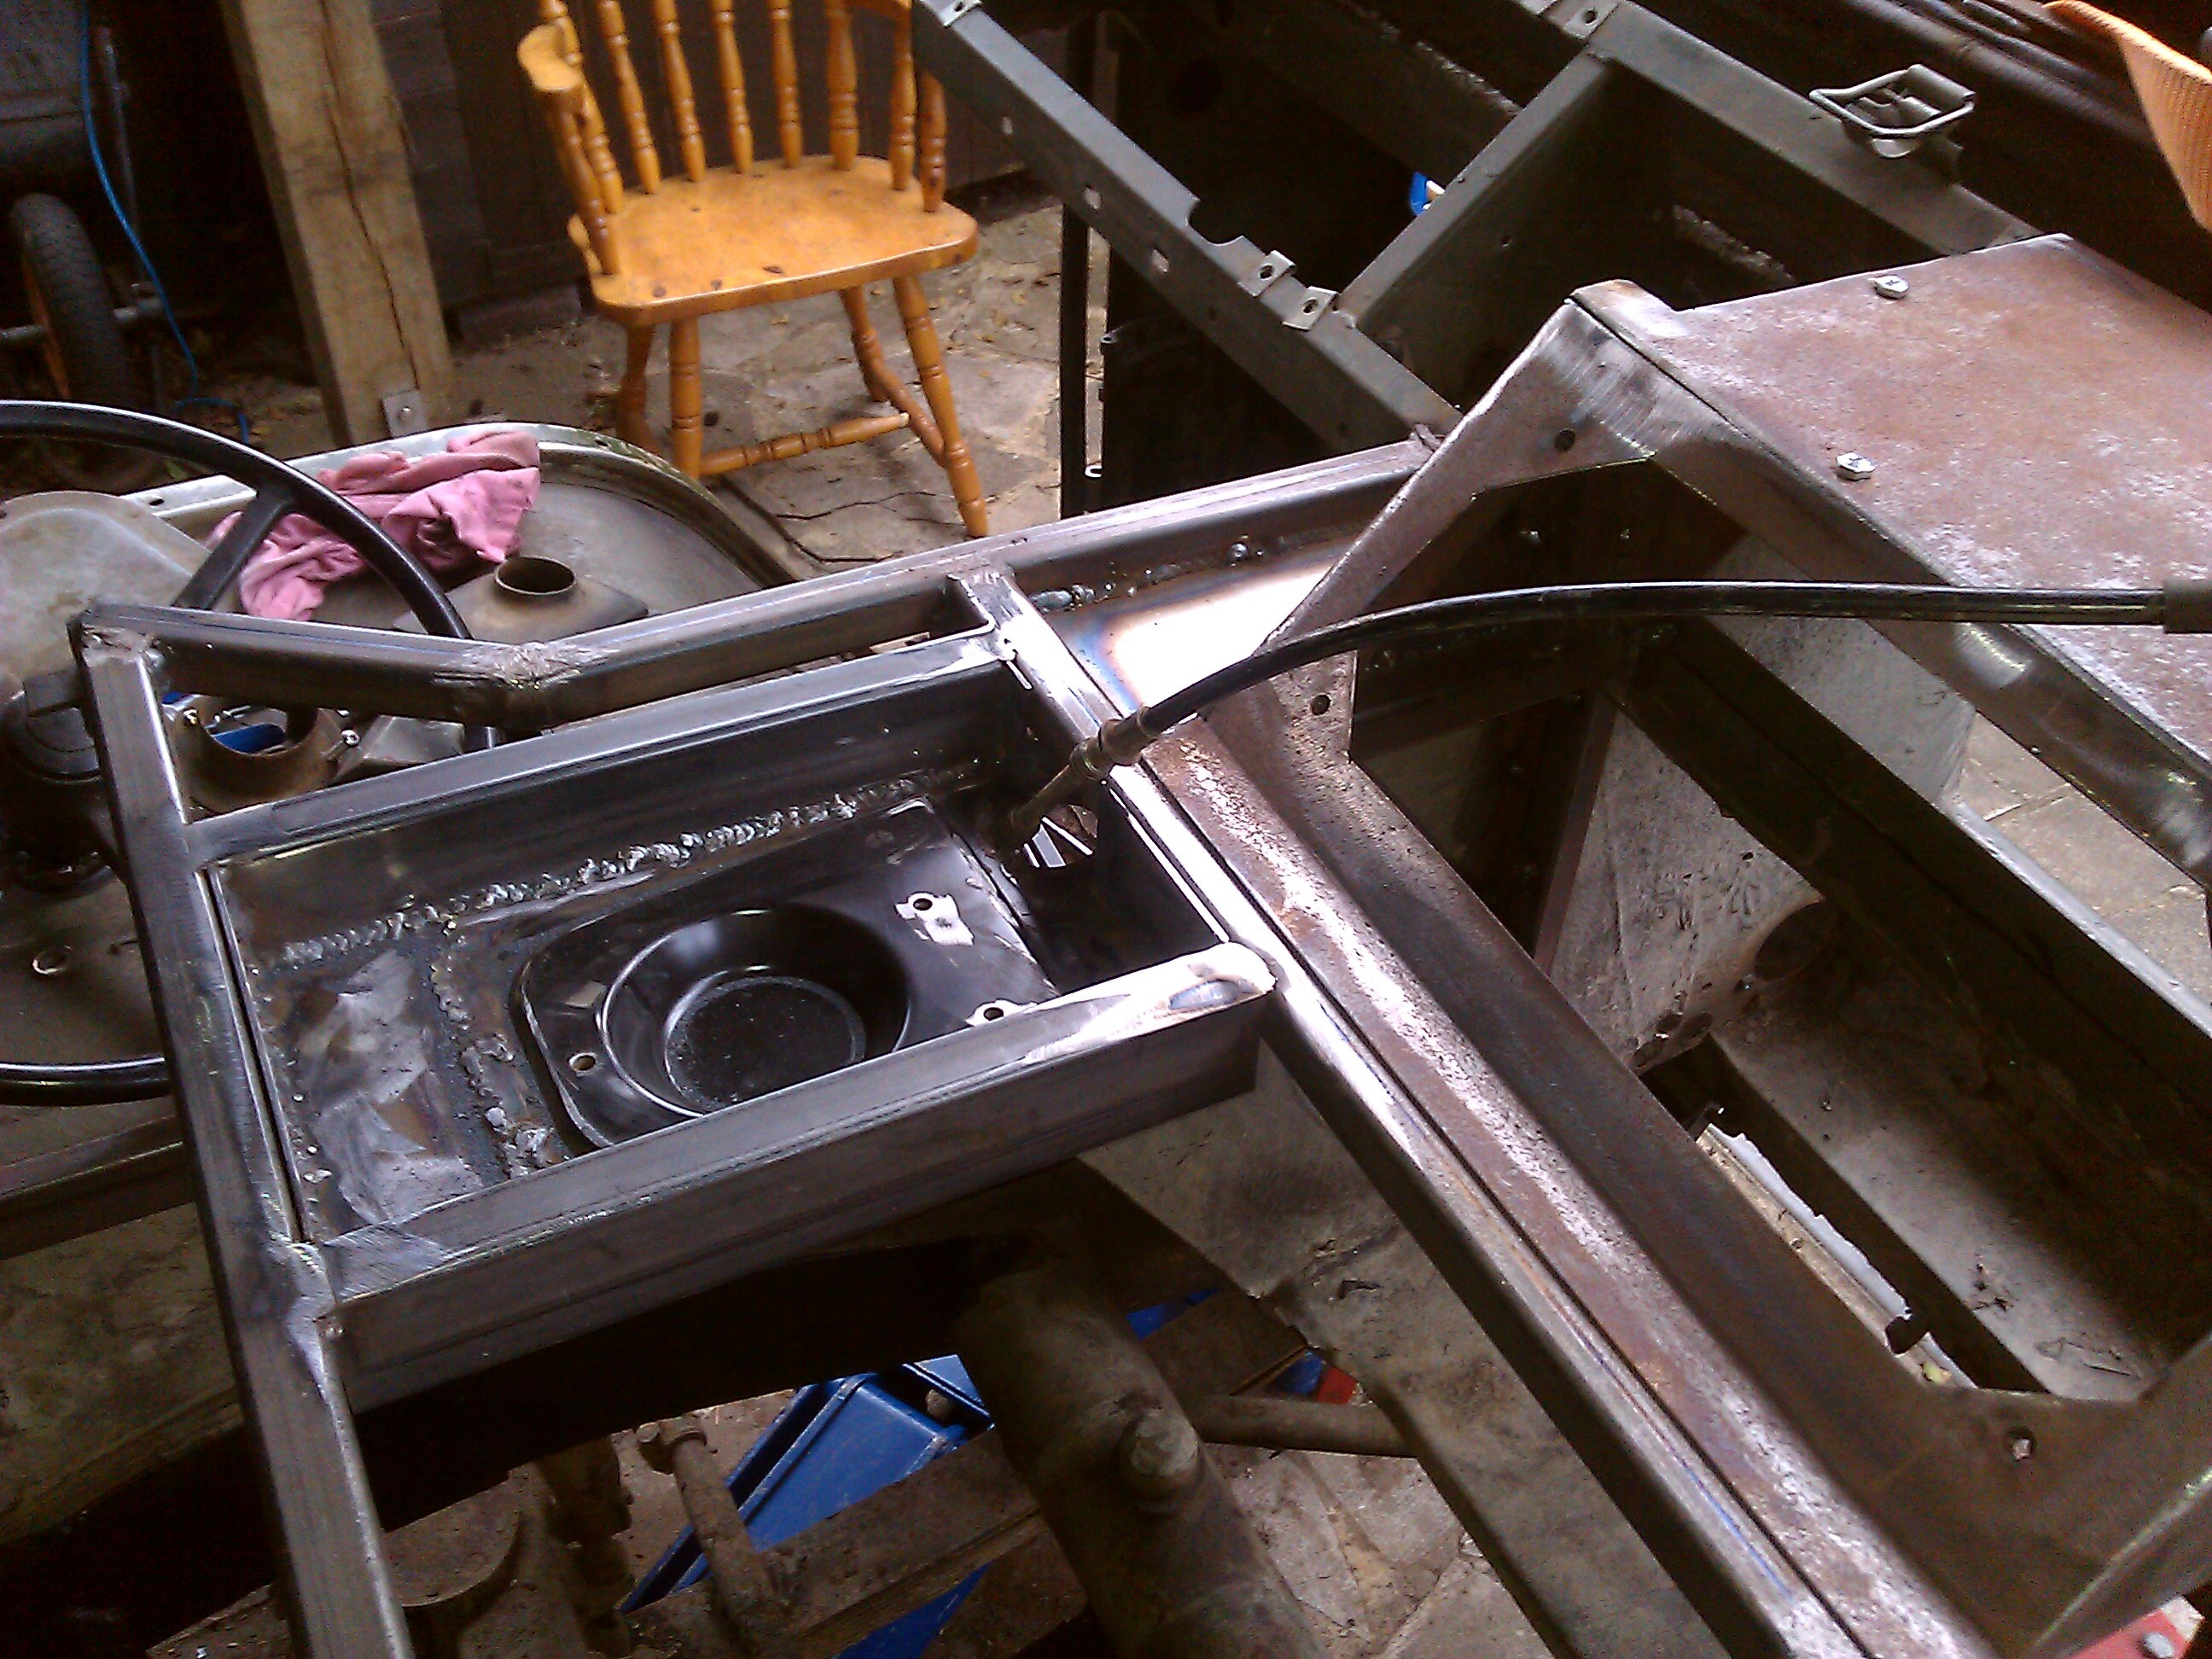
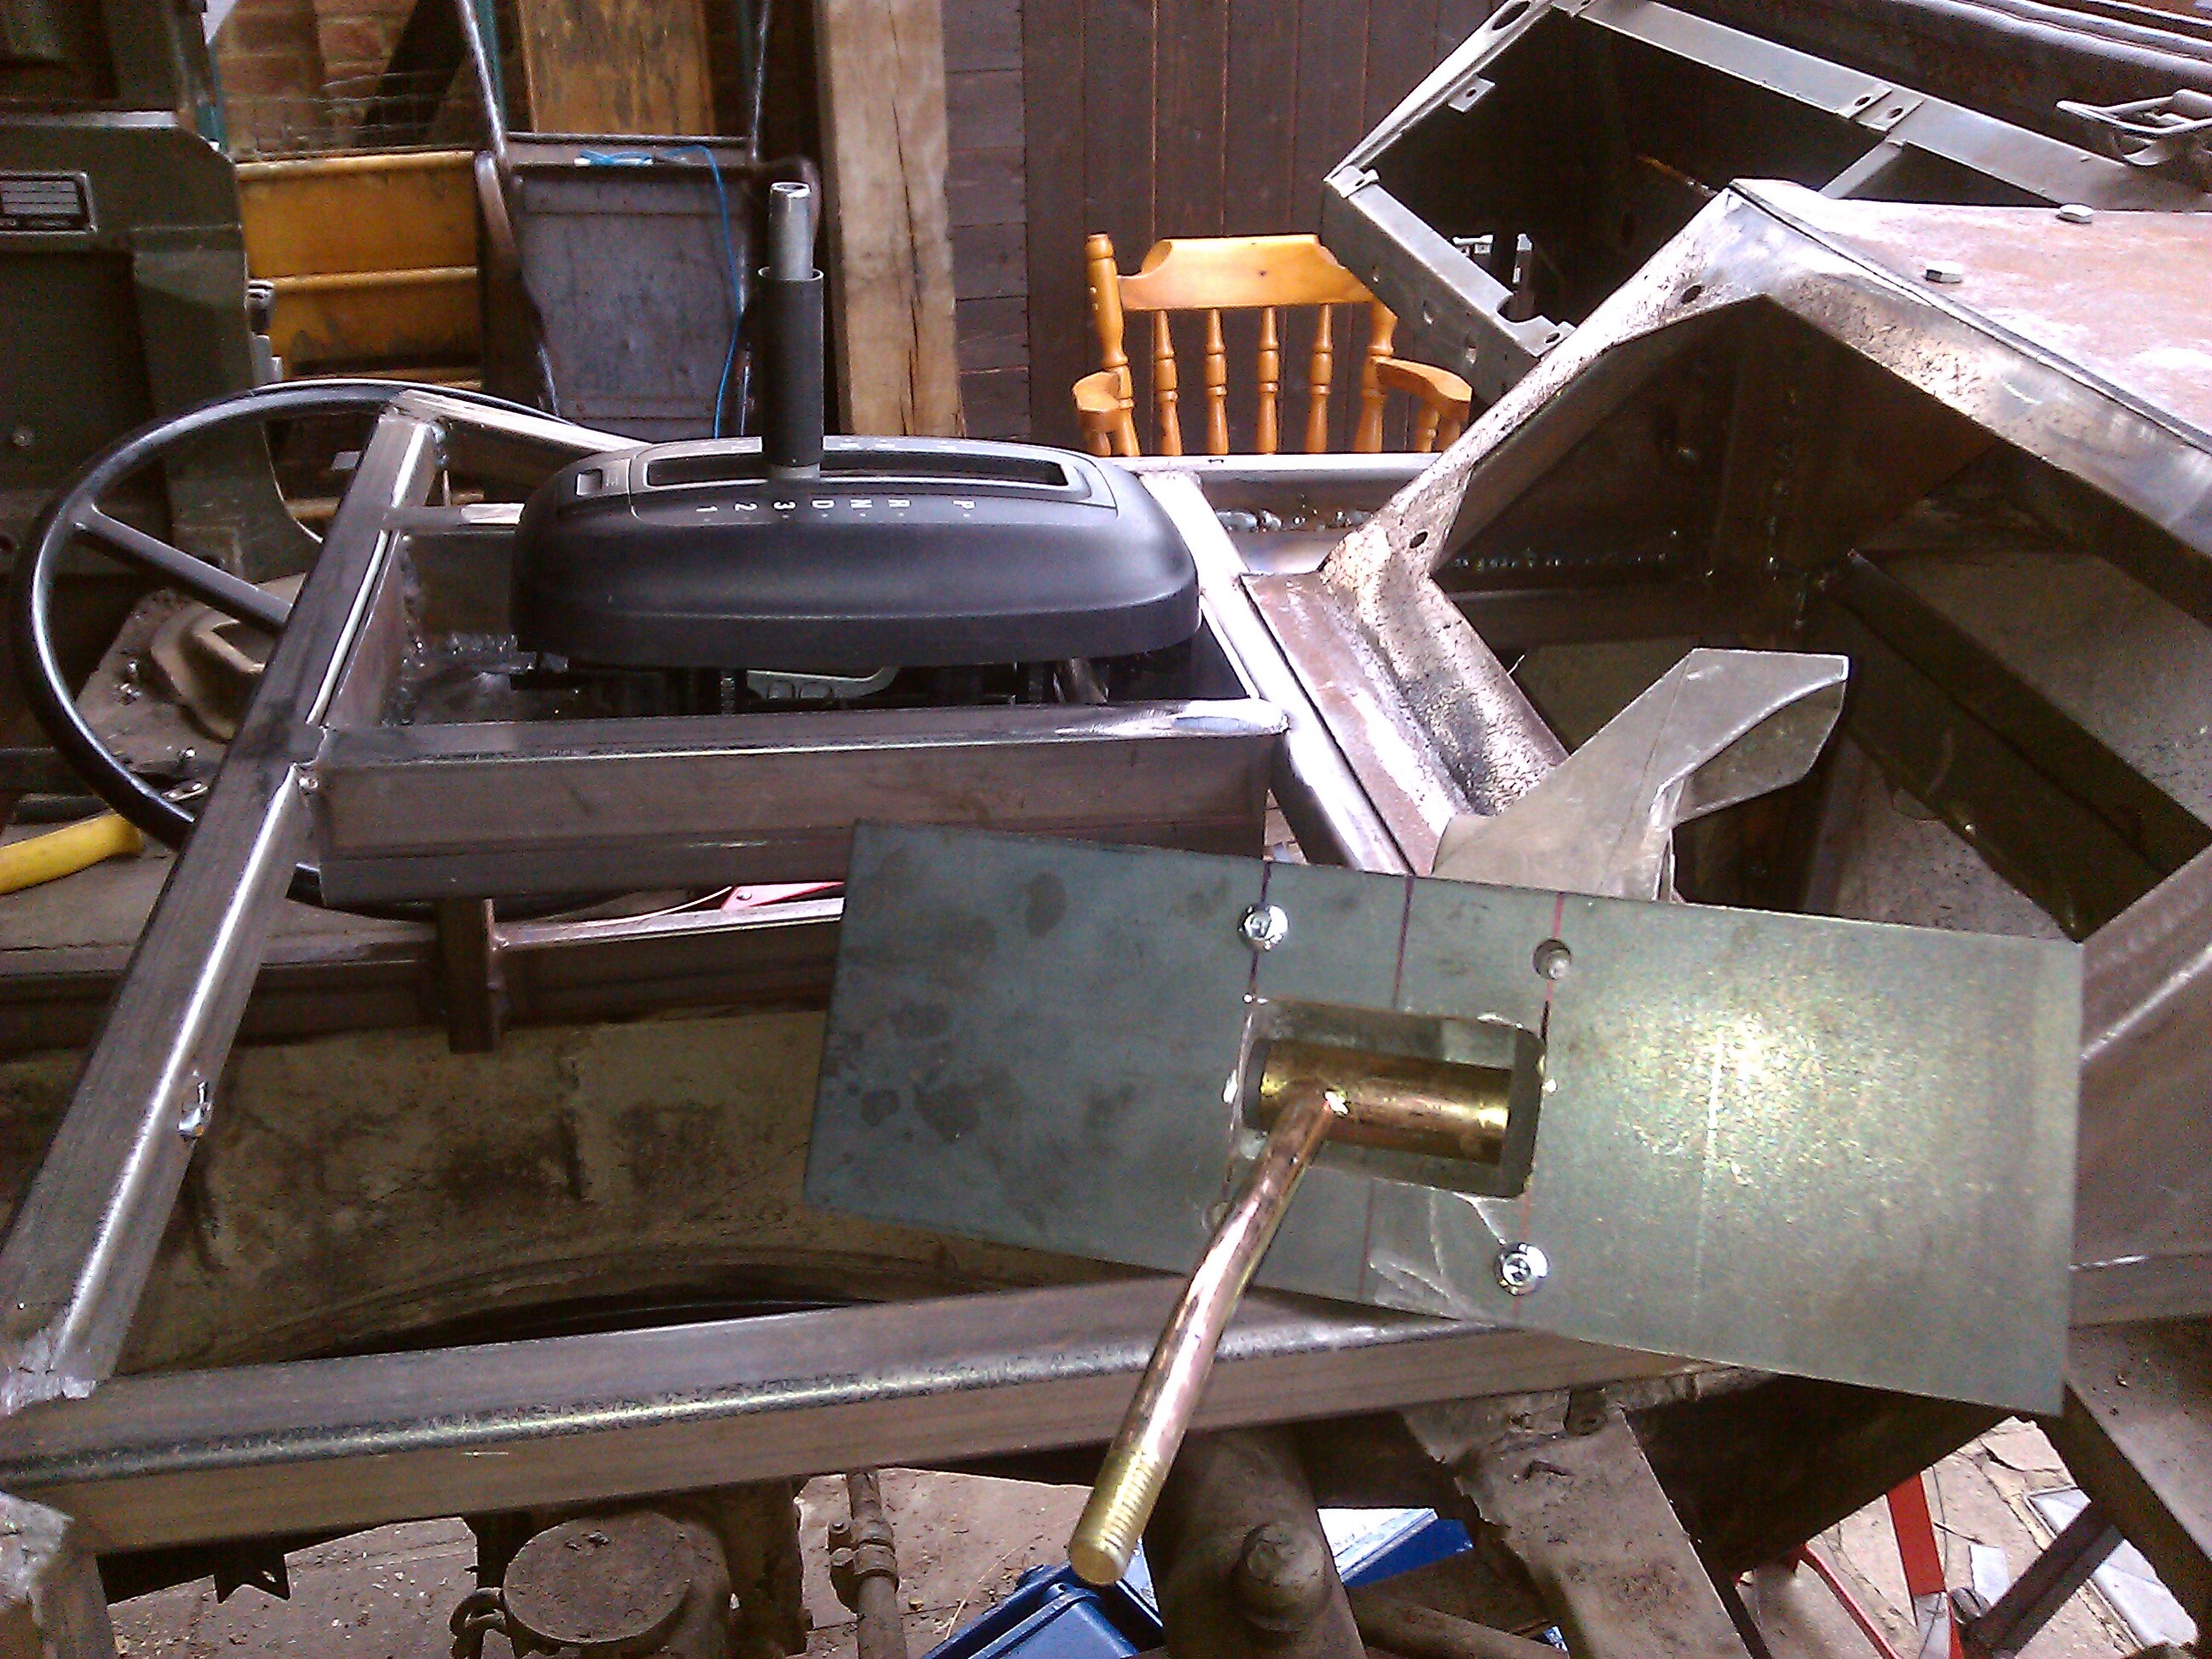
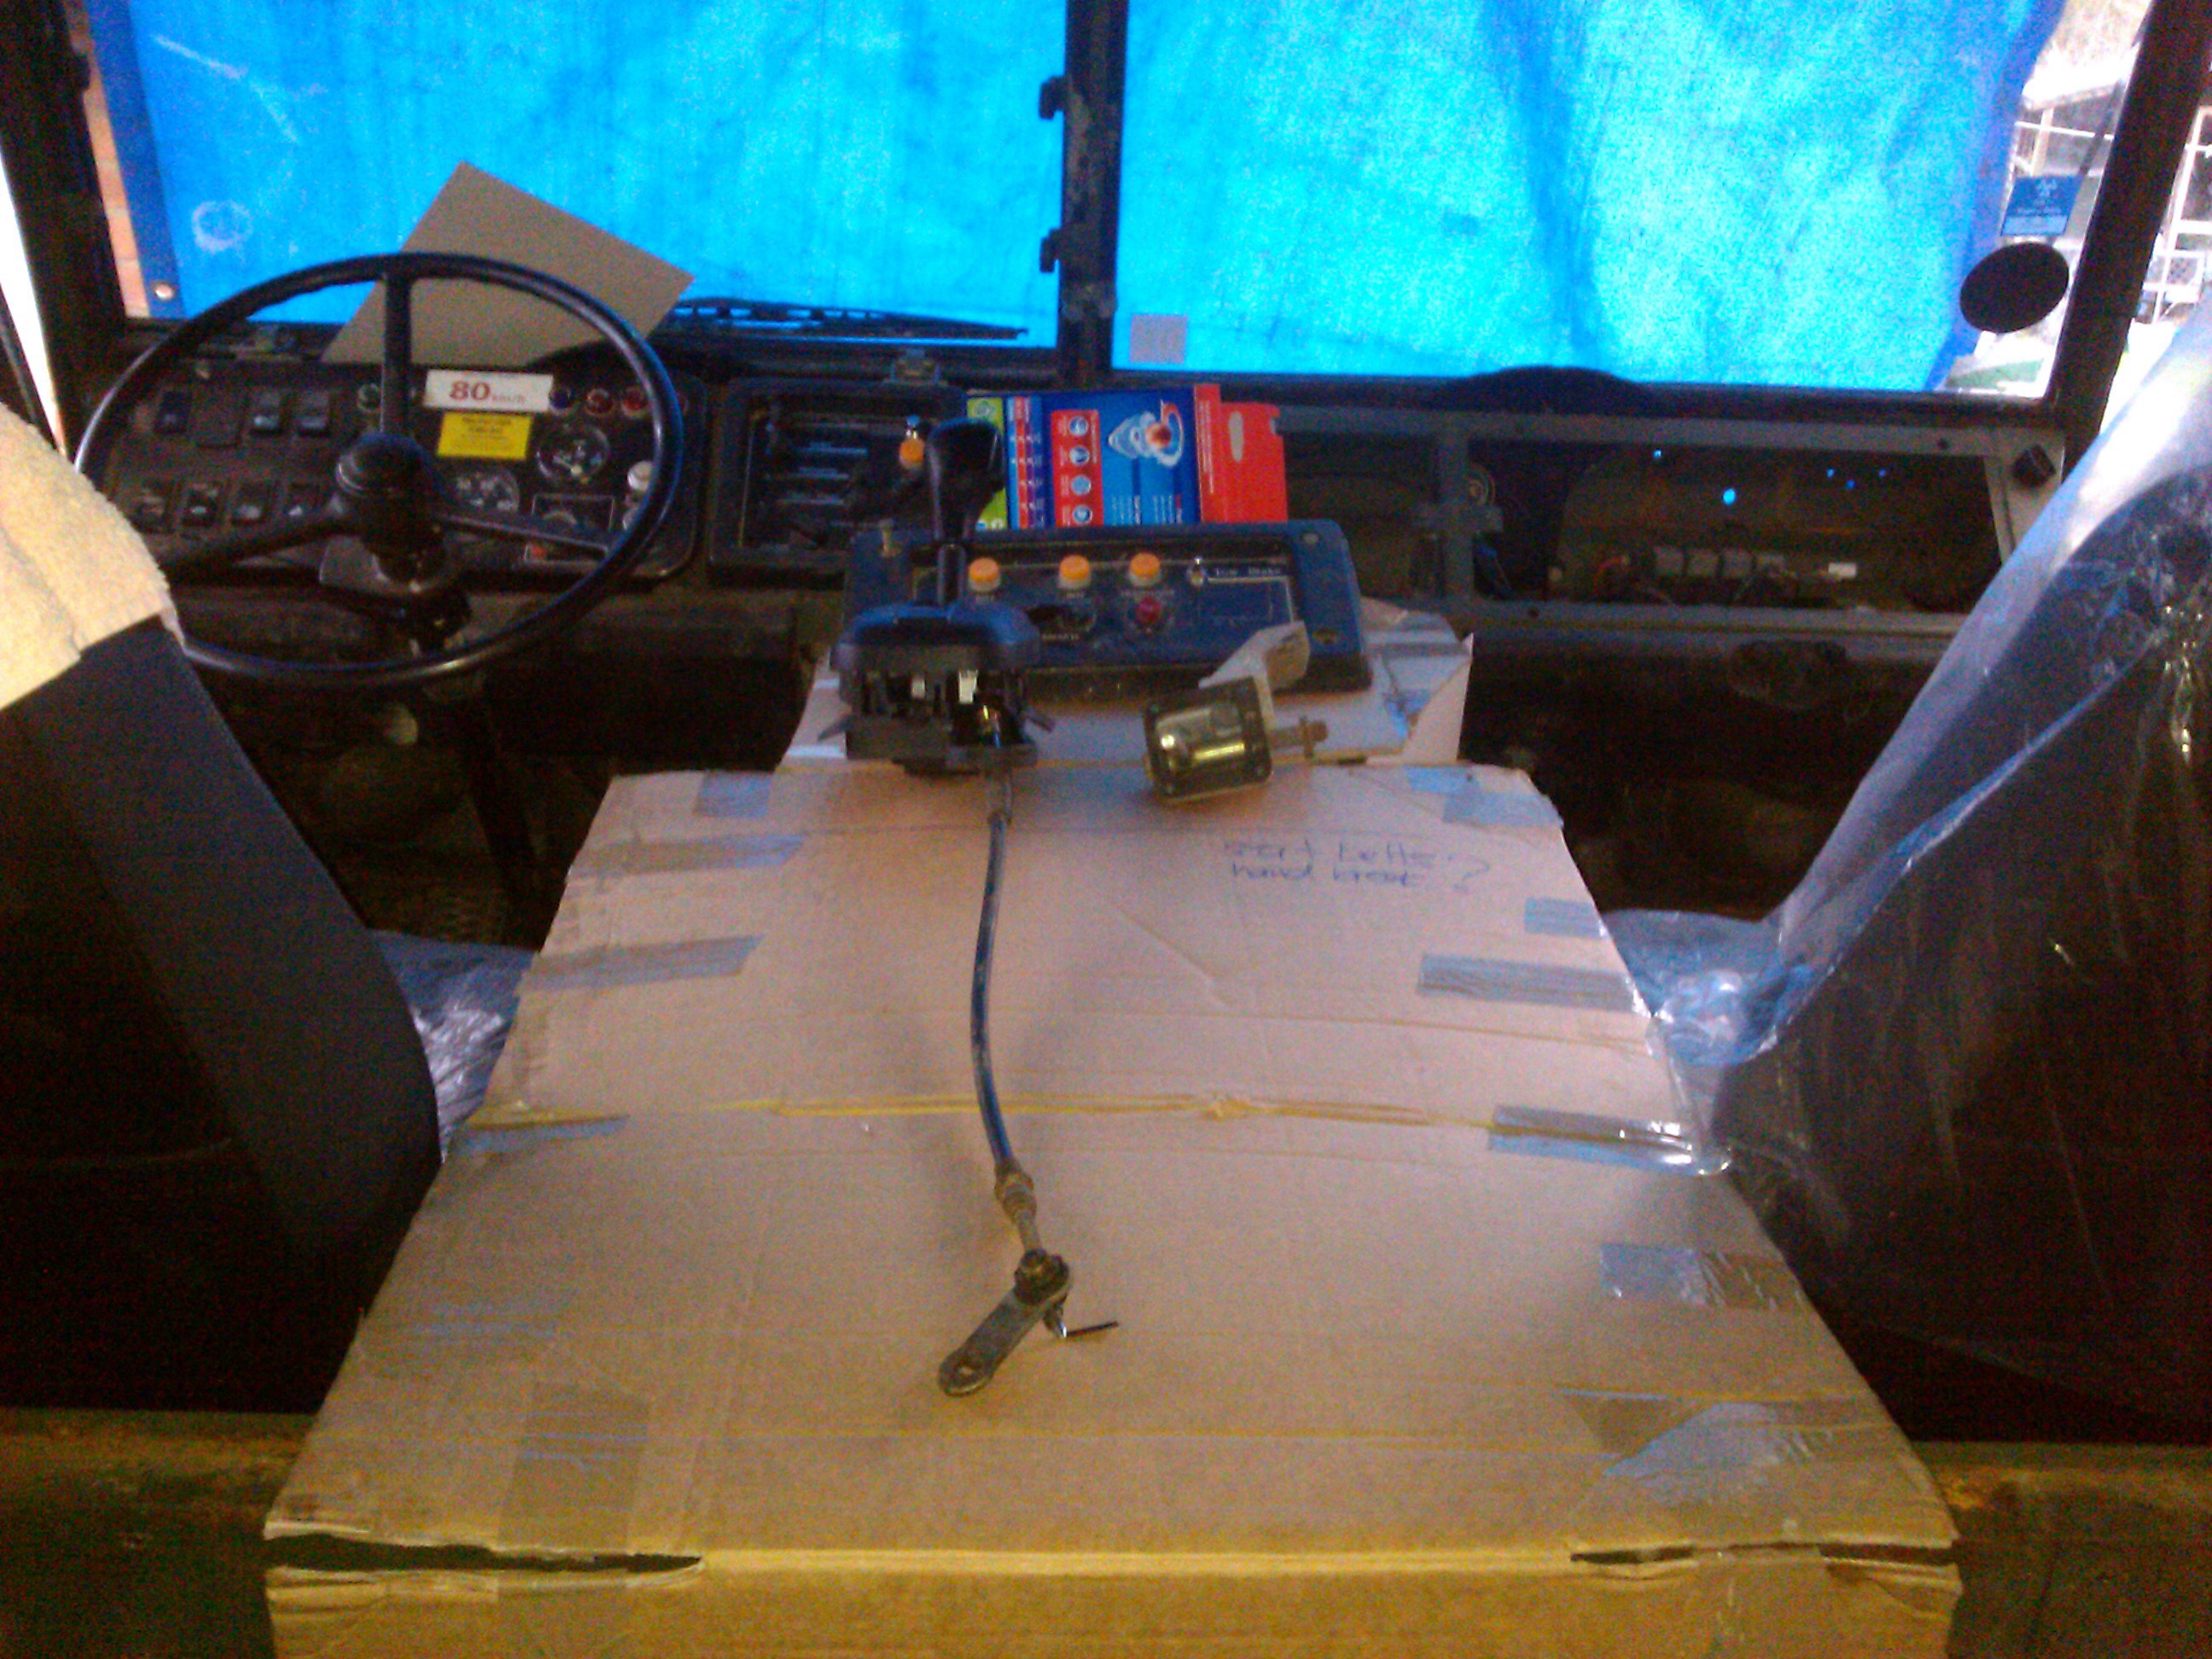
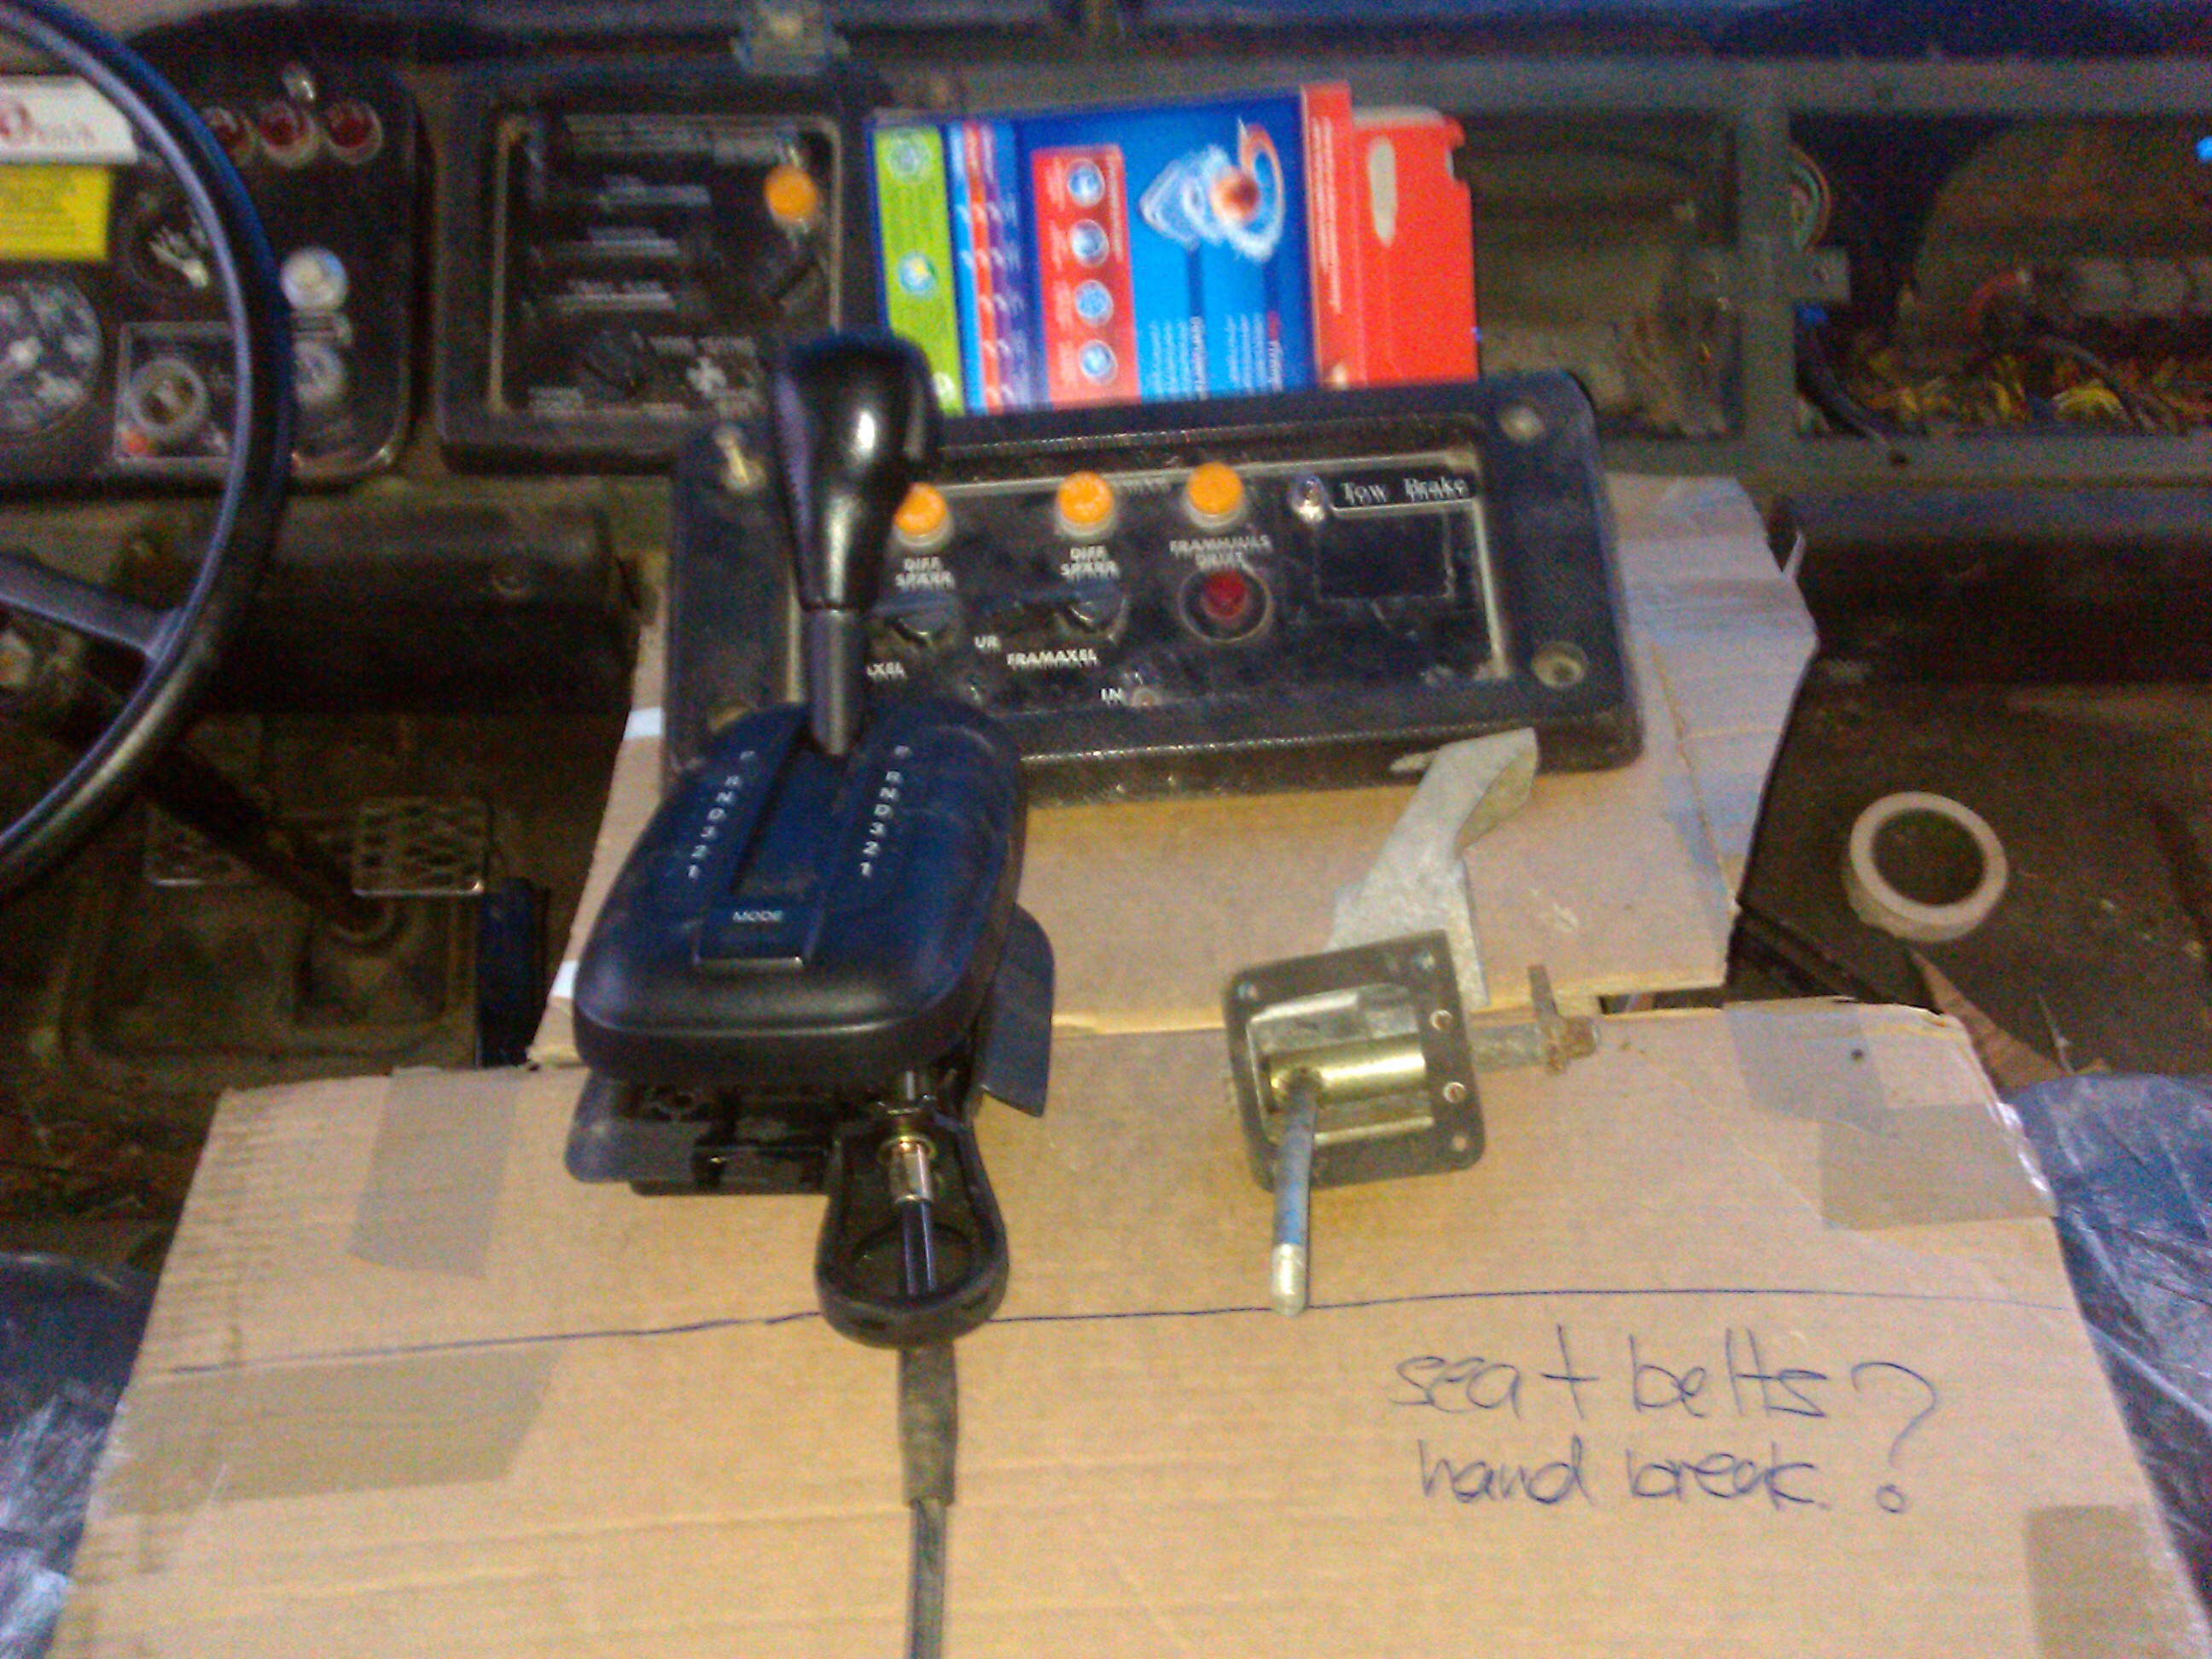
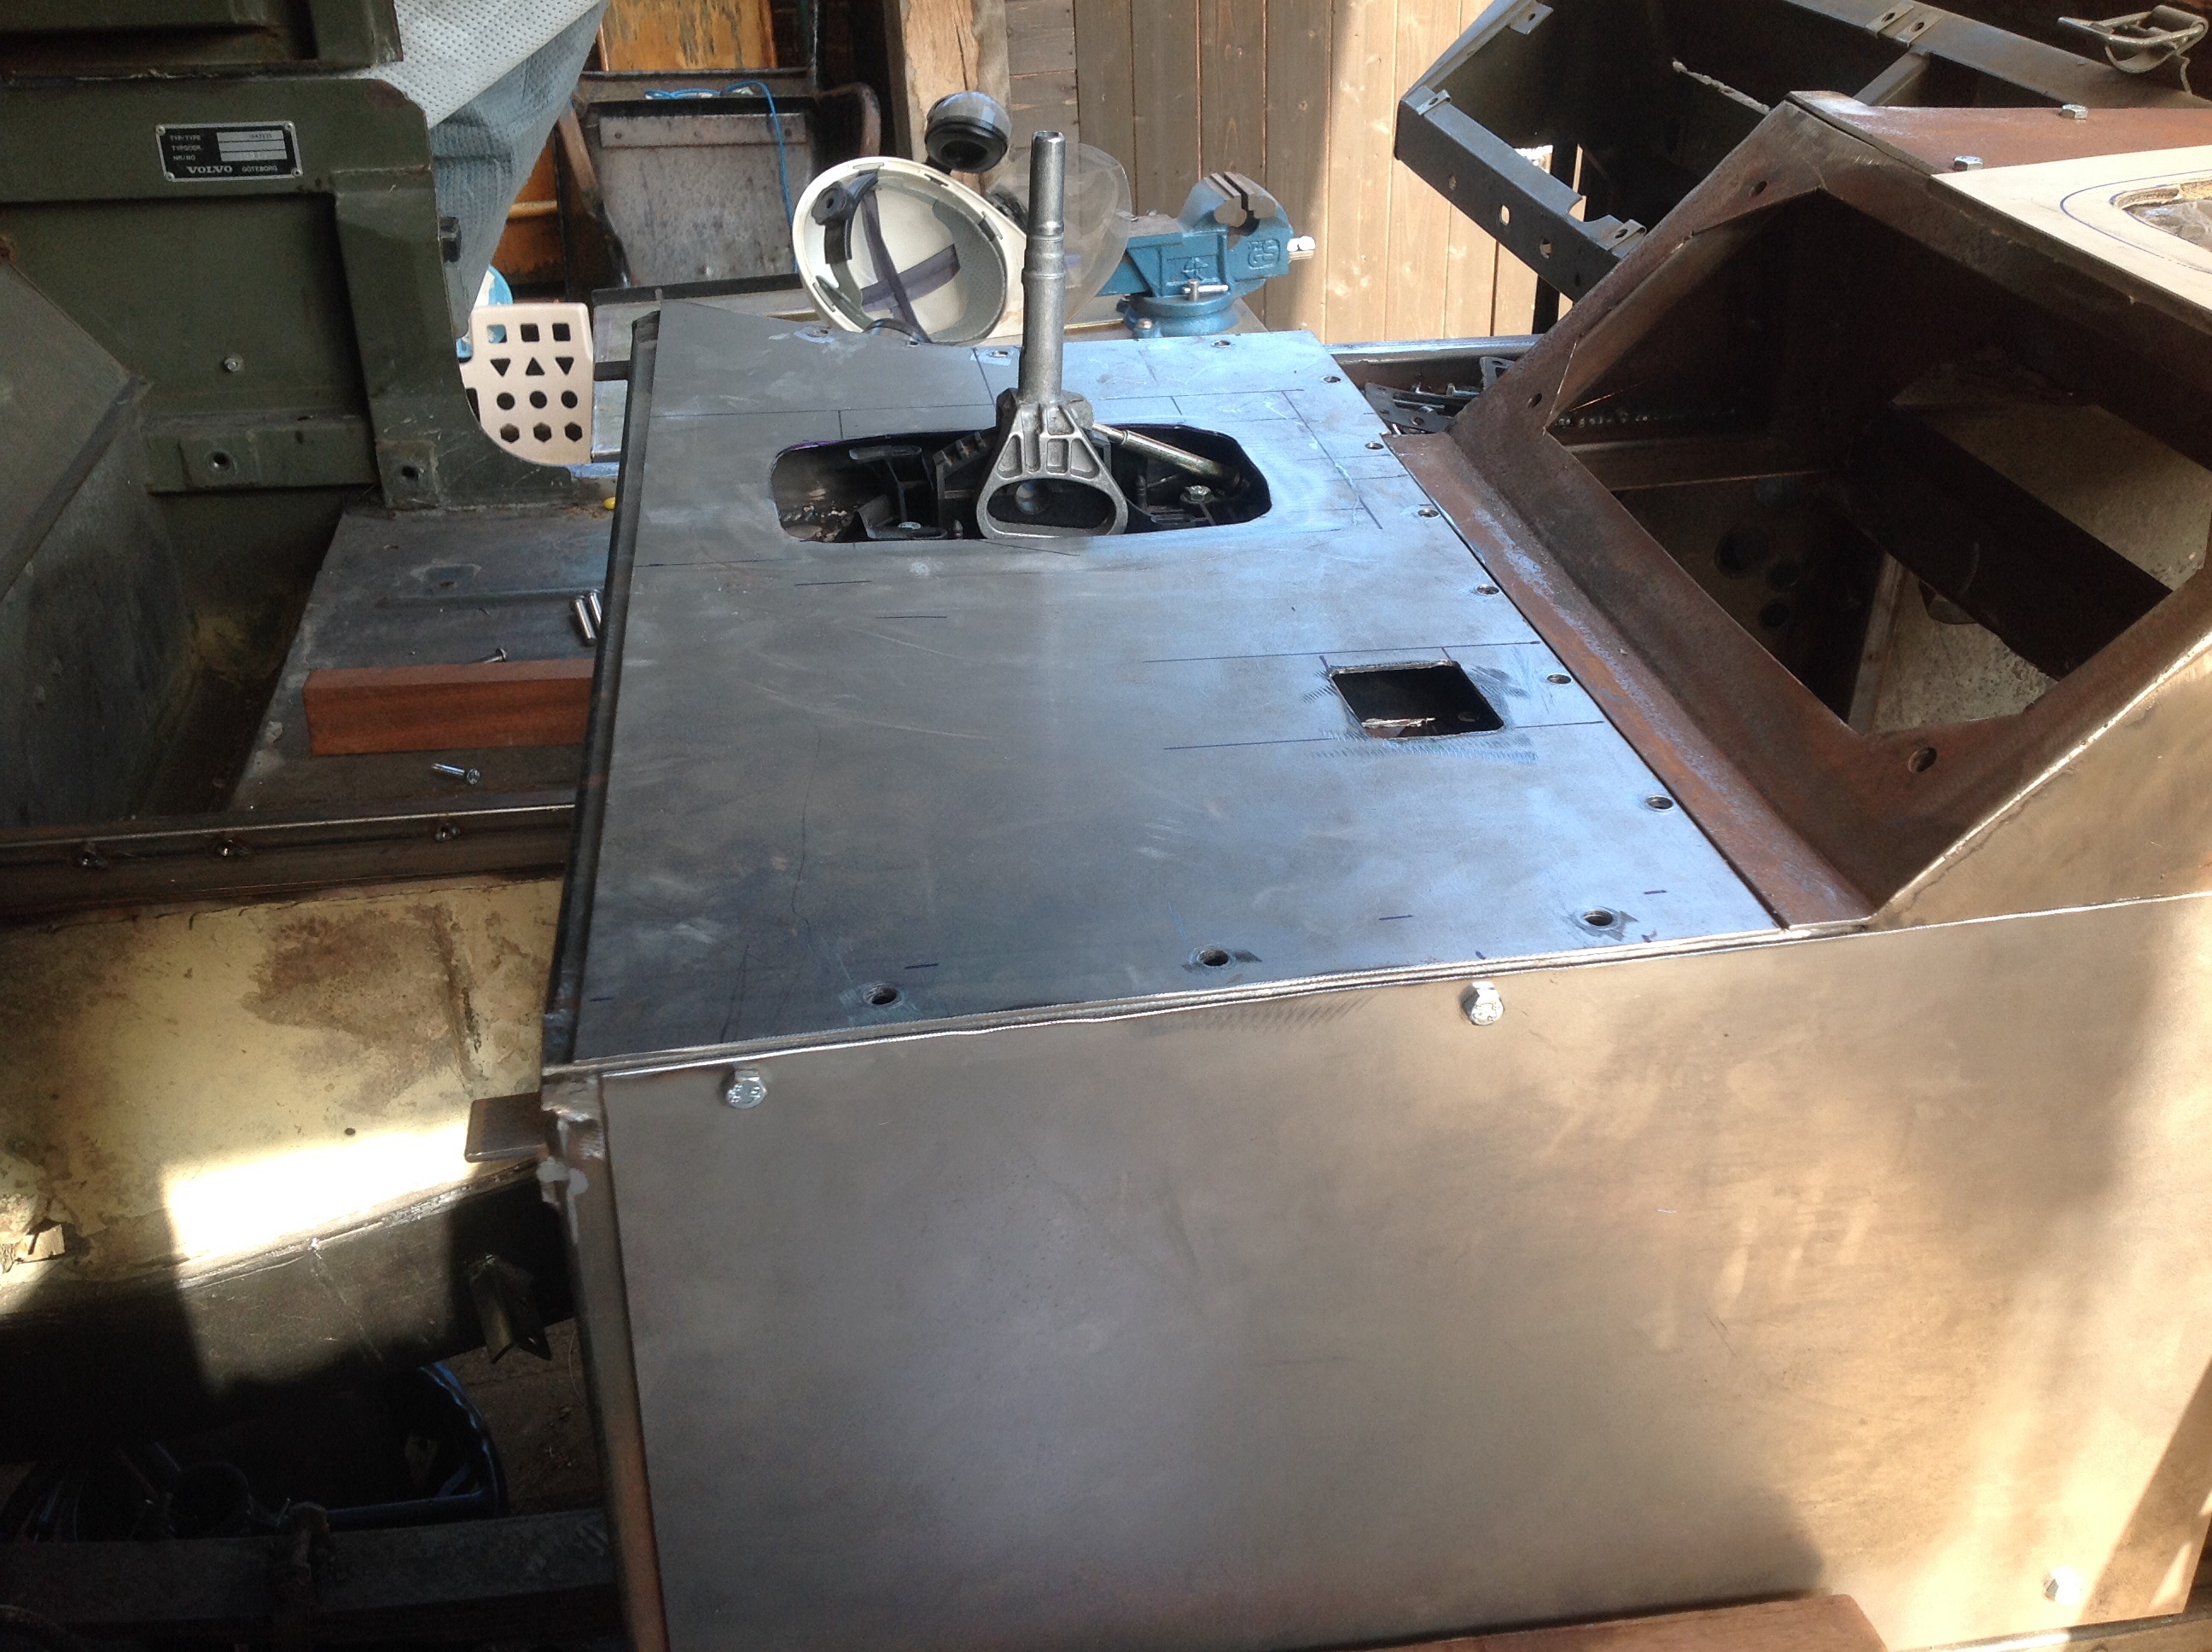
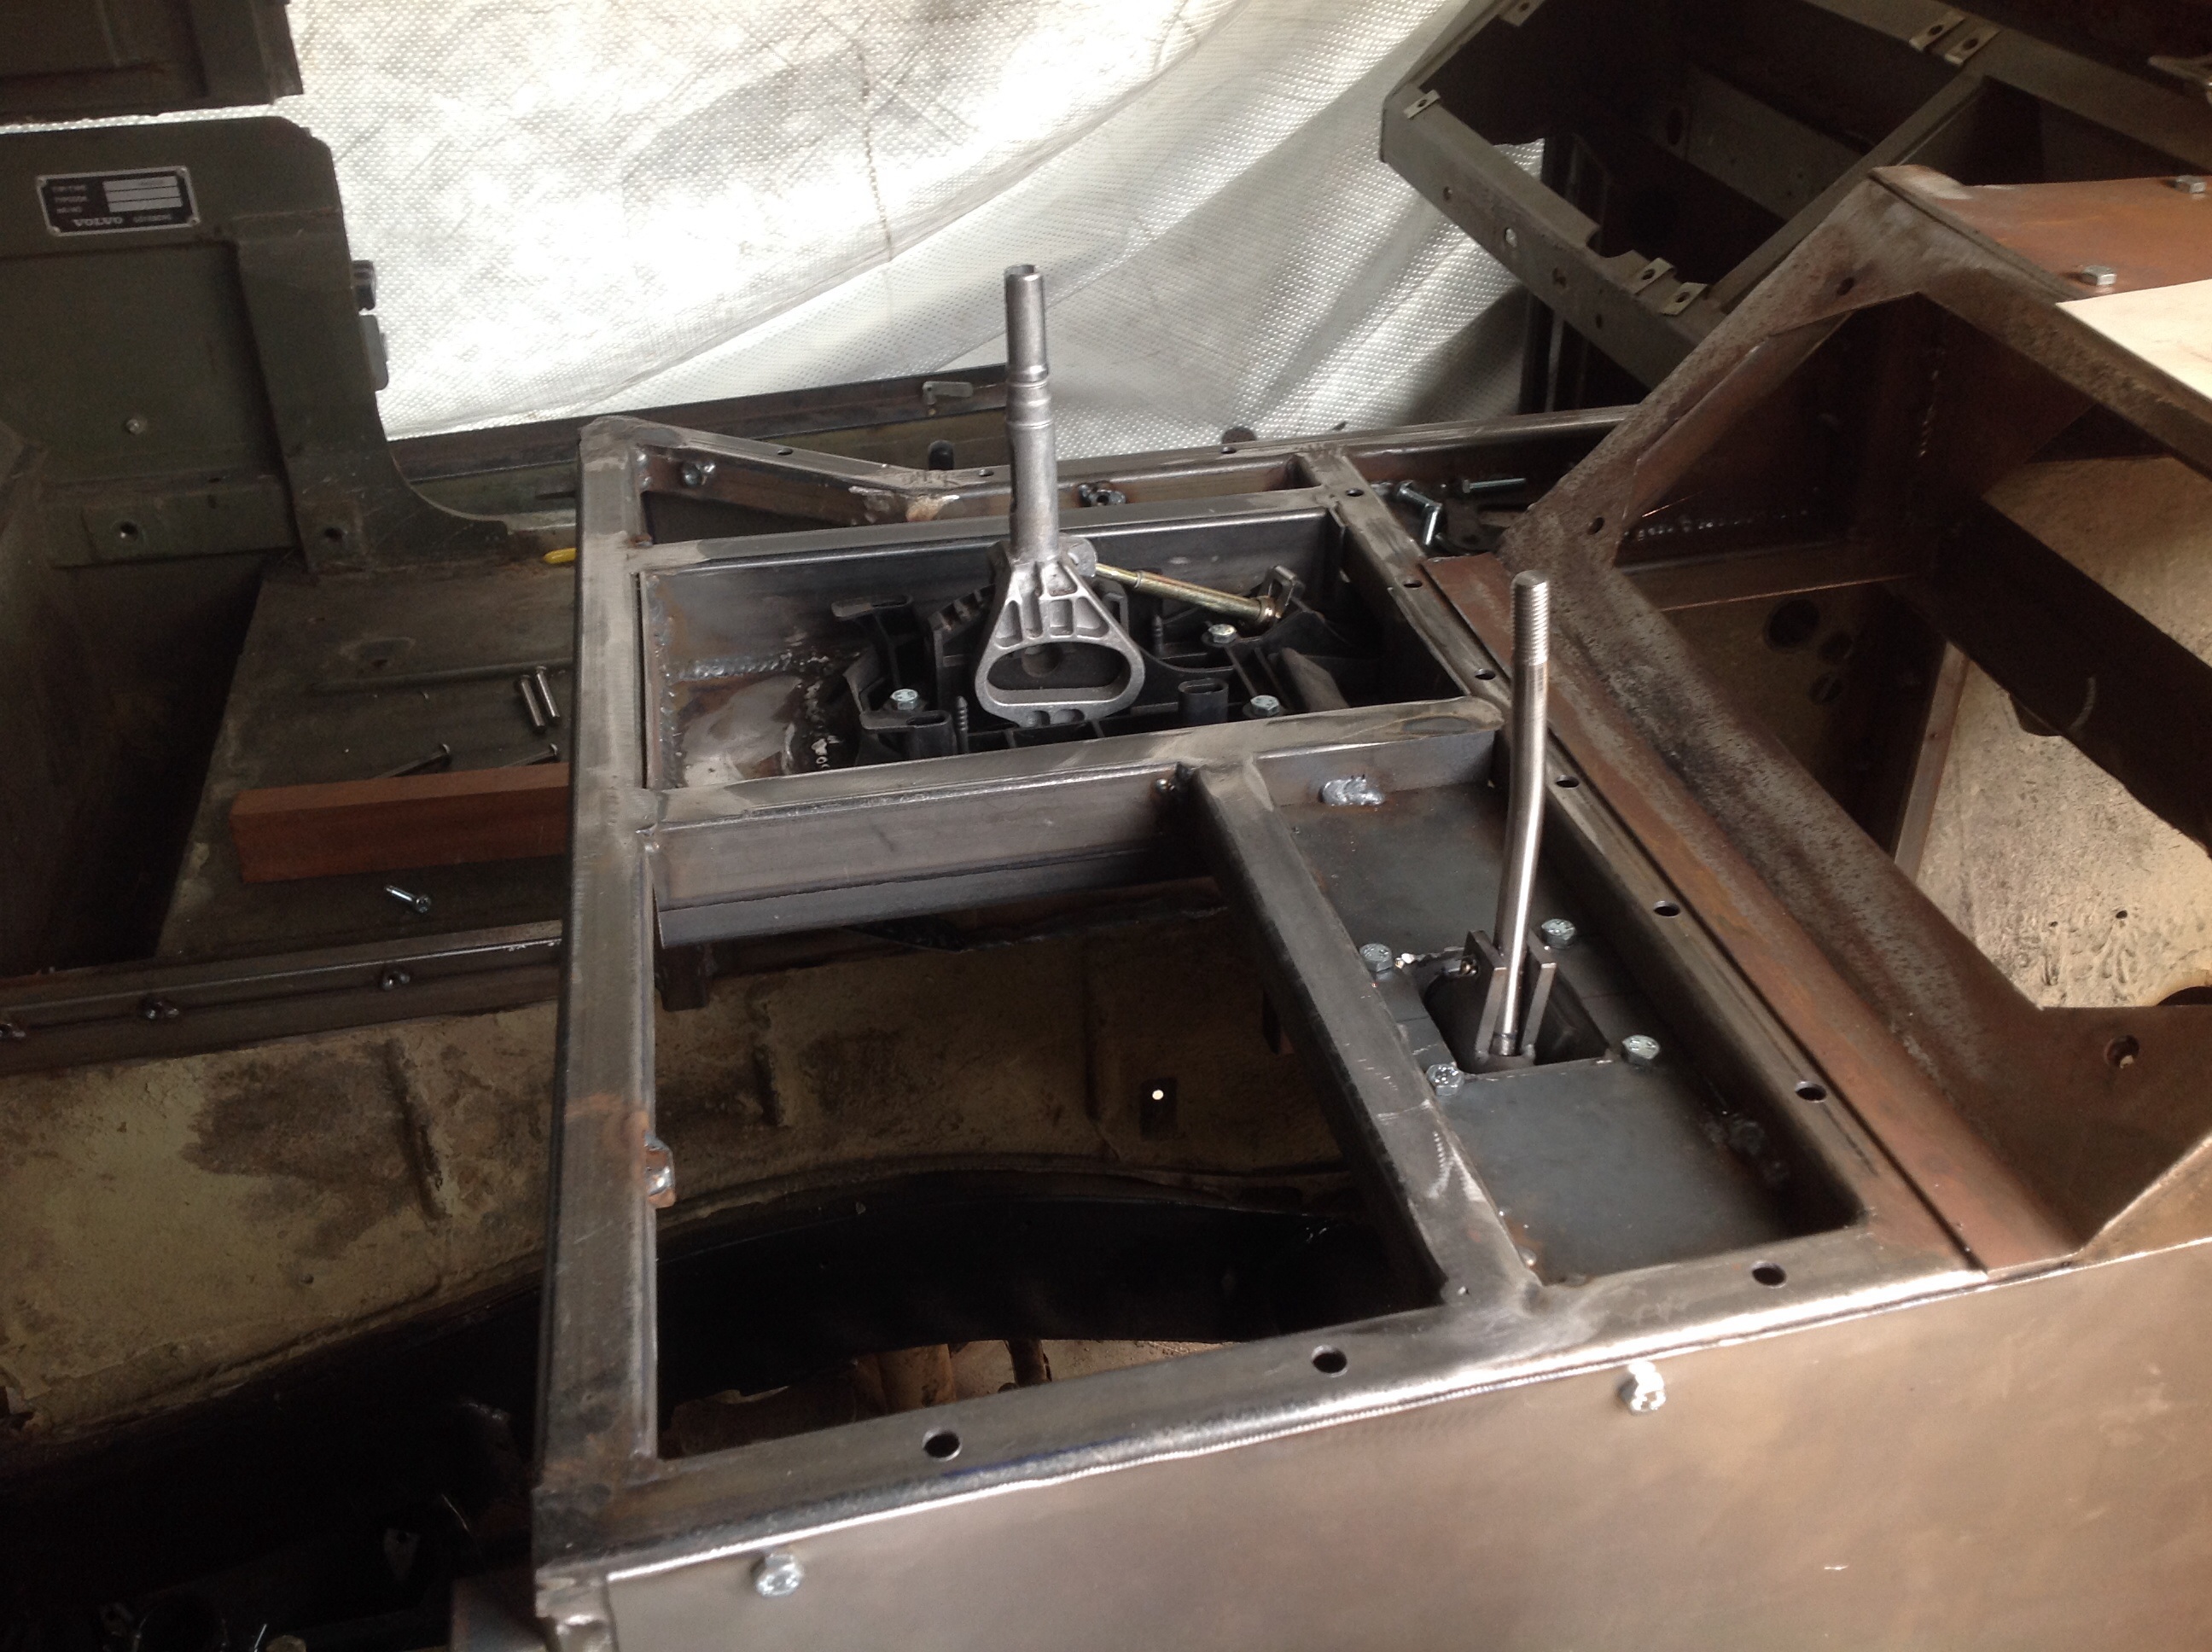
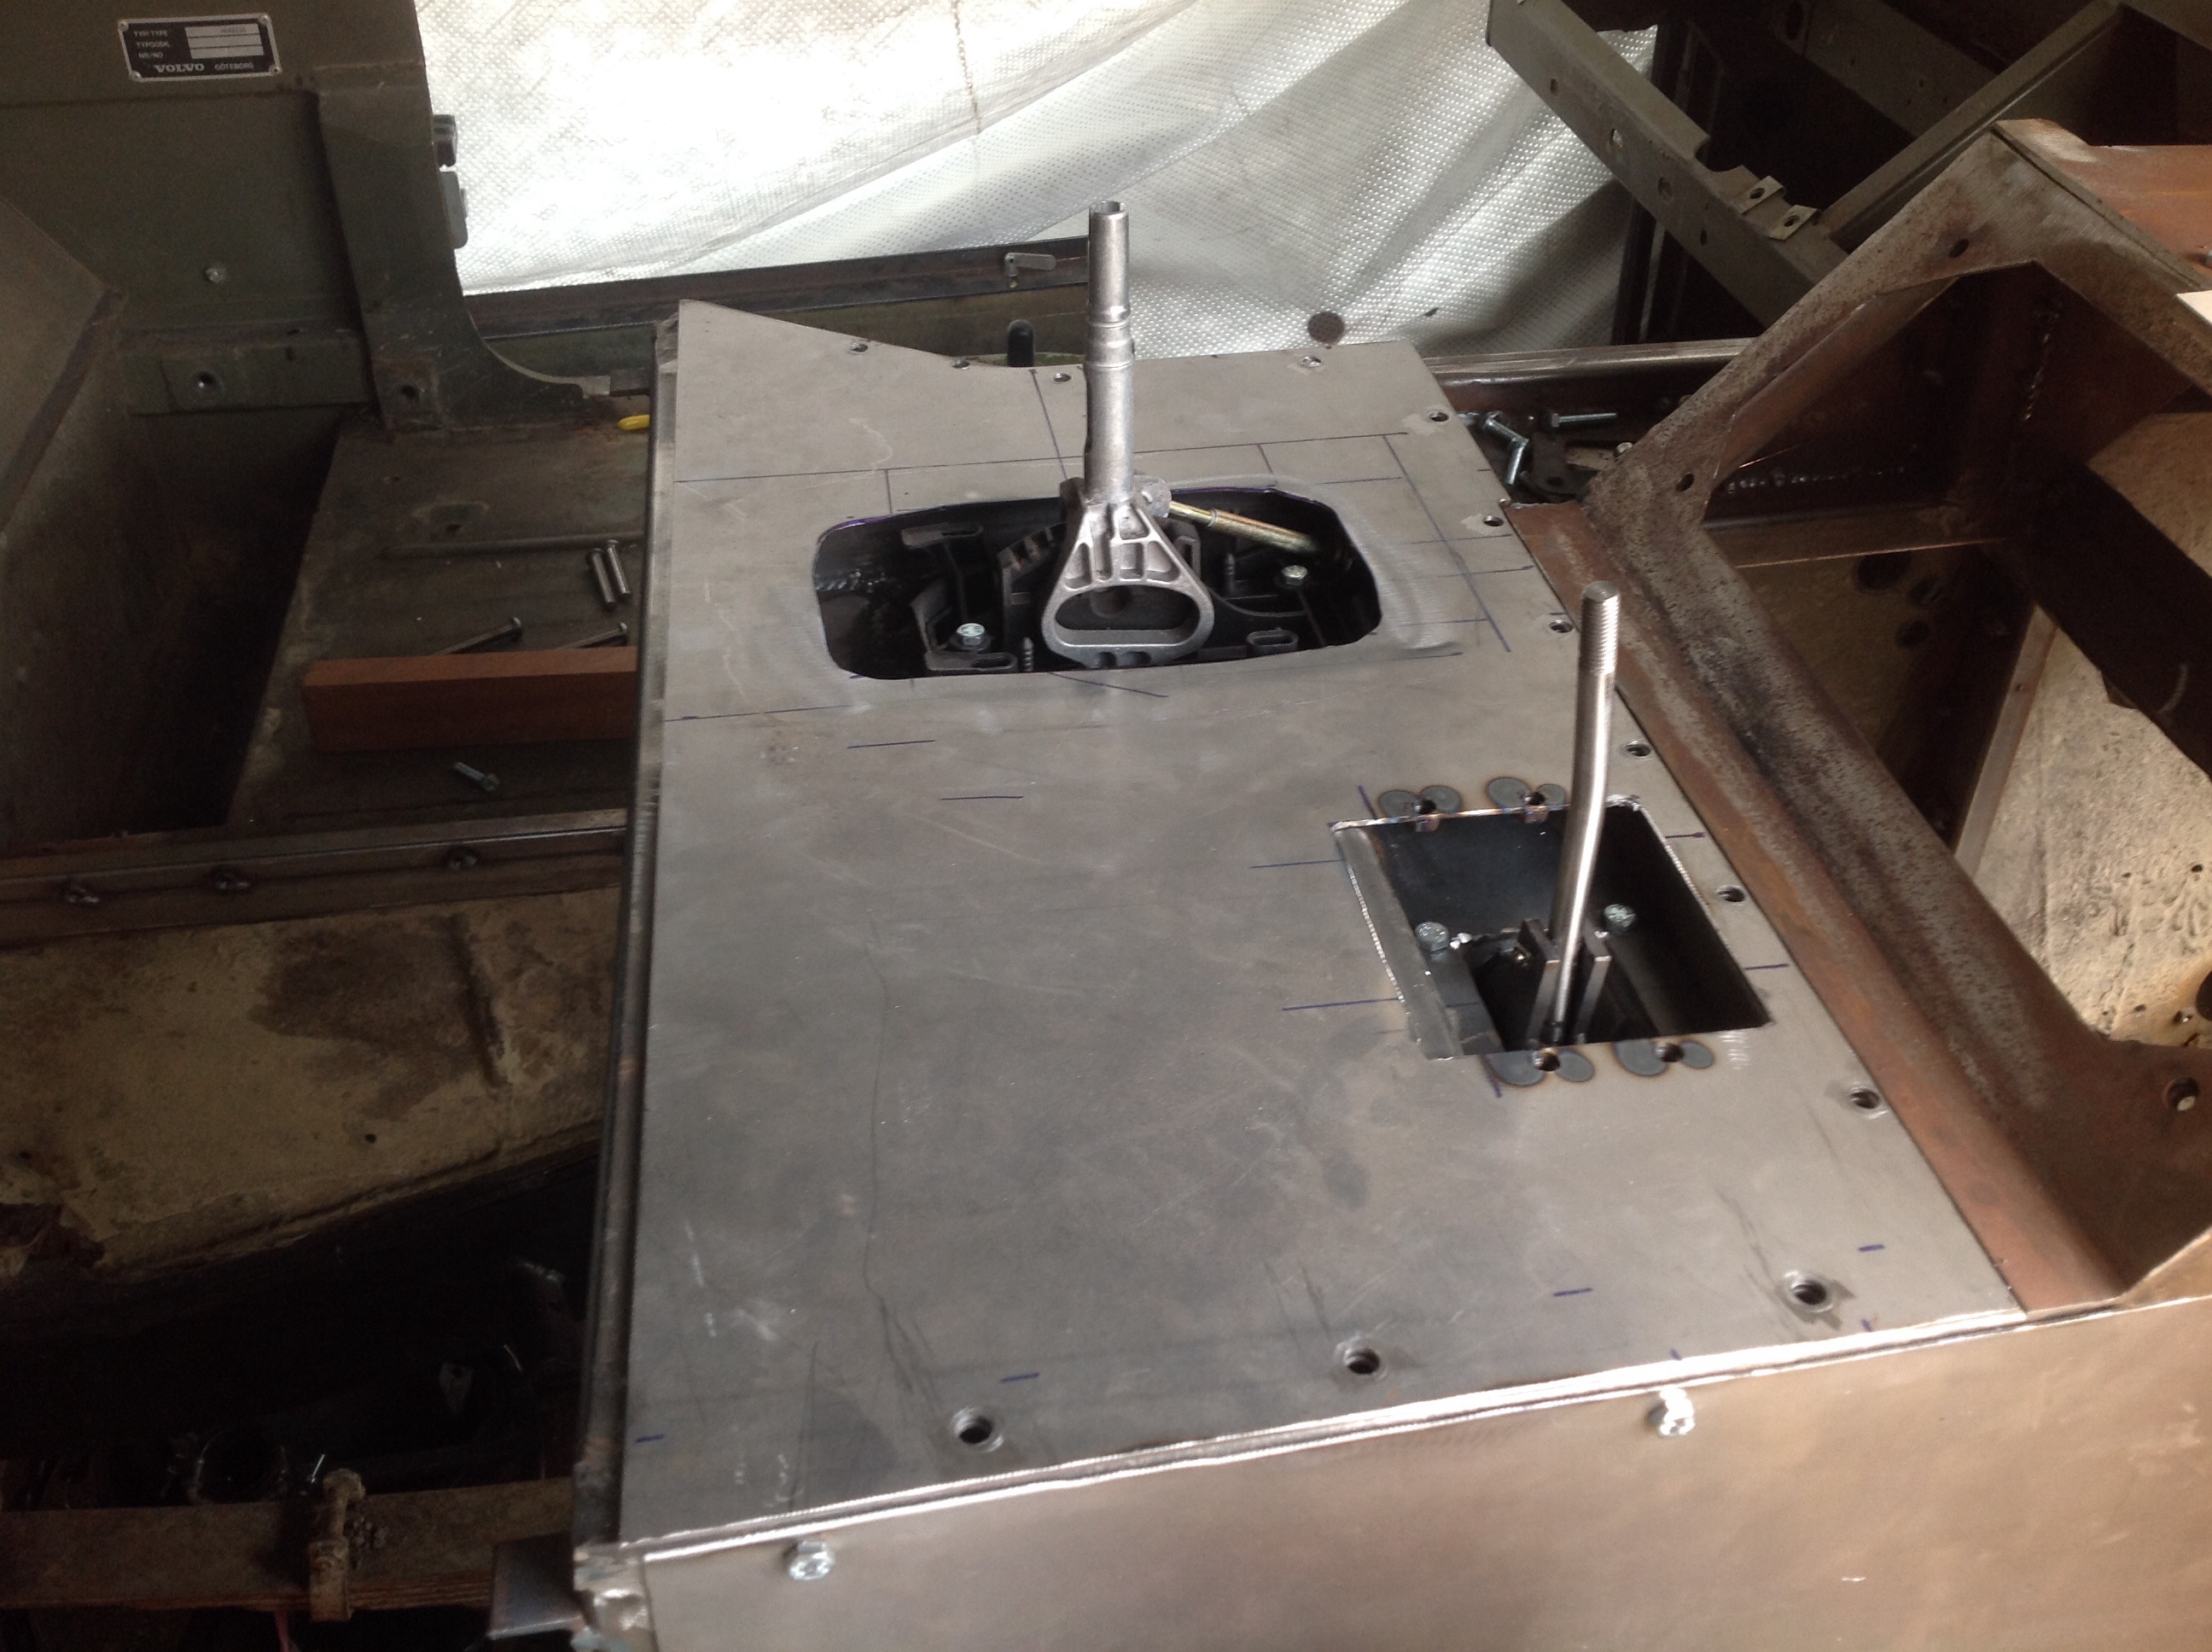
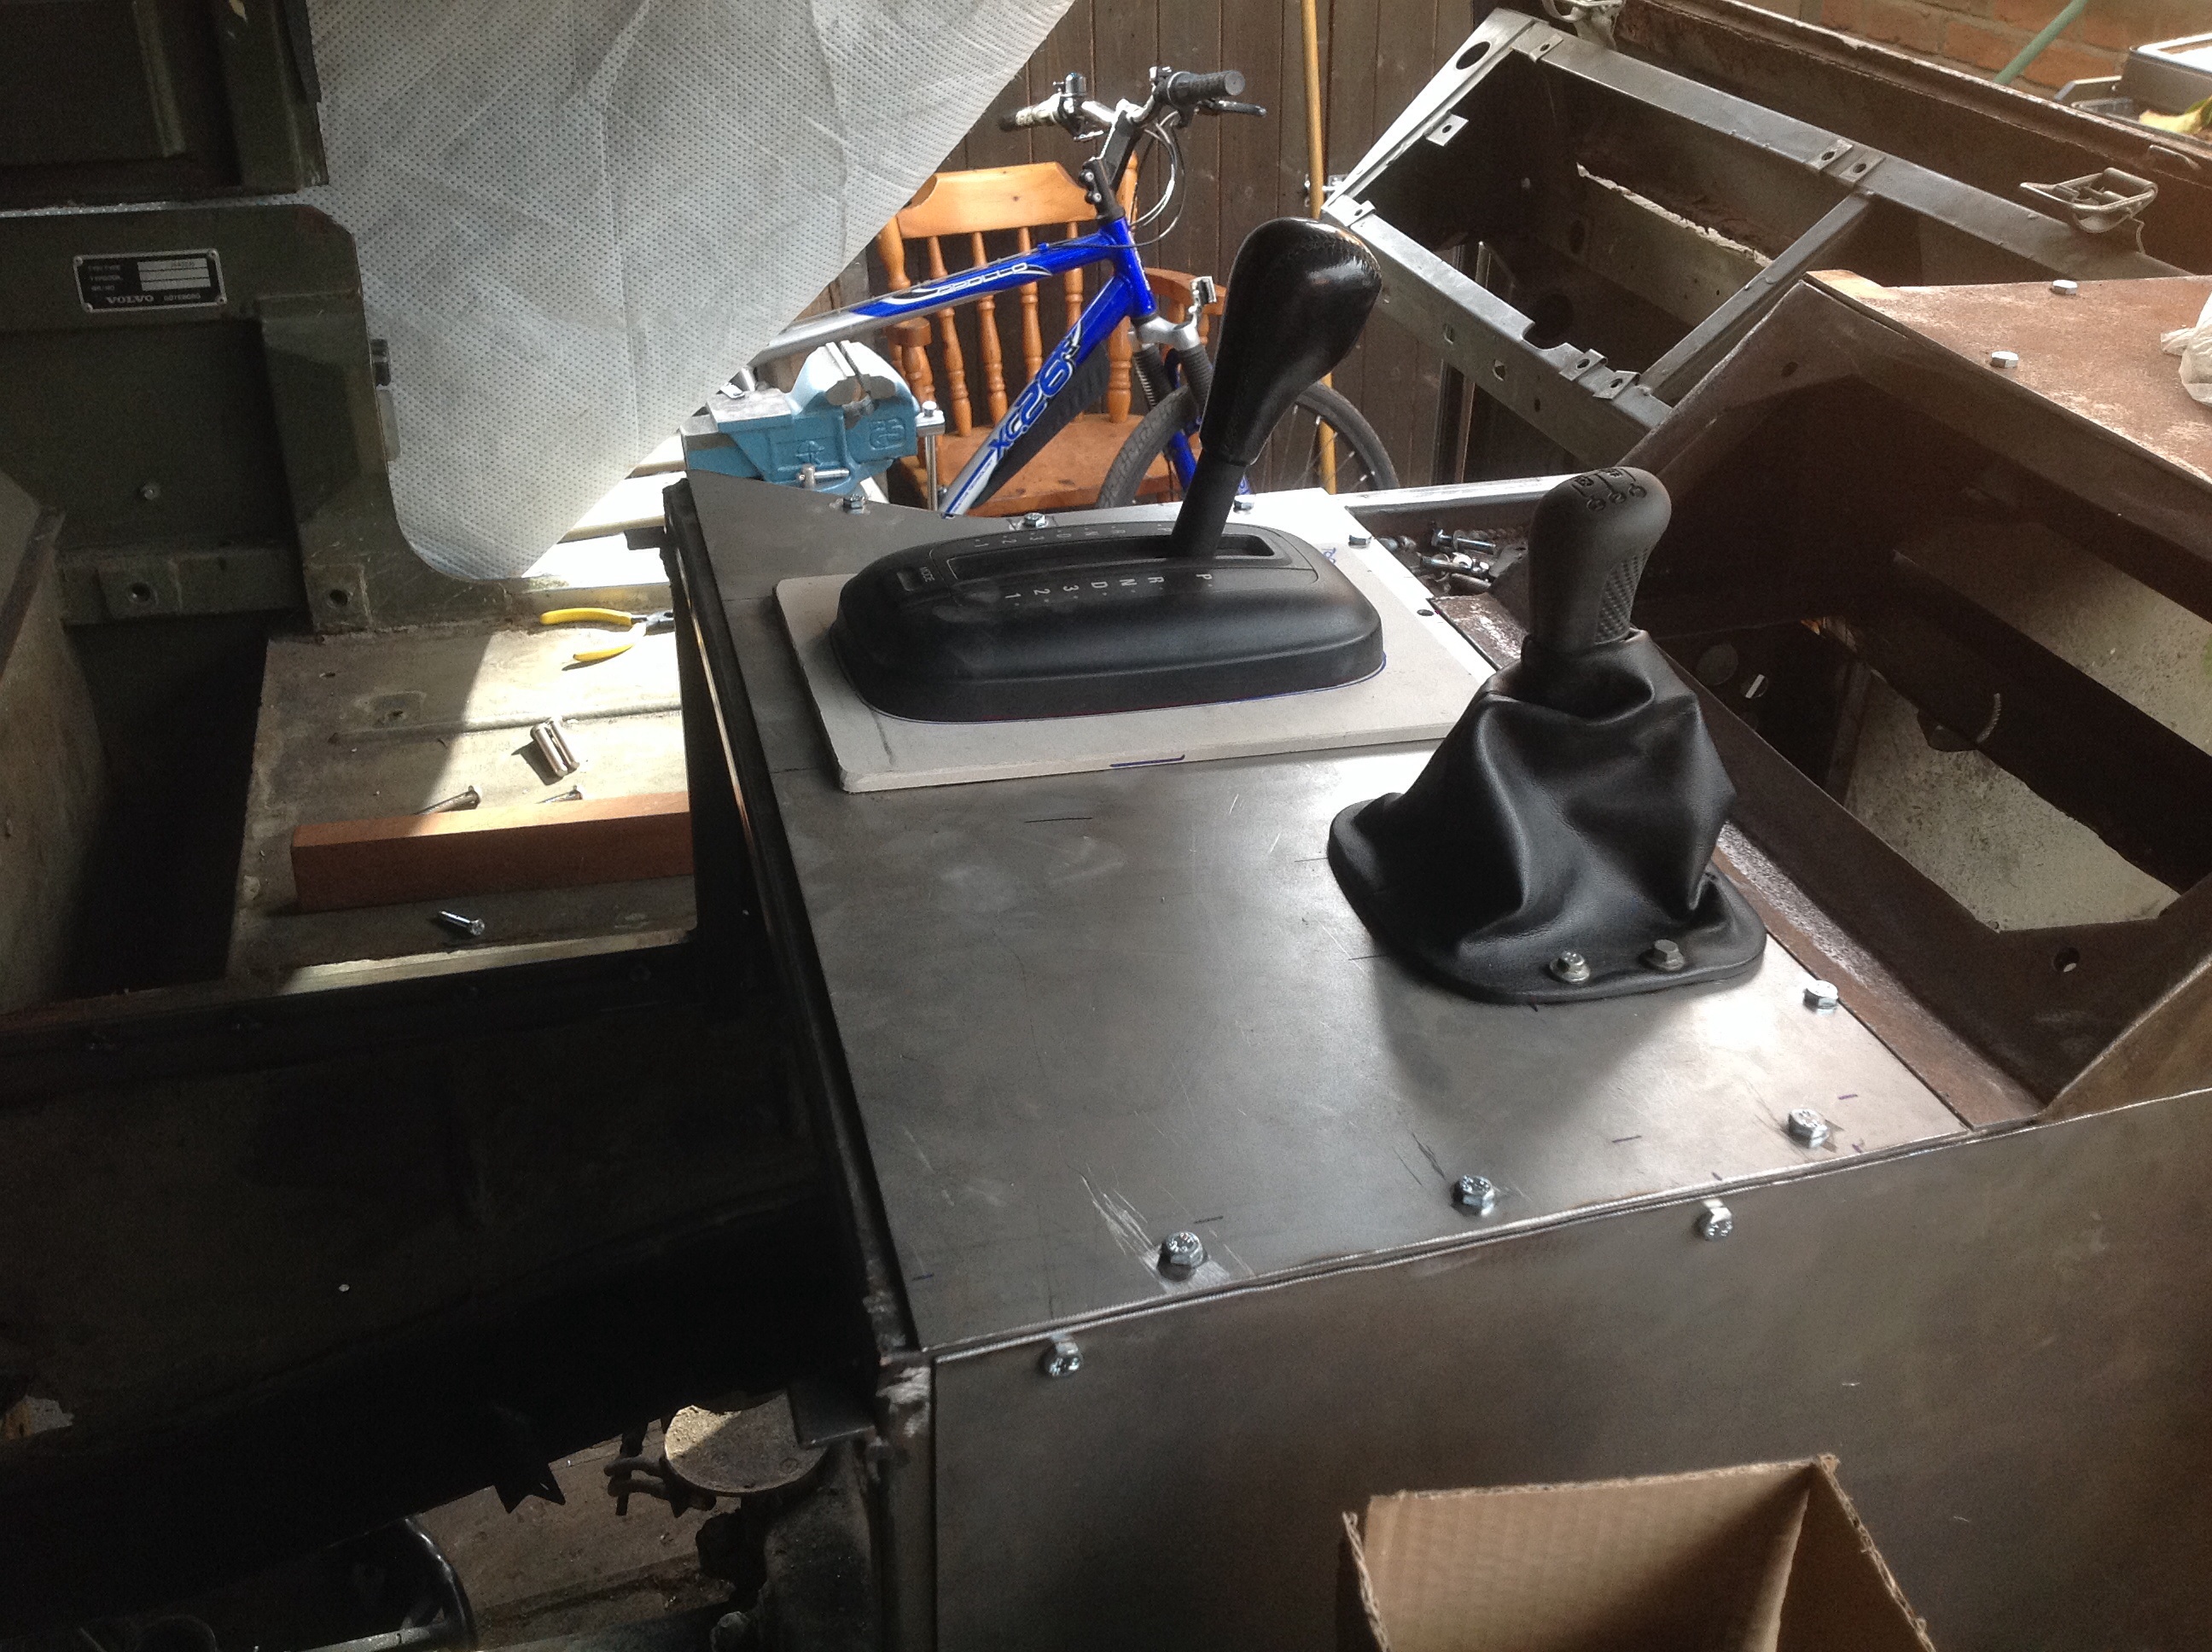
So cutting the holes for the controls was a bit of a faf.  Case of measure 27 times cos you only get to cut once.

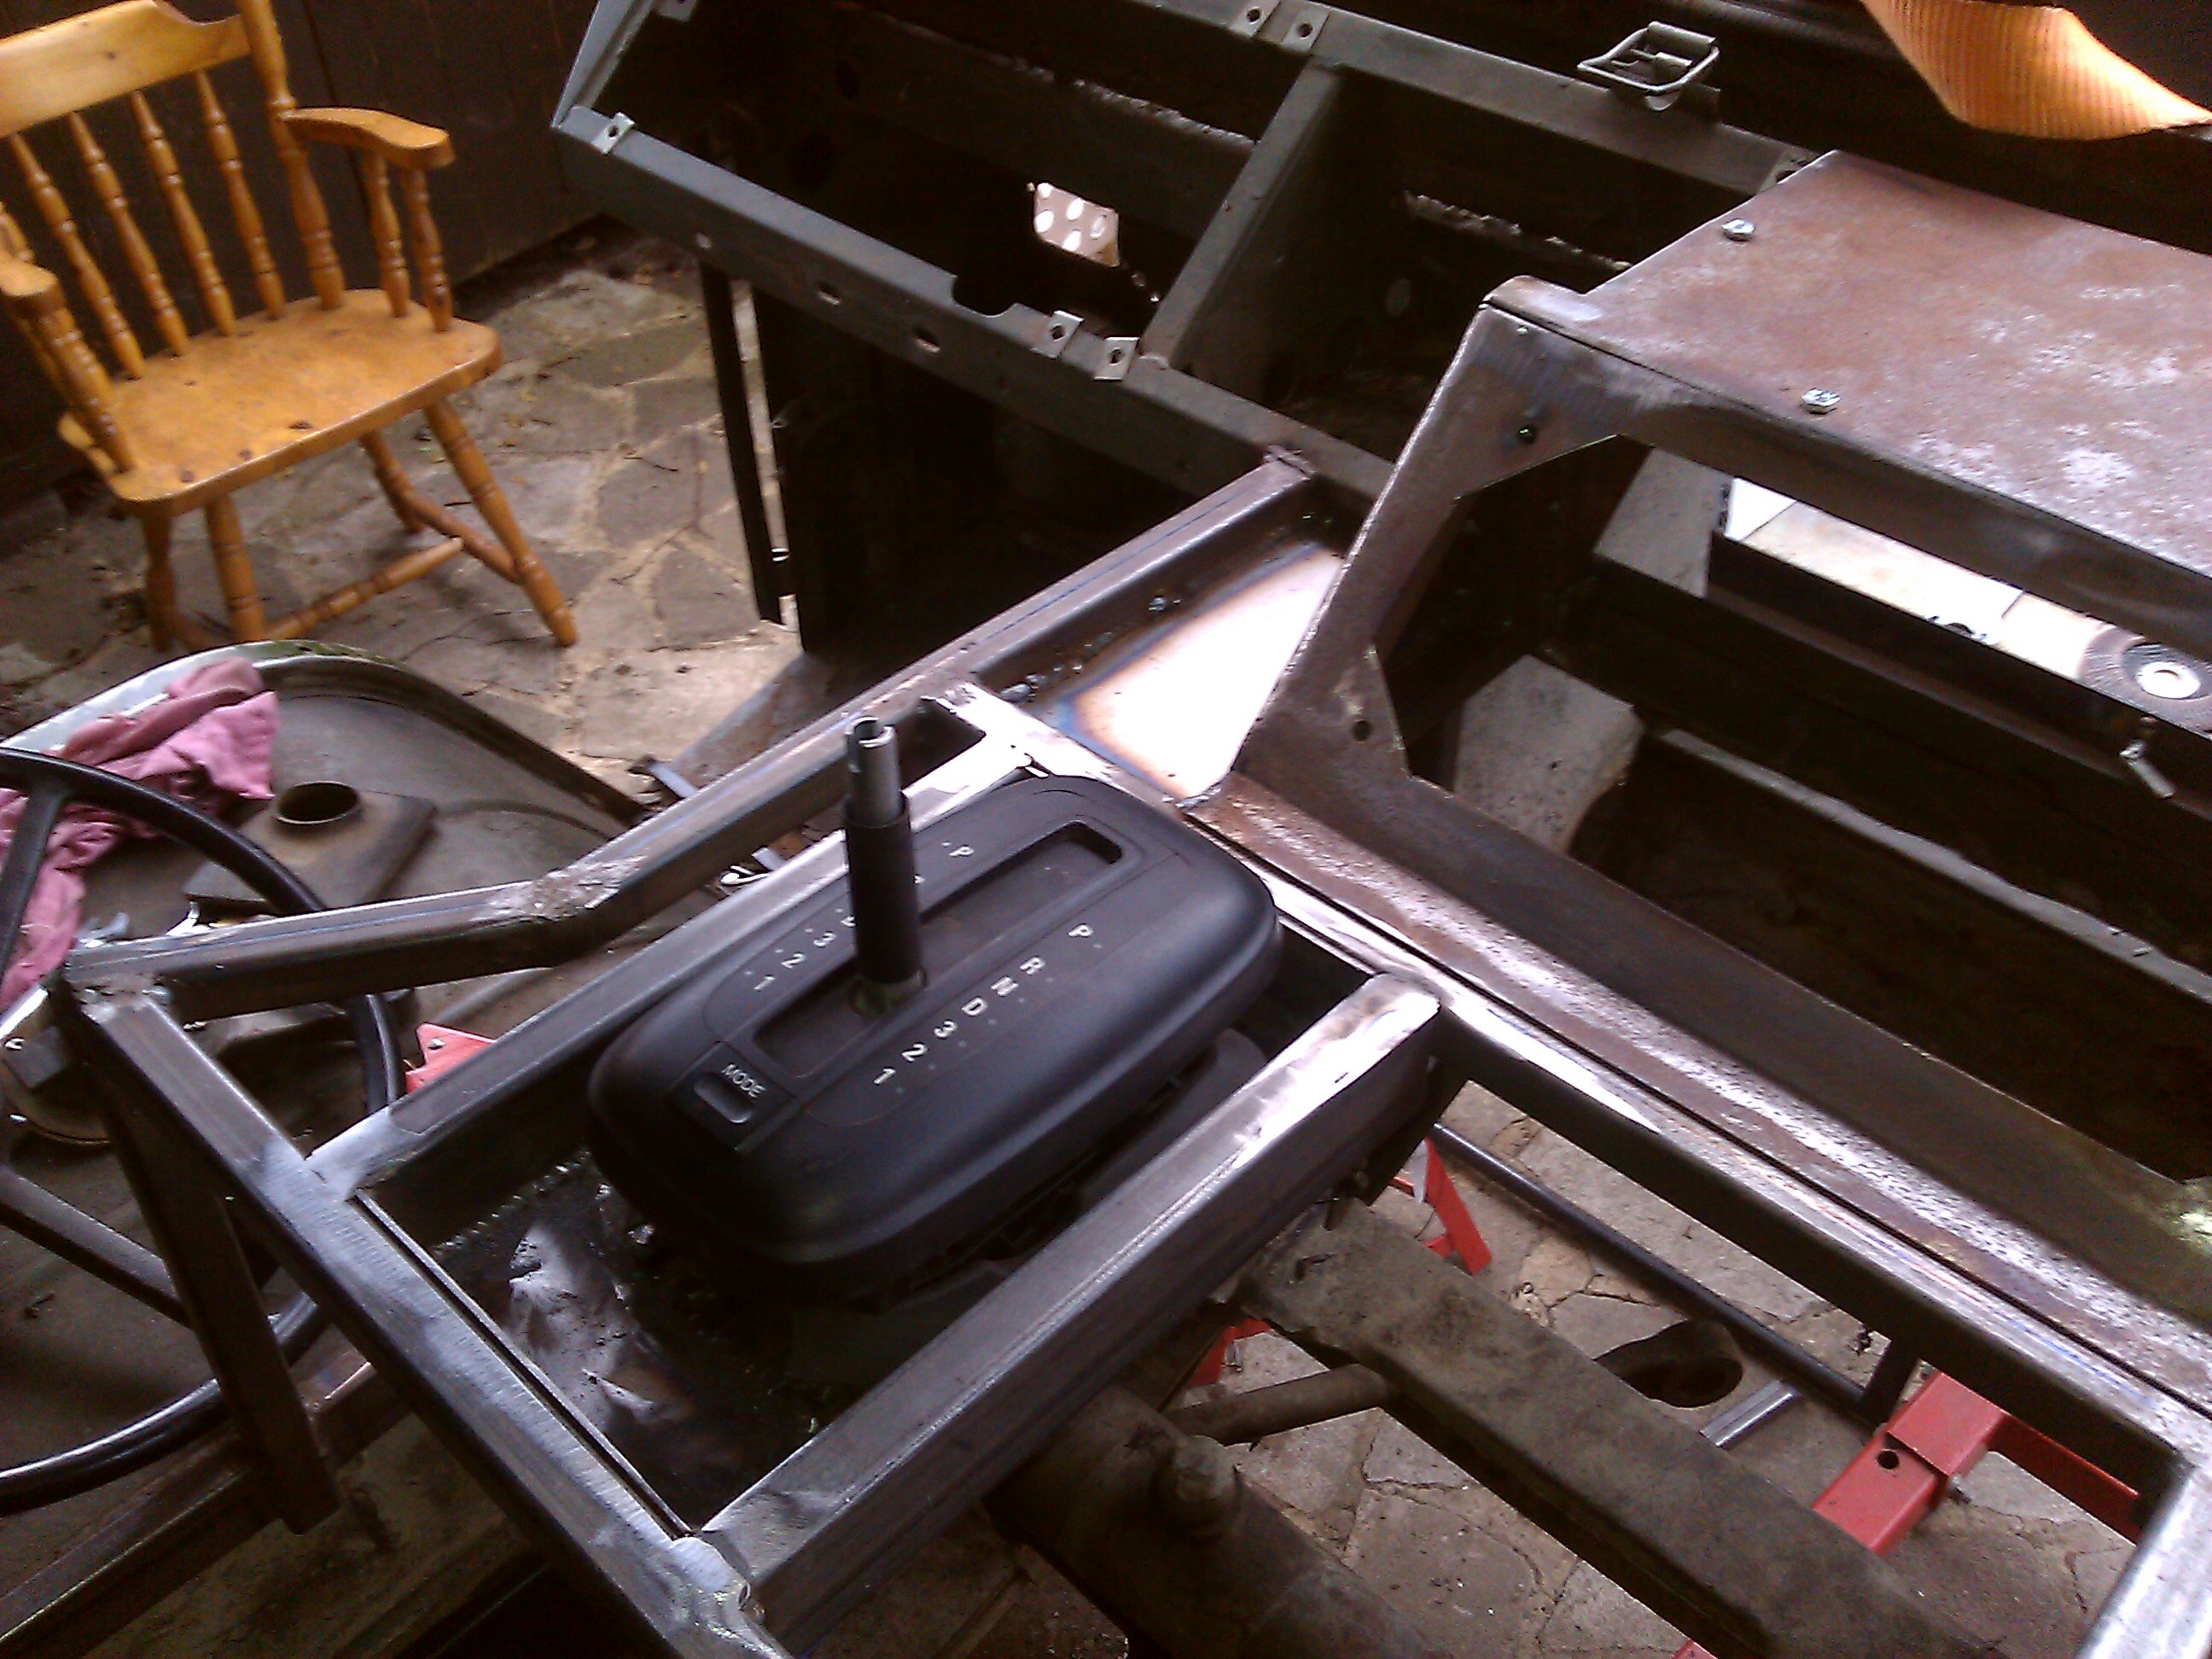
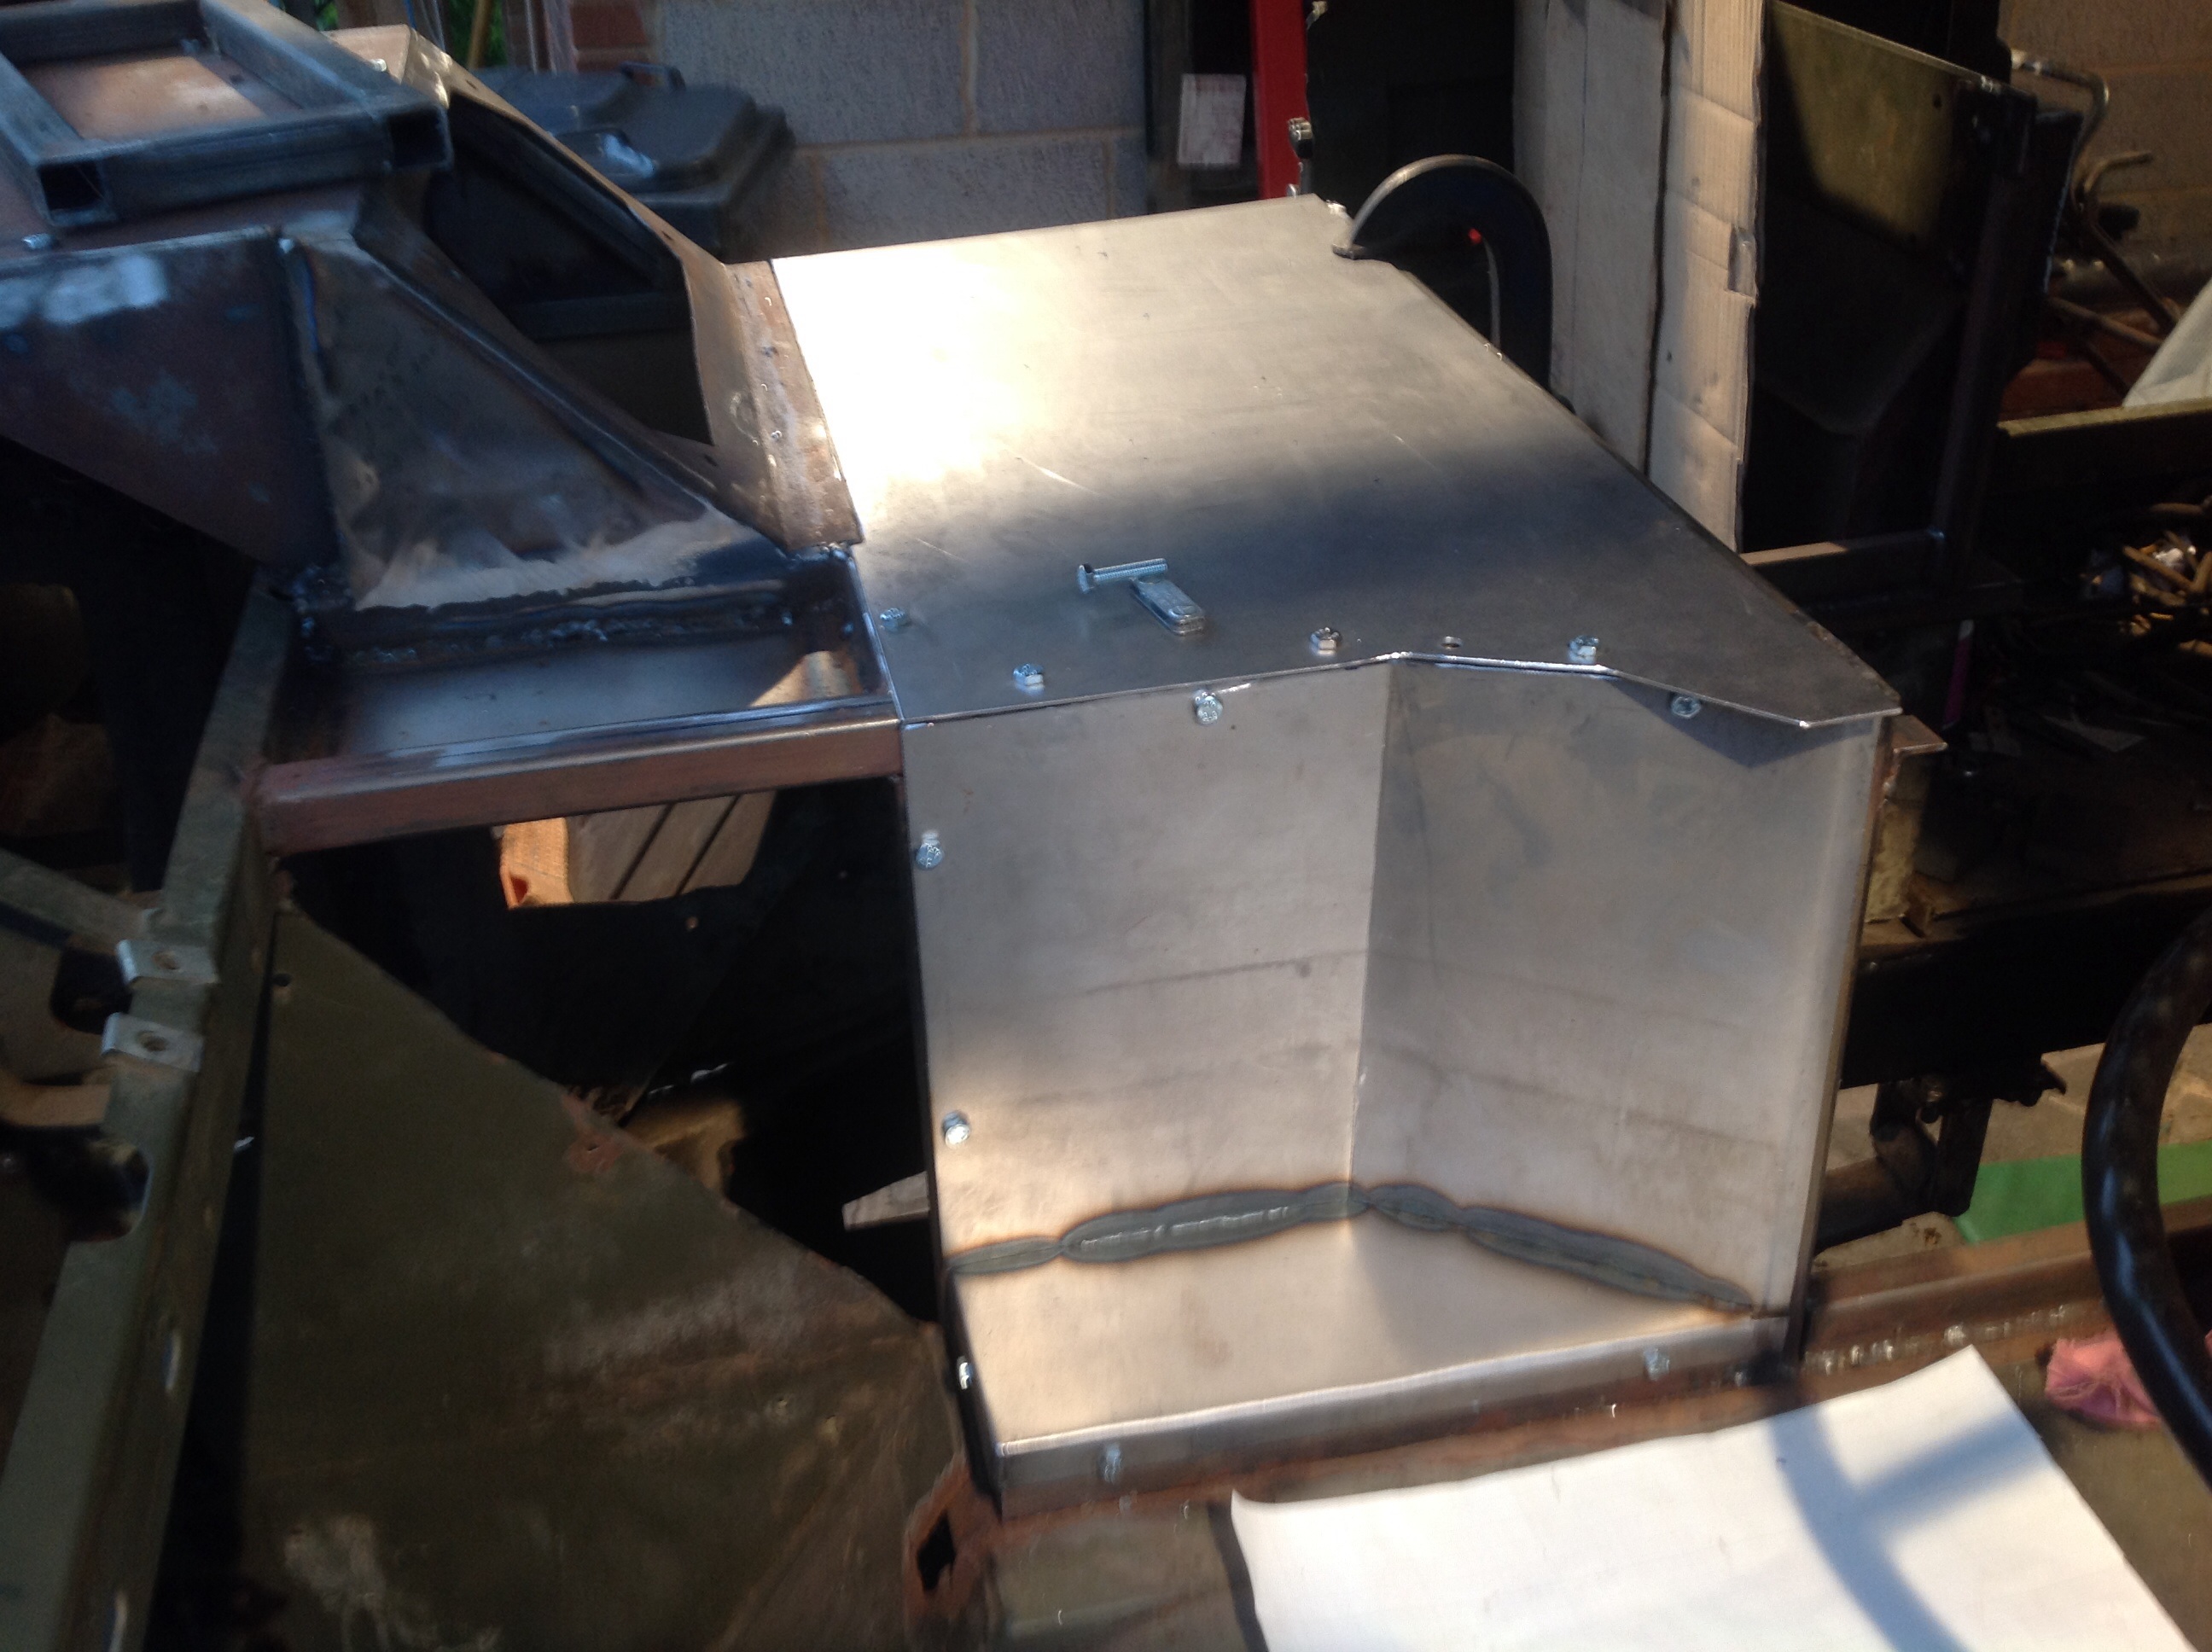
turns out I’ve made the well for the gearbox control too shallow so had to come up with a way of spacing it out.  Looked for ages for a material that is not steel but also will not rot – like wood.  Found something called No More Ply which claims to be pretty much inert.  stuck some in a a bucket of water overnight and fair enough.  It’s almost ceramic but not quite.  Anyway it works well for this.

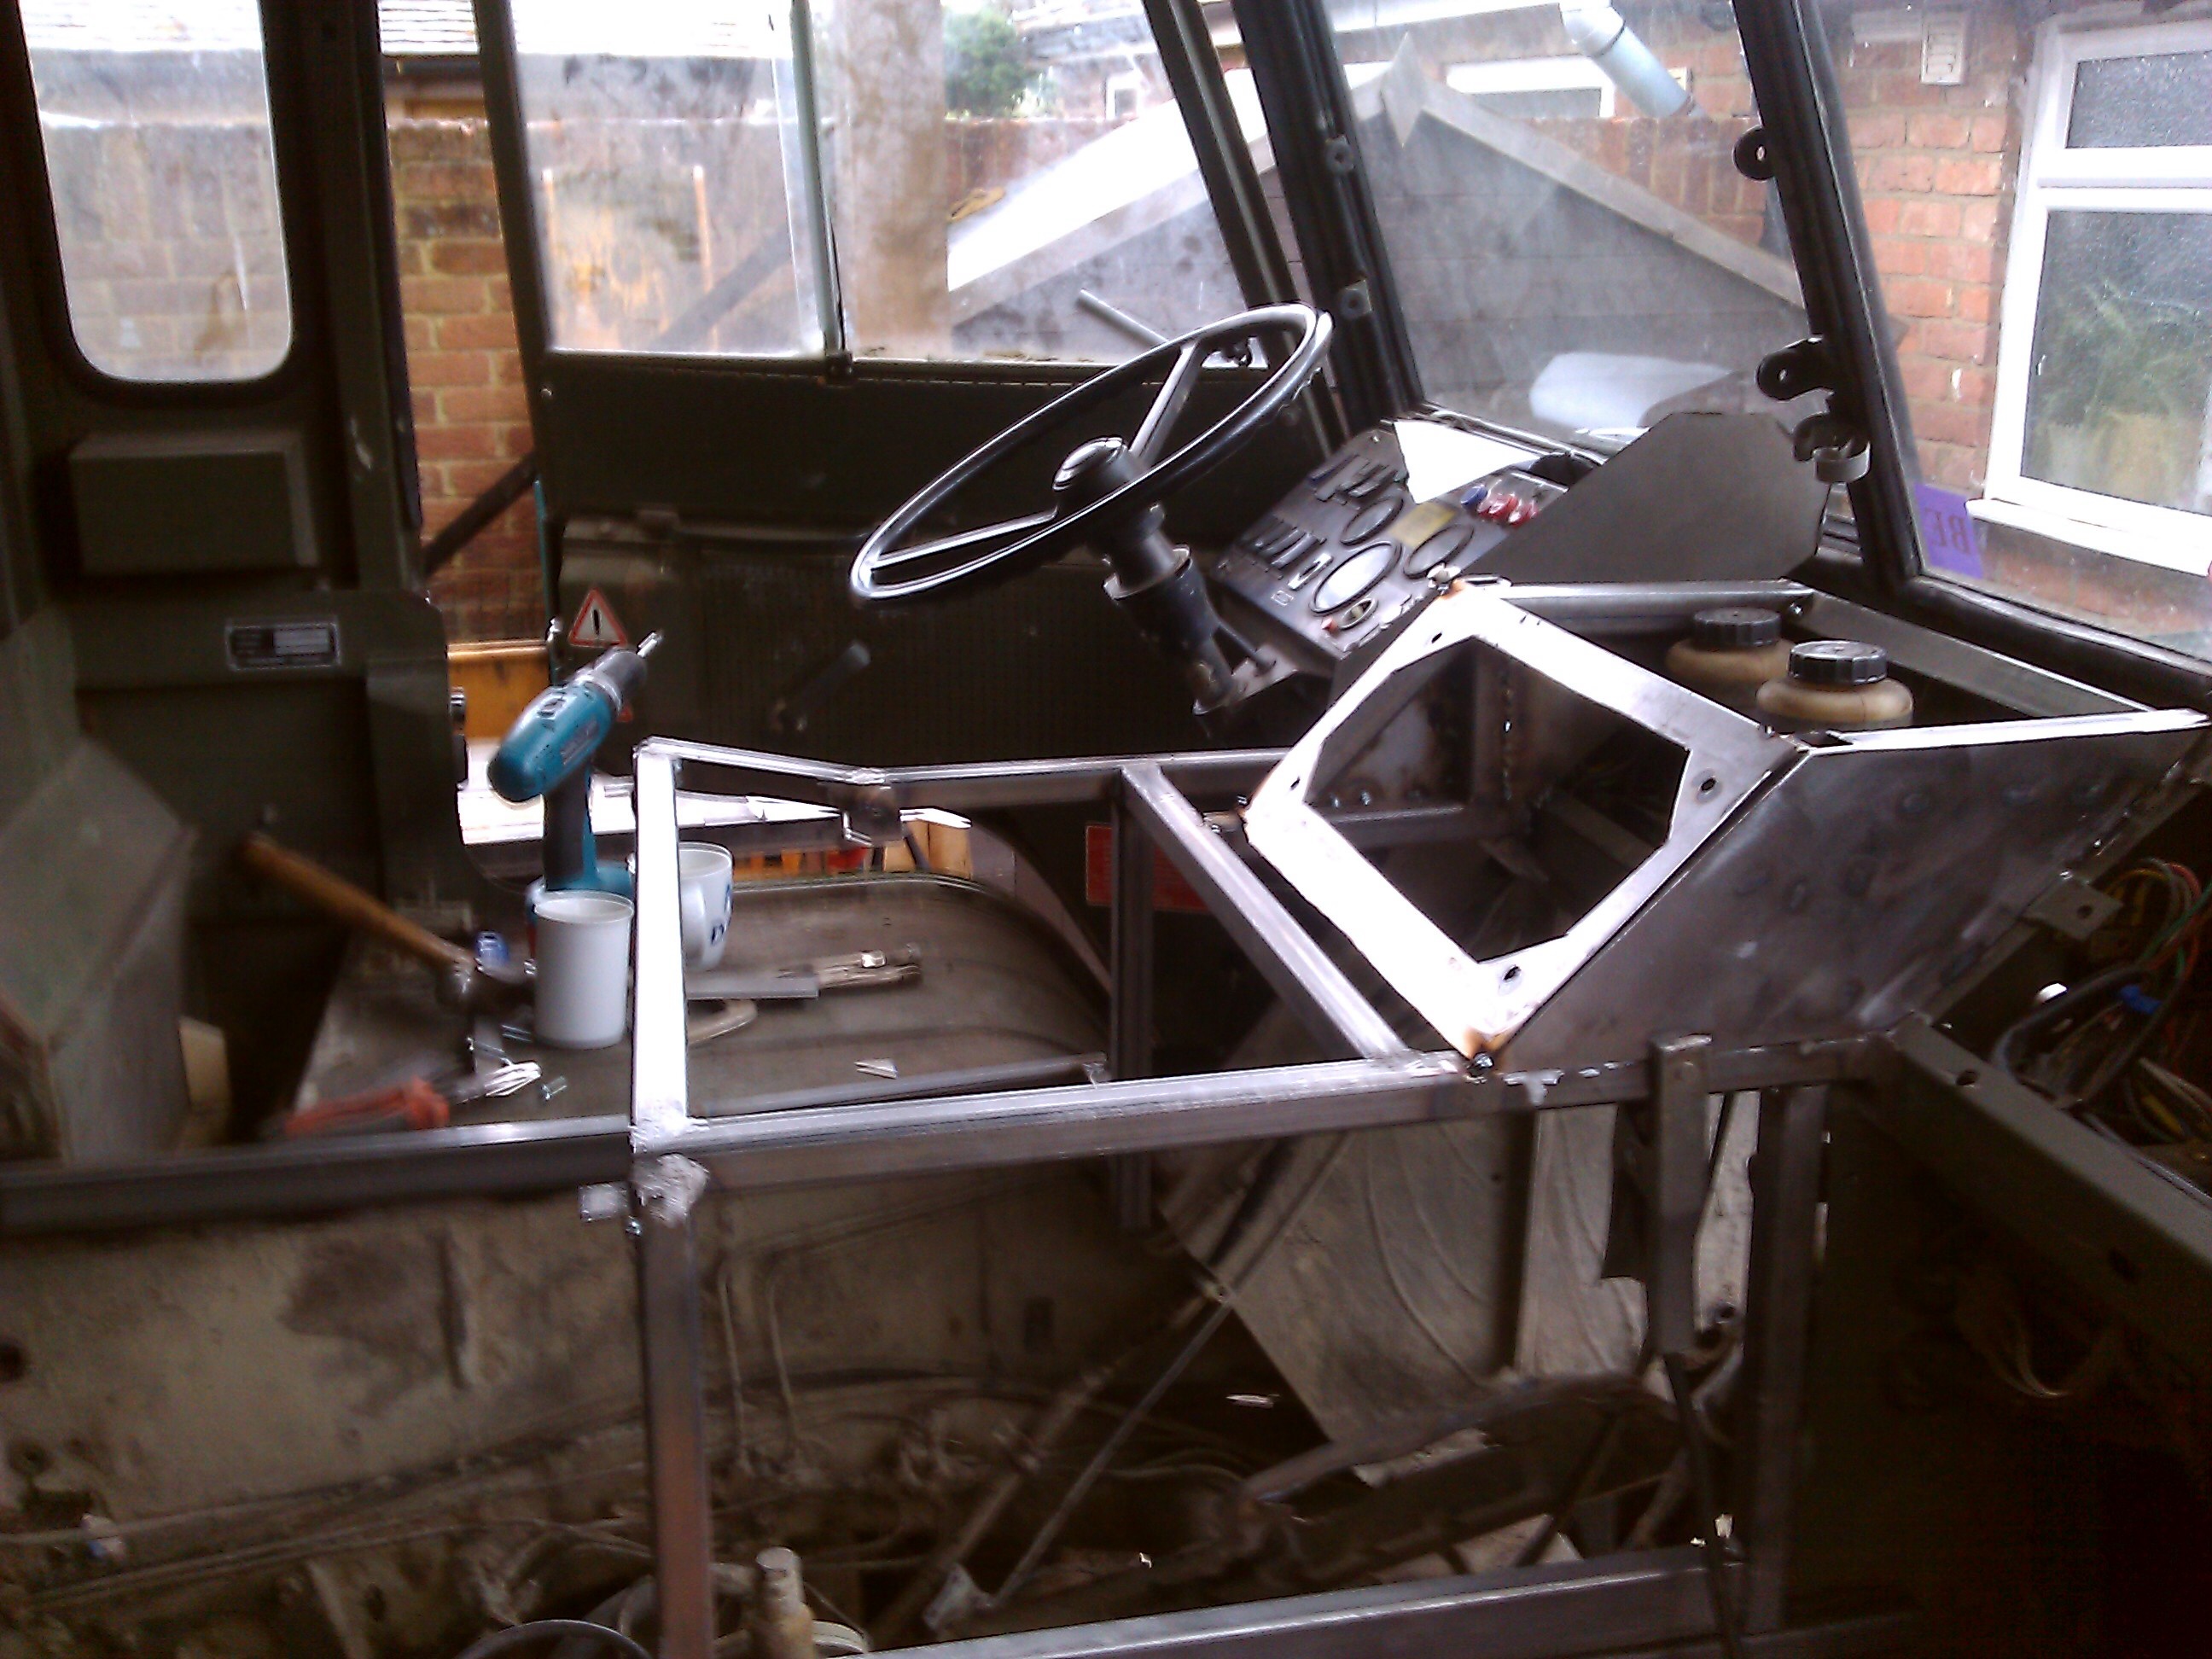
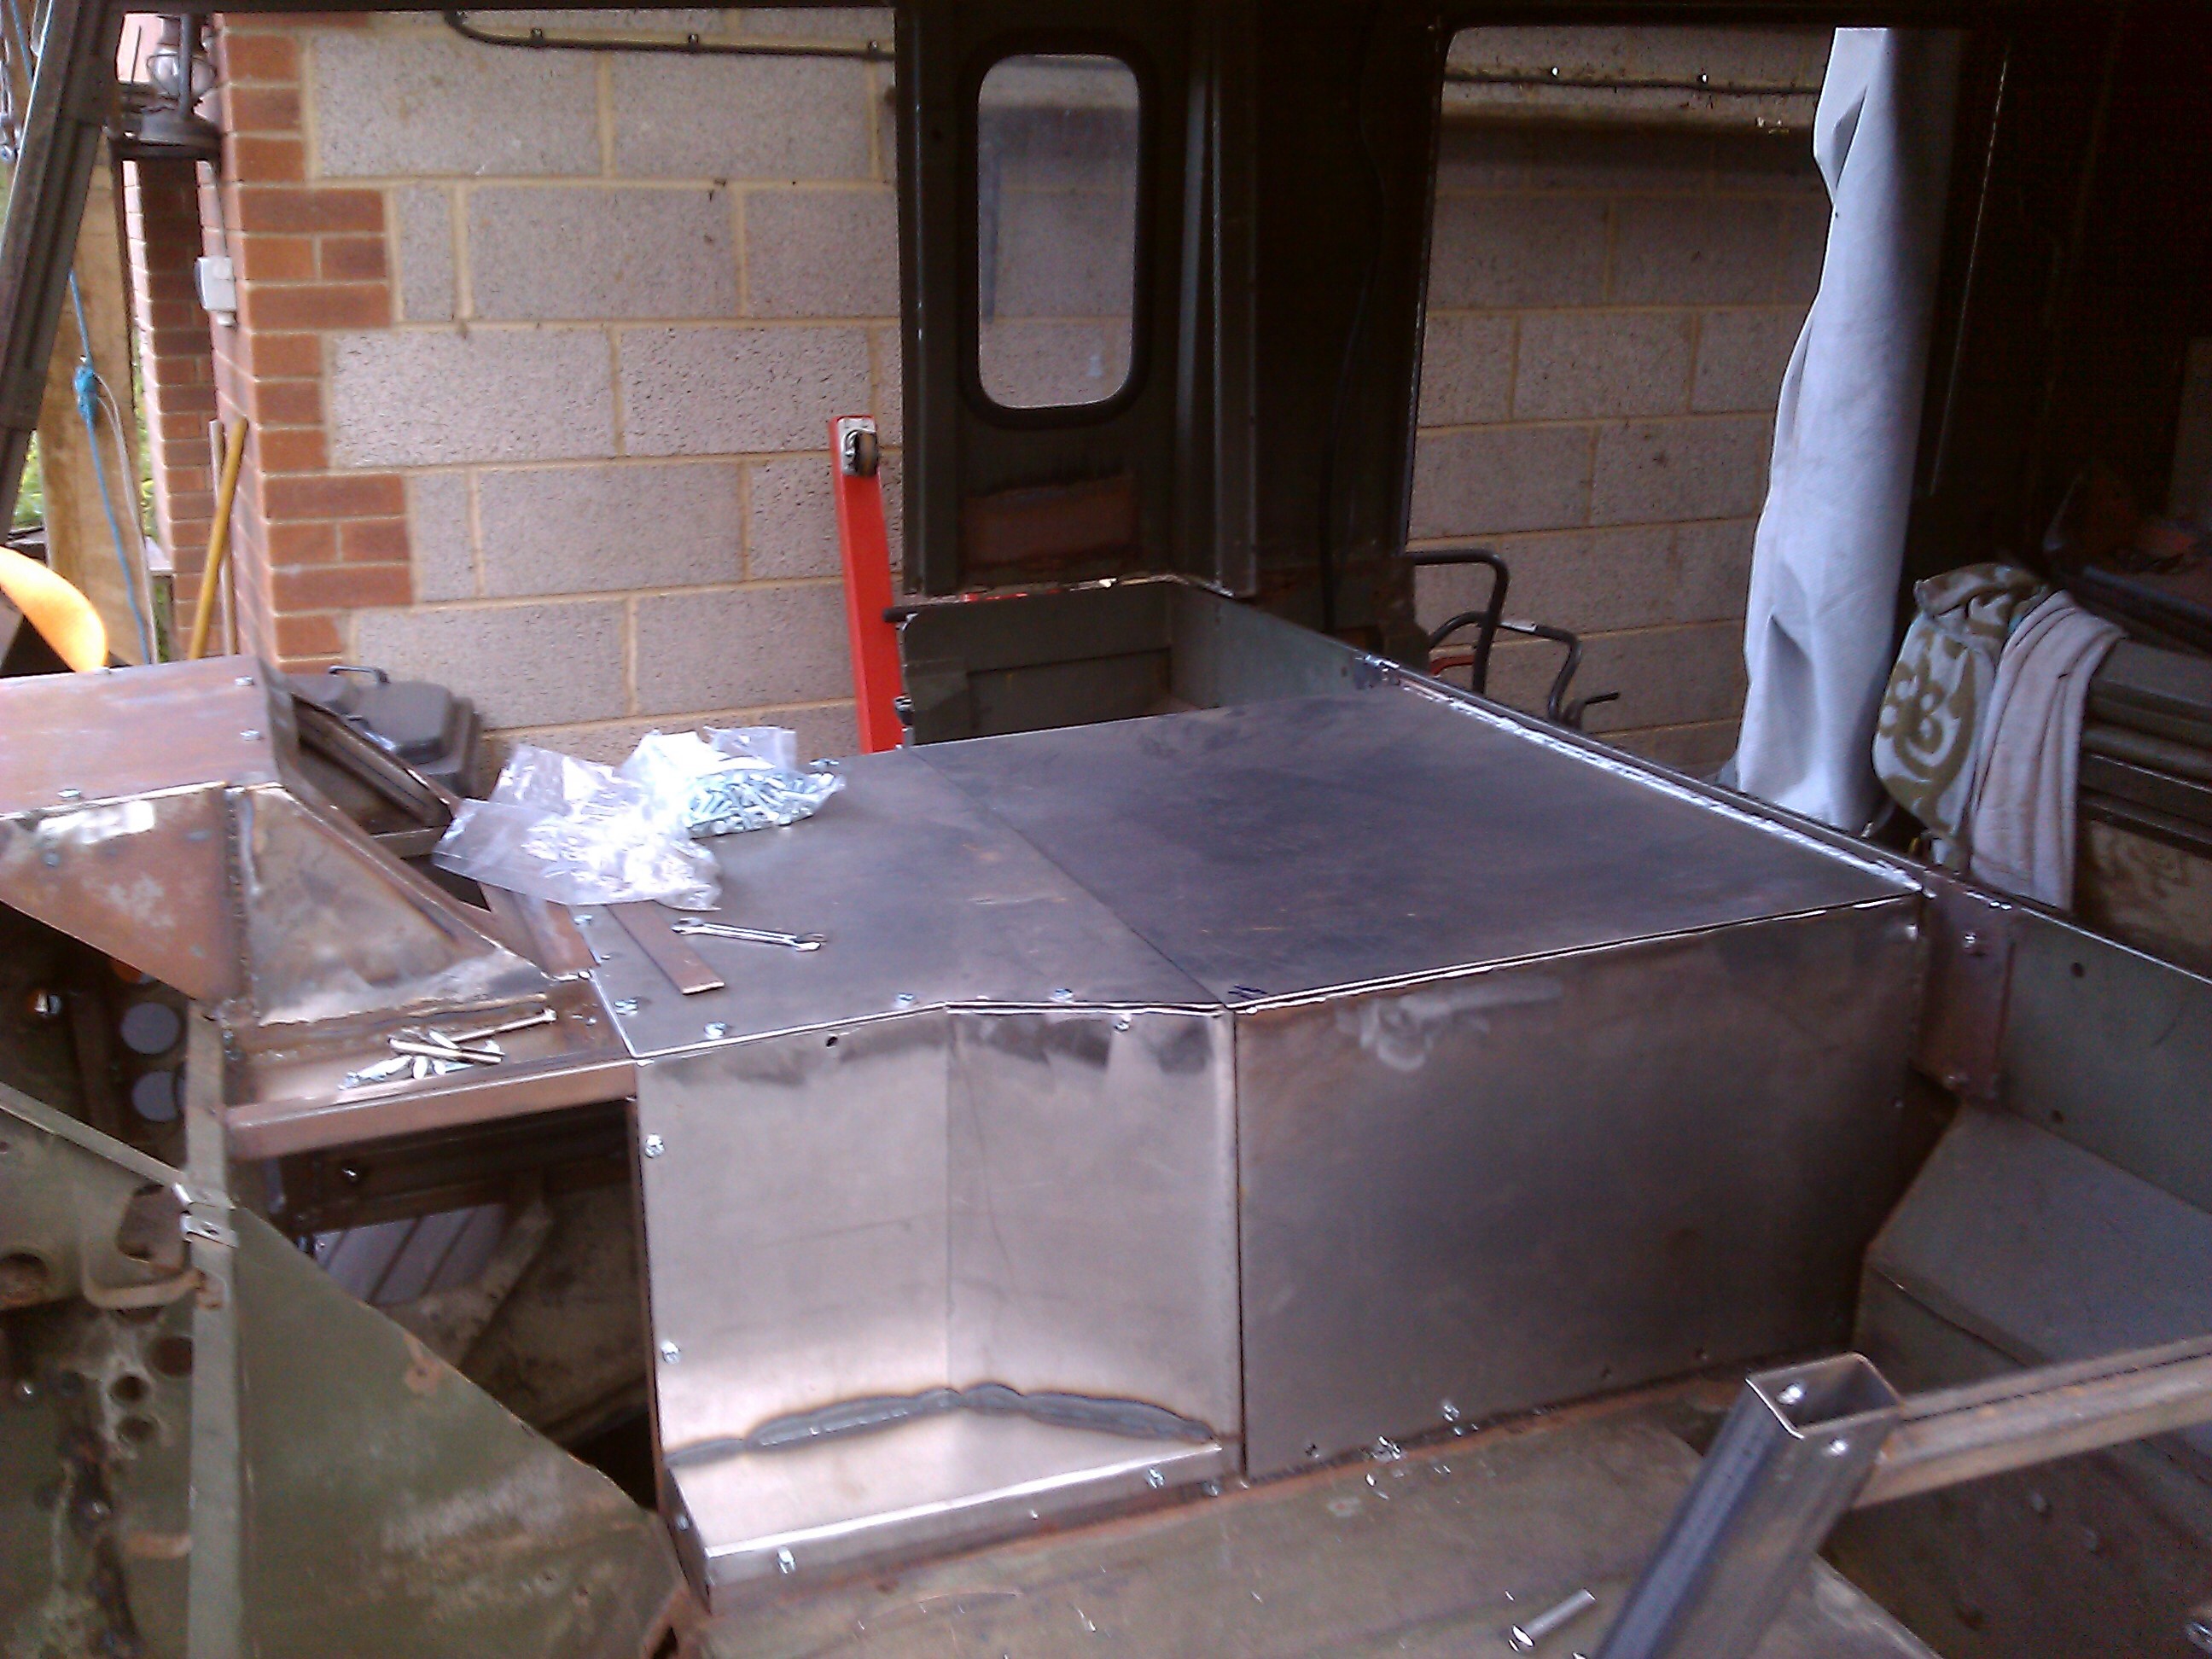
Decided there was too much dead space under the engine cover so have created the hole for the sunken shelf.

image image image image image image

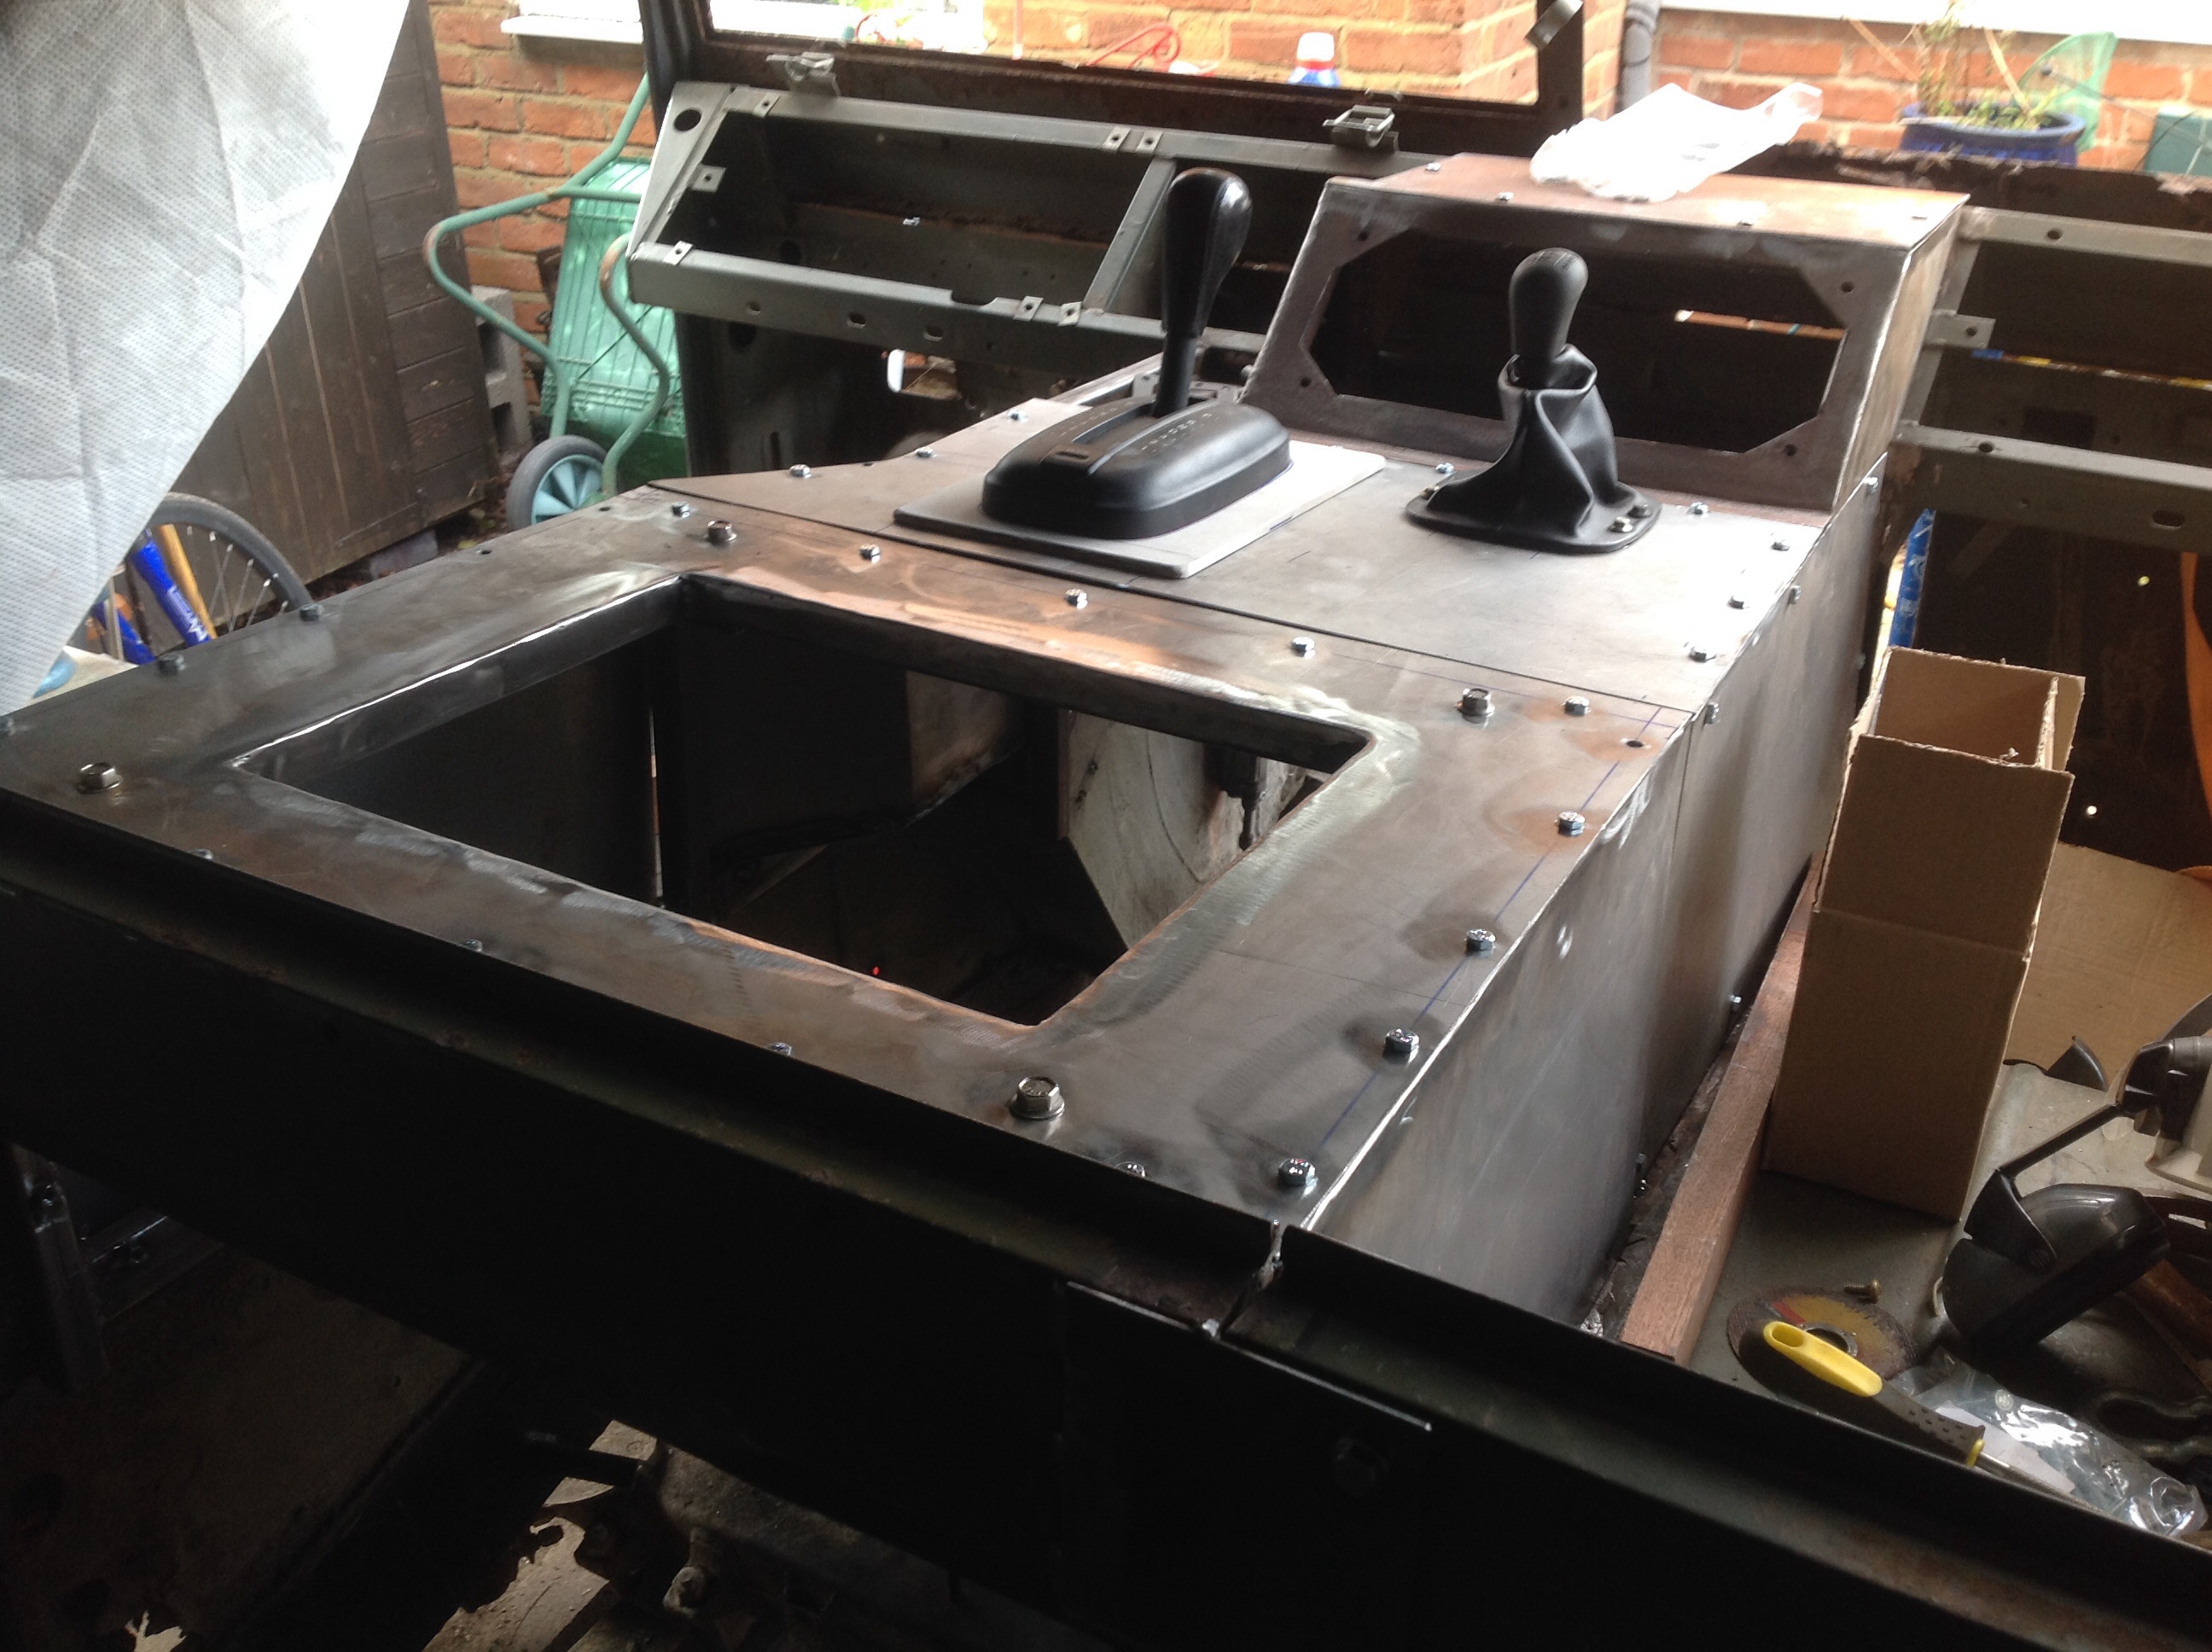
Tray tacked in place

image

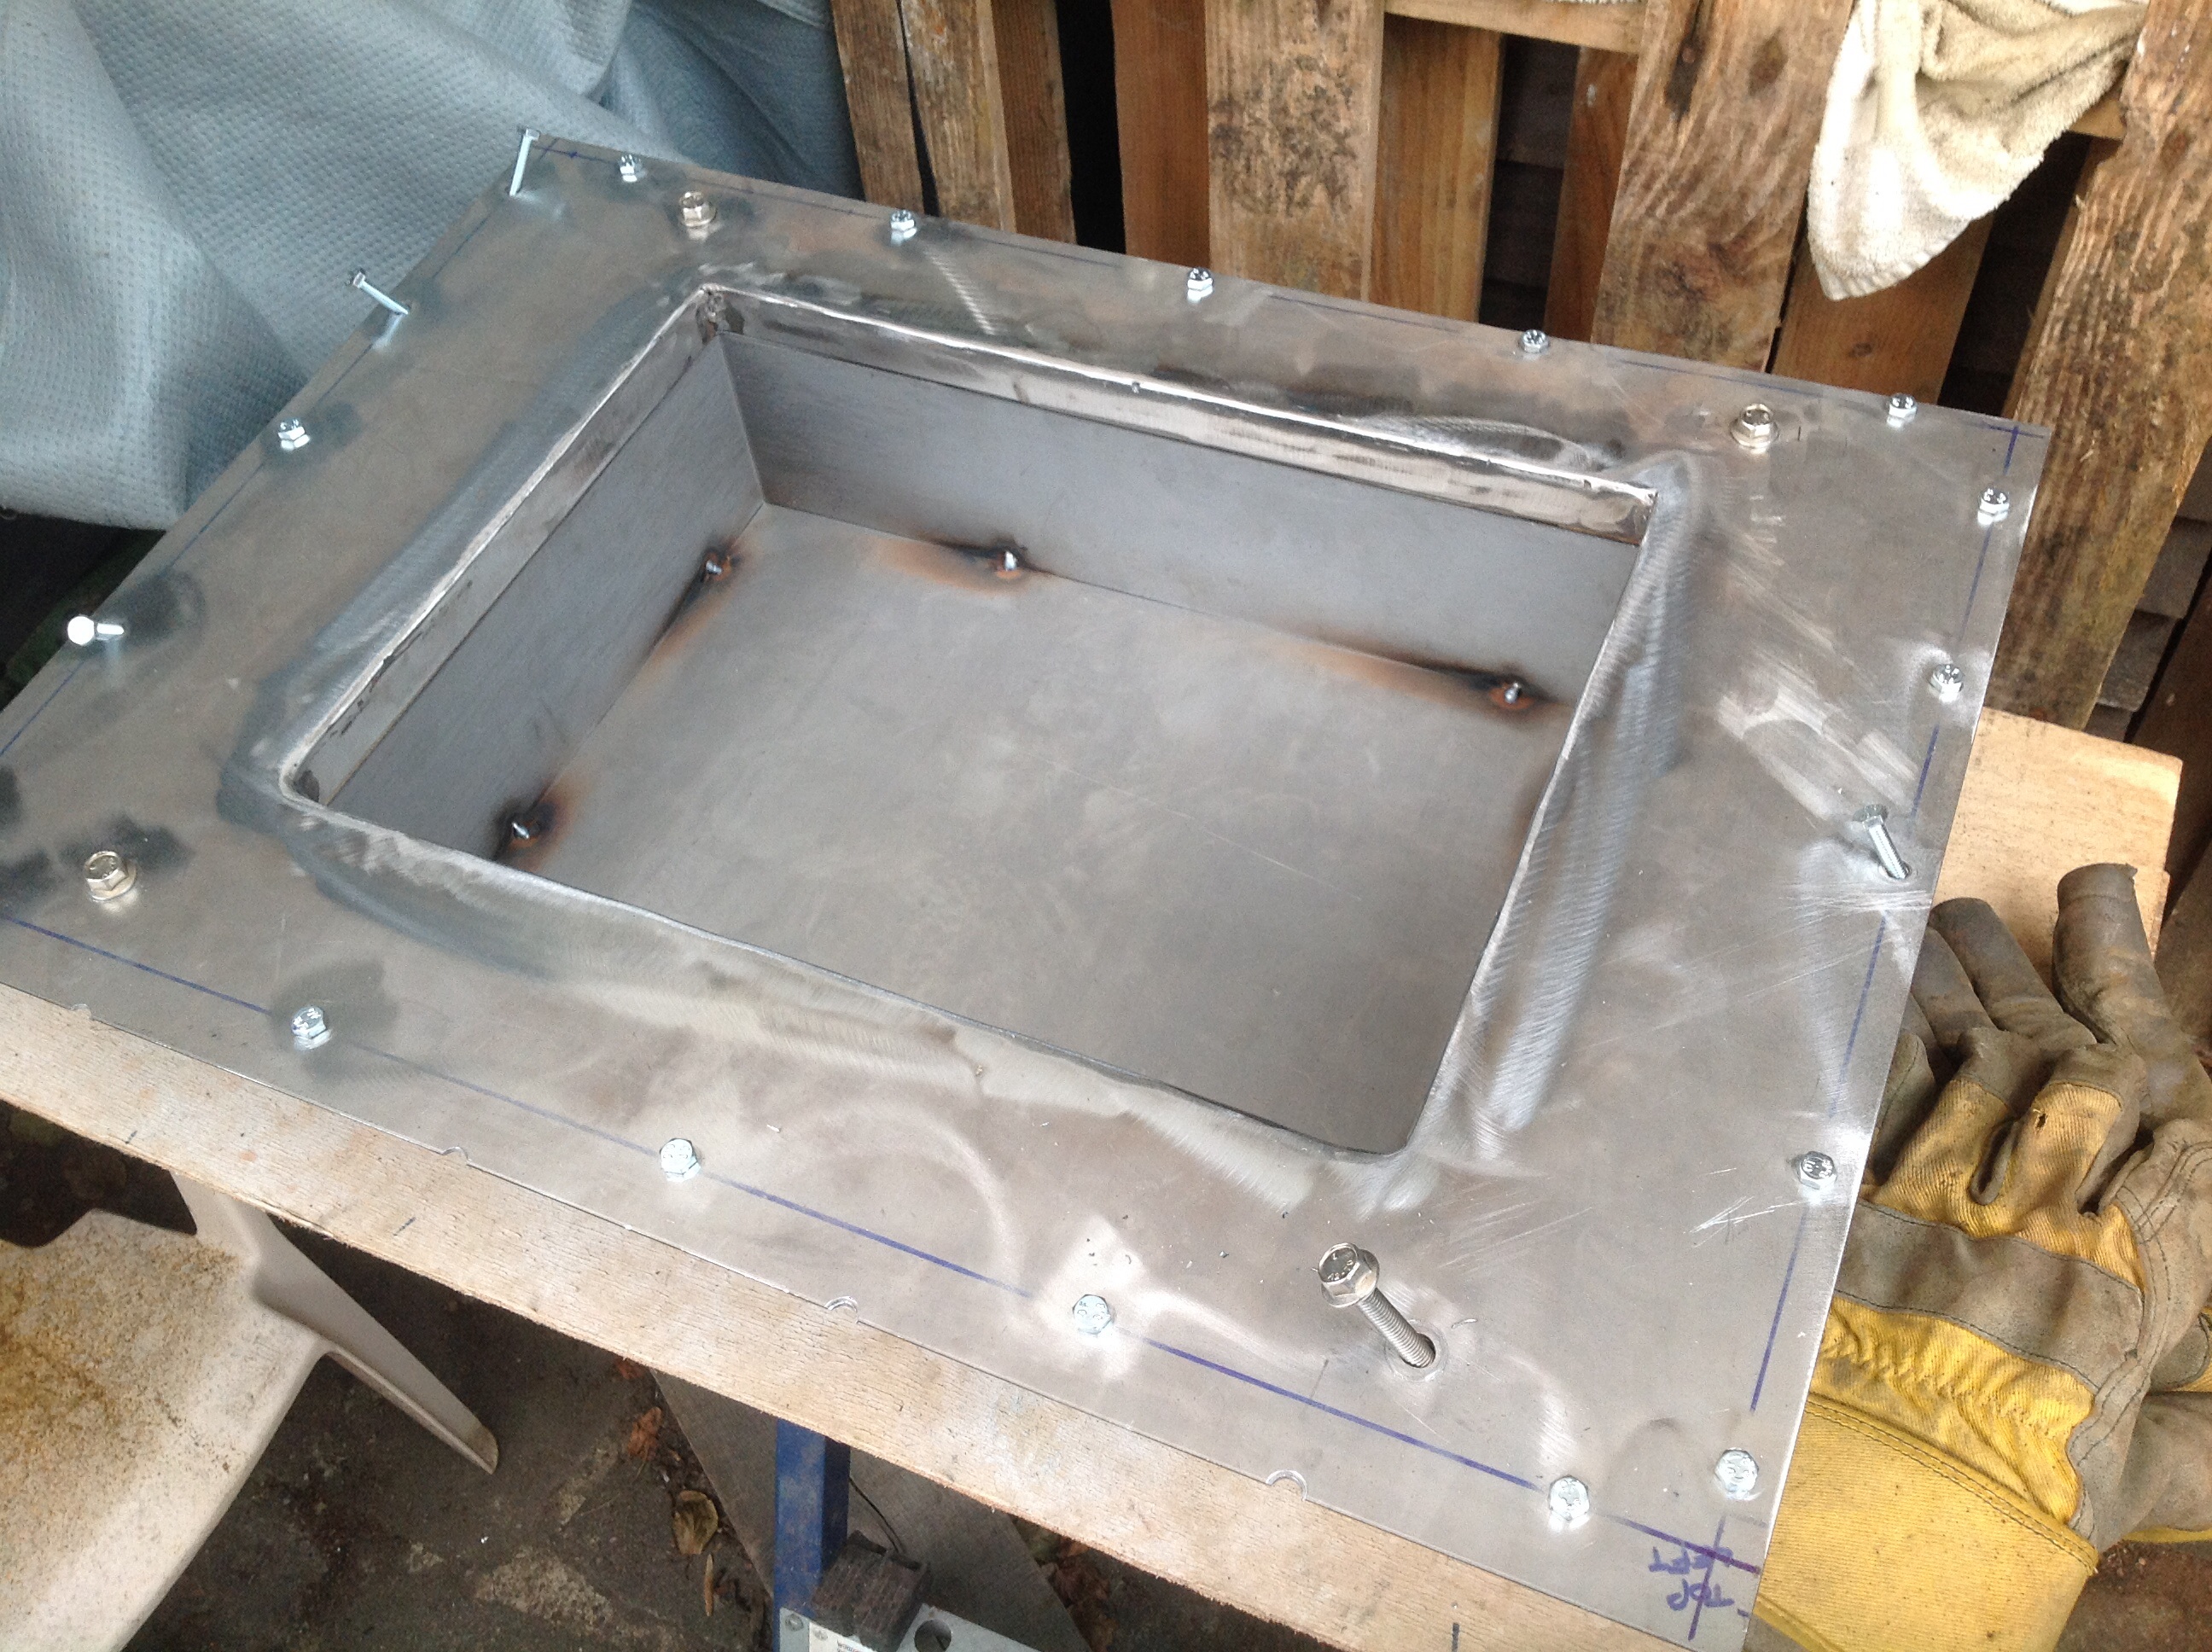
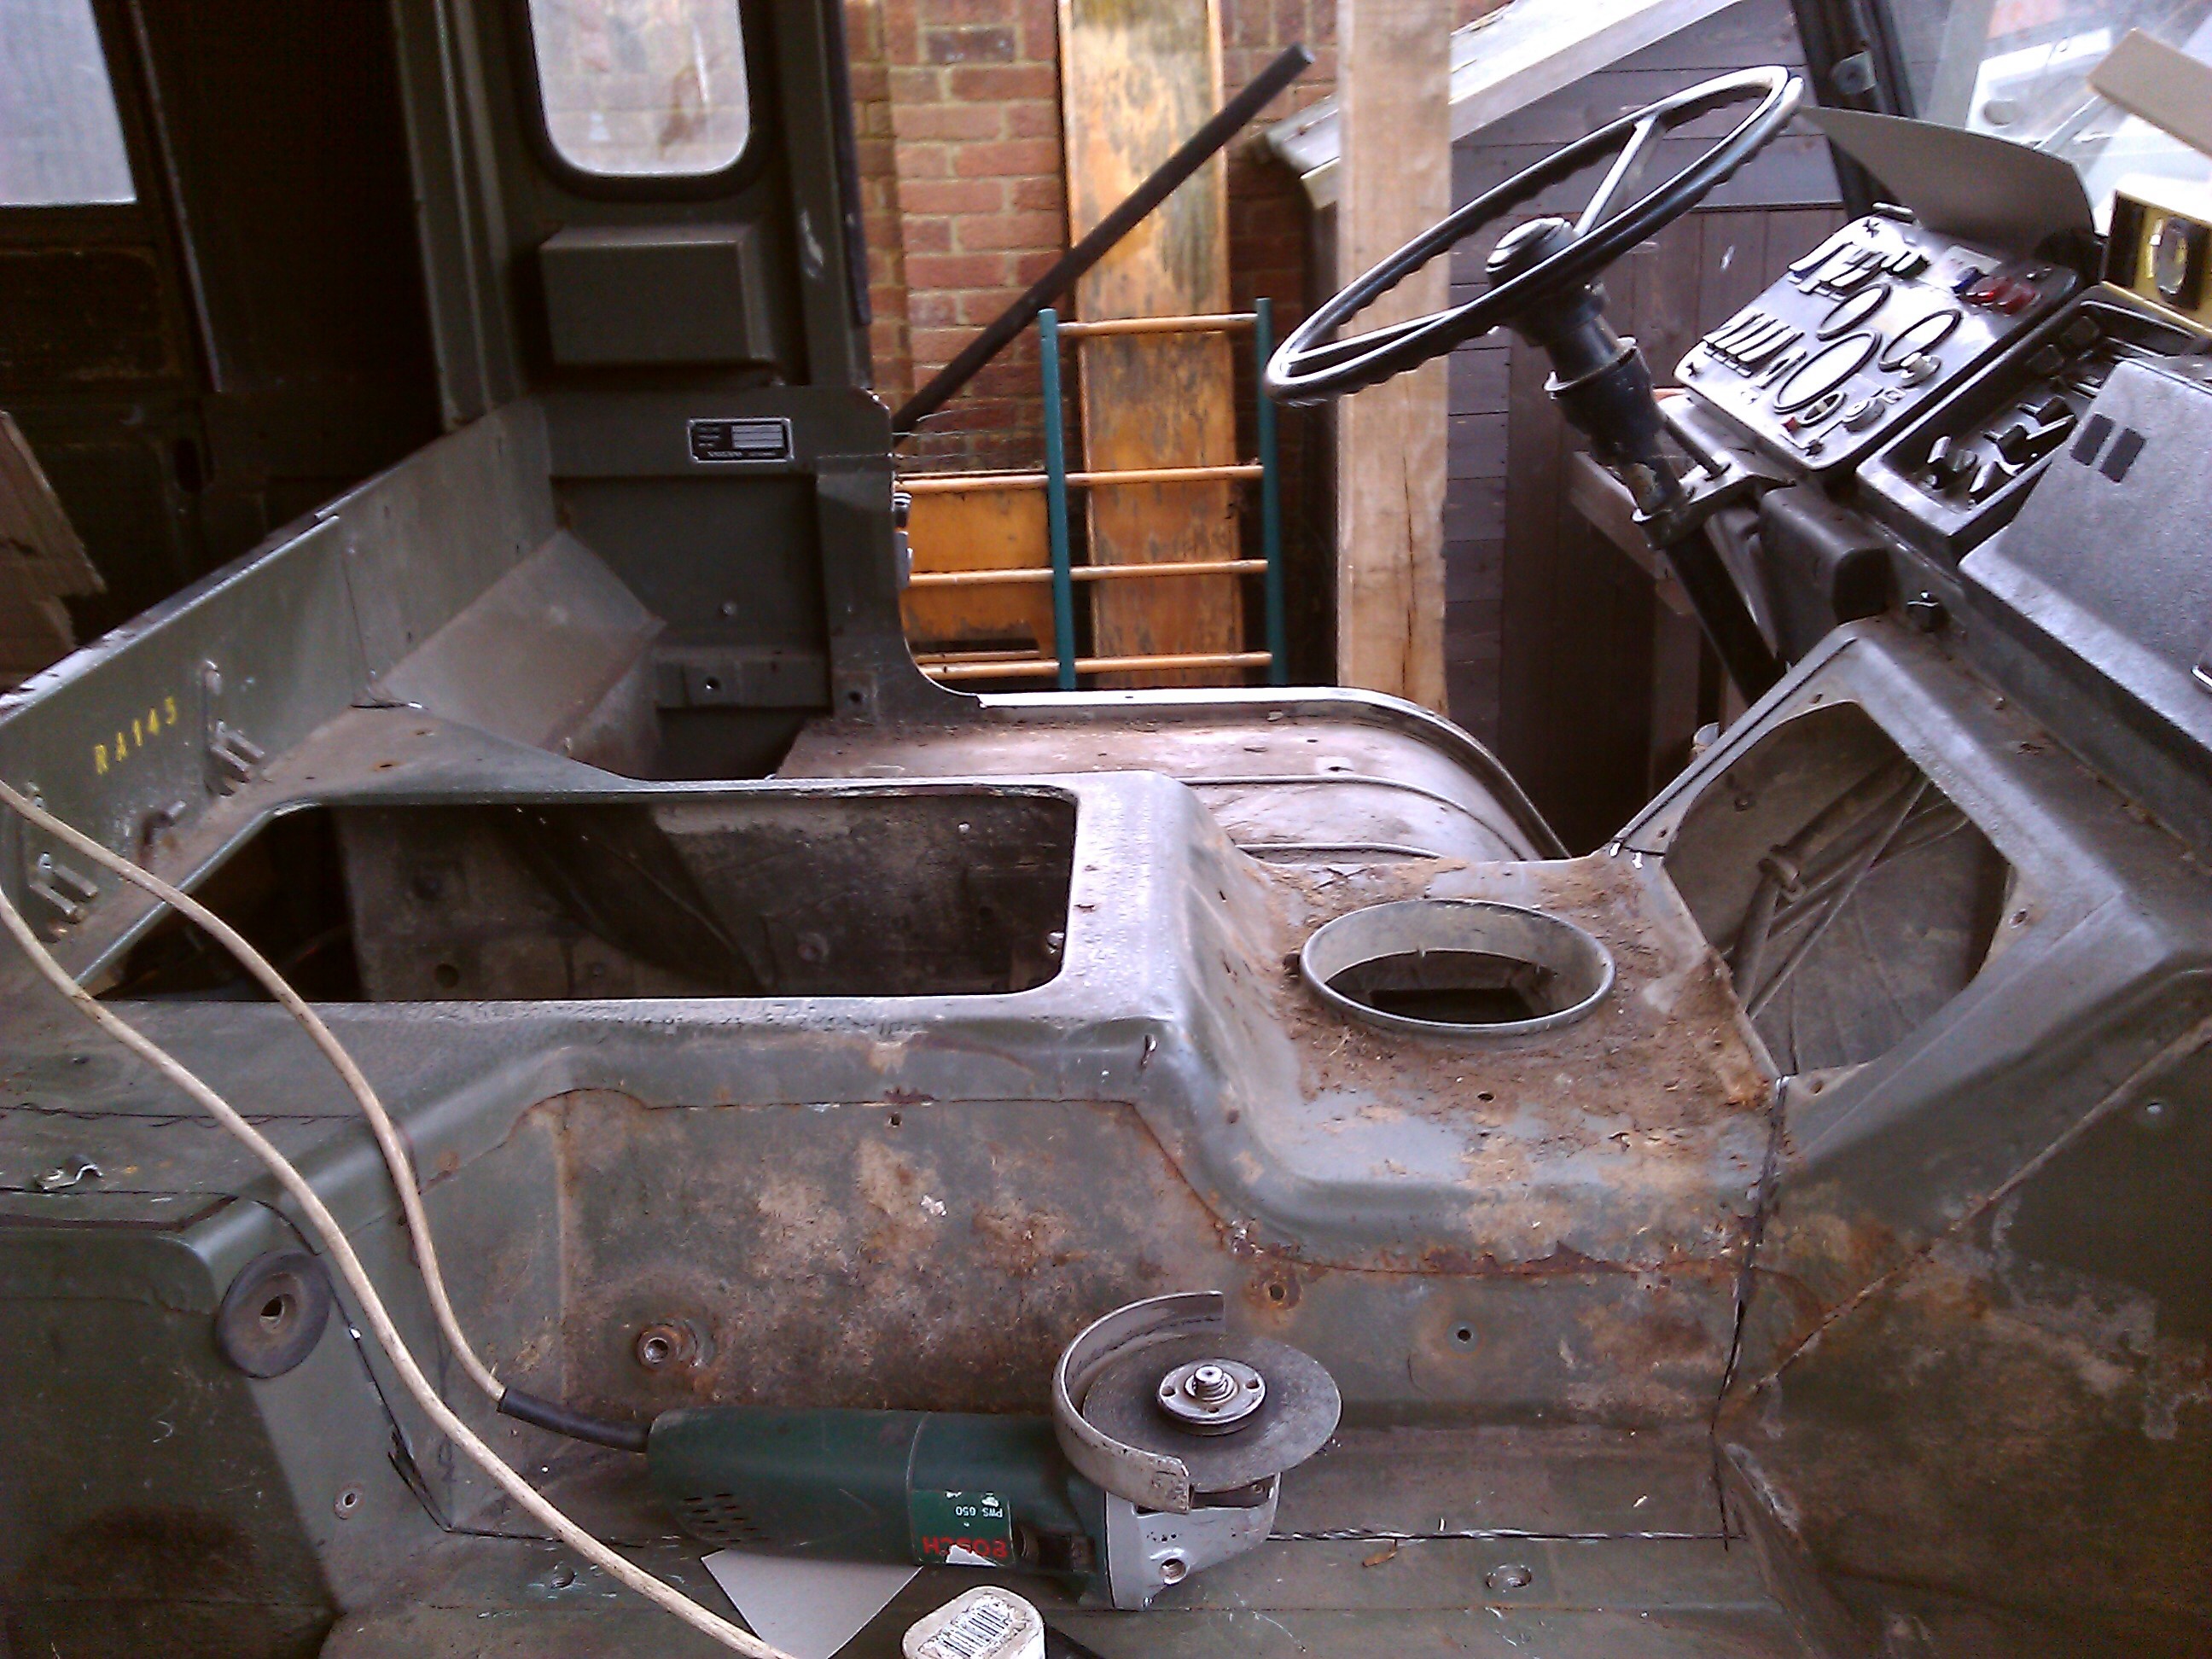
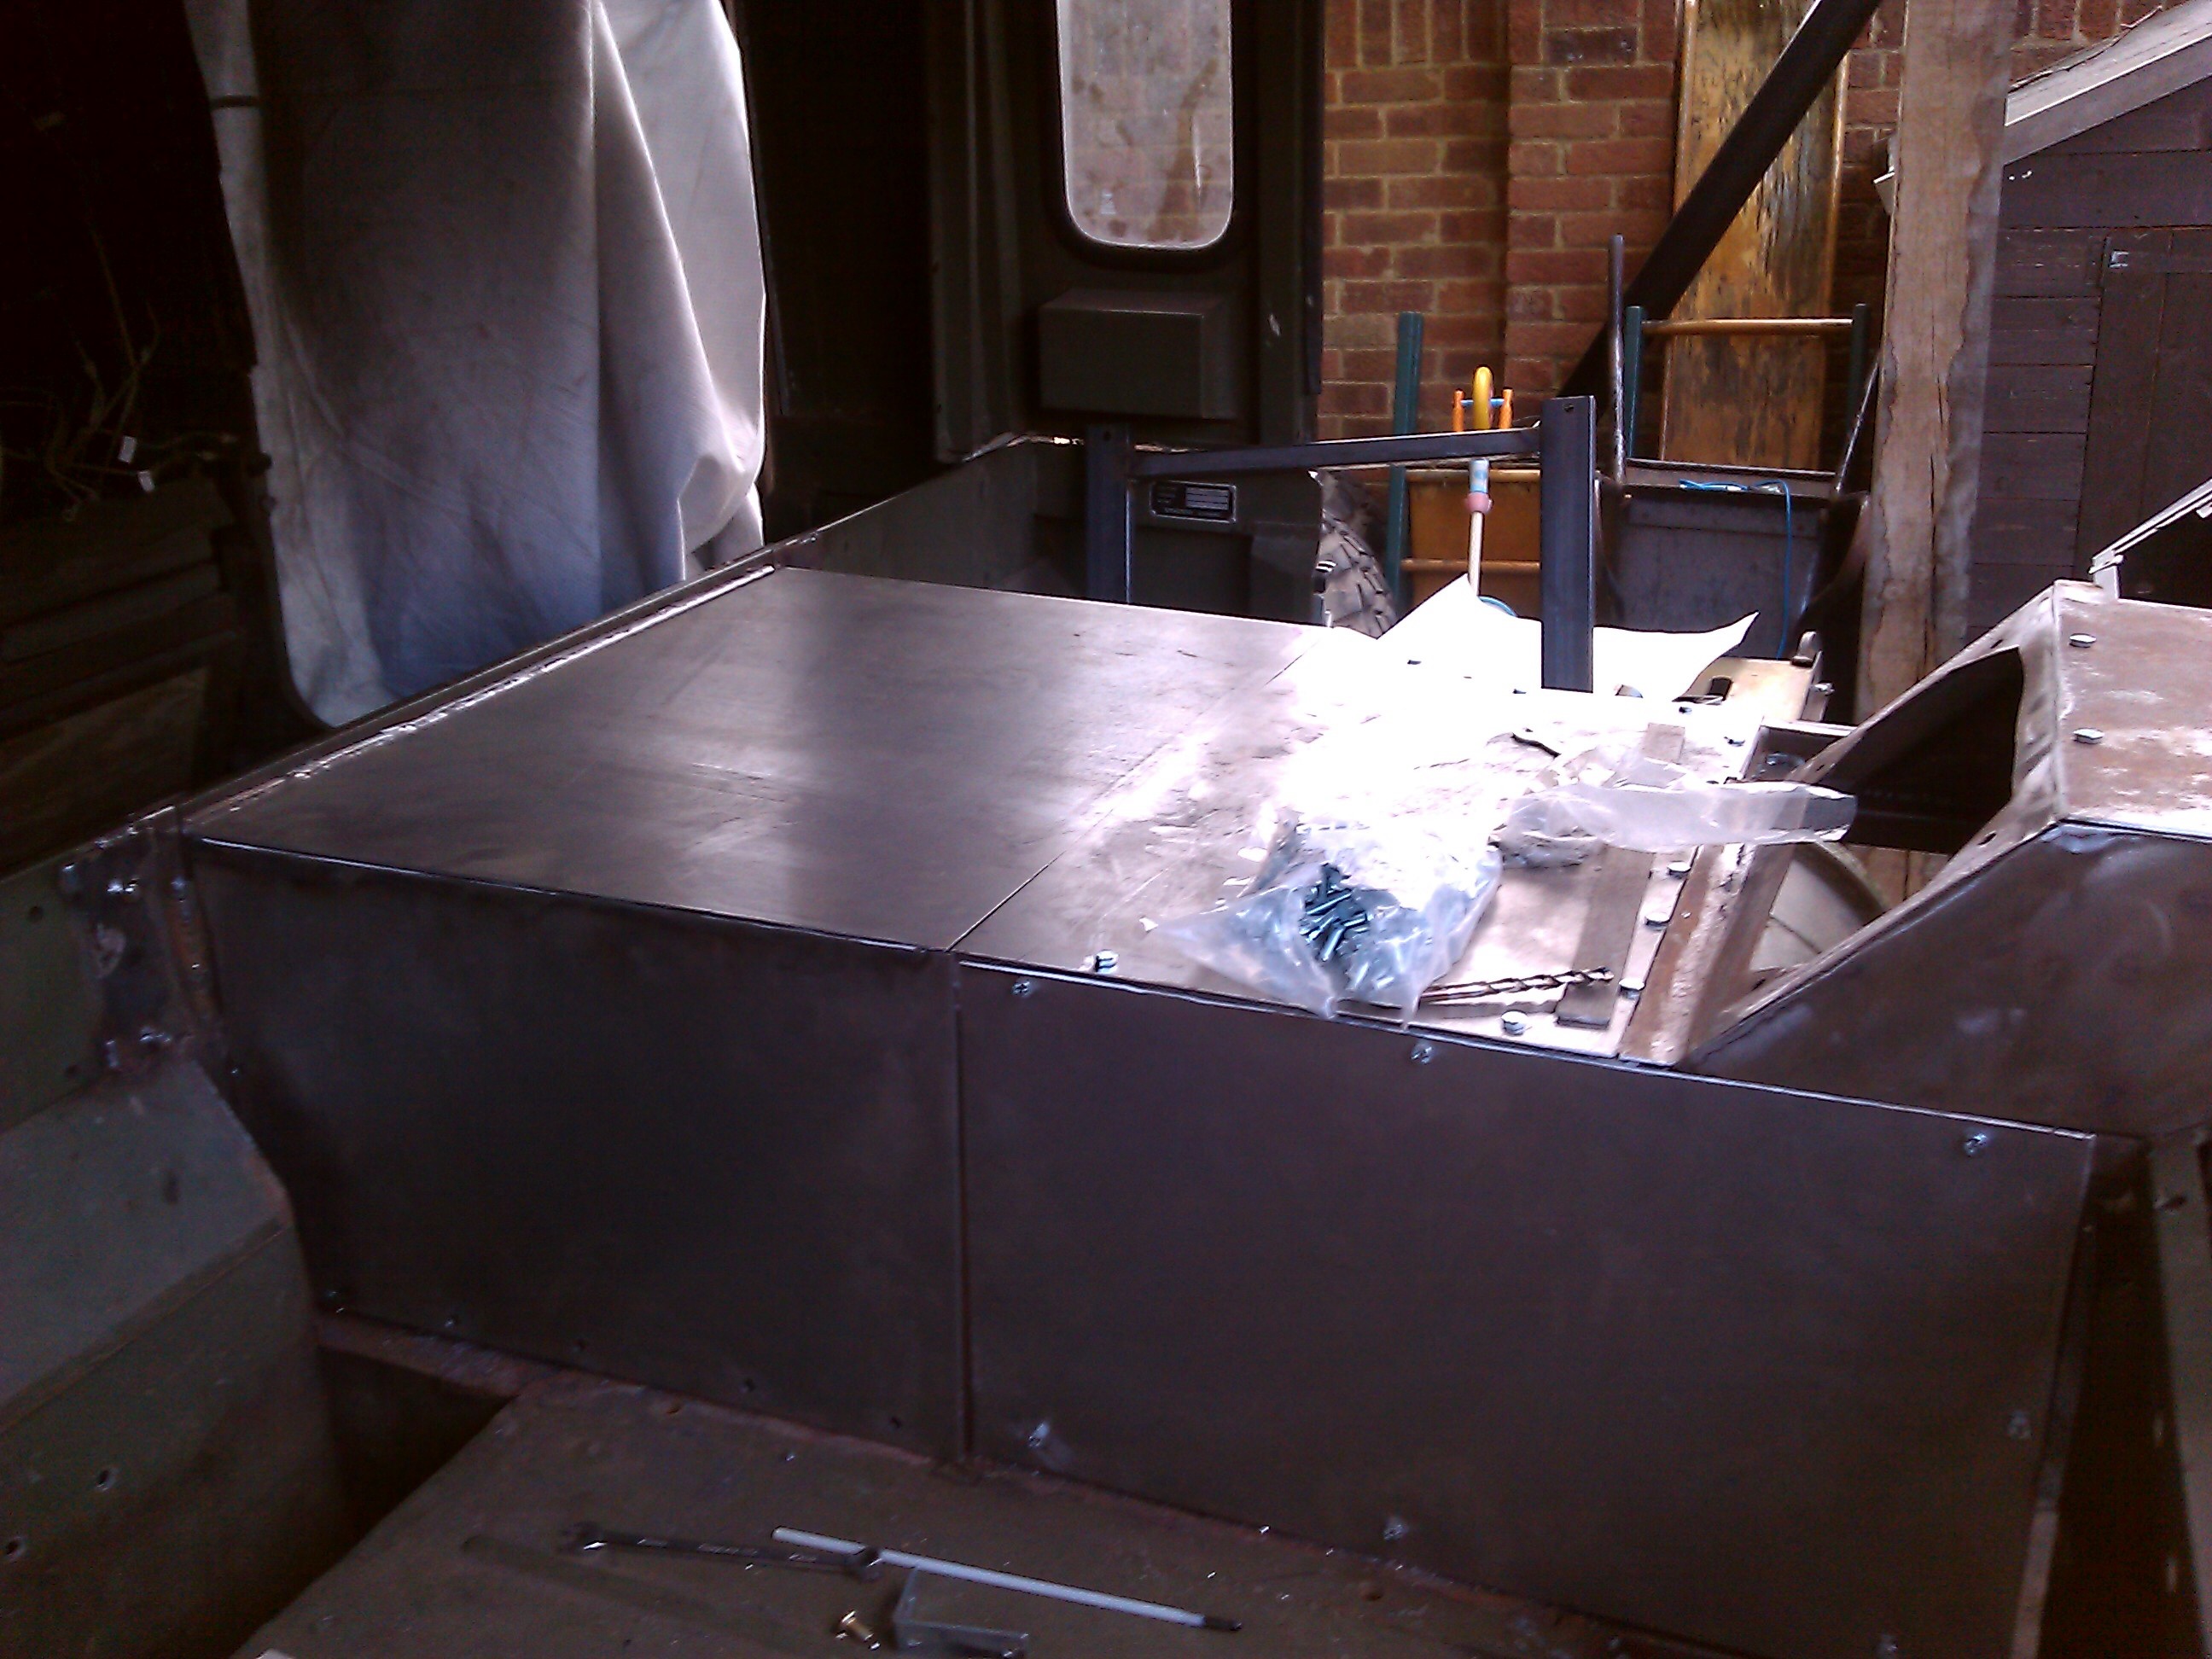
Finished the tunnel.  Ran out of screws and screw cups but all done.


image image (3438)

Likes(14)Dislikes(0)

Power Steering 2

While I wait to give the shaft to my mate for turning my attention goes back to the rest of the box.

Seals and teflon rings swapped.  Then put back together.  65 Nm and blue threadlock

Quick bit of plastic over the main shaft hole and a good spray of paint.  Thanks to the washing line

Seal kit.  No main seal.  Part 149 in previous pic
Seal kit. No main seal. Part 149 in previous pic
3  seals and a teflon ring off
3 seals and a teflon ring off
replaced rings.  don't forget the little one, top right in the pic
replaced rings. don’t forget the little one, top right in the pic
plug rig changed and put back
plug ring changed and put back
ensure dongle on cylinder lines up with groove in casing and insert.  Tighten to 65nm.  add threadlock
ensure dongle on cylinder lines up with groove in casing and insert. Tighten to 65nm. add threadlock
coat of paint.  like new
coat of paint. like new

  (2328)

Likes(1)Dislikes(0)

Power steering box

Parts diagram for g wagon box
Seal kit.  No main seal.  Part 149 in previous pic
Seal kit. No main seal. Part 149 in previous pic
10 ton puller
10 ton puller
Main shaft hosing coming off
Drain out the ps fluid
Main seal off
Main seal off
Internal bearing pullers
The start
The start
First bearing out
First bearing out
Second bearing on the way out

I’m following the well worn trail of a g wagon power steering implant.  Cos the TGB13 will have a 300tdi engine I have the ps pump sorted and just need the box.

costing a fair bit though.  The box was bad enough but the tools I’ve had to buy are hurting the wallet.  Two huge sockets,  one to get the origional box off the truck and another to get the steering arm off the g wagon.

Pulling the drop arms off was a nightmare.  Managed to tear the drop forged steel on my puller.  Not up to the job.  I bought a 10 tonne hydraulic puller and it was just up to the job.  A 15 or 20 tonne puller would have been better.  When the drop arm lets go it flys off.  Bloody dangerous,  I tied the puller to the vice the second time.  Well worth doing to save fingers, hands, etc

Also had to buy an internal bearing puller to get the bearings out of the main shaft housing.  All in all a lot more than I bargined.

if you are doing this please also note the seal replacement kit for the g wagon box does not contain the main shaft seal.  Nuts hey.

You need part numbers A3104600161 and A0169971347

A mate has offered to turn the shaft housing for me.  60mm OD

will be a couple of weeks though (4445)

Likes(0)Dislikes(0)