Likes (5)Dislikes
 (1)
(1)
(5)Dislikes(1)(5)Dislikes(1)


 (2985)
(2)Dislikes(0)
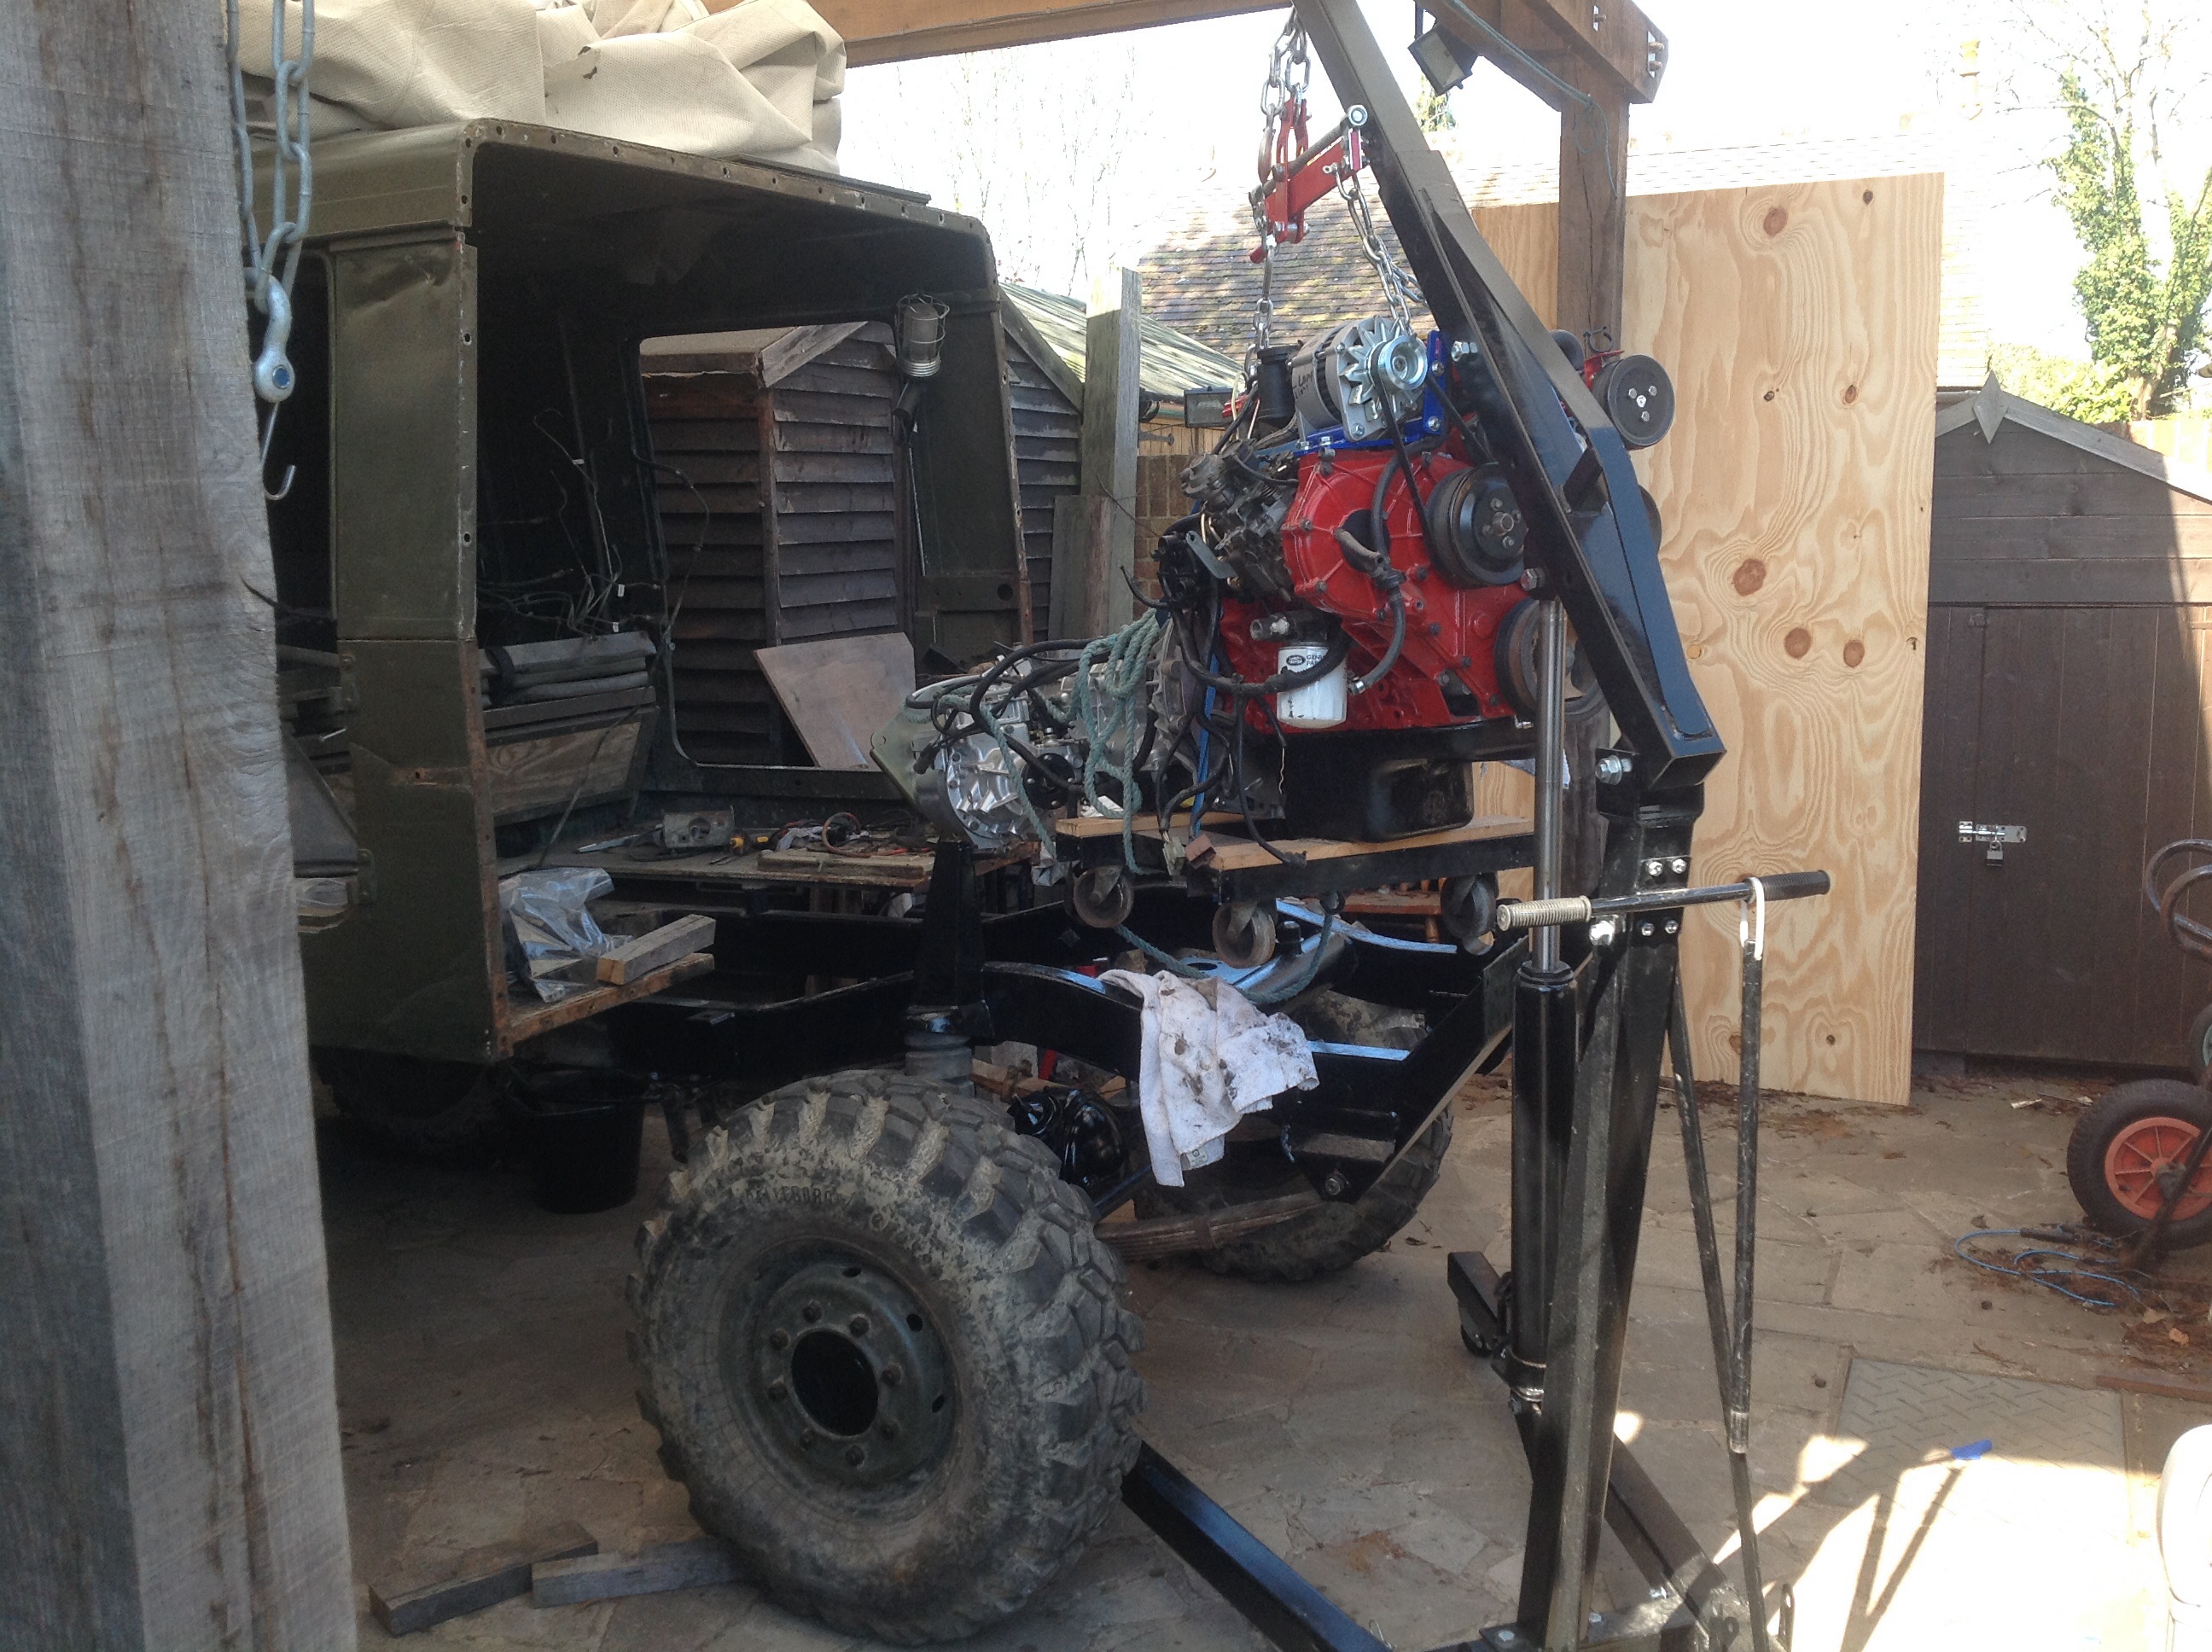

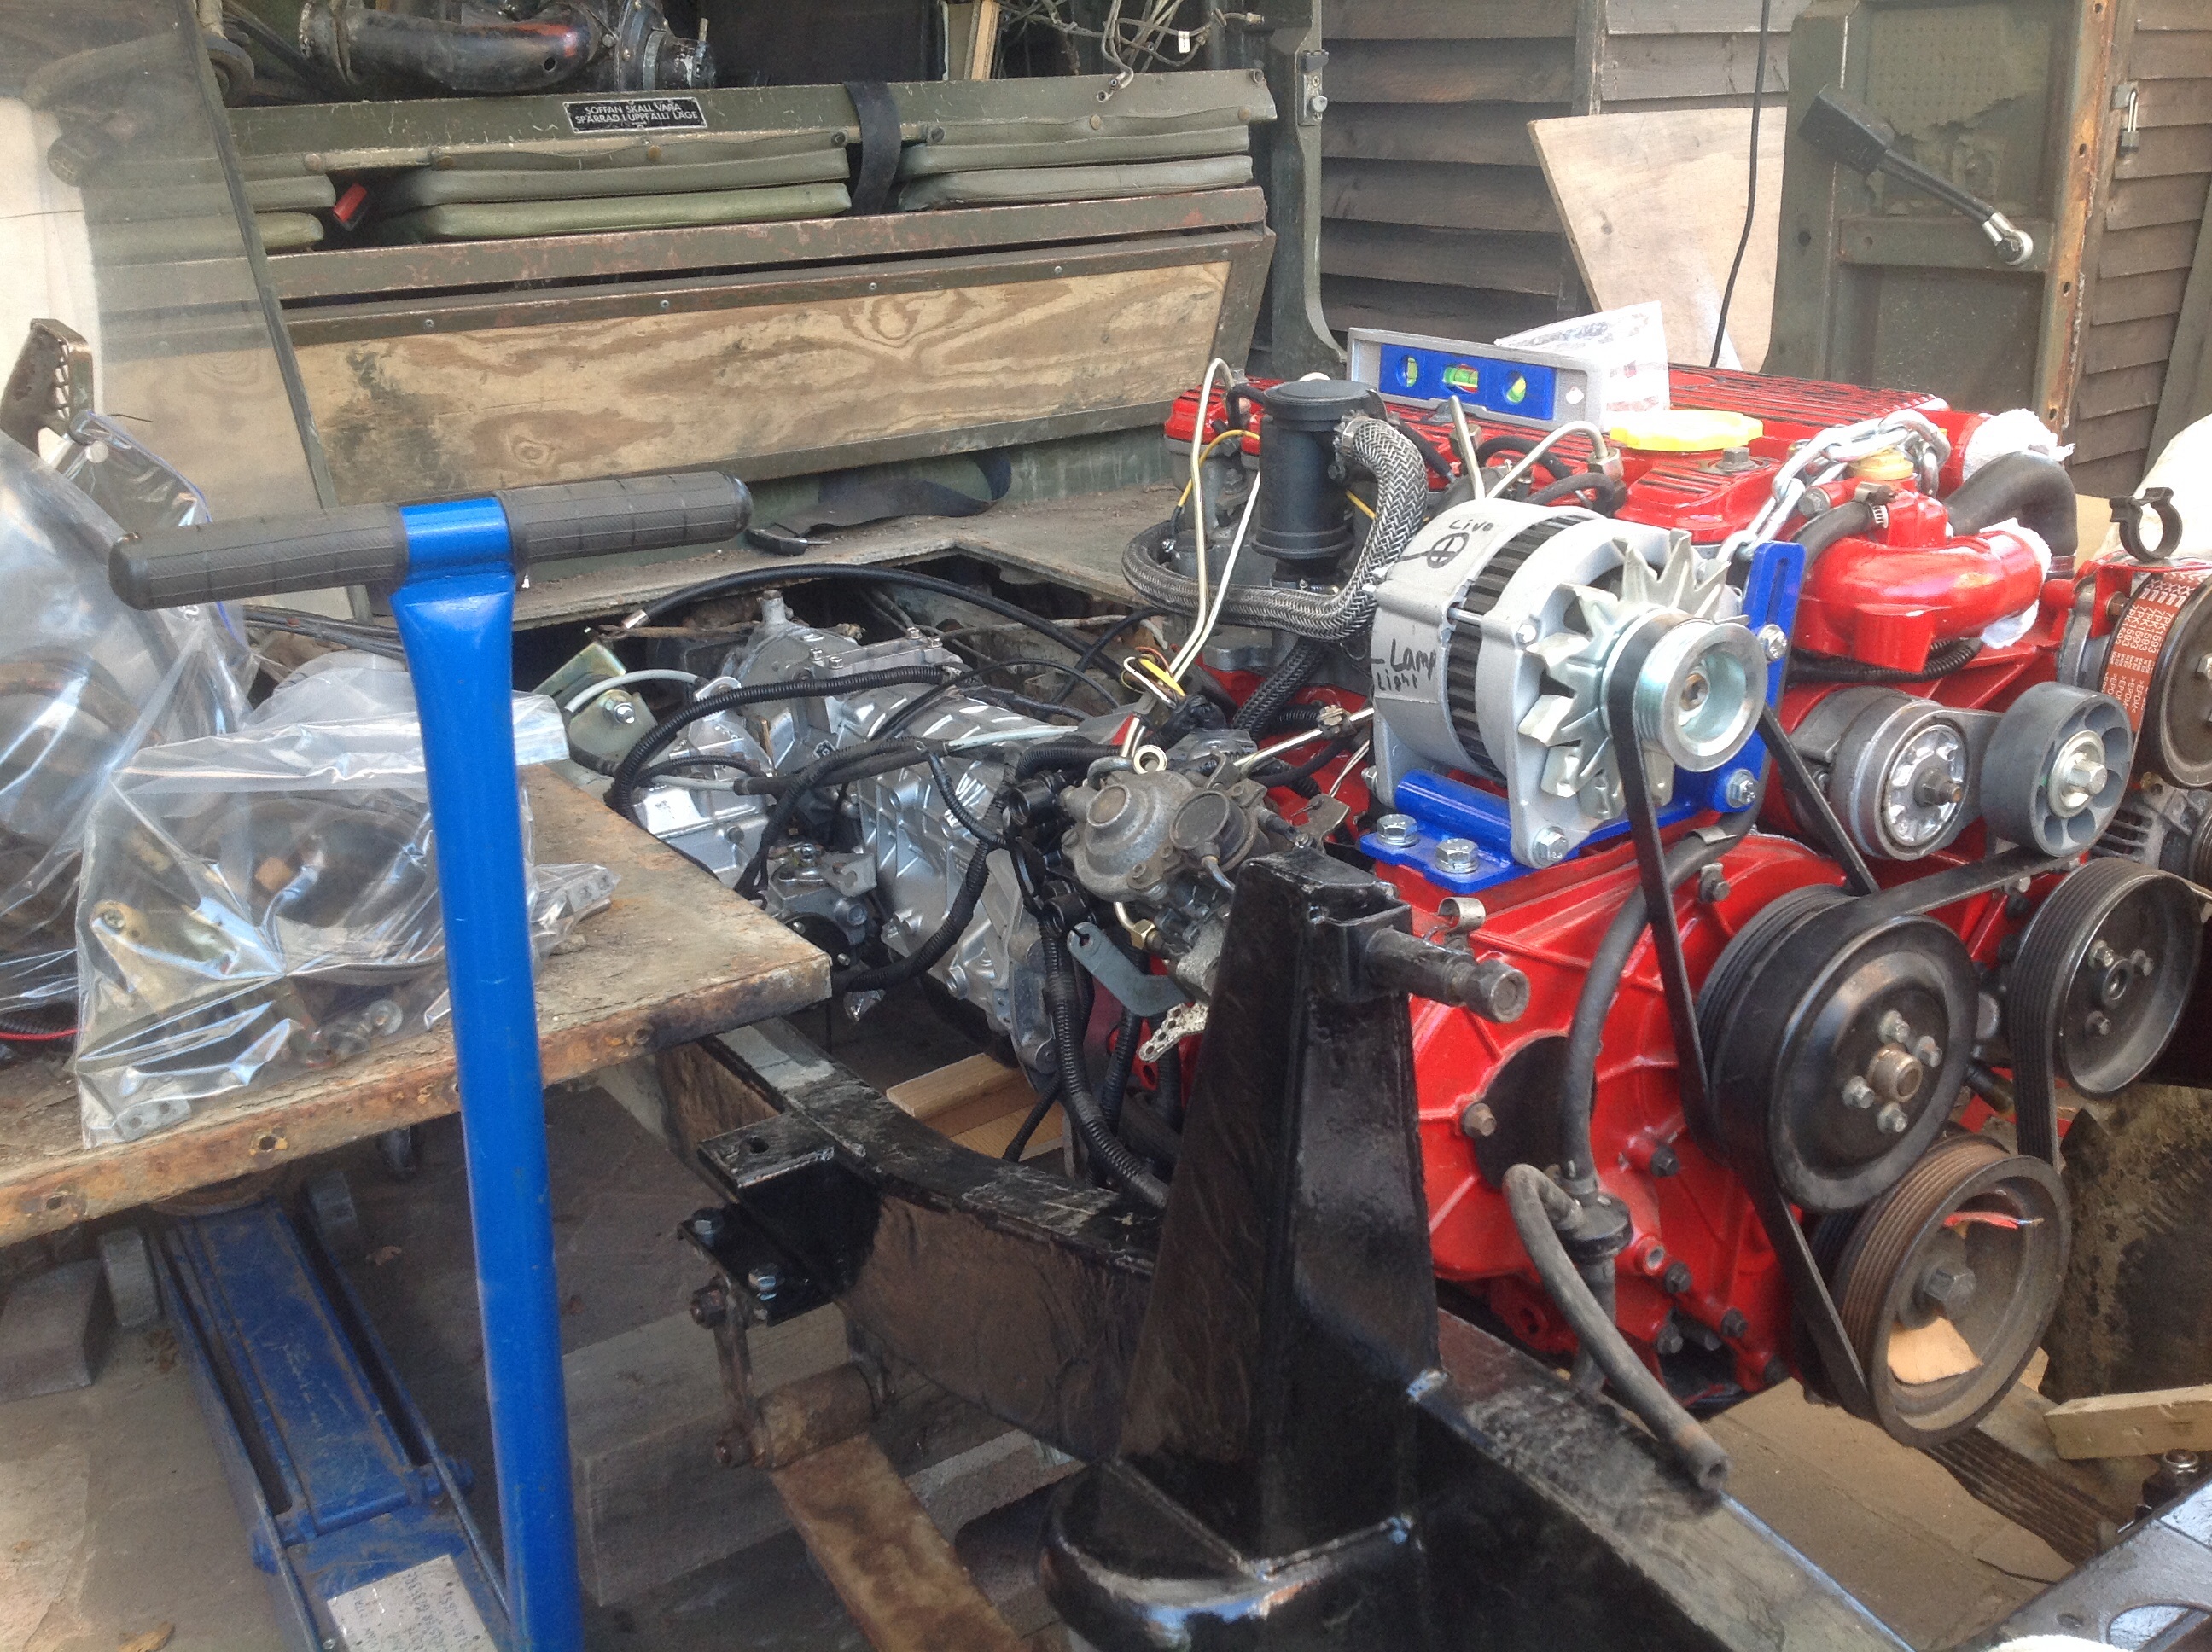
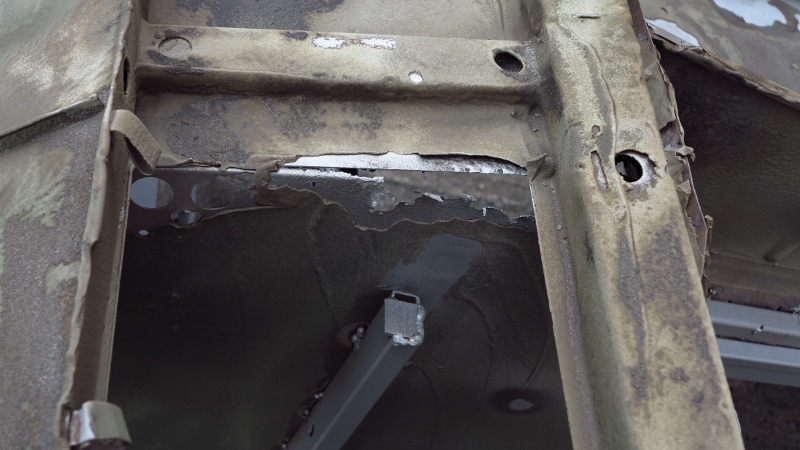
the 50mm body lift enables the engine to fit. Don’t think that the alternator would be removable otherwise
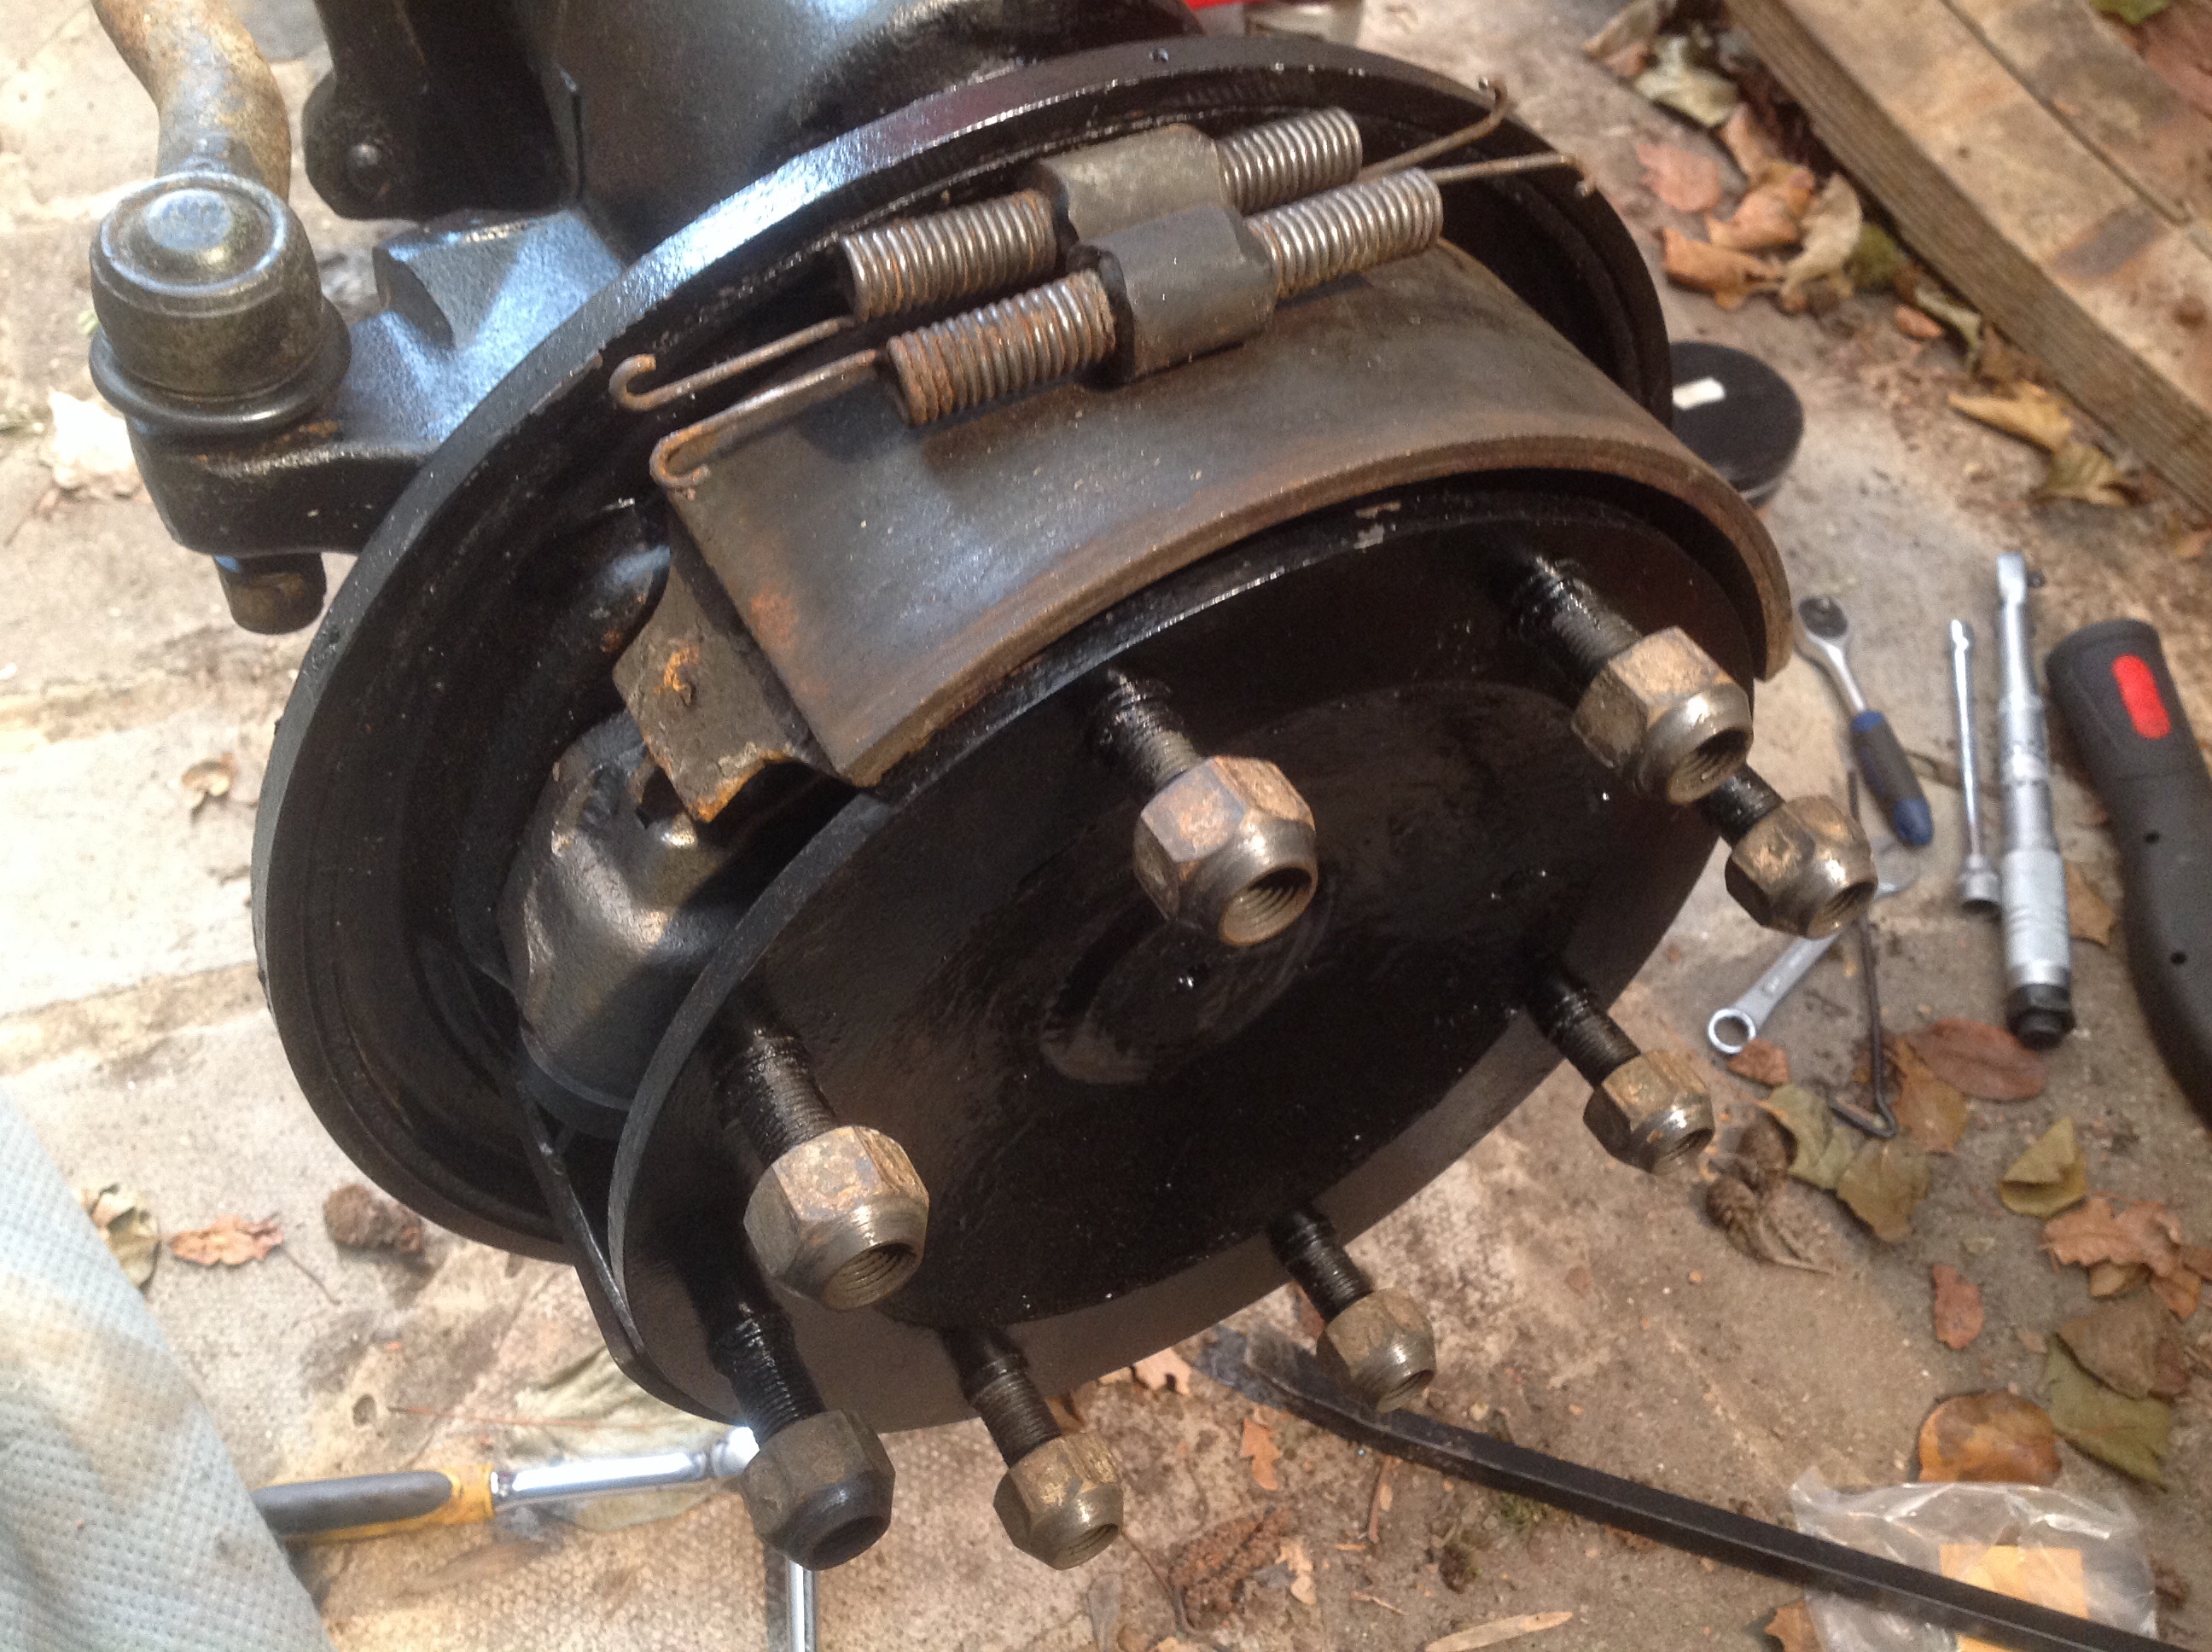
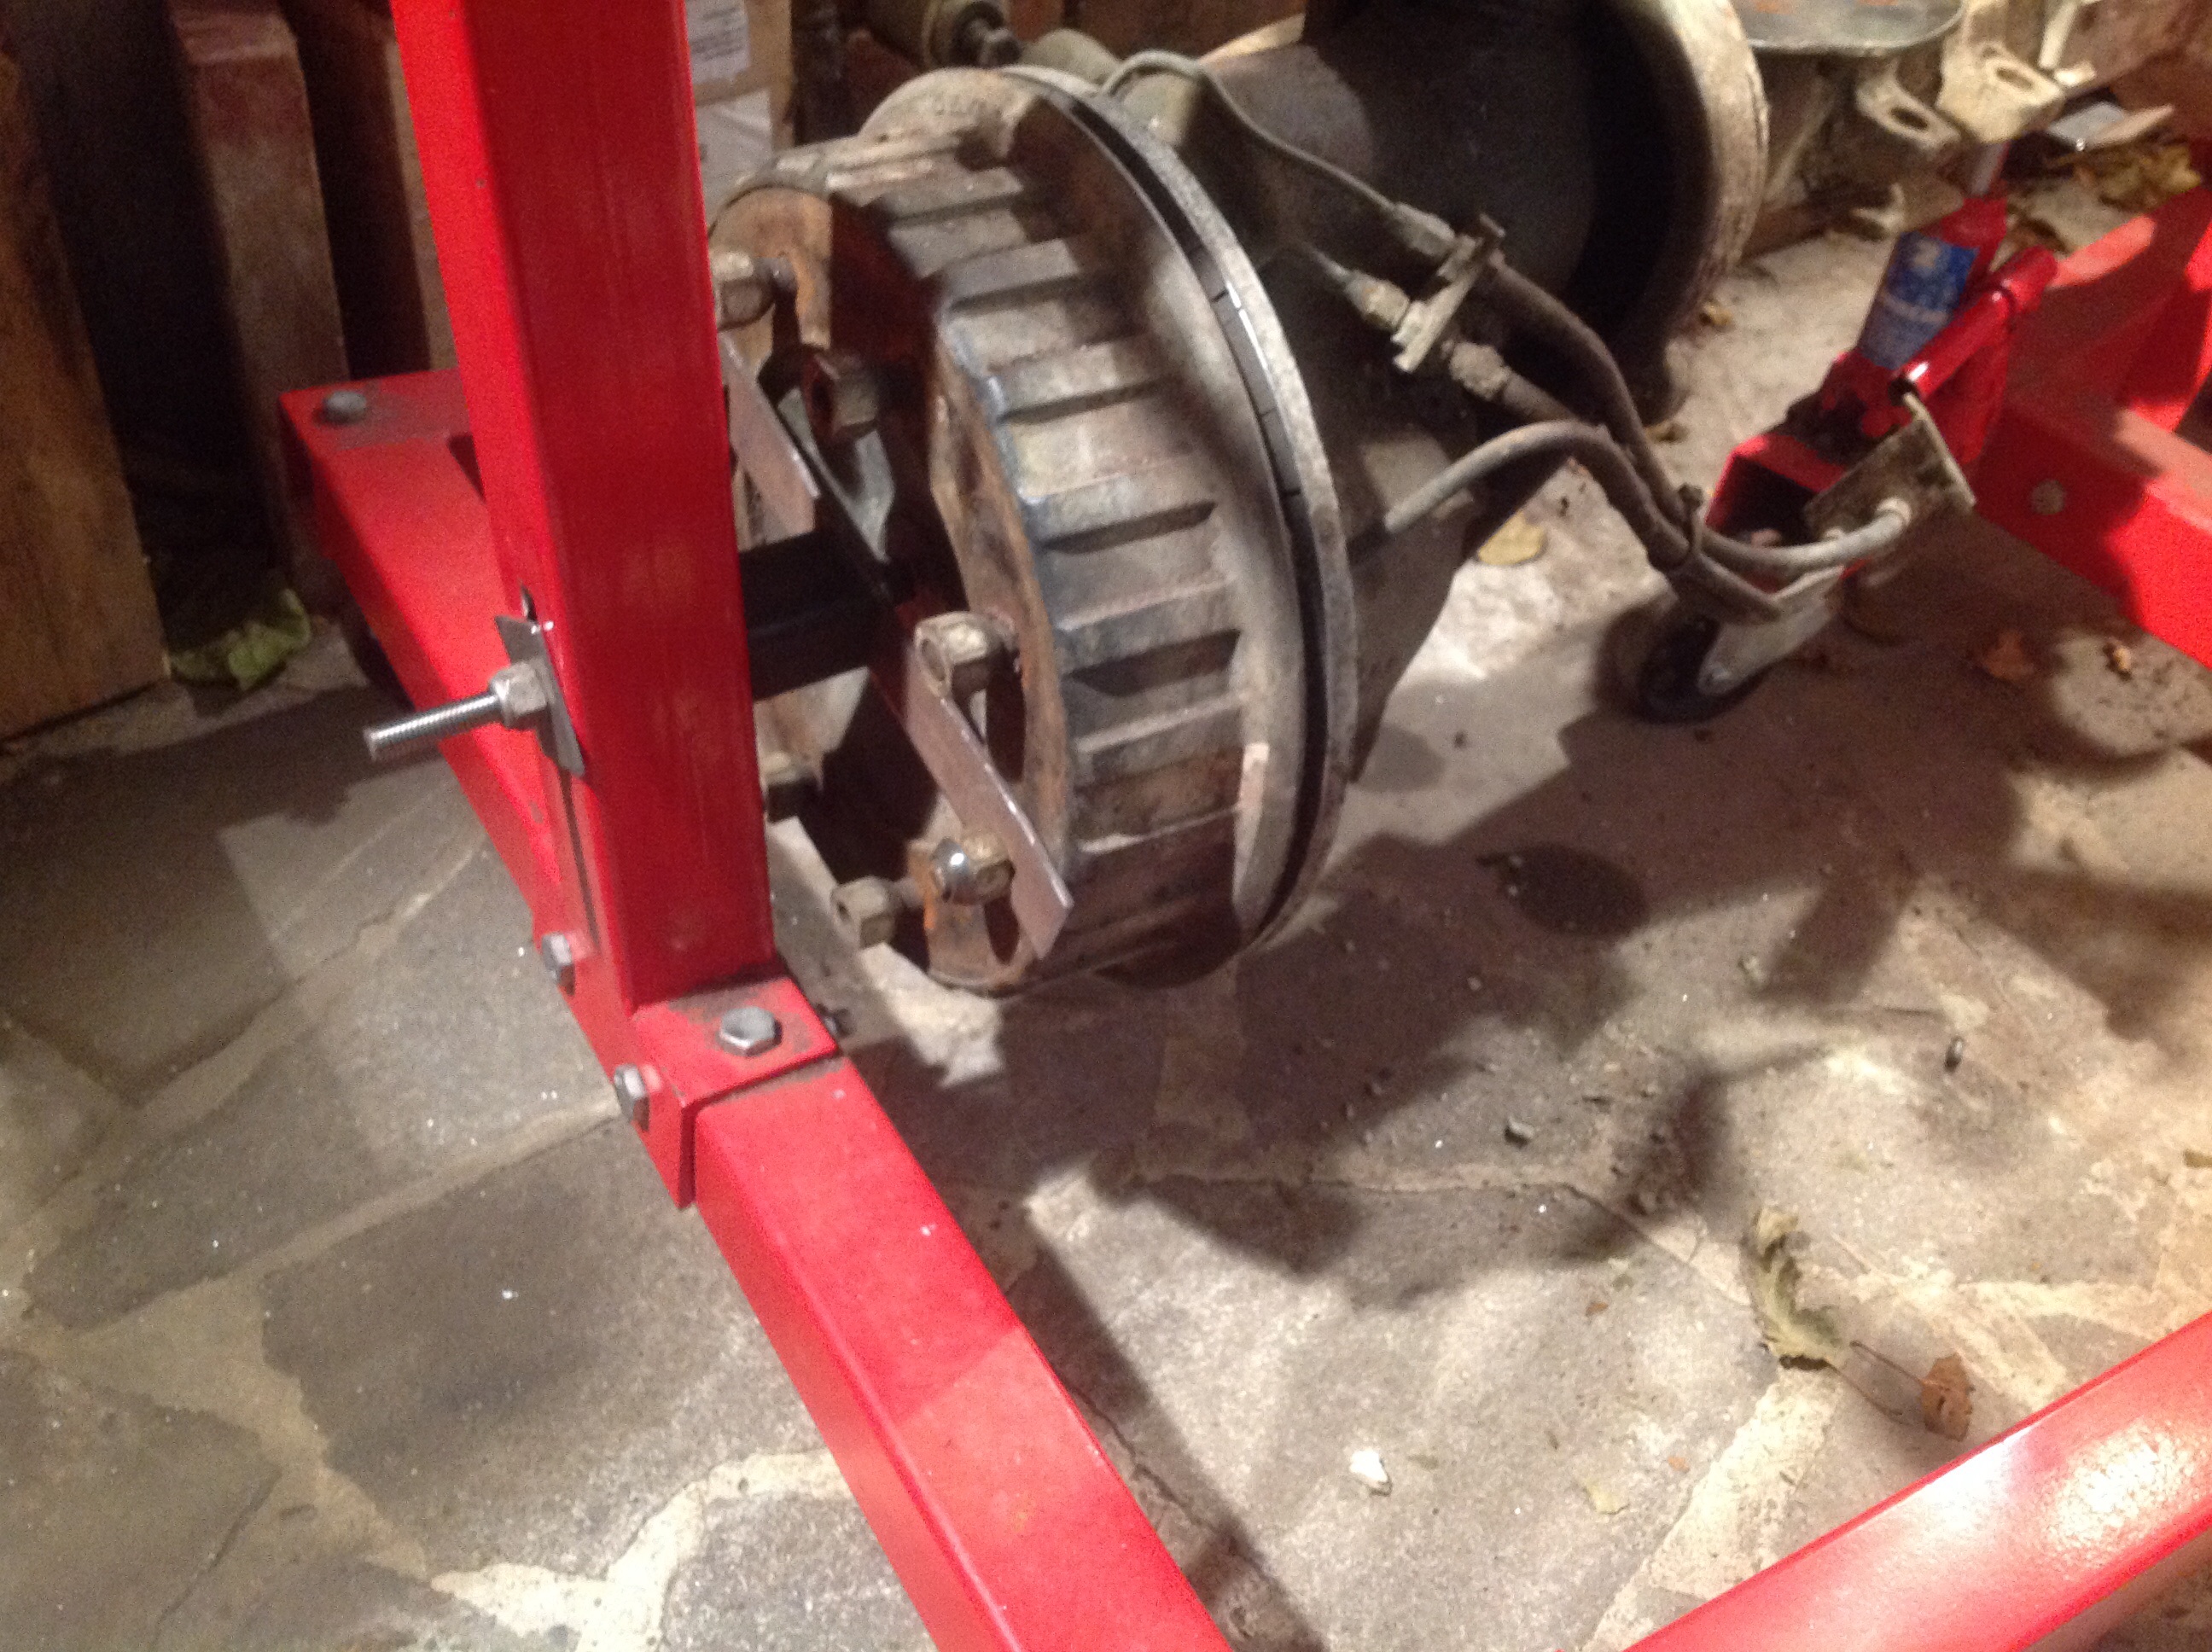
(1)Dislikes(0)Having not dealt with drum brakes before this is all a bit new but how hard can it be?
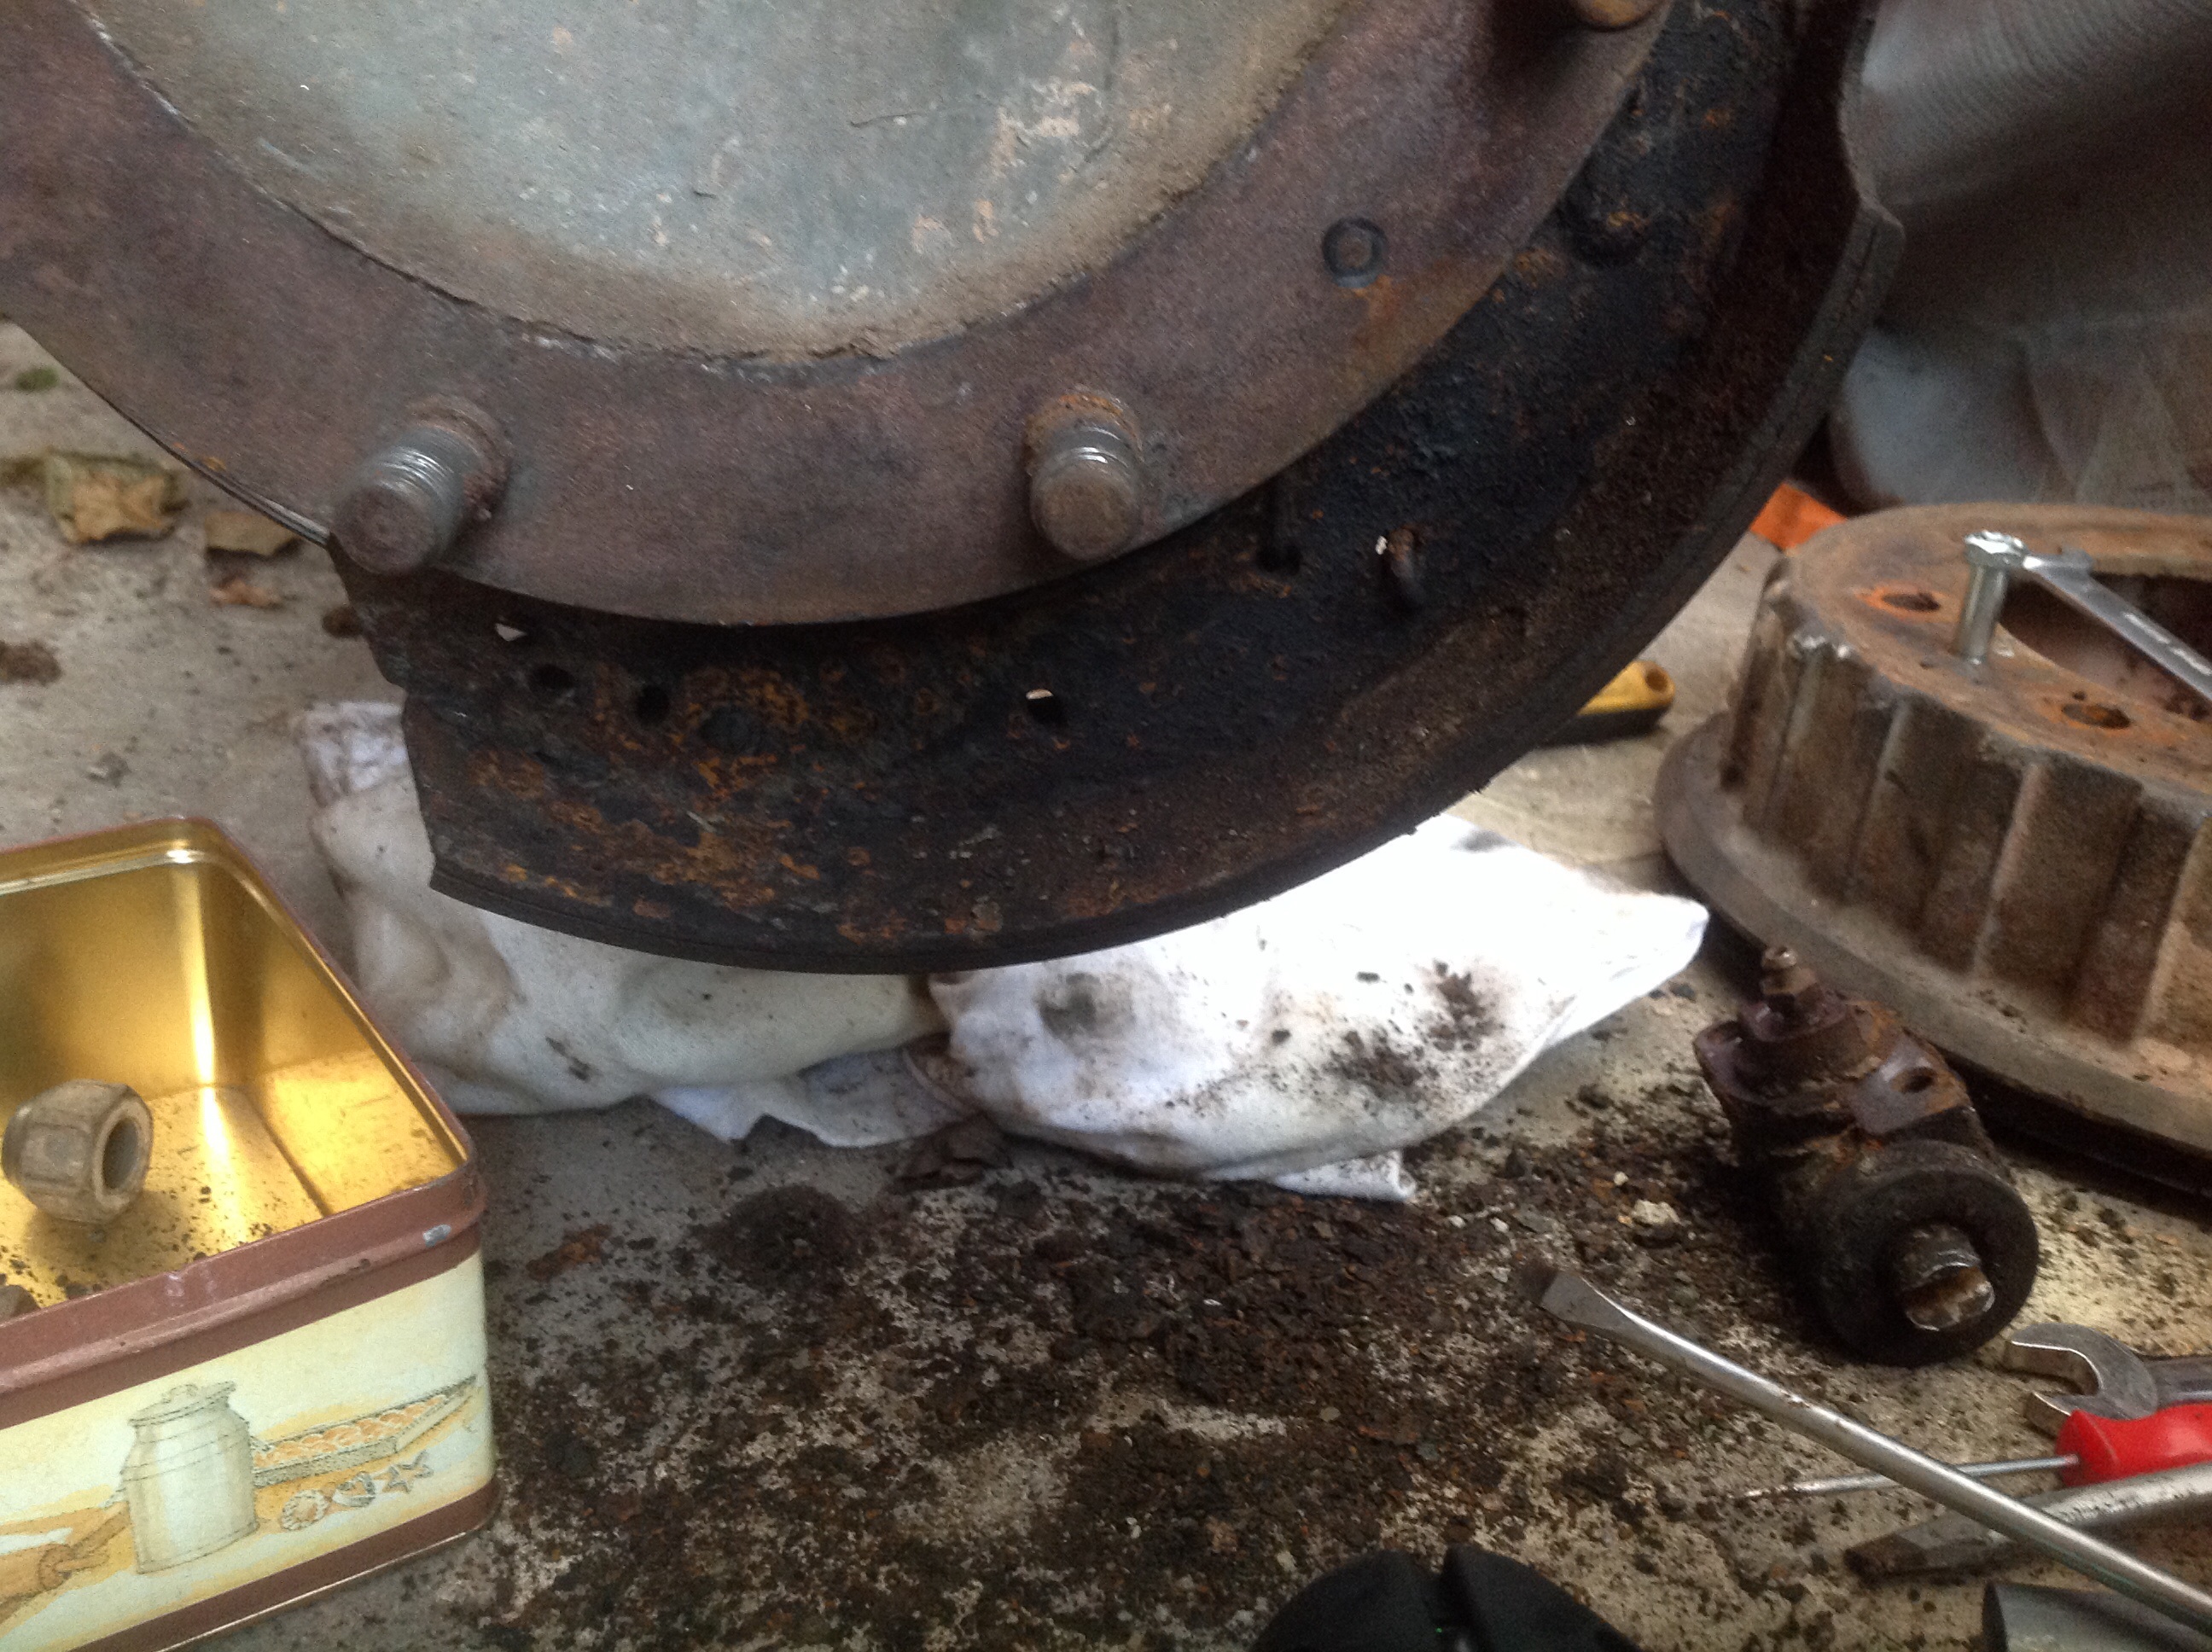
2 of 3/8 -24UNF bolts in the drum pull it off. would have been good to slack of the pads first, but it works anyway.
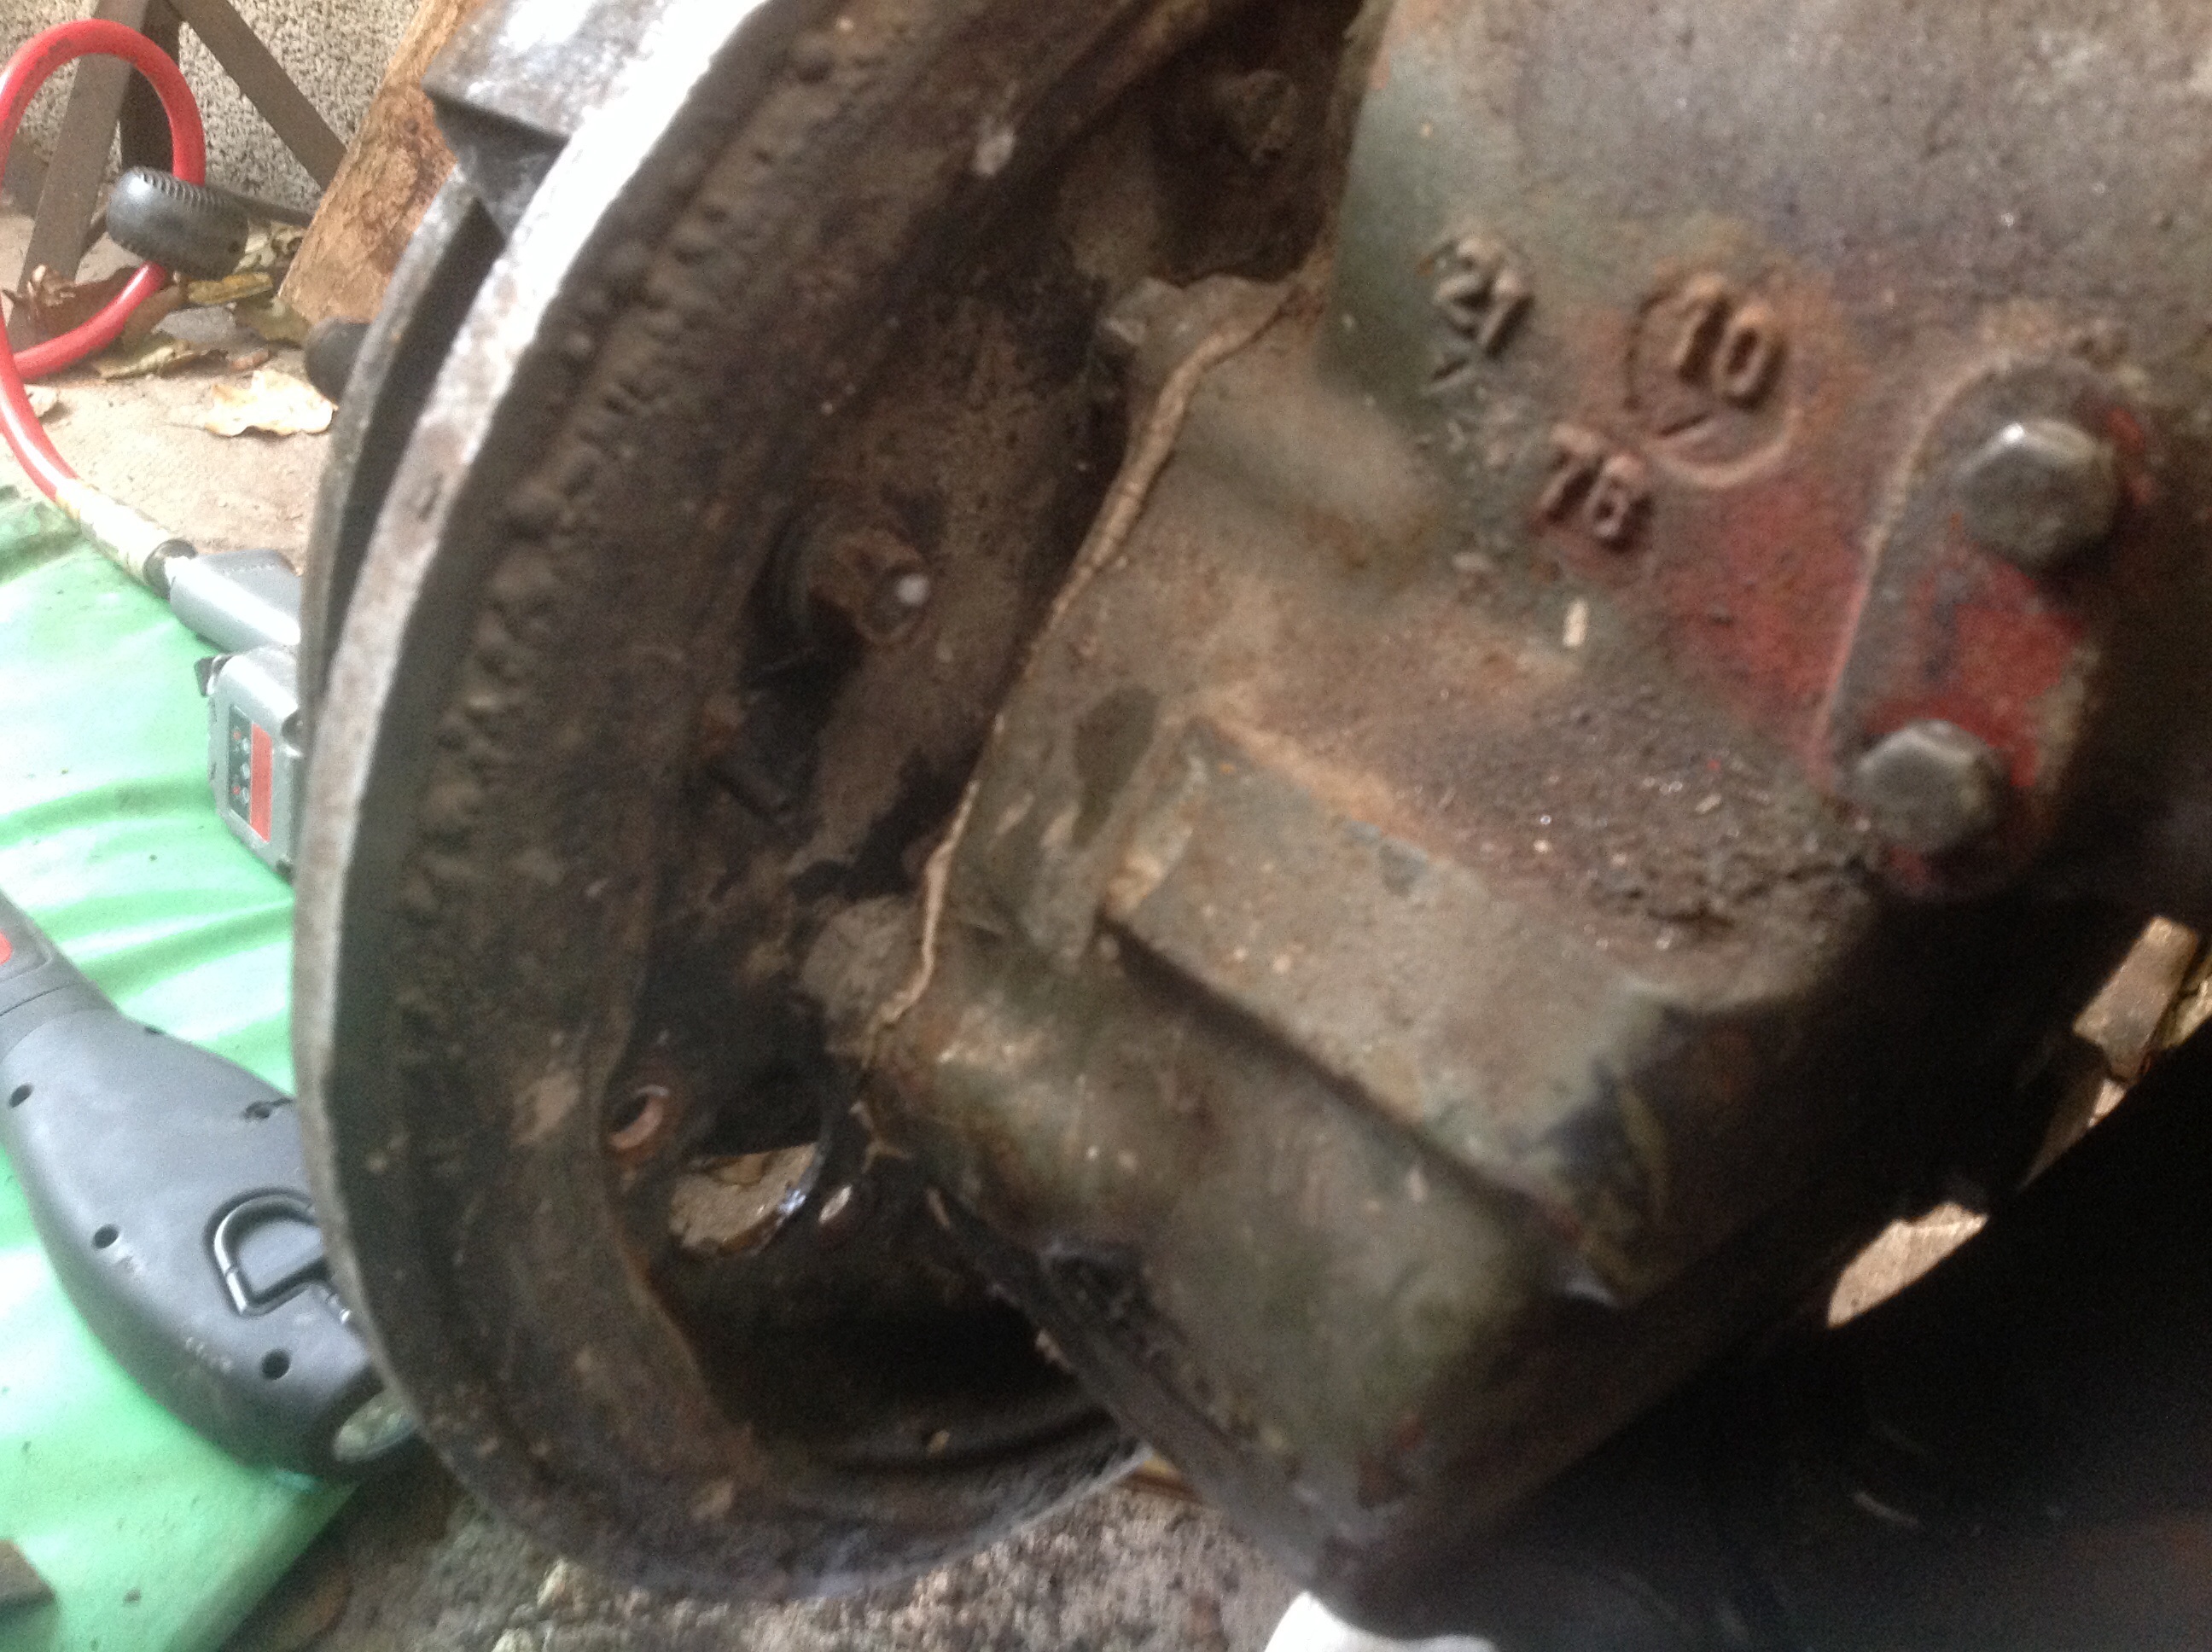
Managed to lift the pads out off the cylinders which allowed me to get at the smaller springs that go from pad to pad. Recording here they go back in the middle hole. With those off the larger springs become accessible, those that go from the hub to the pad. Got them off too
Does anyone know what the breather pipe is for? Seems pointless.
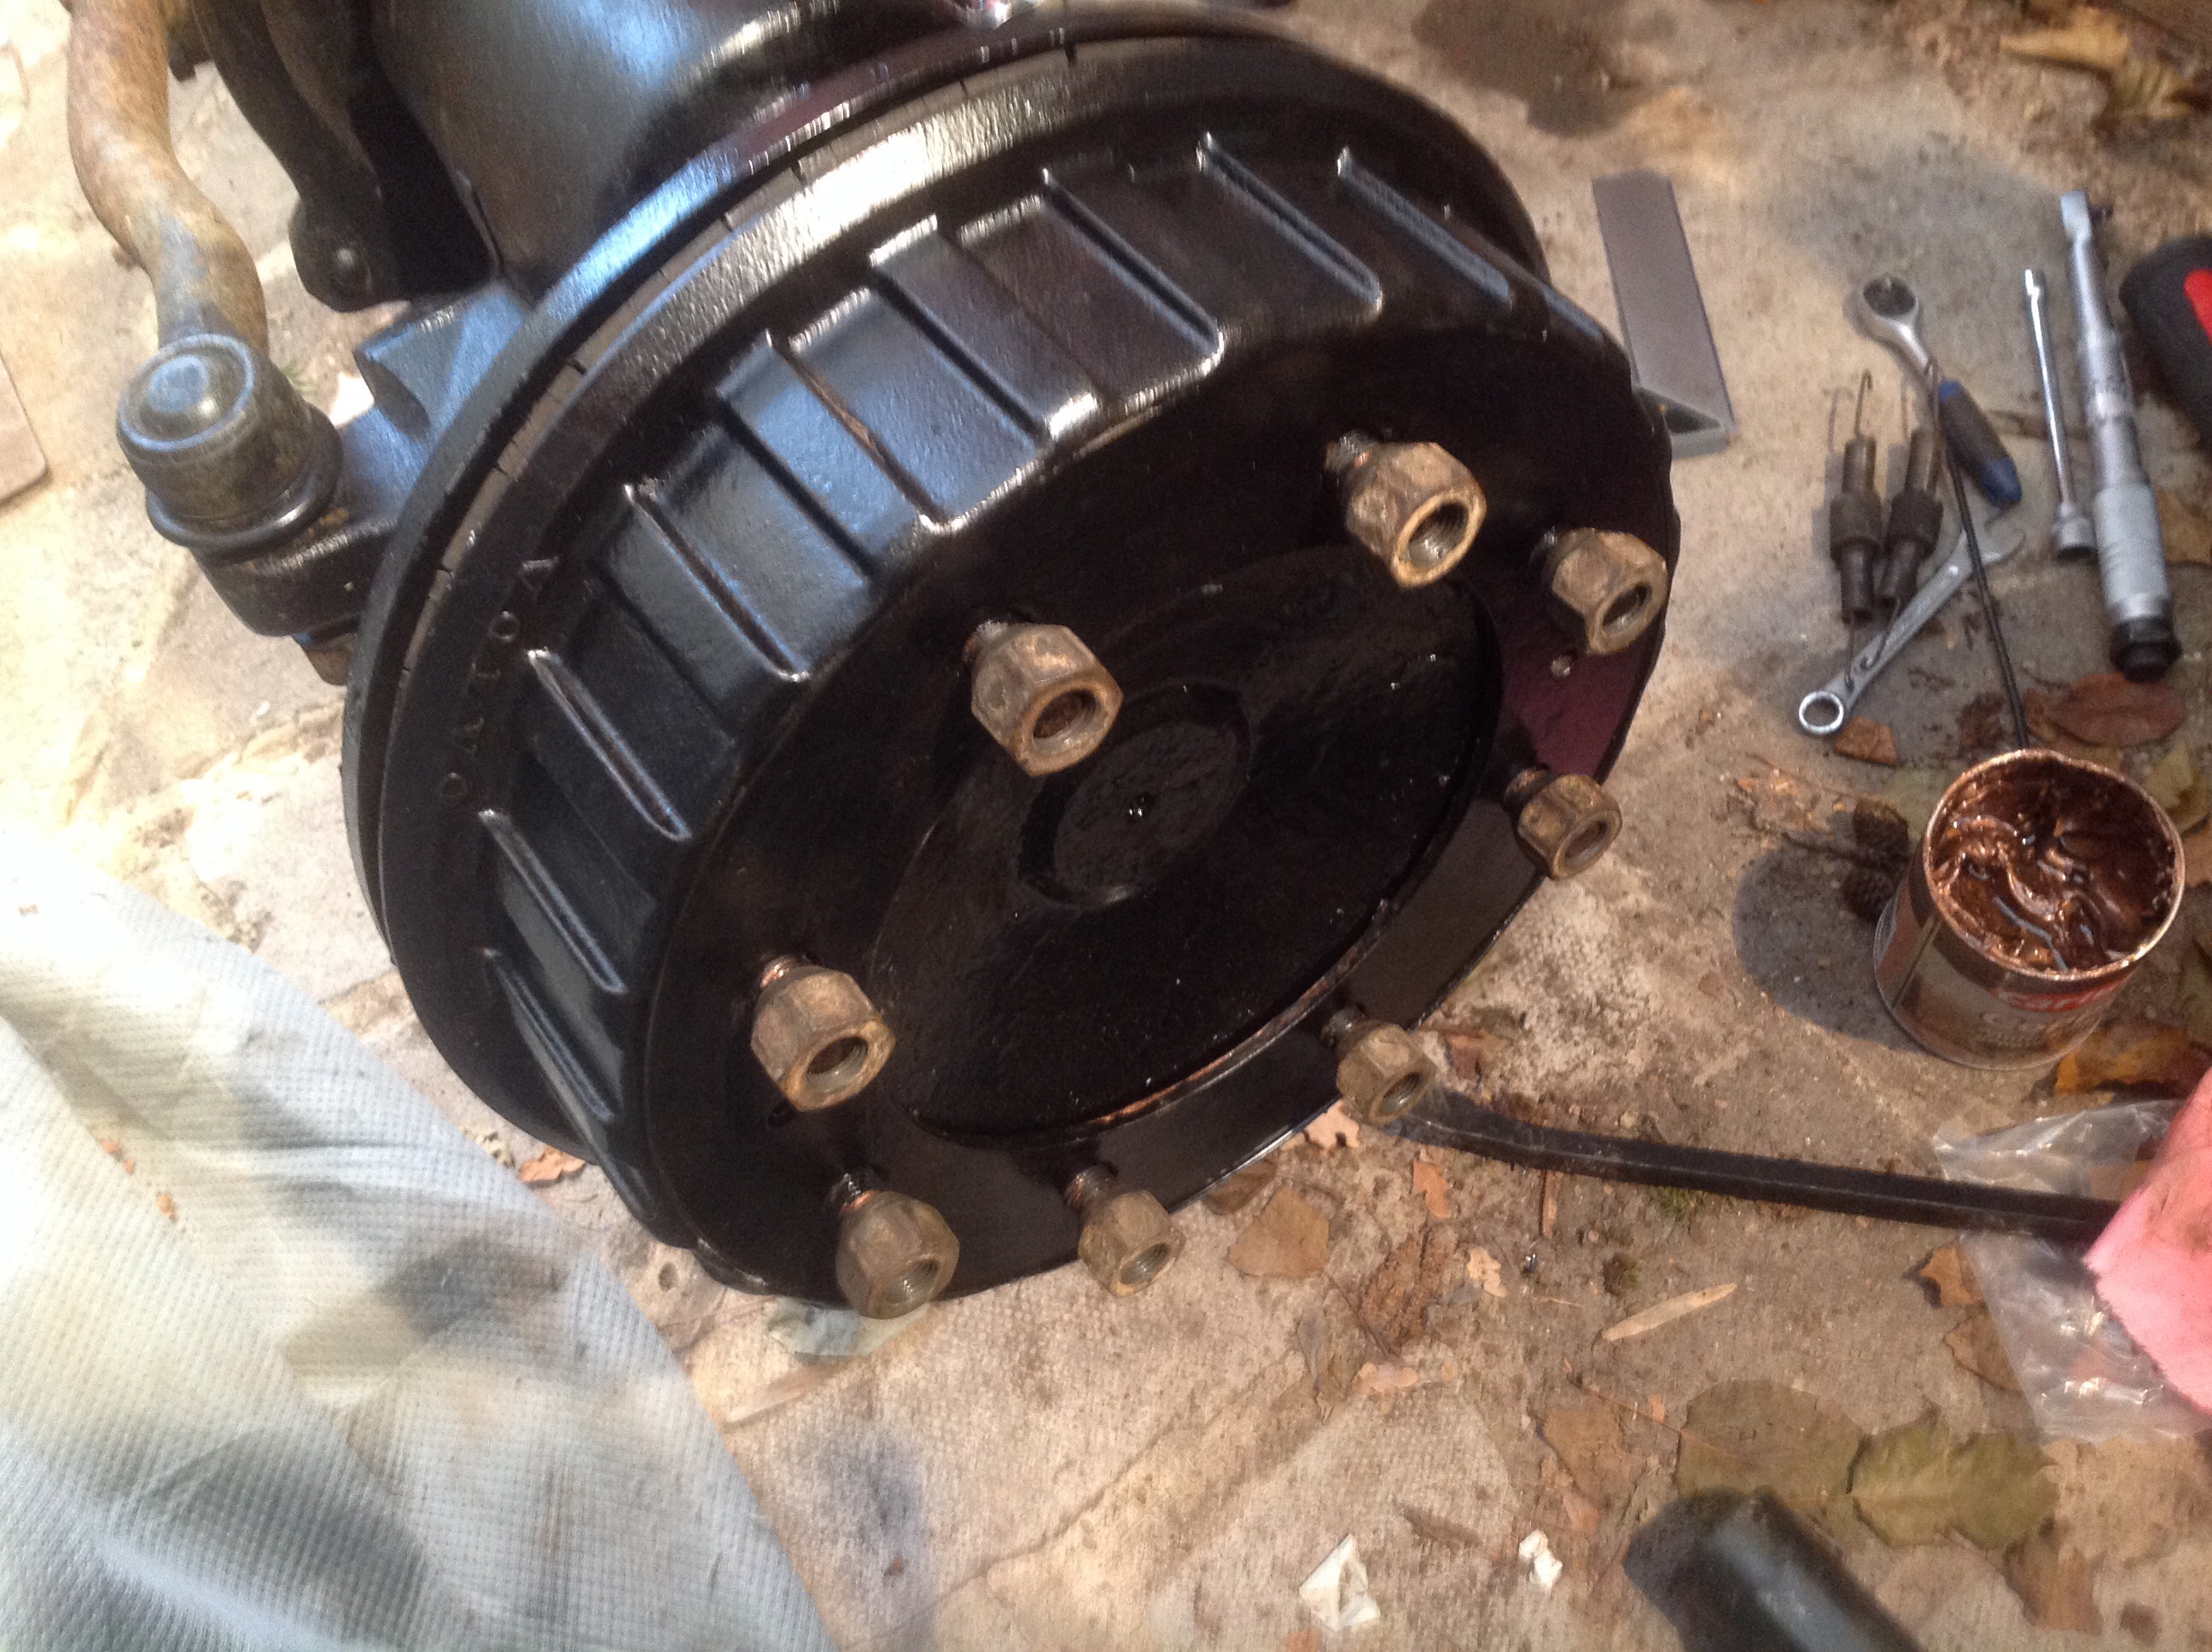
Now a quick wash
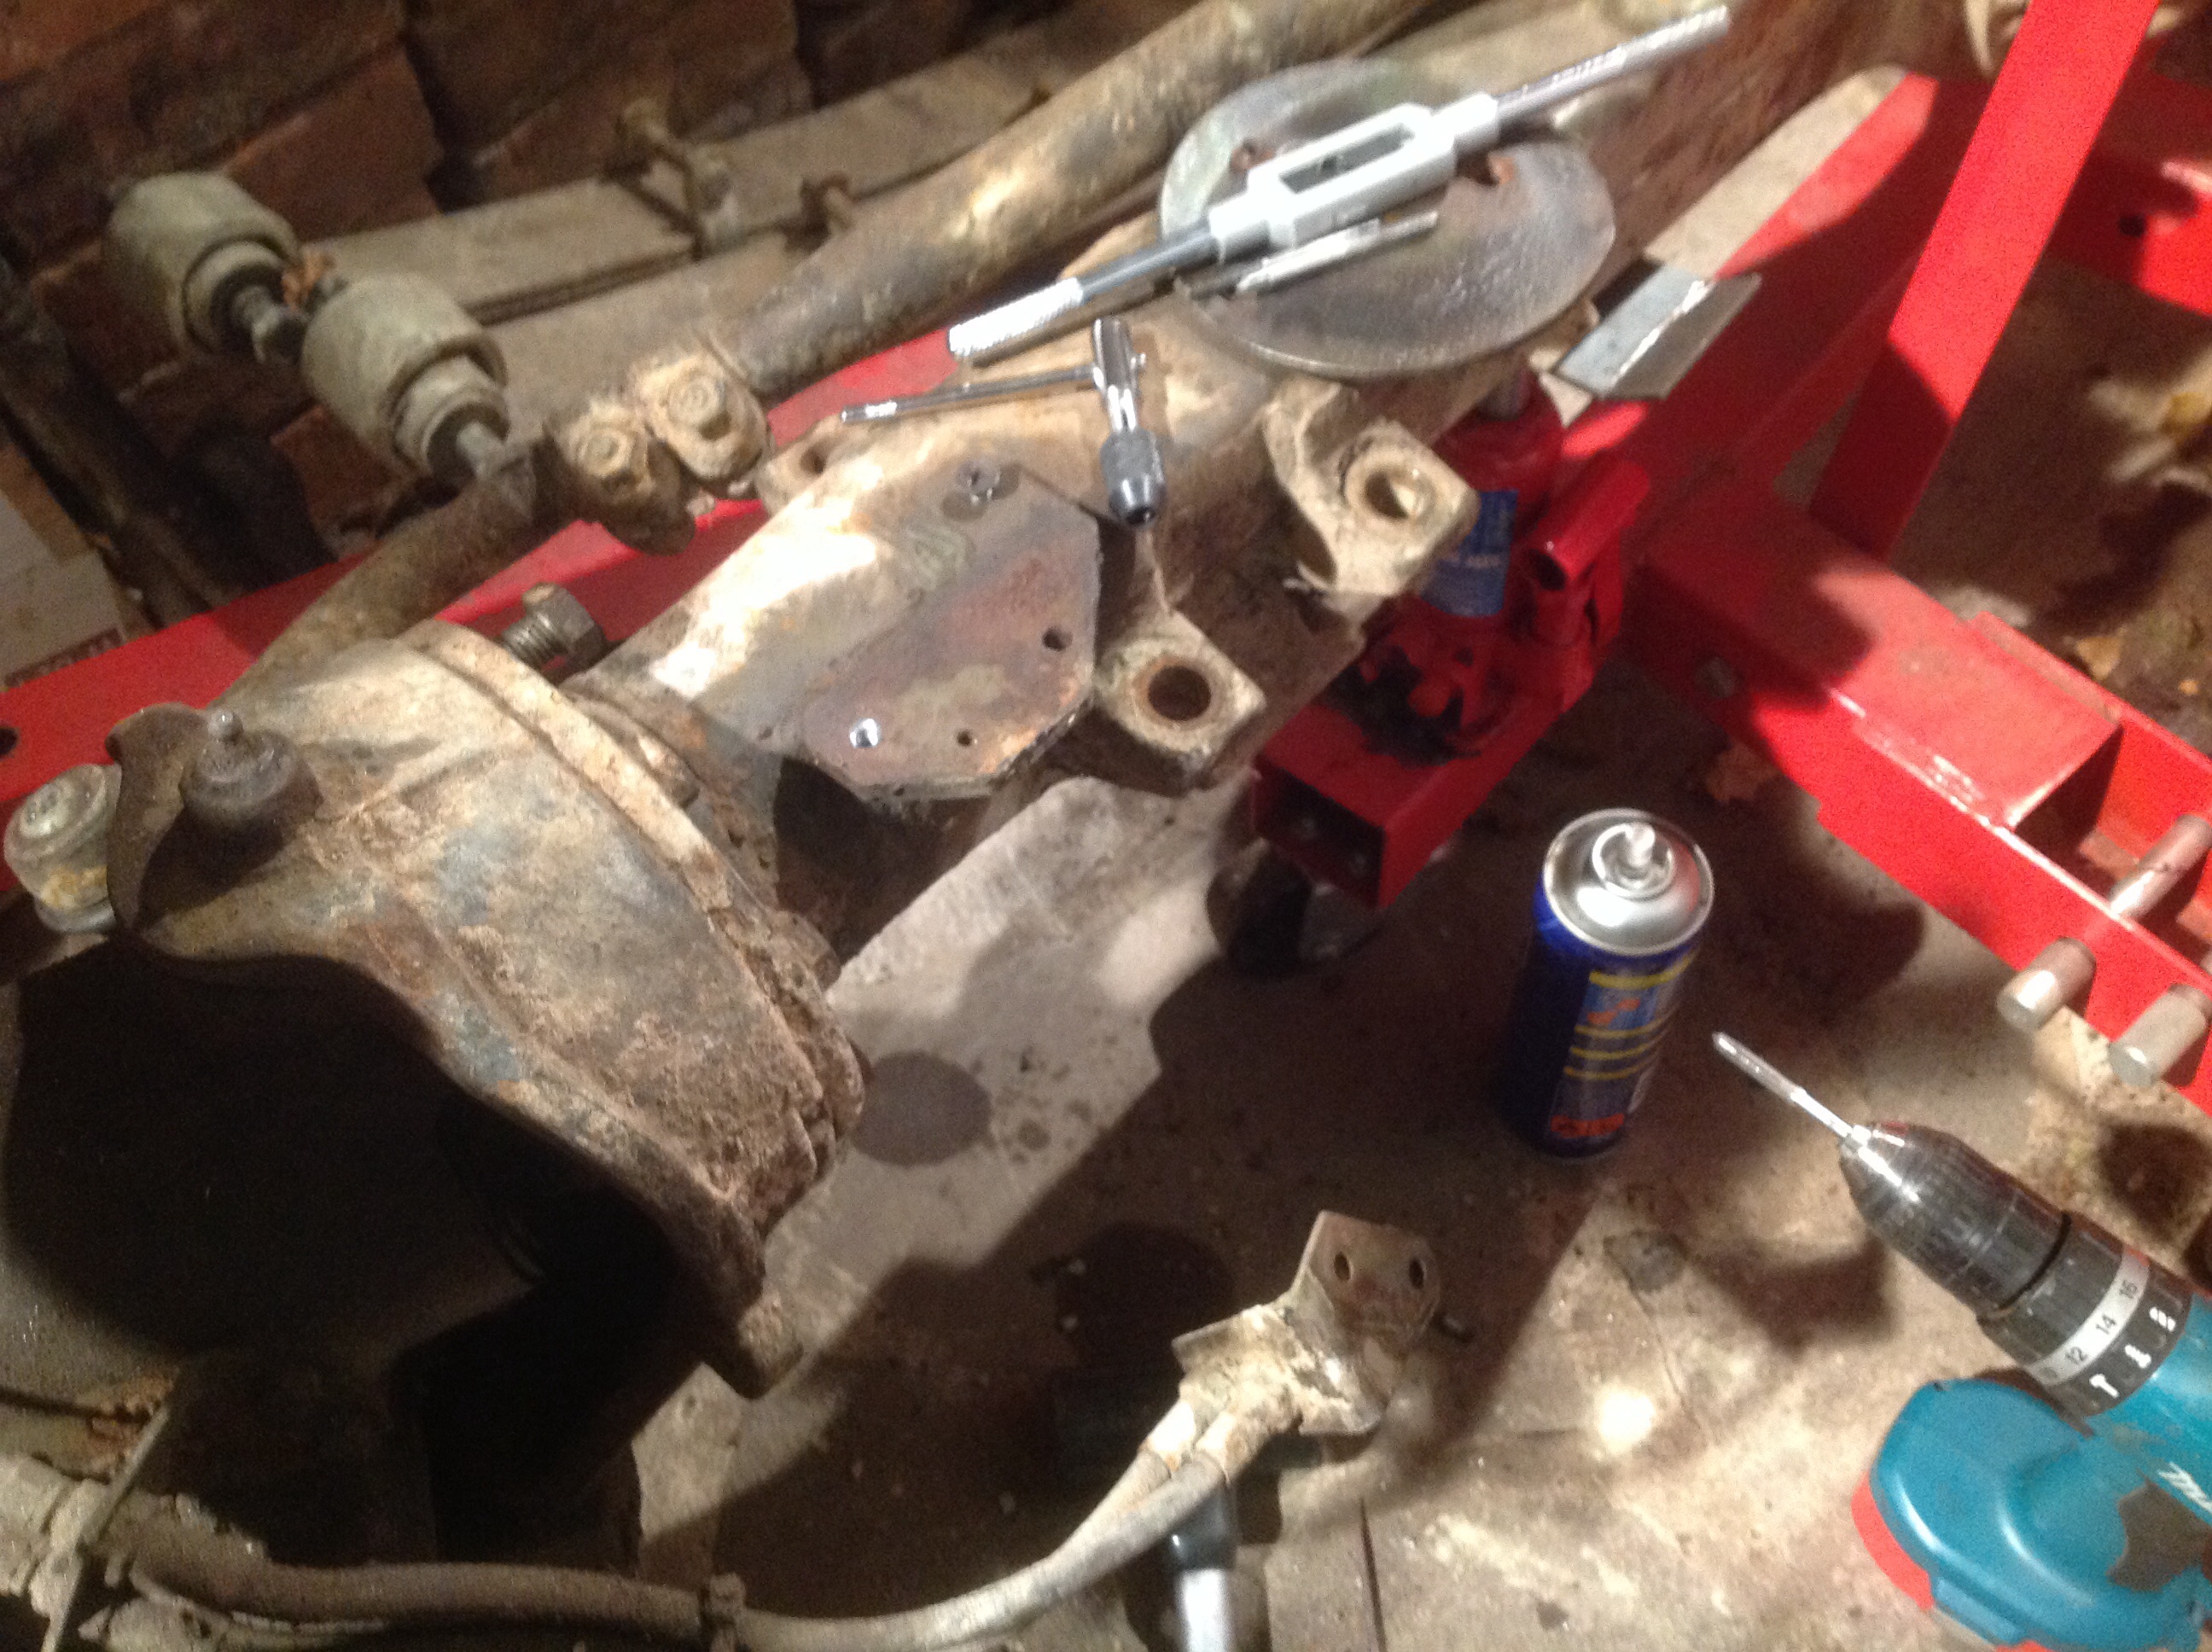
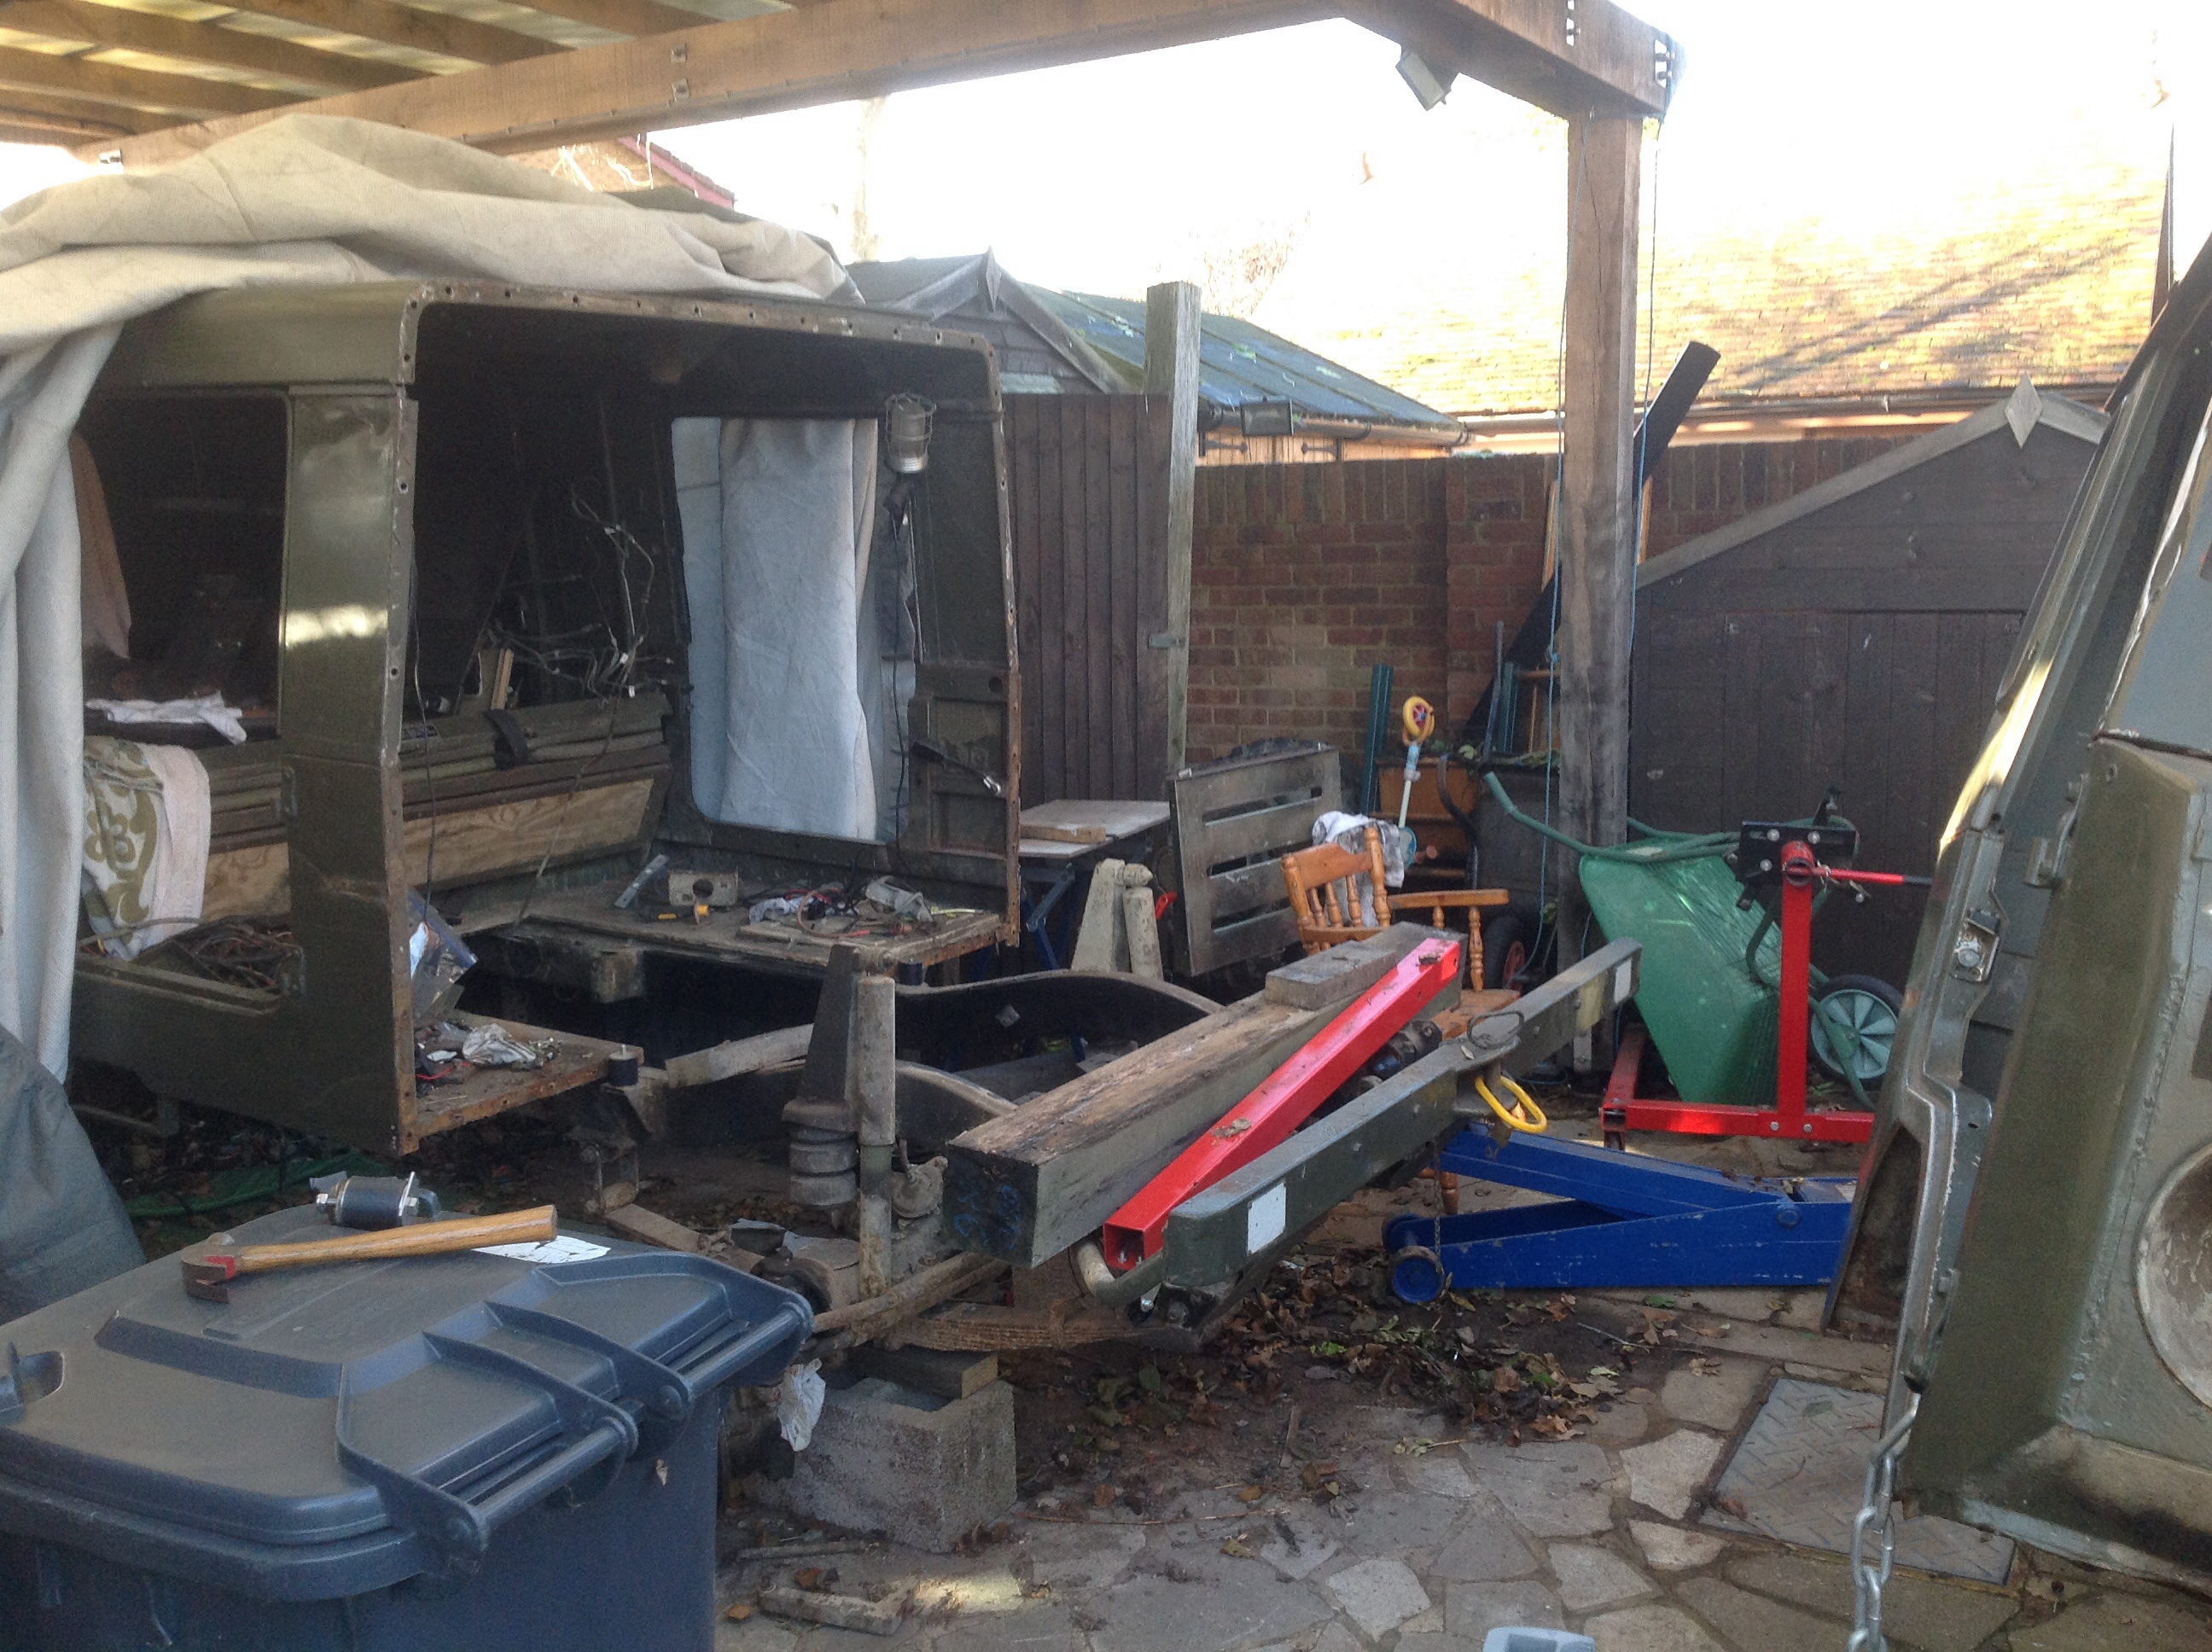
(2)Dislikes(0)I’ve a few different sub projects on the go right now, not finishing any of them, but hey ho.
this one will document the swapping of the cv boot.
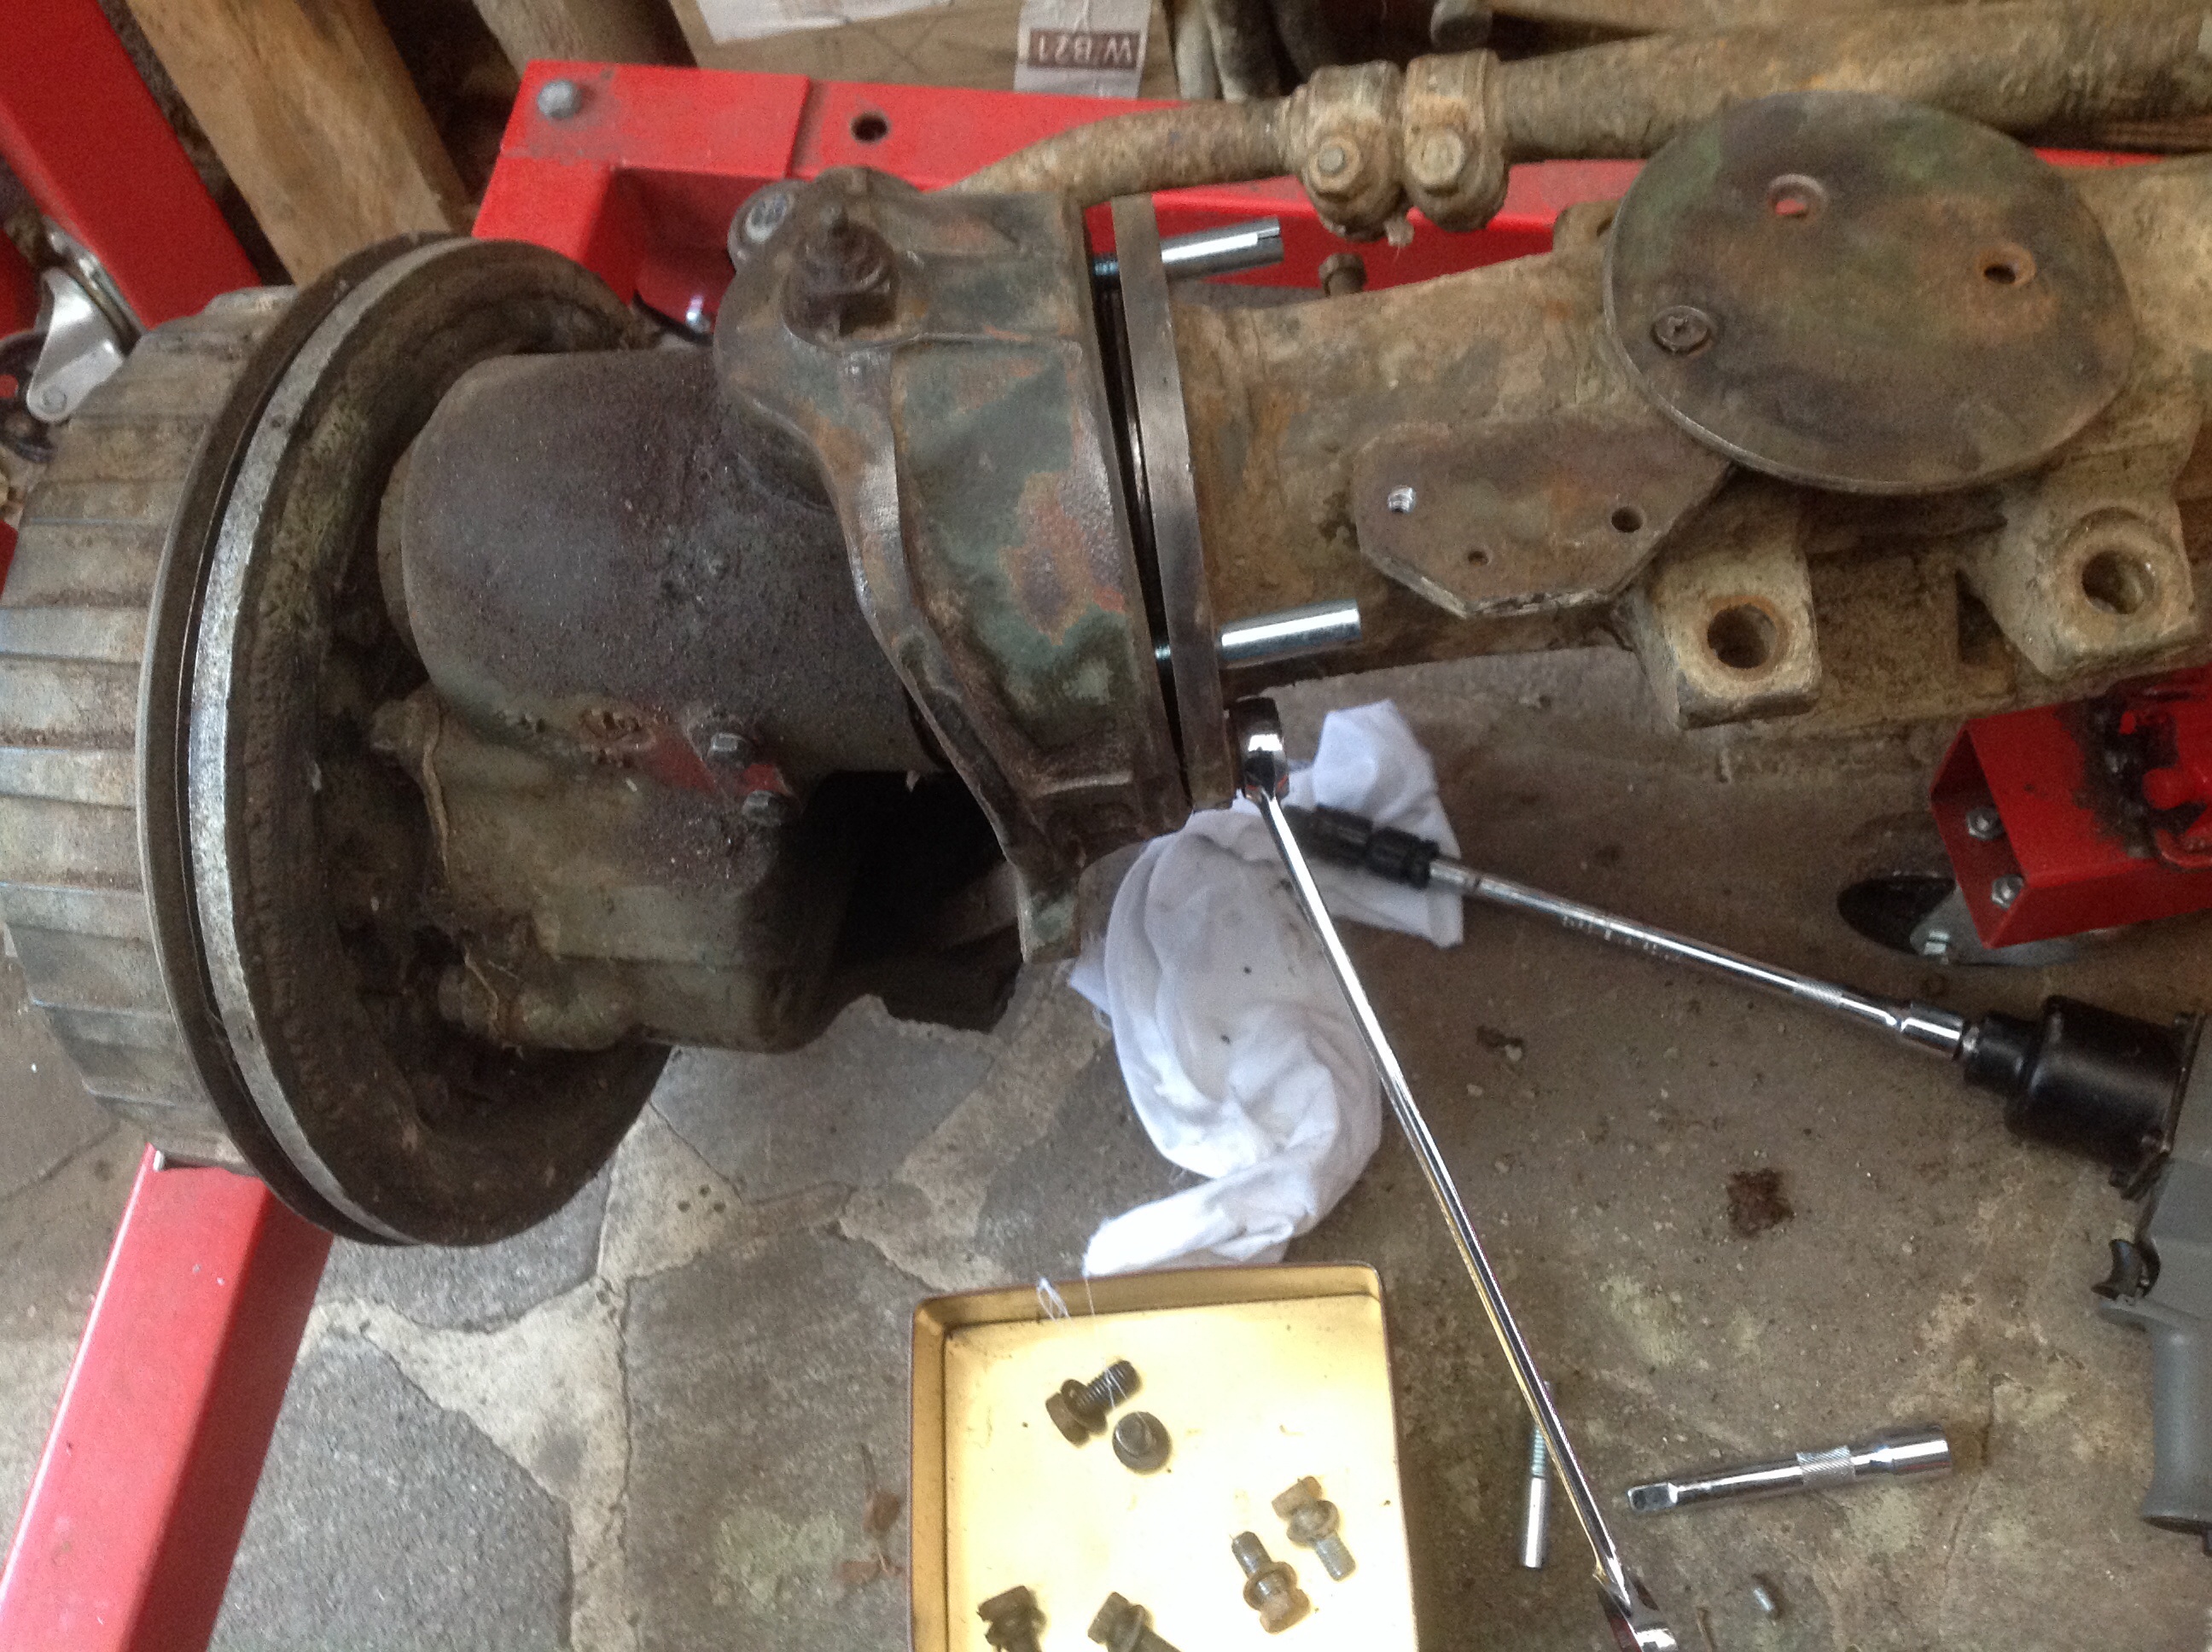
the axle is off the truck so access is easy. I made an axle trolley by welding a couple of cheap bottle jack onto my broken engine crane stand.
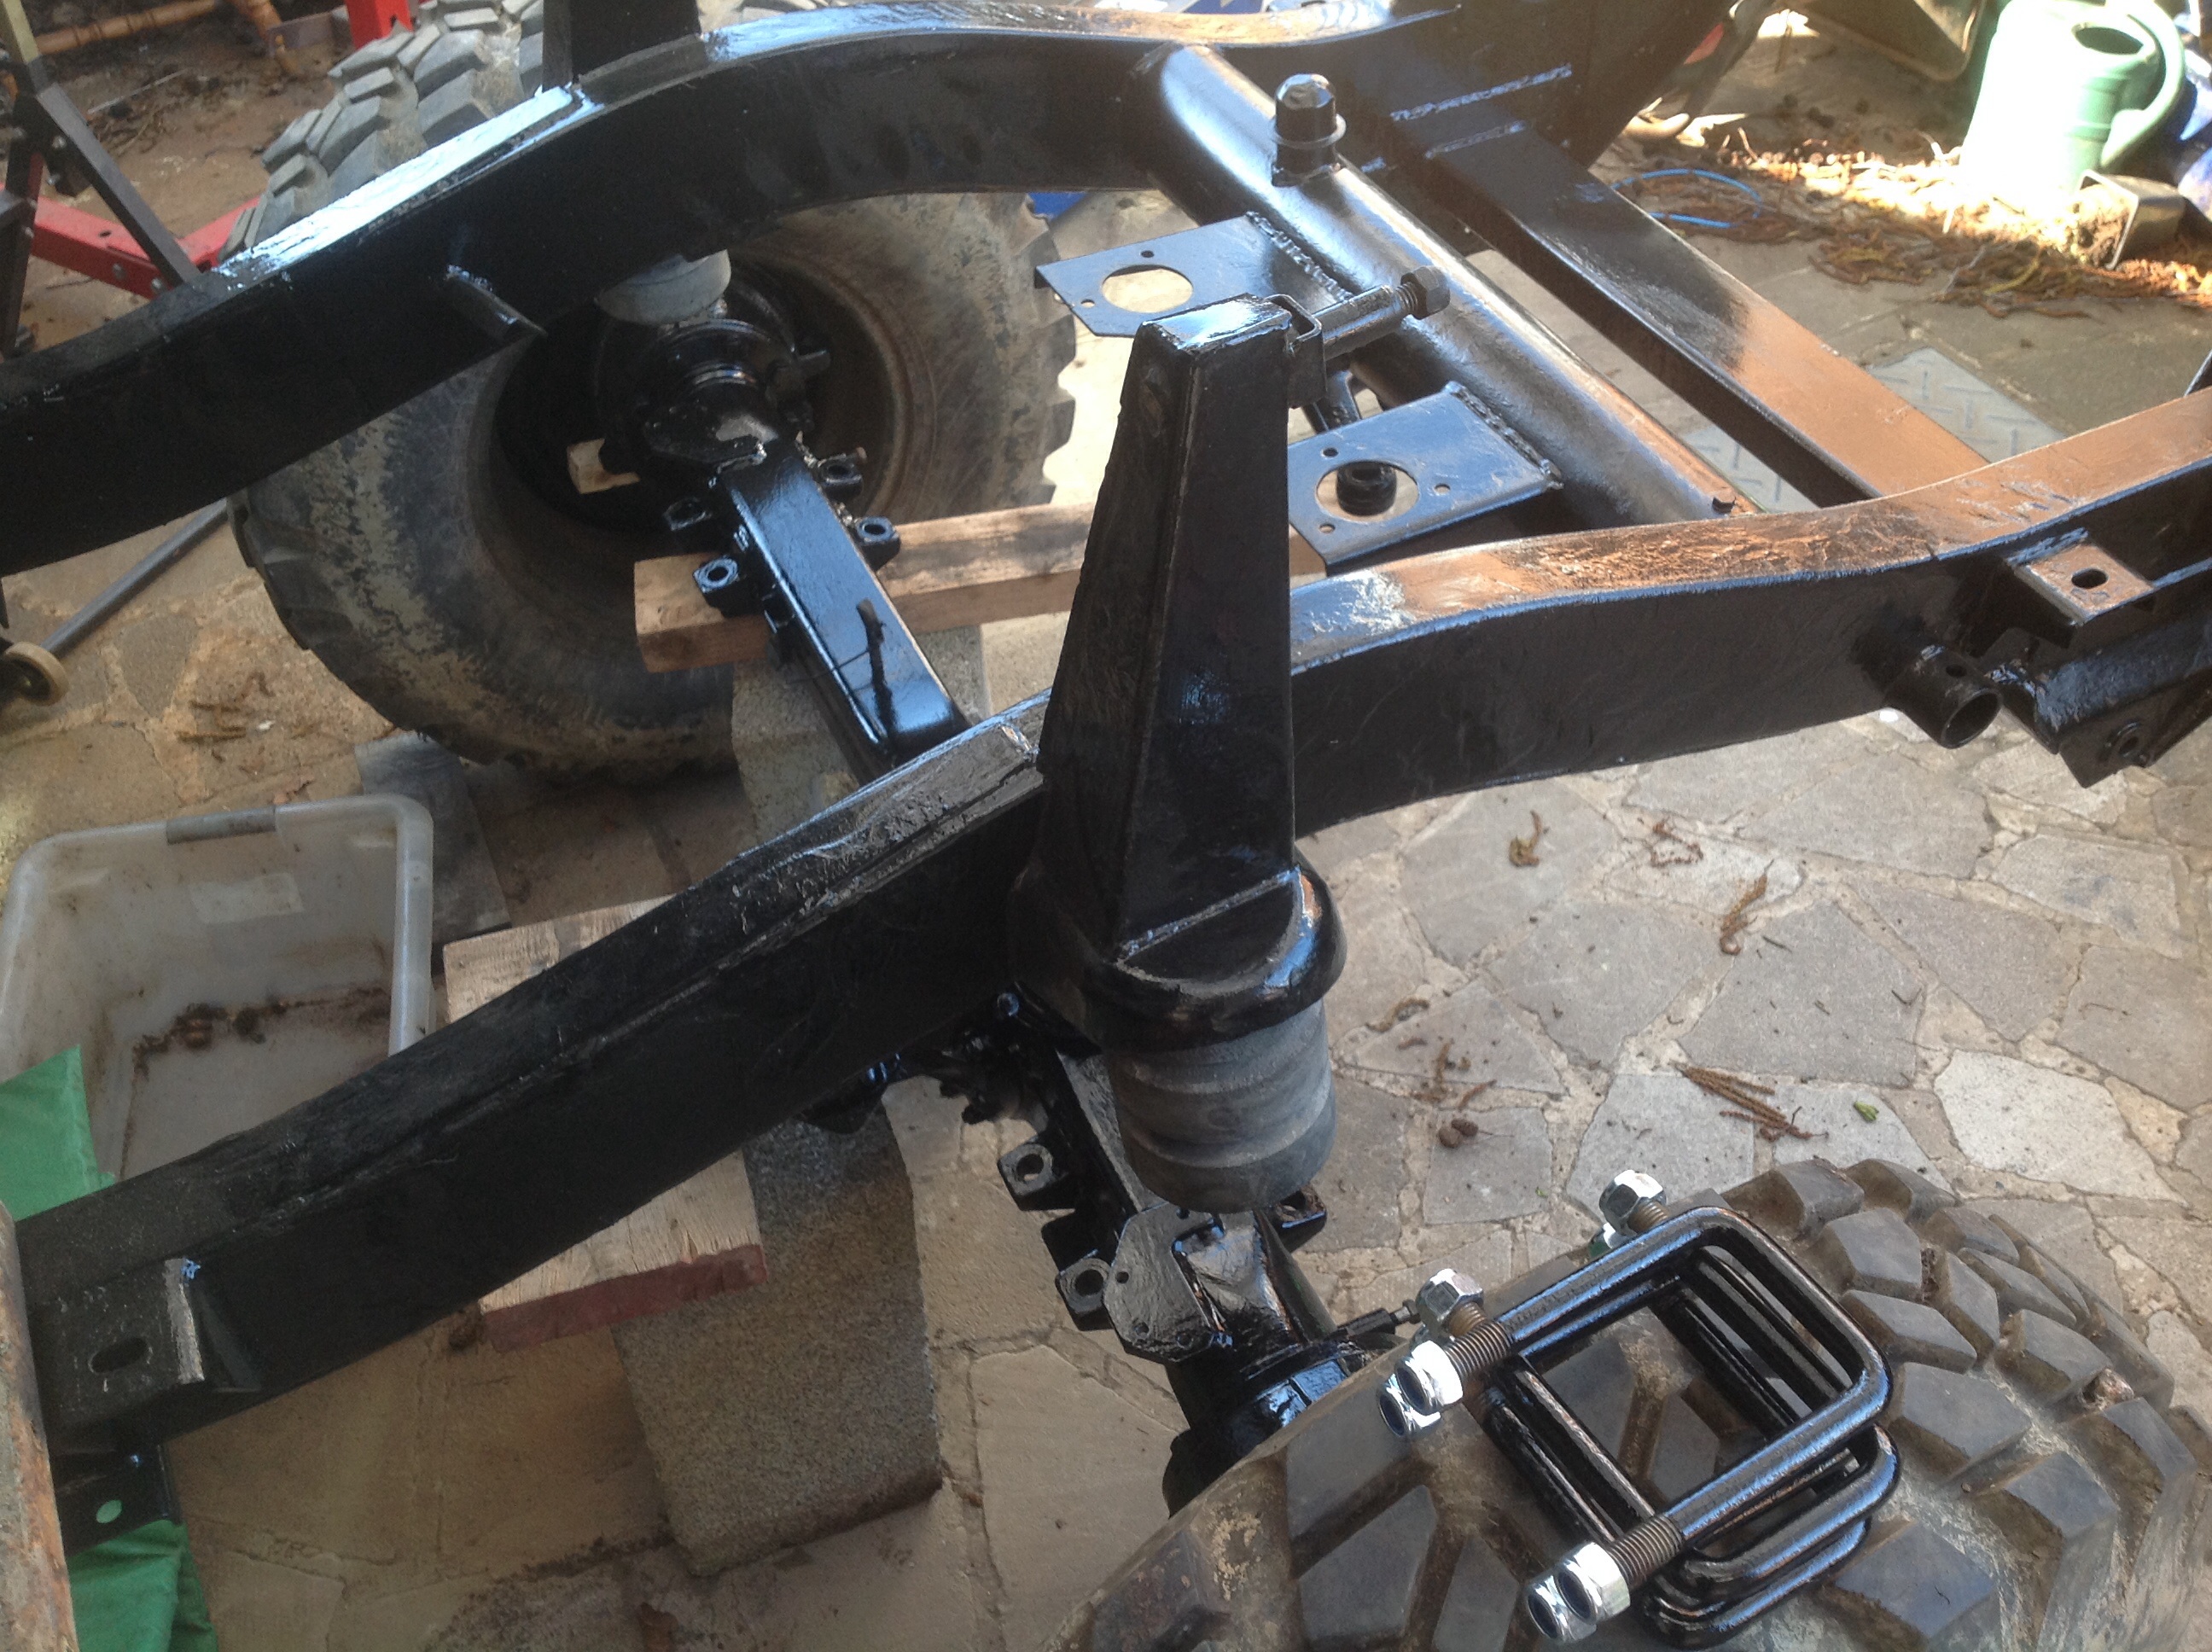
trying to remove the bump stop plate was a pain. As always 2 of the 3 fixings came out but there is always 1 that won’t. That one had to be drilled out and re tapped. Not sure what it was to start with, but now it’s m6
next i have made a wheel carrier using some scrap iron and my engine stand. then ran out of time.
2 guide pins created out of 1/2″ UNC bolts inserted
Wheel carrier removed
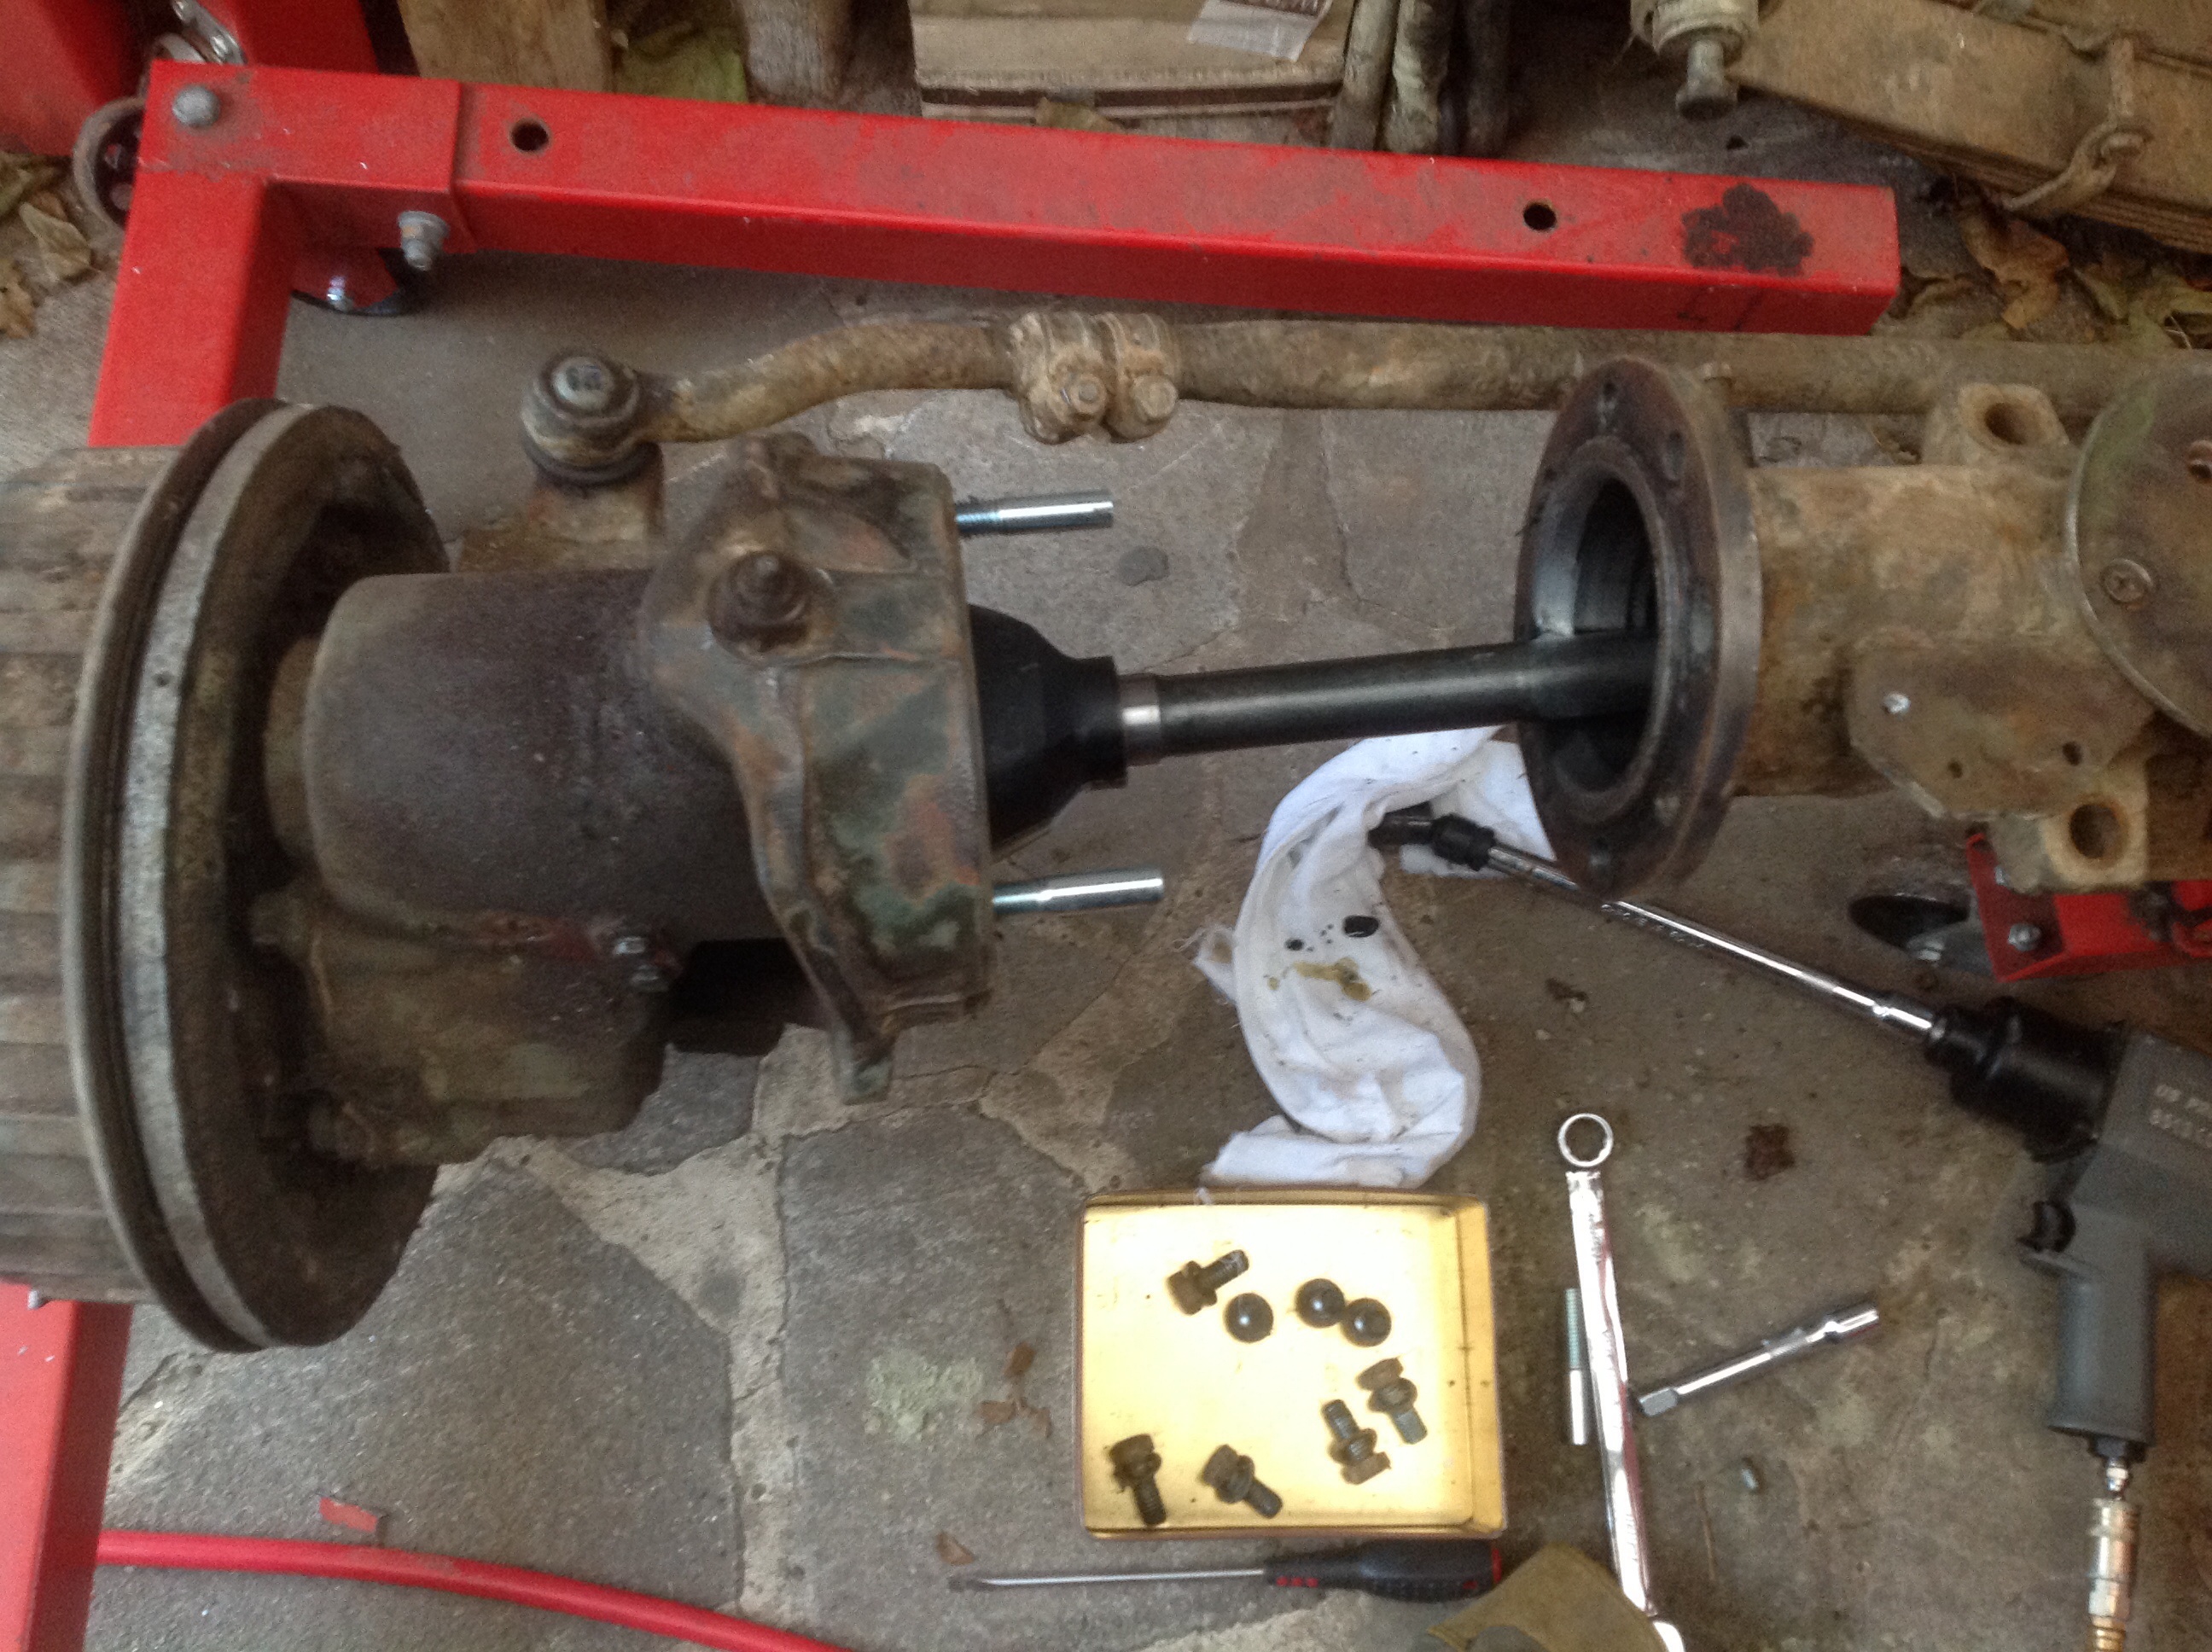
CV boot teased out with a pry bar
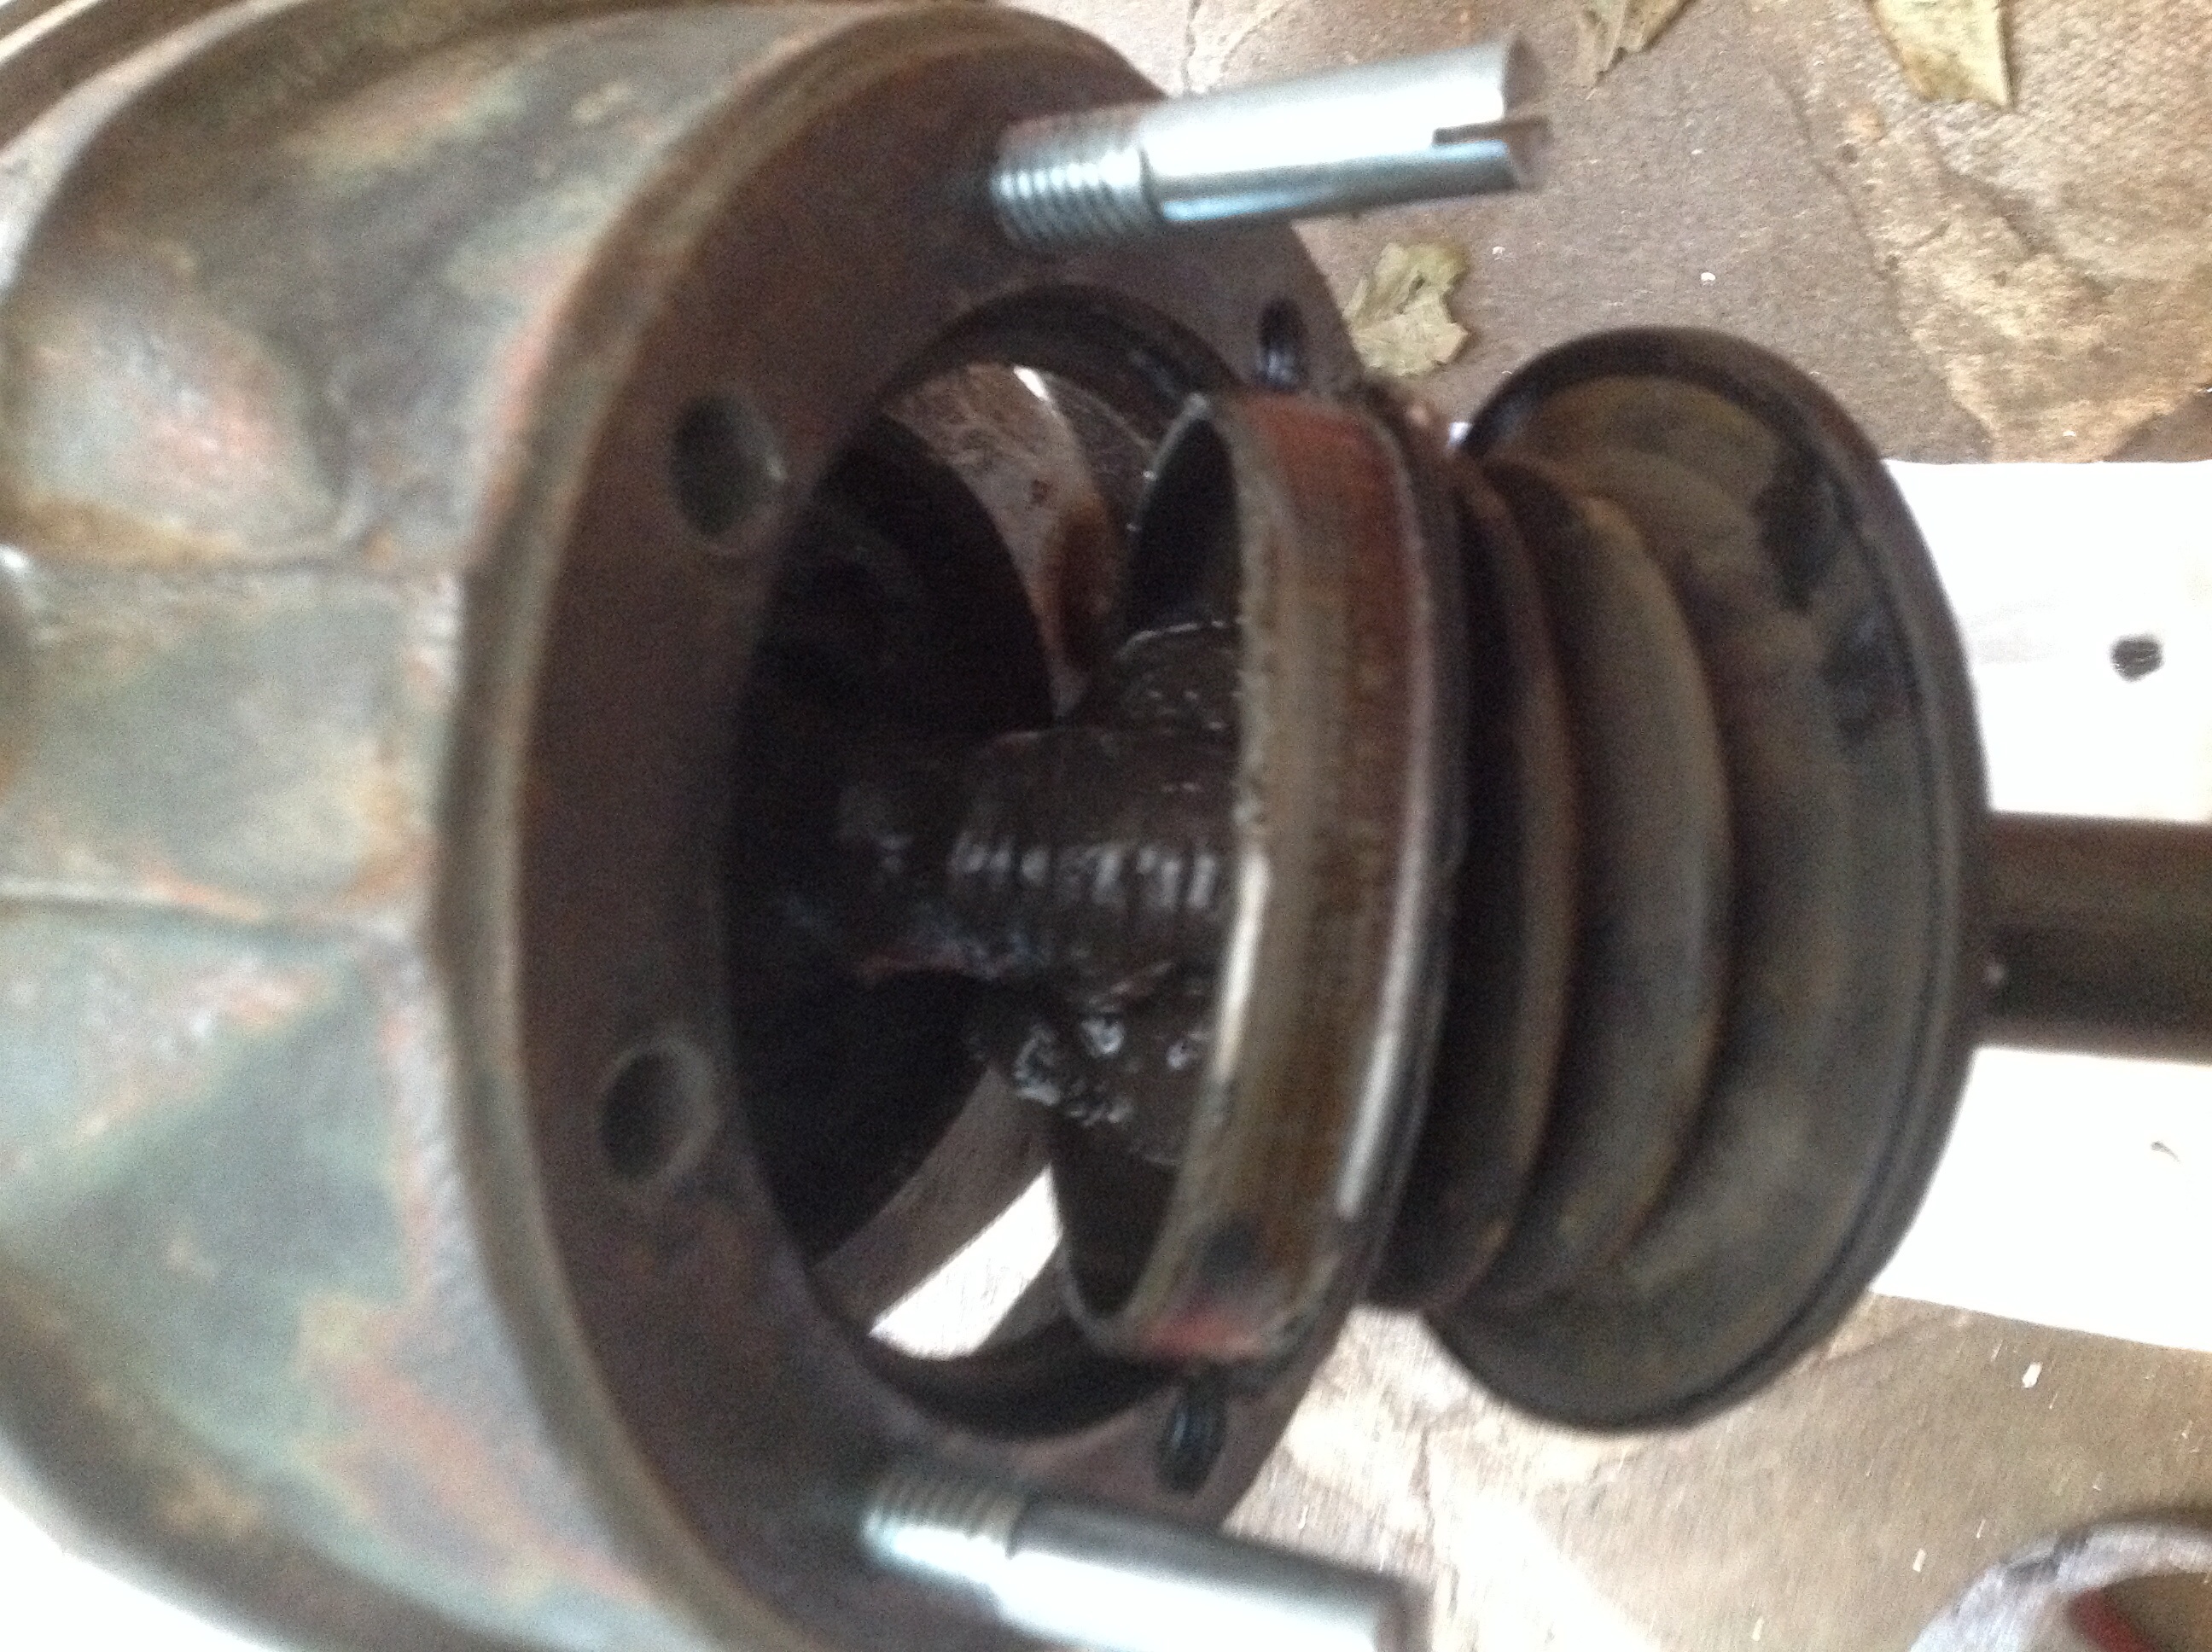
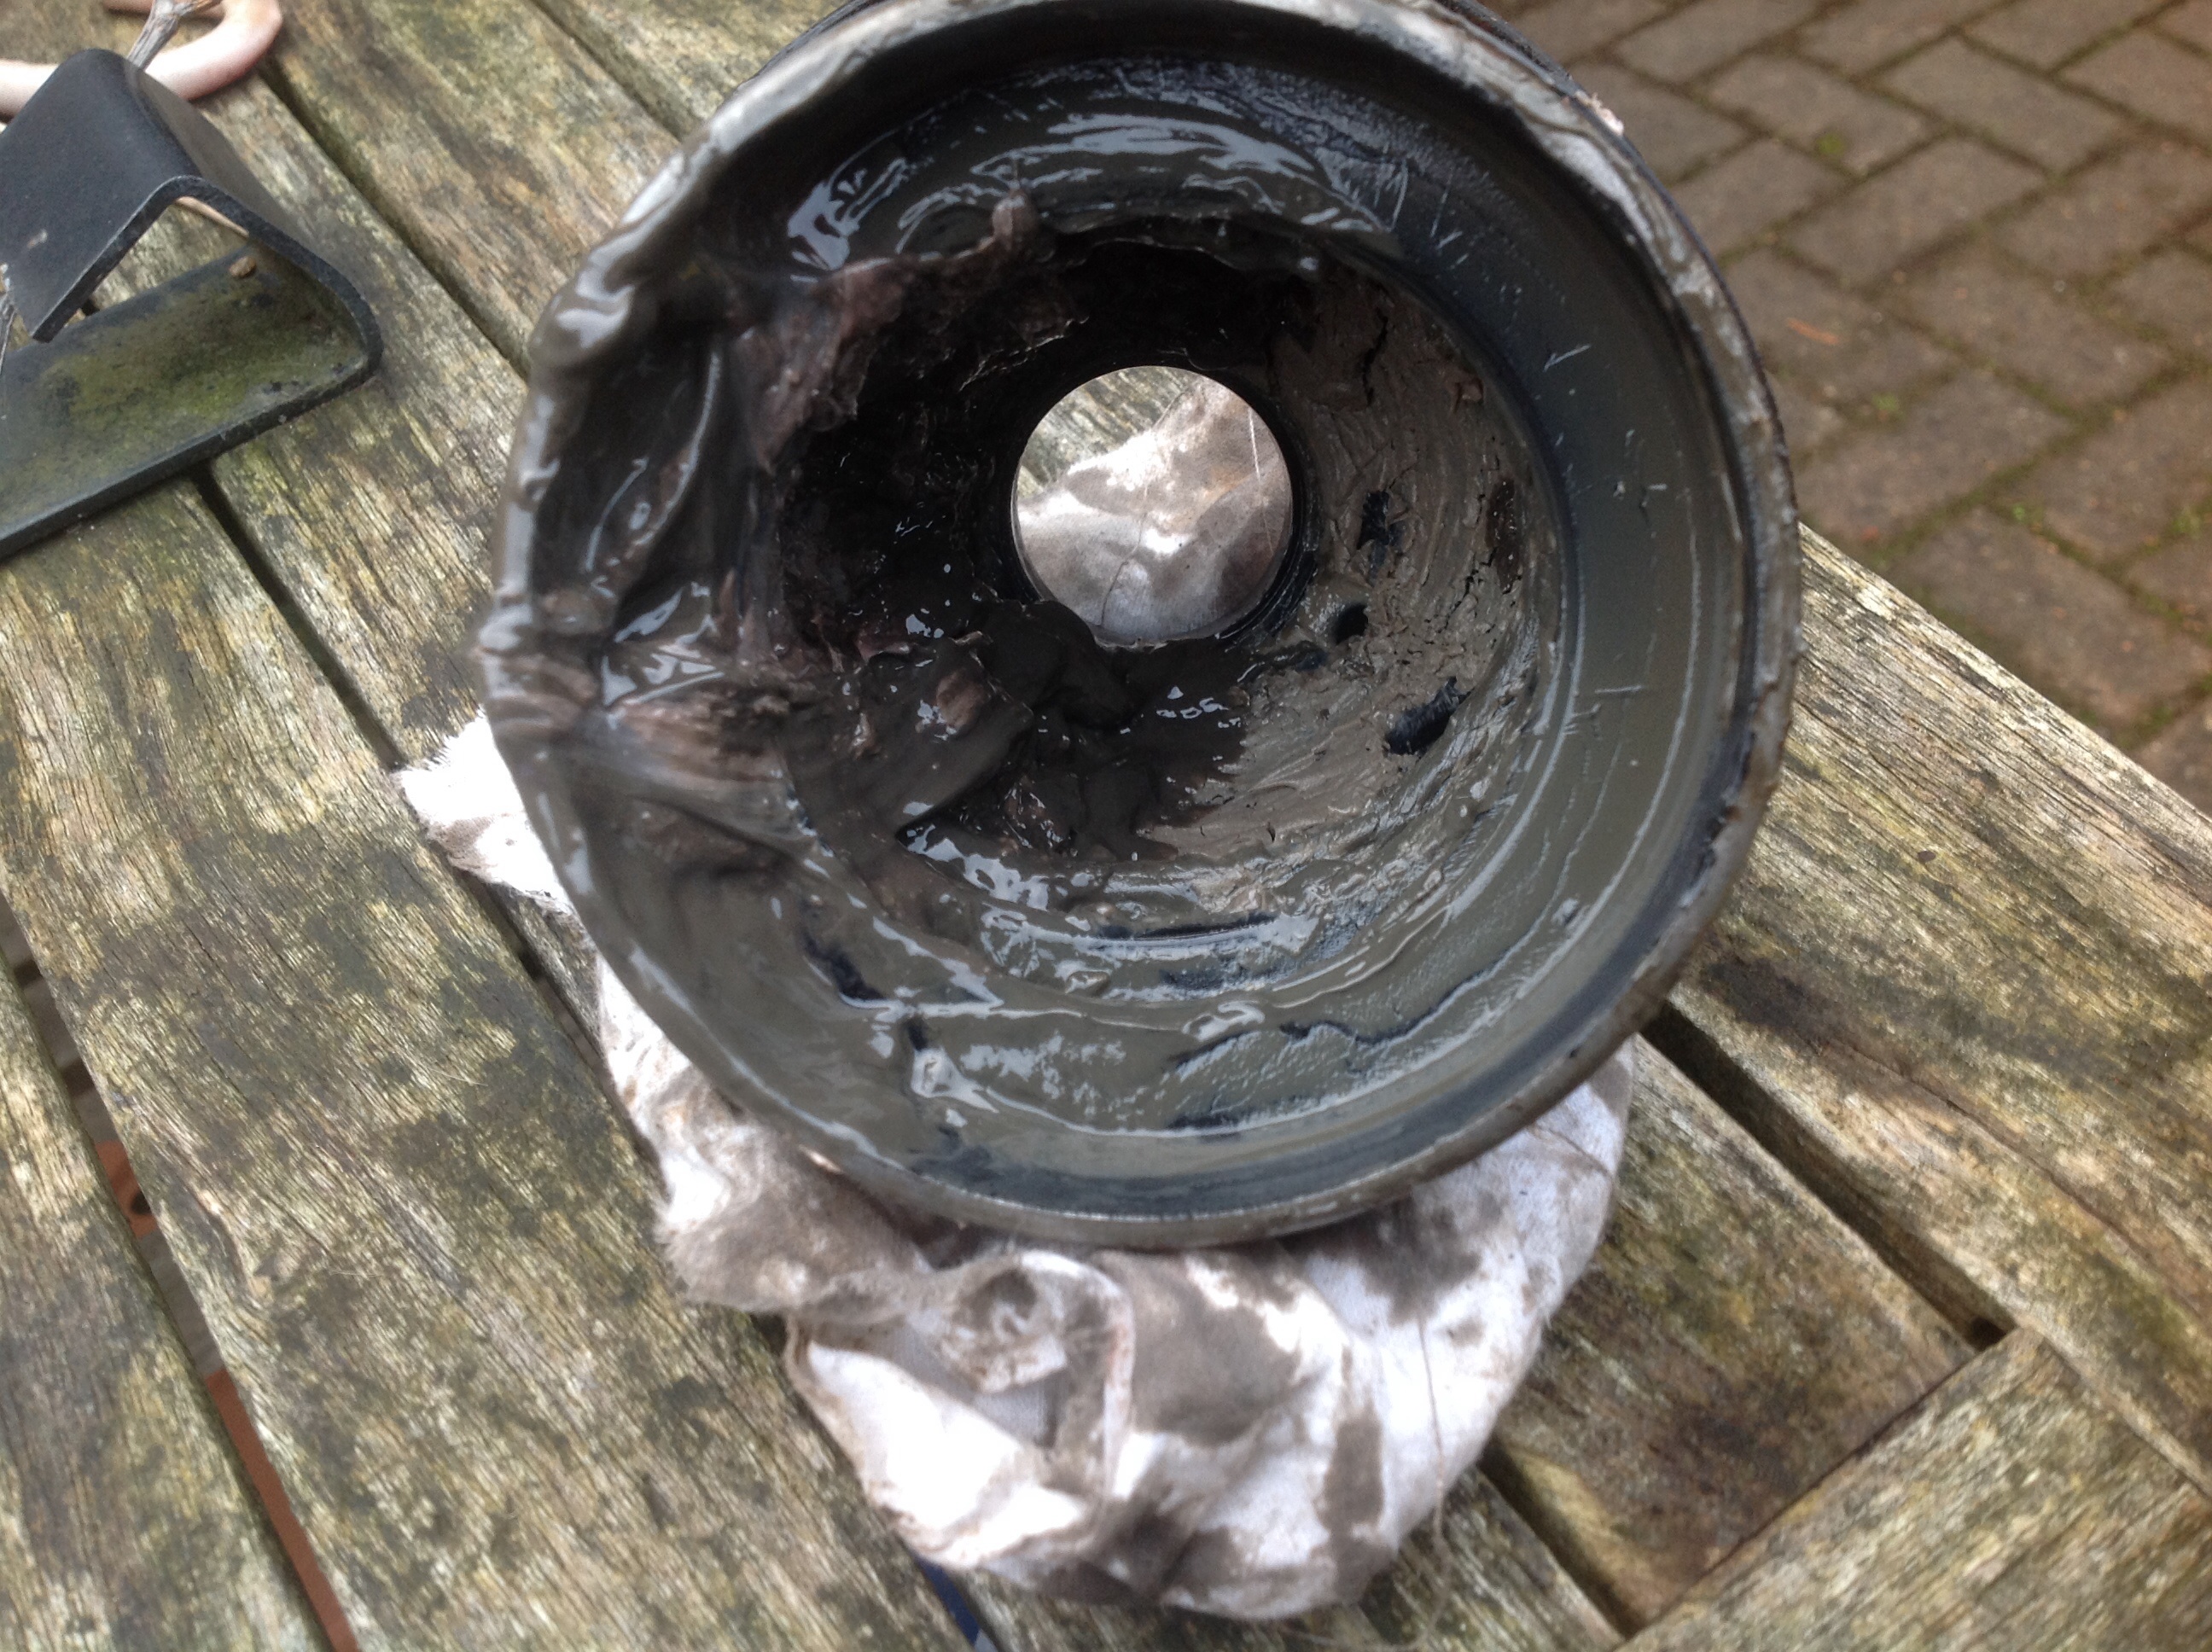
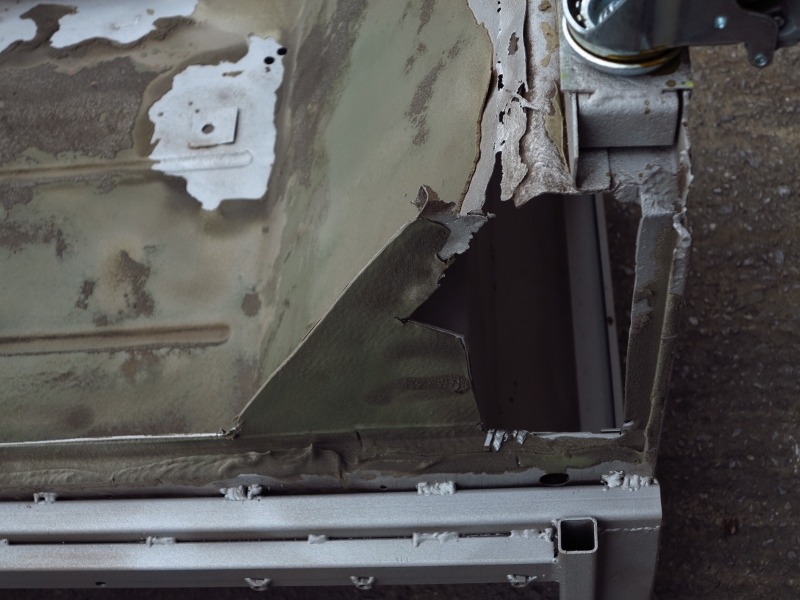
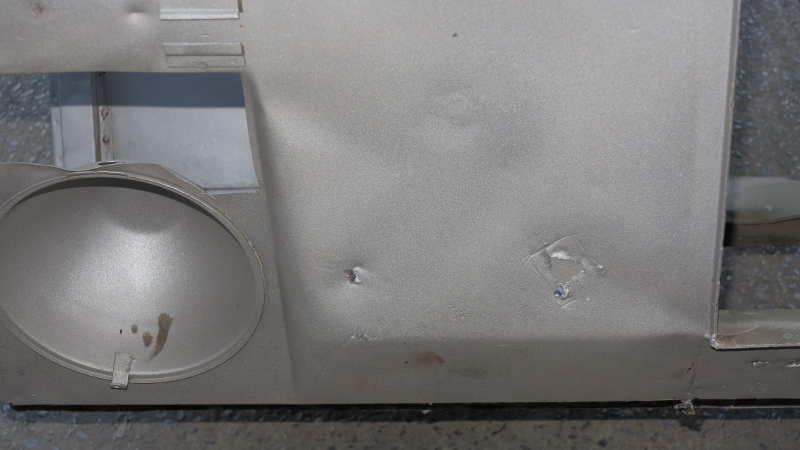
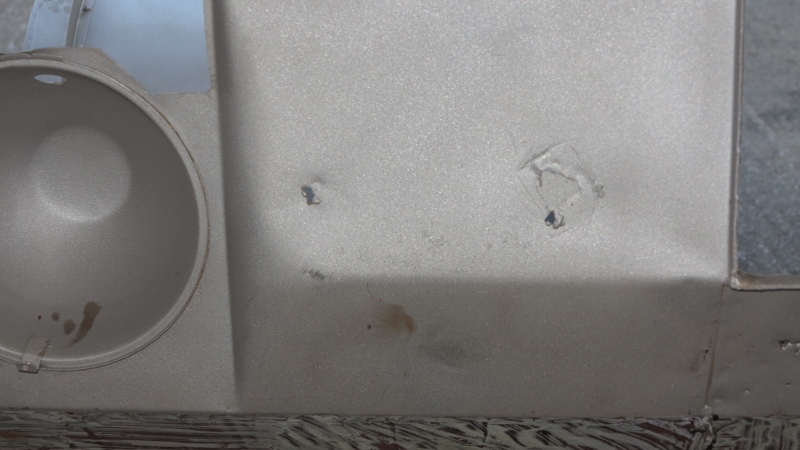
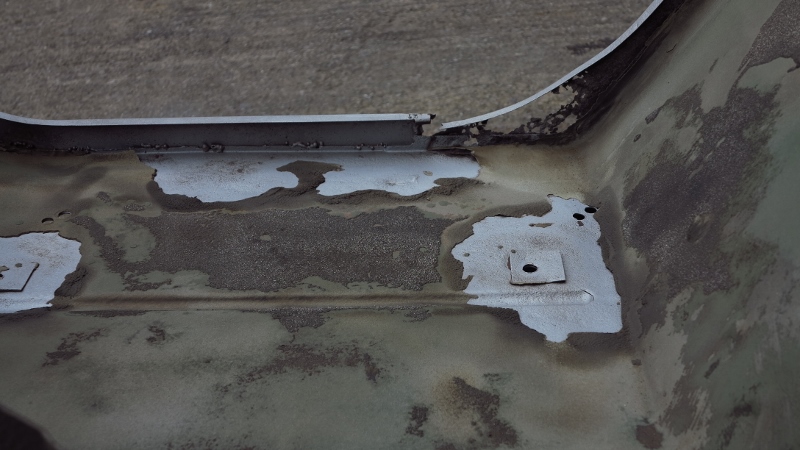
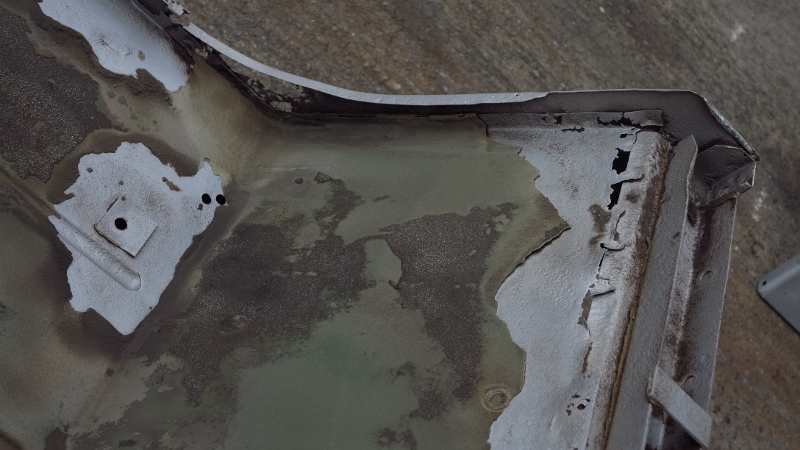
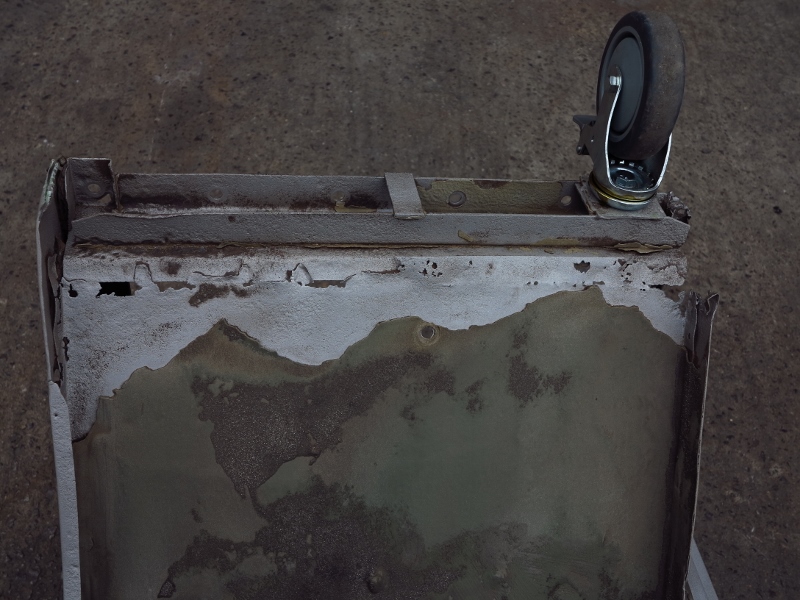
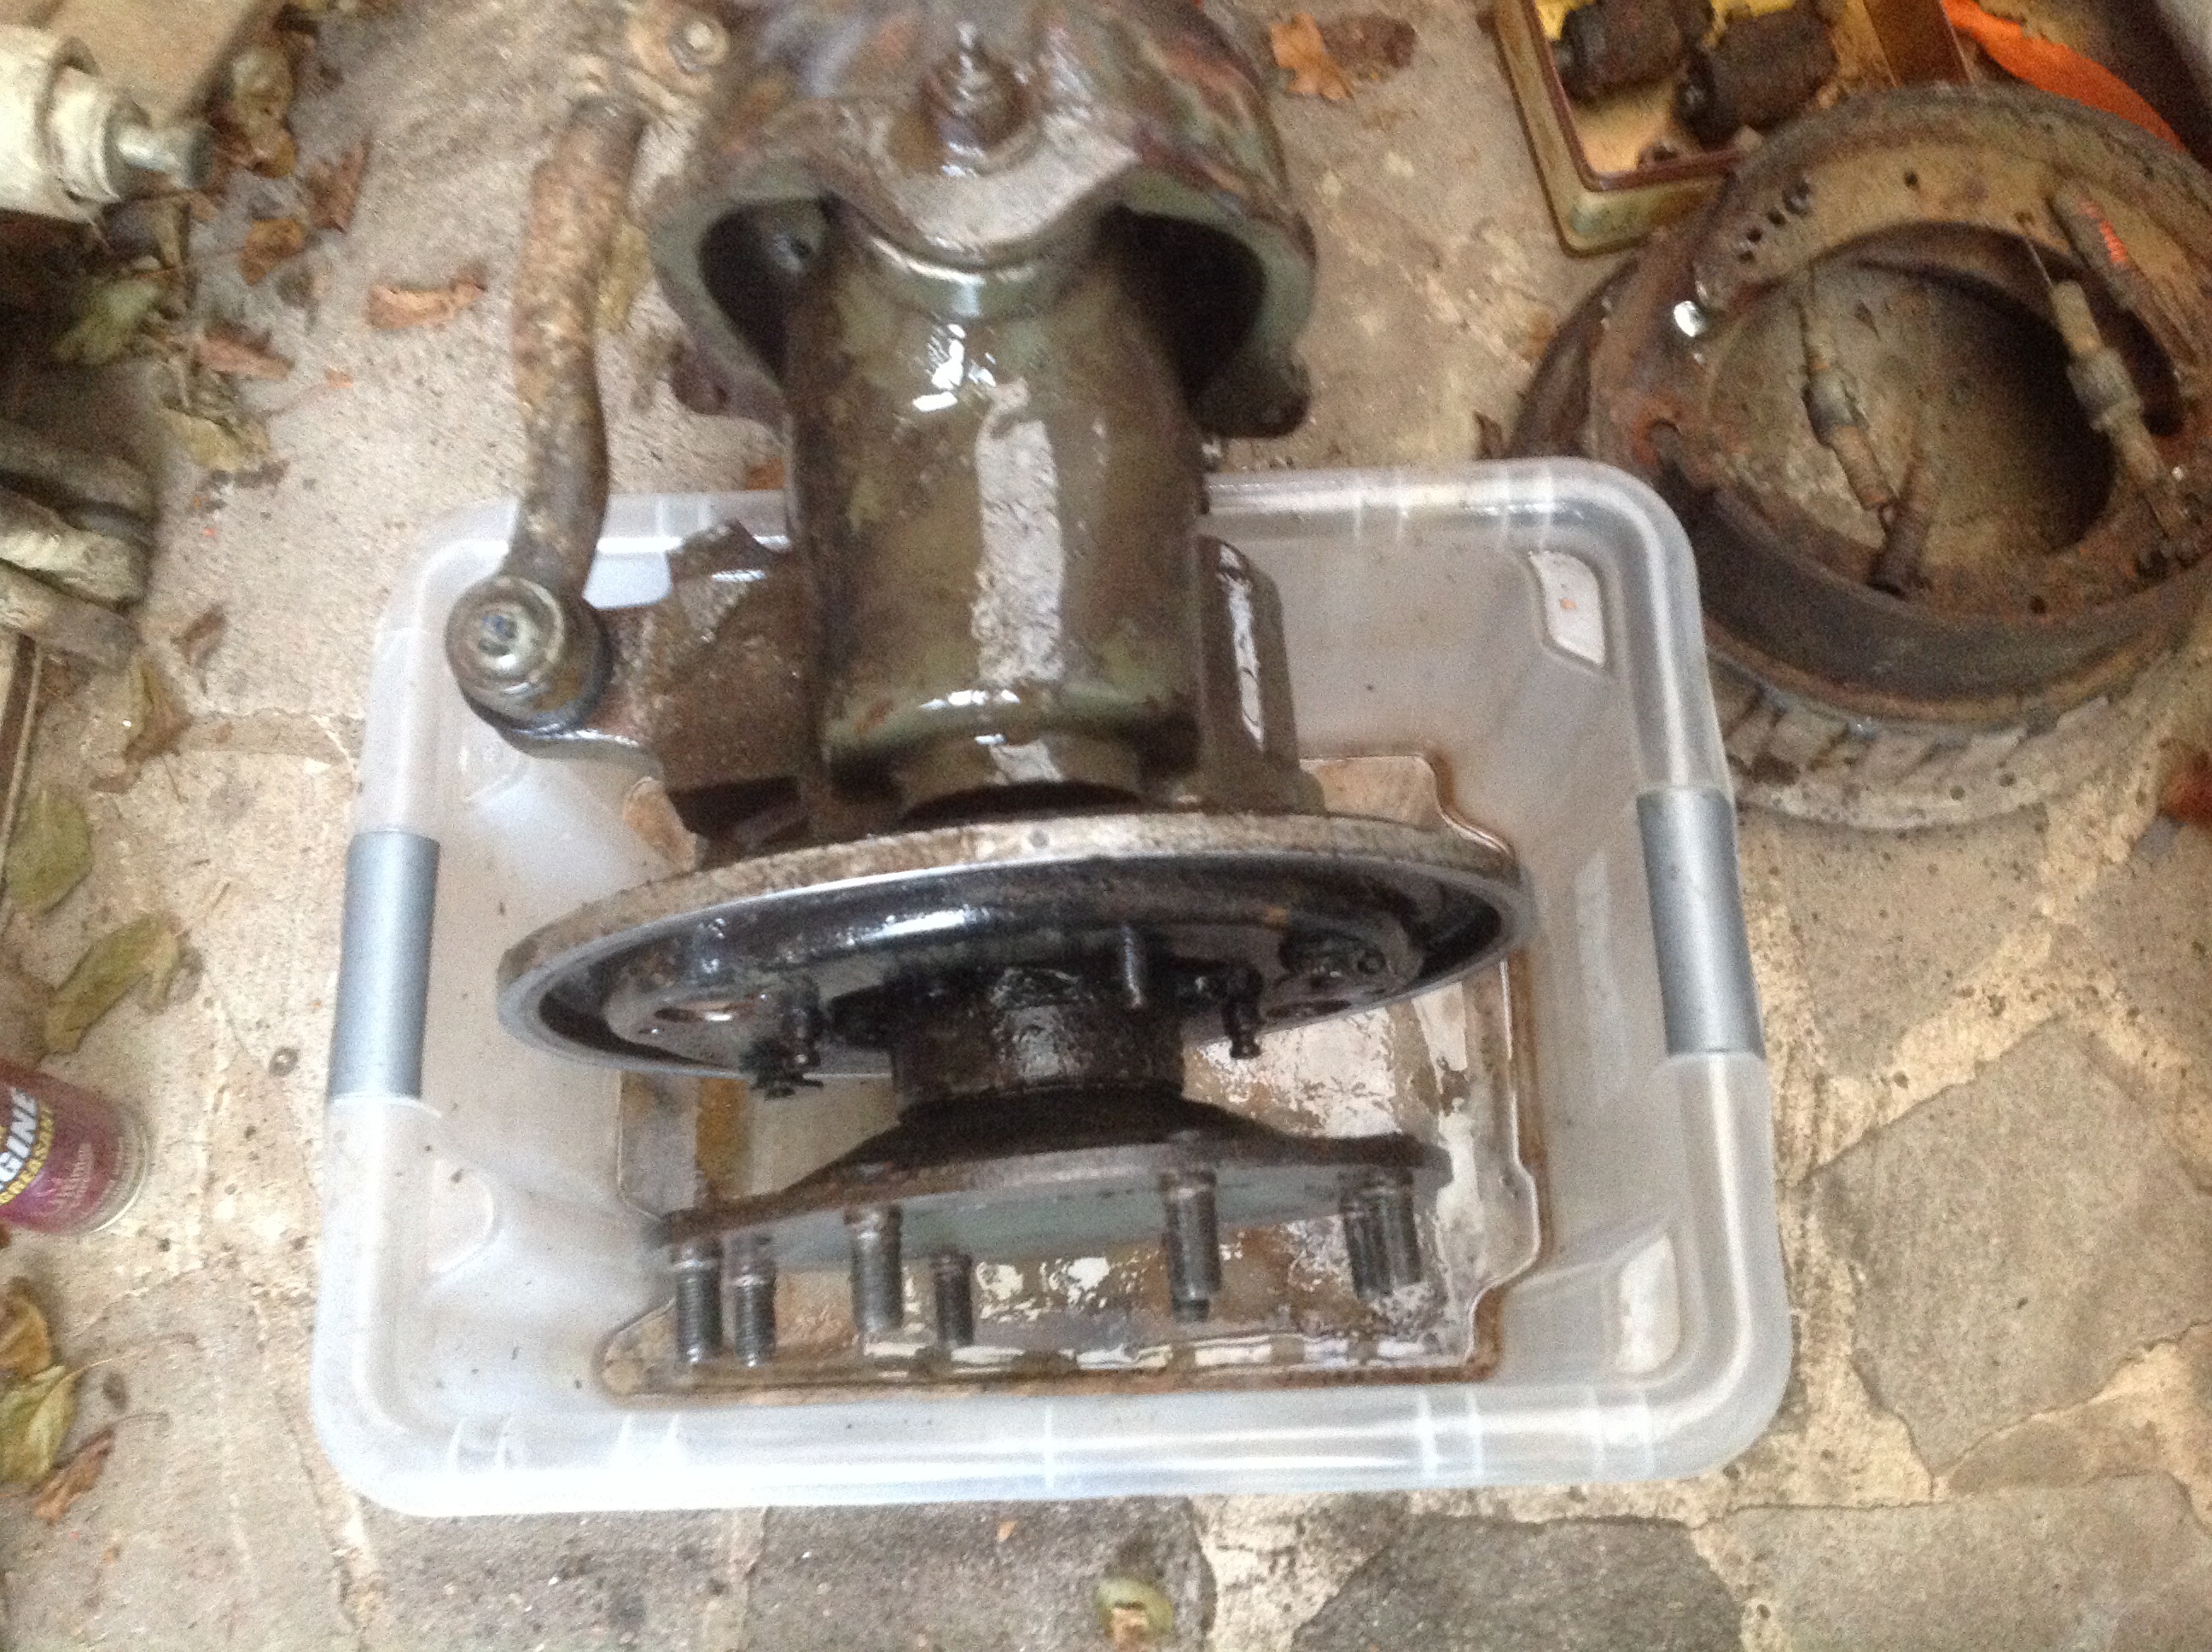
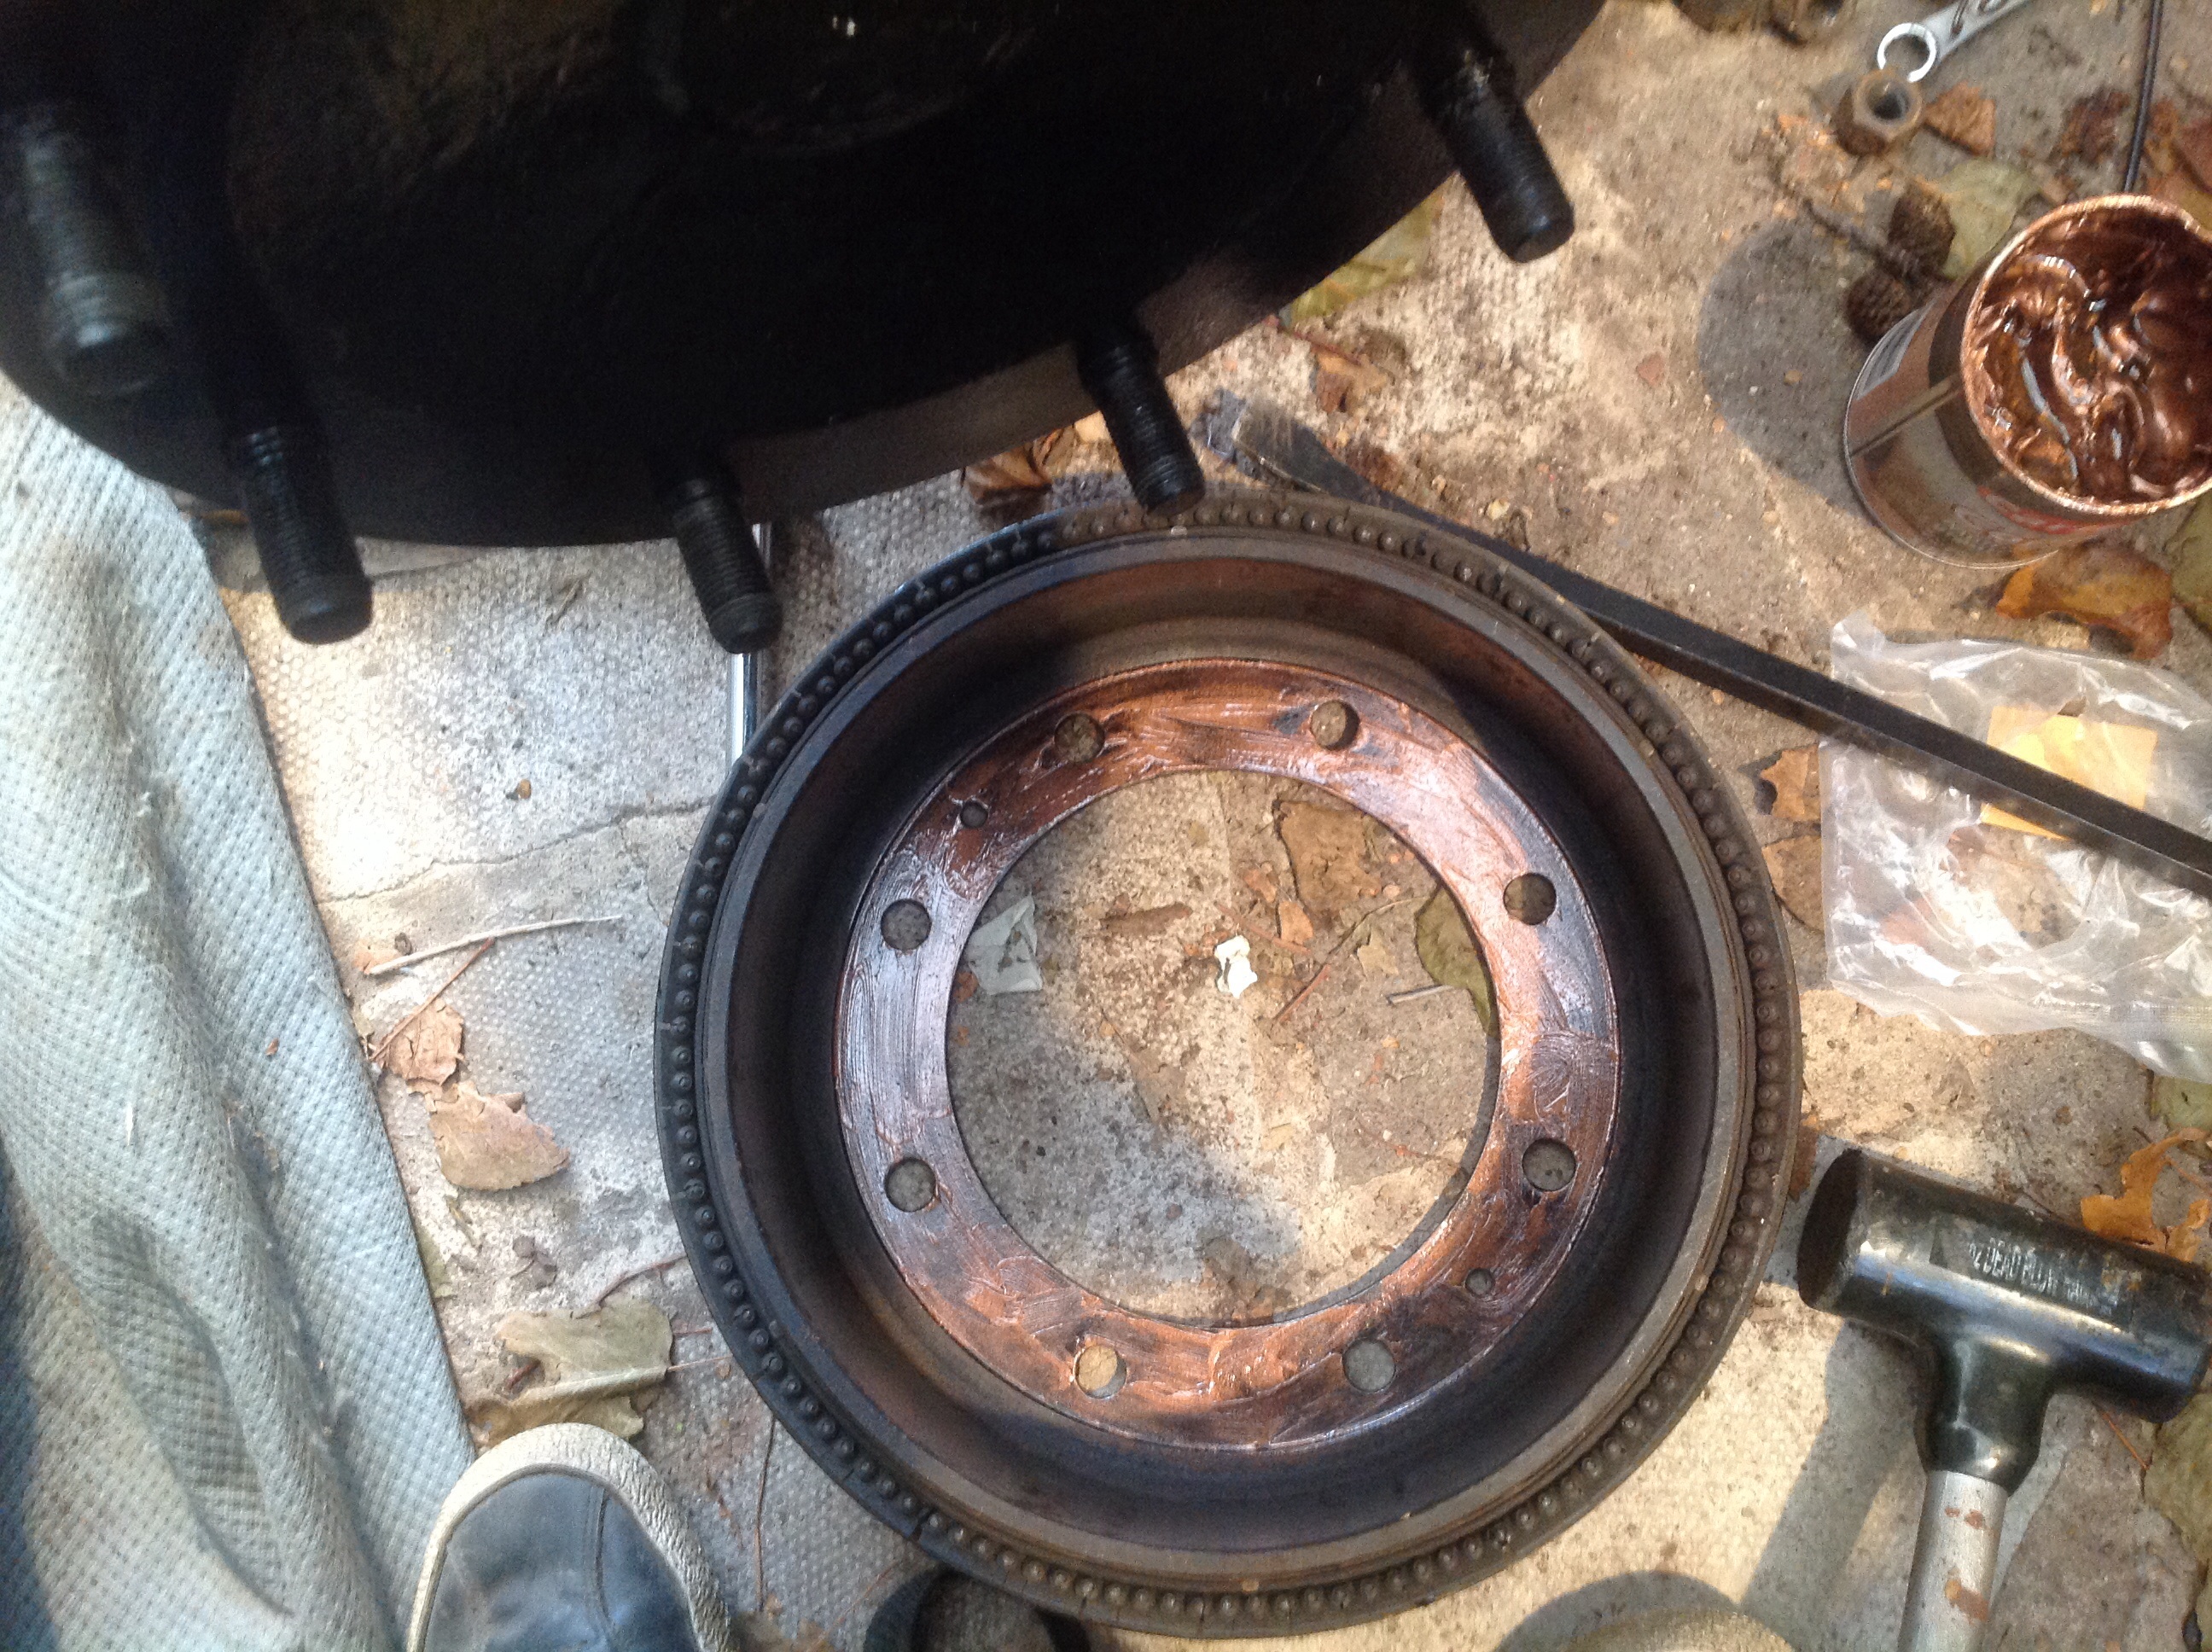
any clue what this is? looks like grease and mud
I’m guessing this should not be here. Any clues how to clean this up?
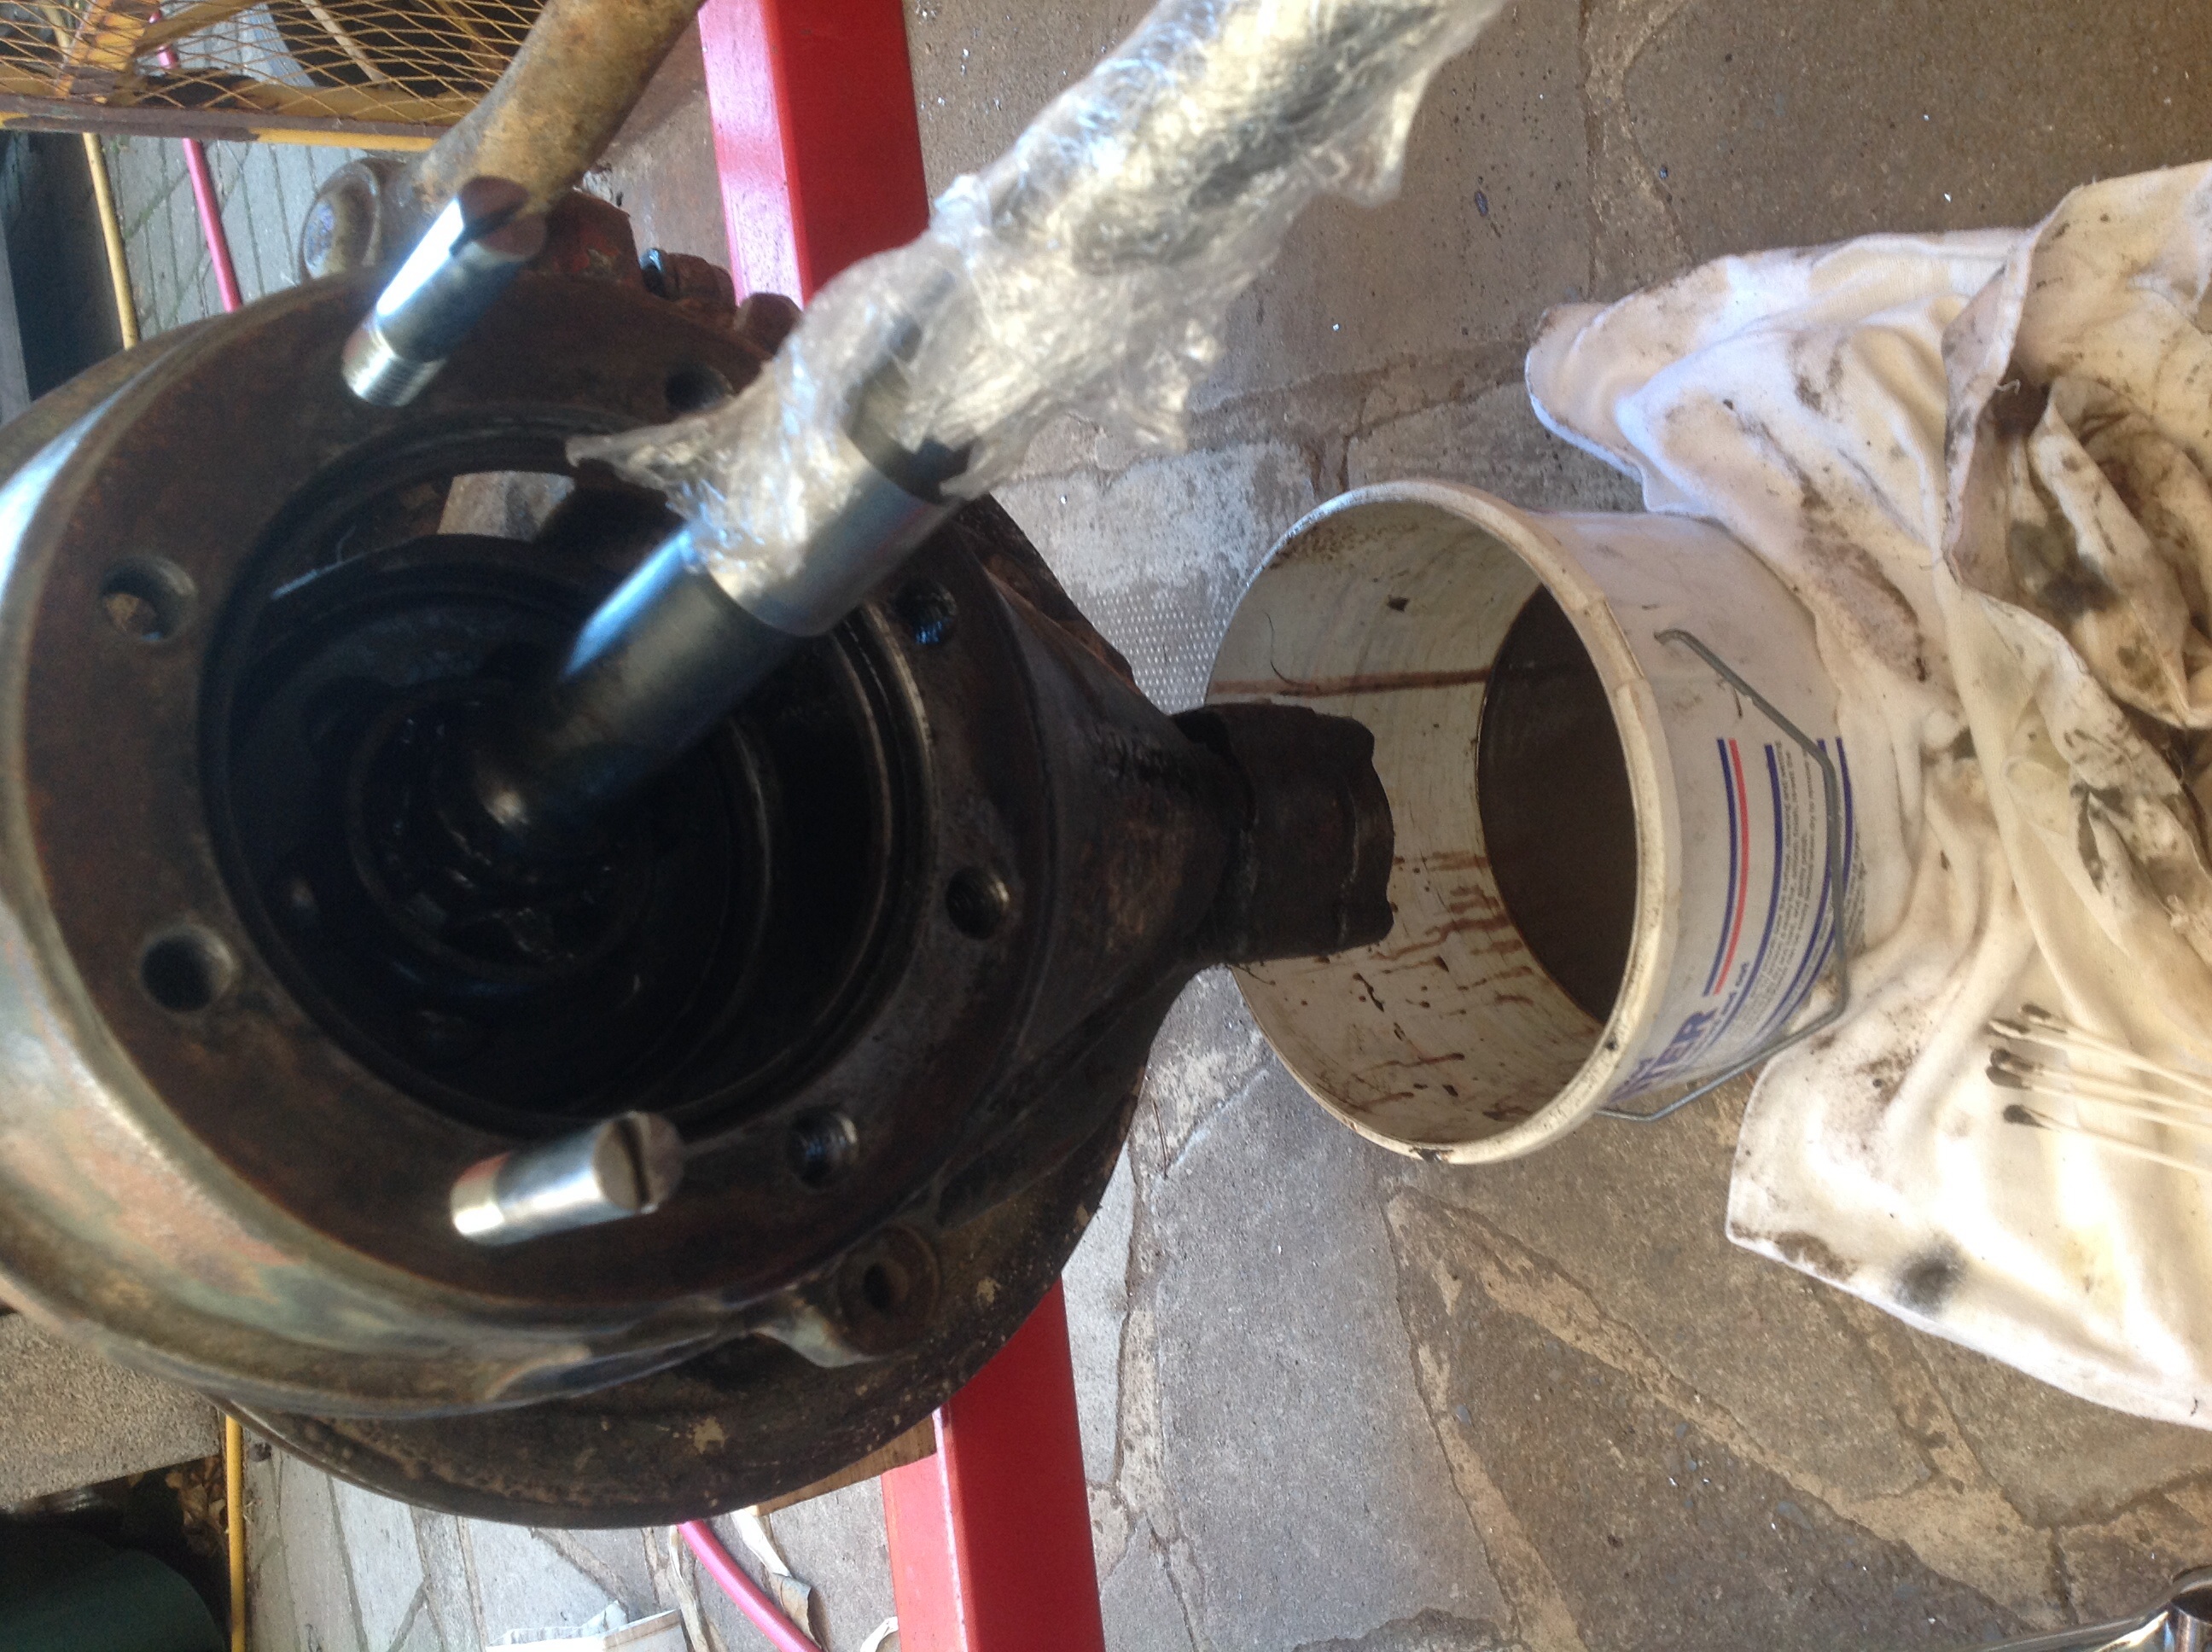
Wiped out as much as i could then injected some new oil in to wash the rest off. I was a bit worried that the inside of the hub would be coated in this moose, but draining the oil showed it was ok.
Fitting the new boot was a fiddle. as i pushed one side in the other came out. Ended up cutting a 10cm section of 4″ pipe and using that, with a hammer to push it in
It proved not to want to go back in. problem was that the splines in the half shaft did not quite line up in the diff. quick fiddle with the diff flange and straight in.
The book said to put some sealant in this joint but there was non in there before so I have not. time will tell
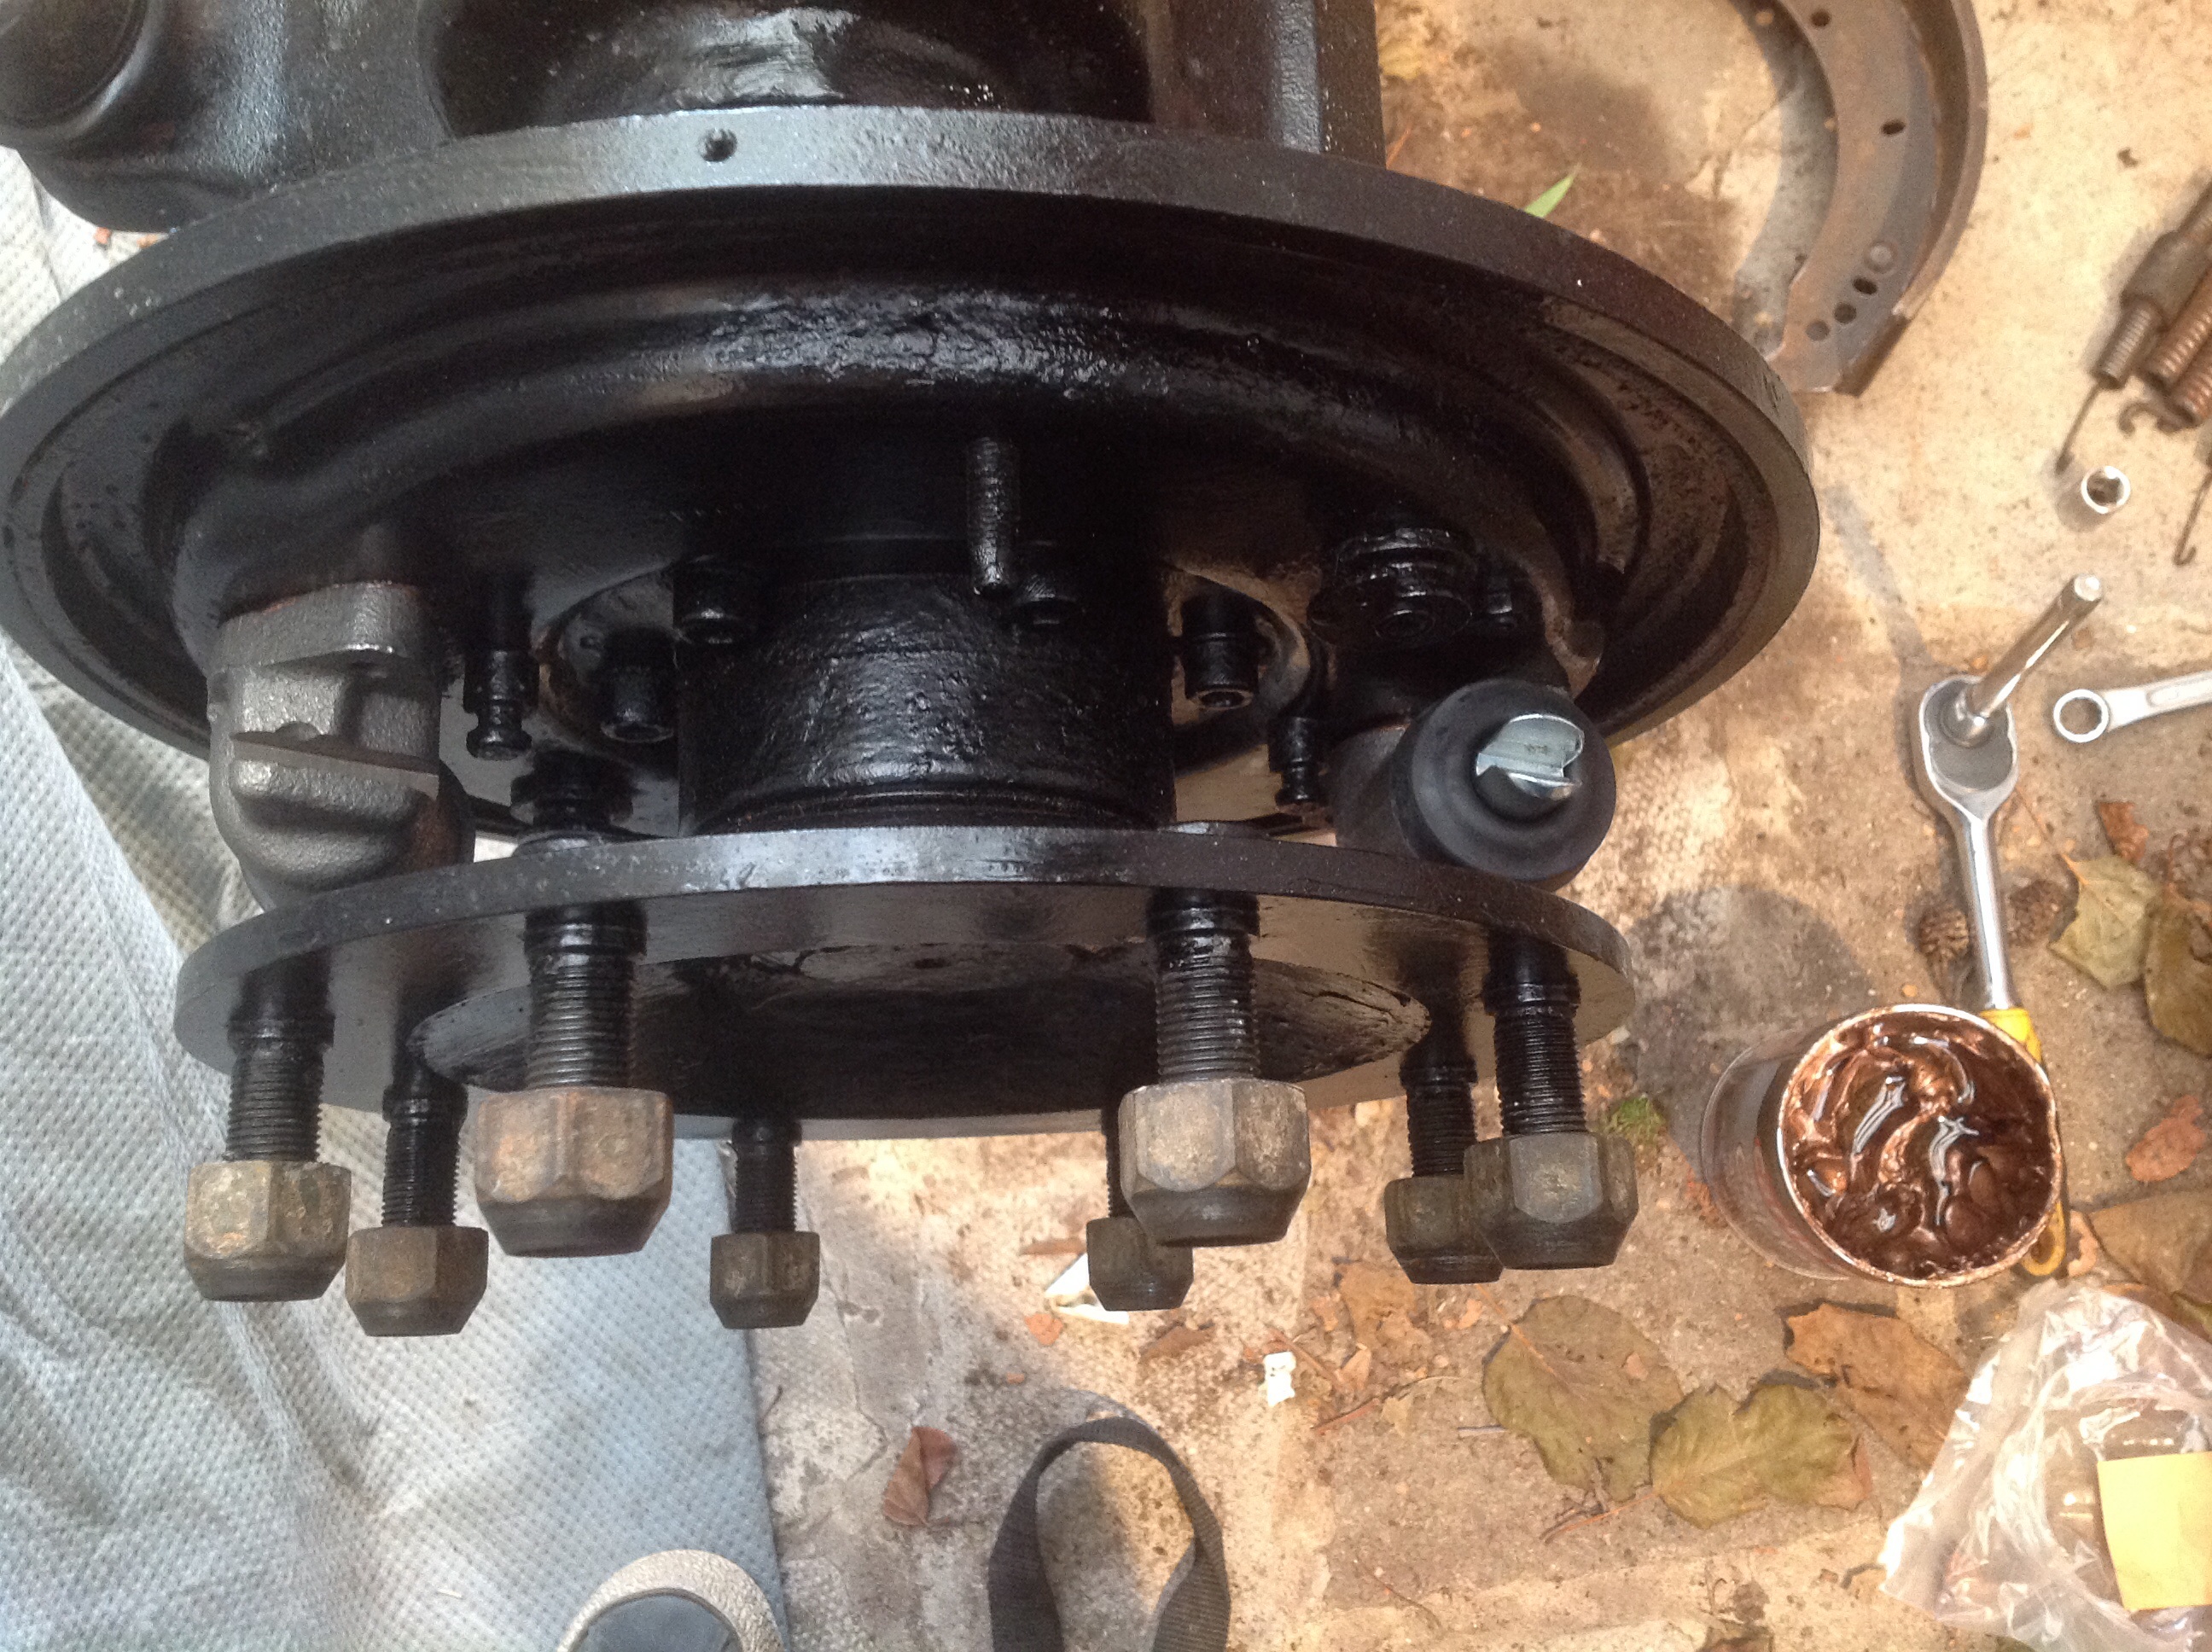
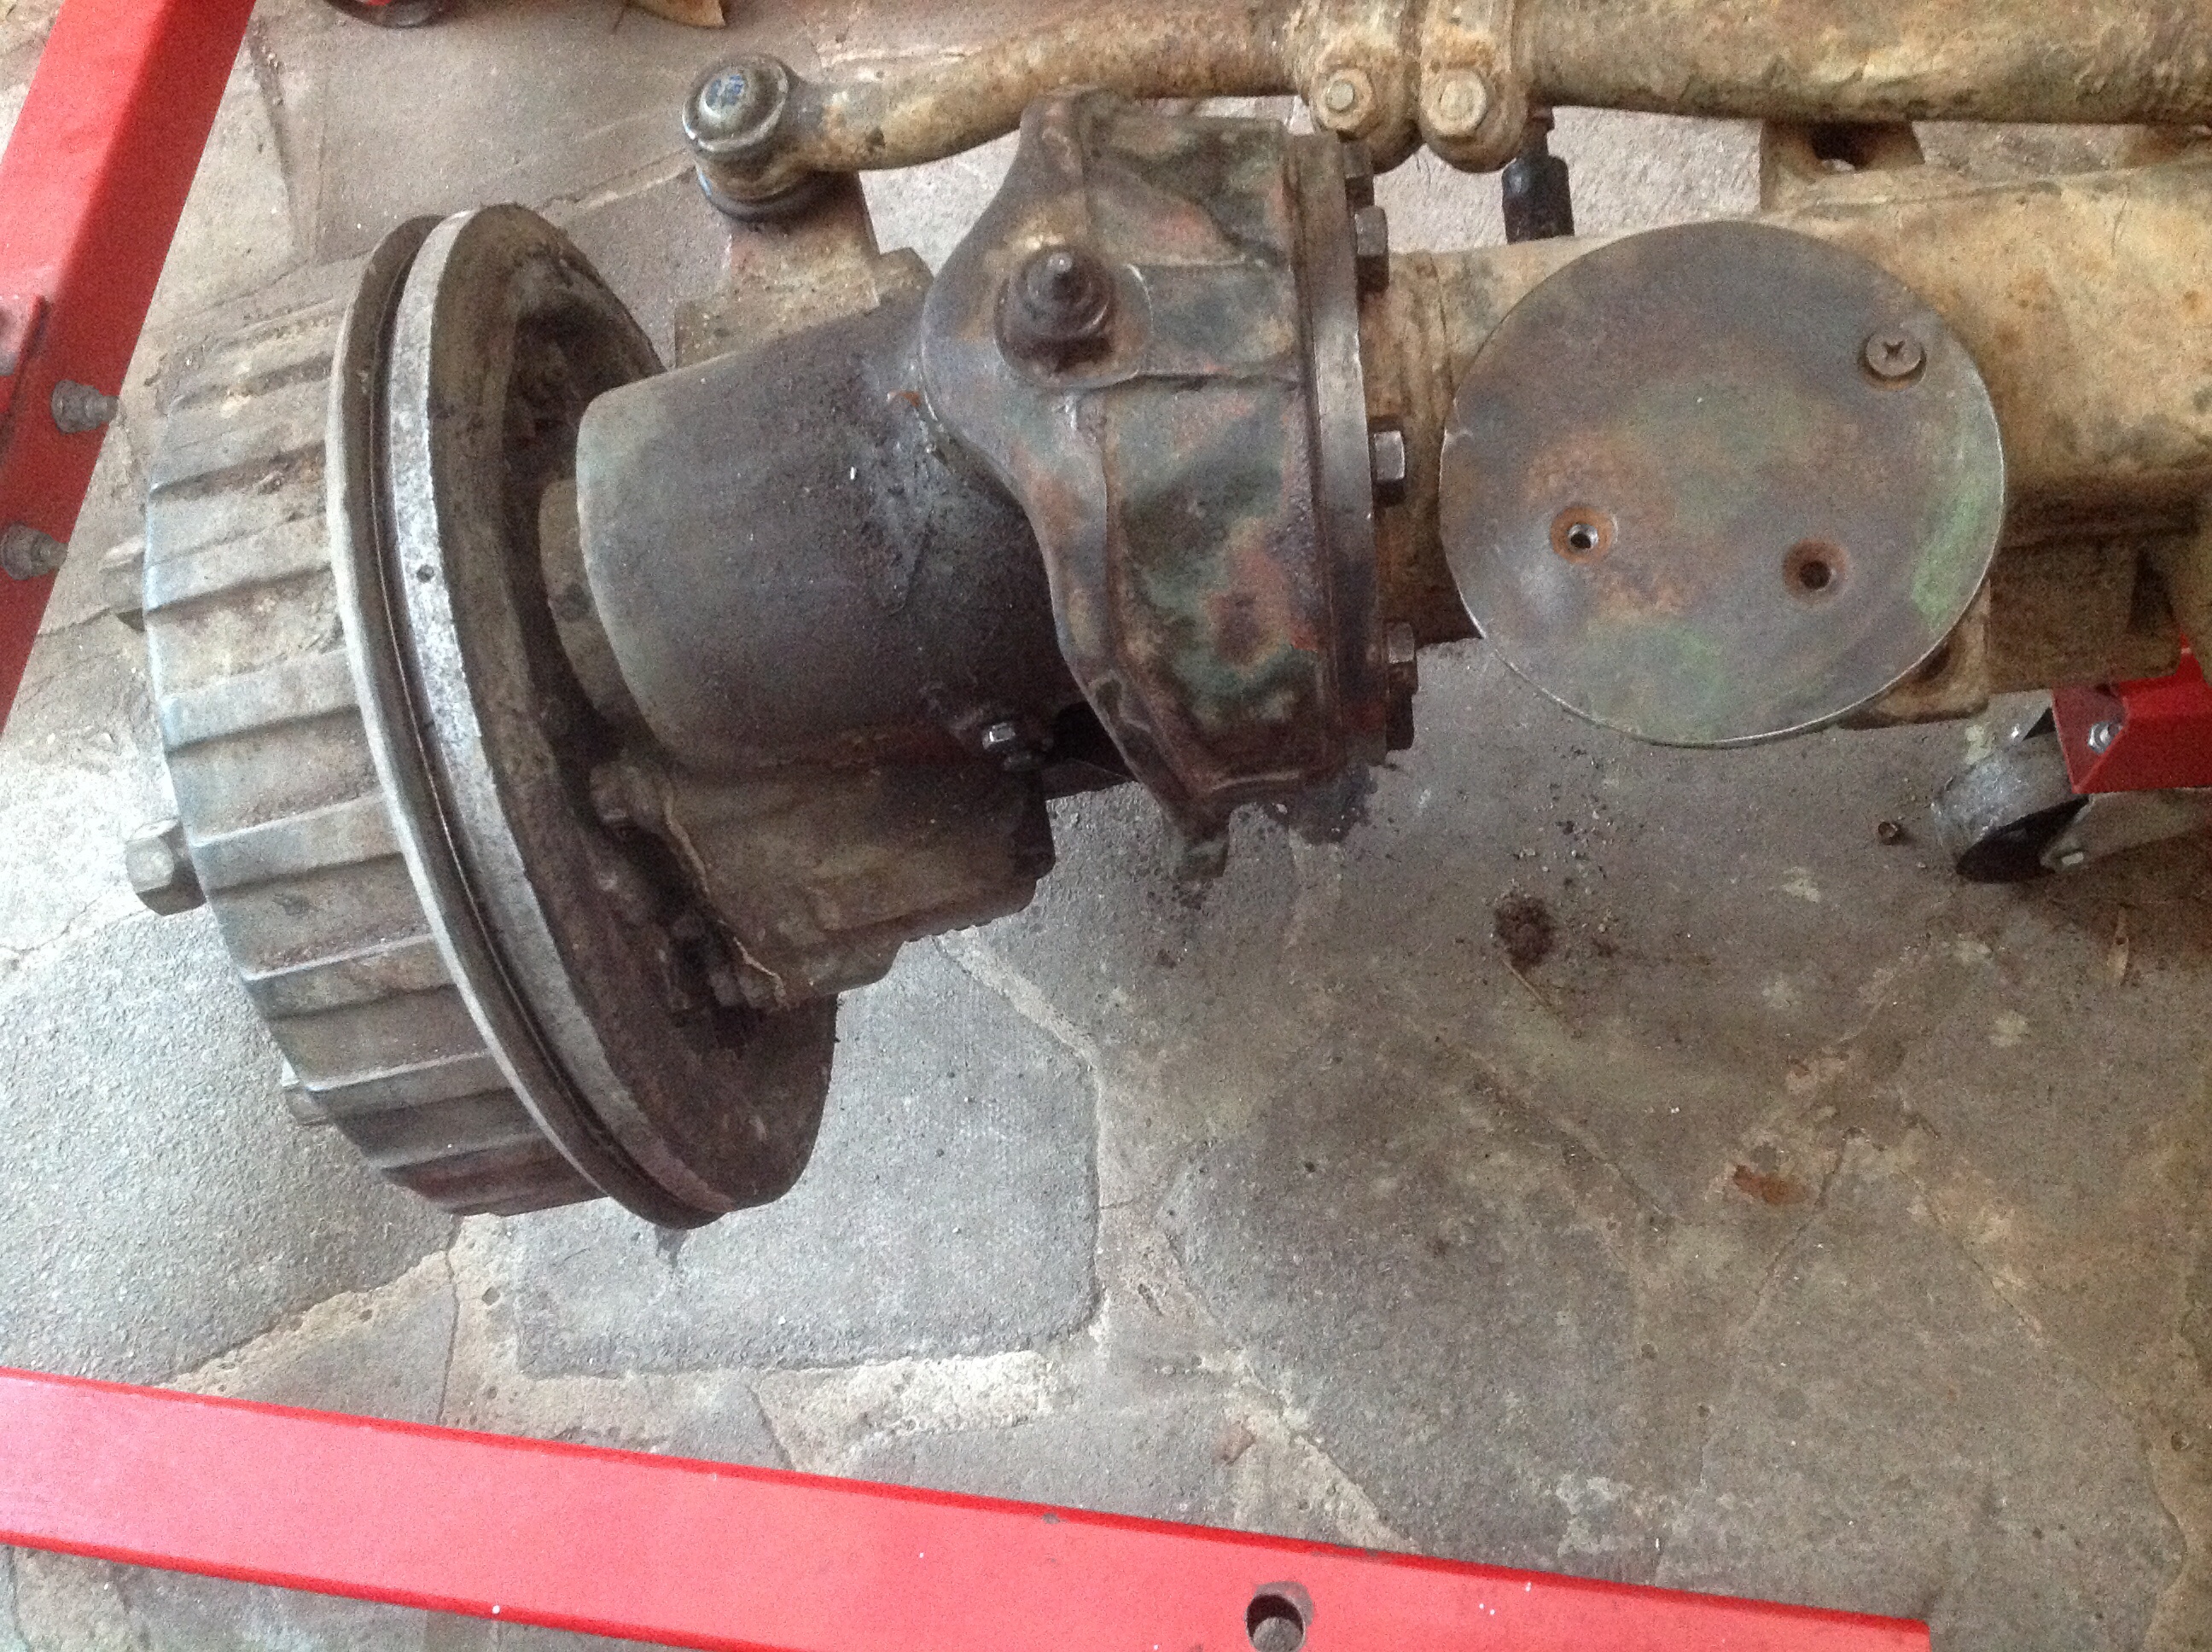
bolts tightened up to 110nm
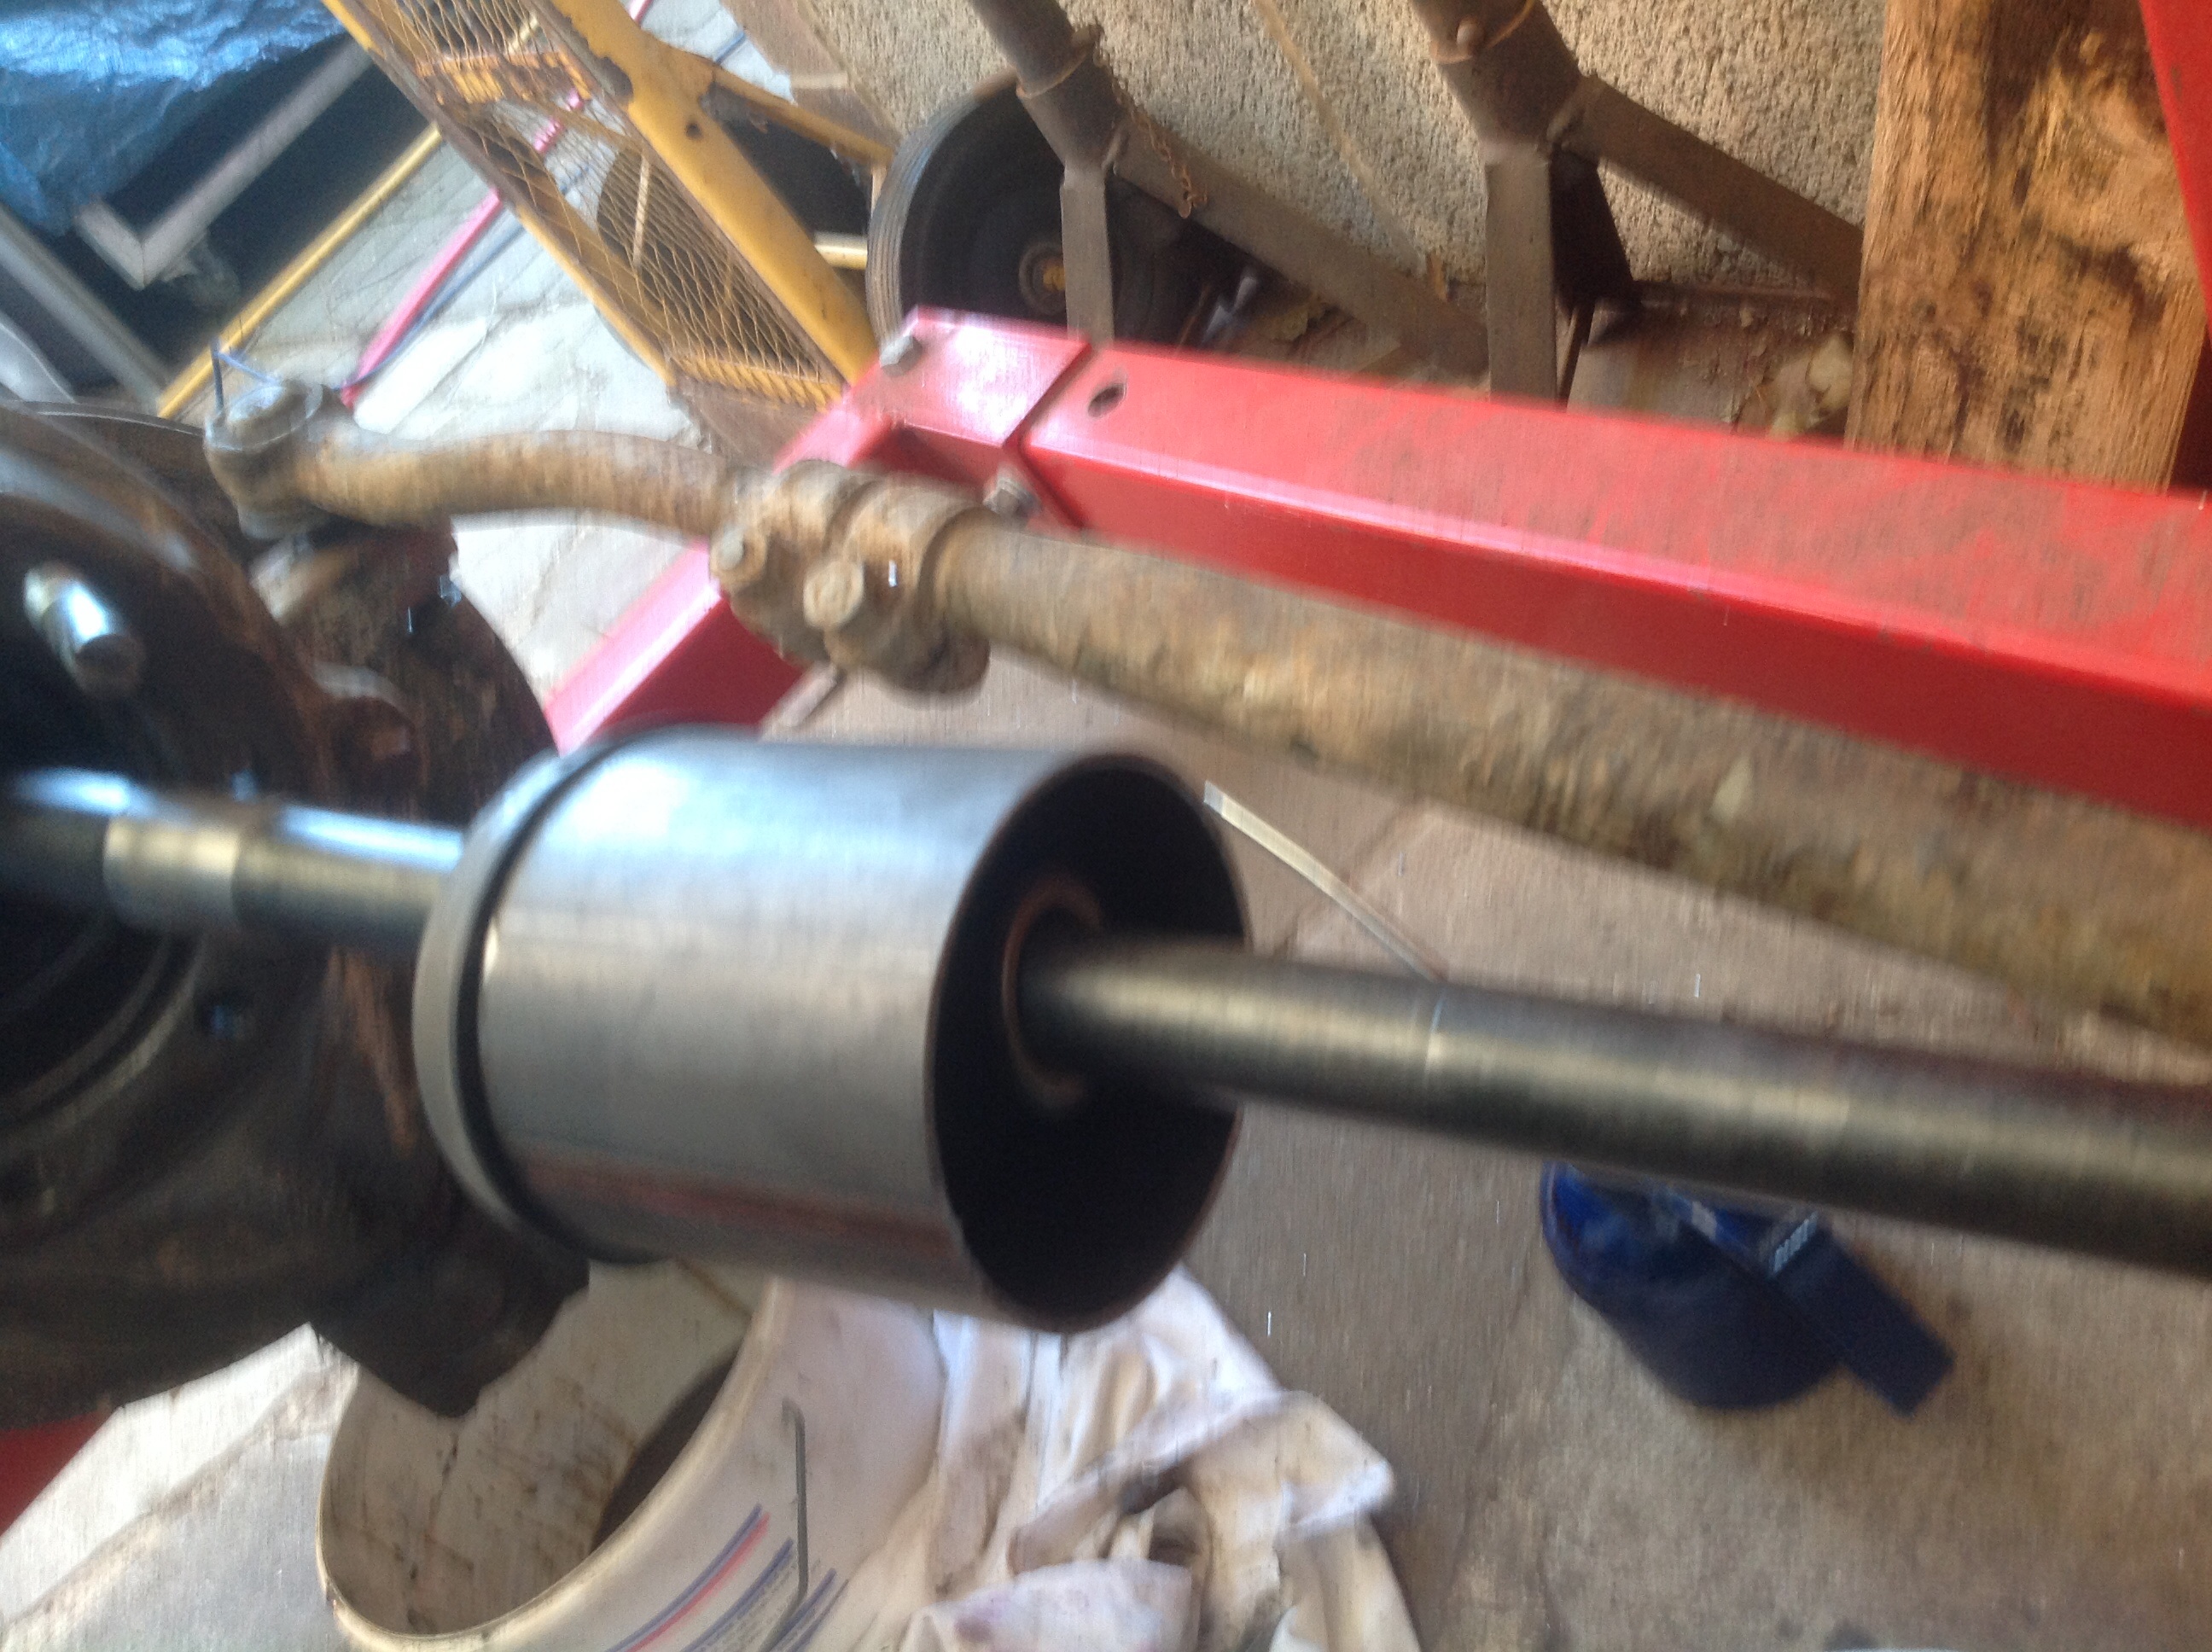
oil filled up, done. Make sure the shaft end of the boot is a nice fit in the joint. I had 2 goes
 (5005)
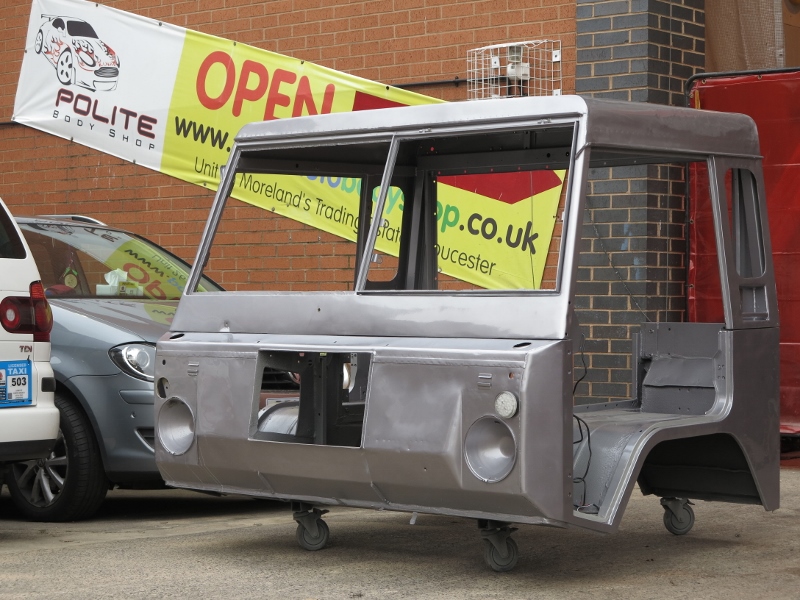
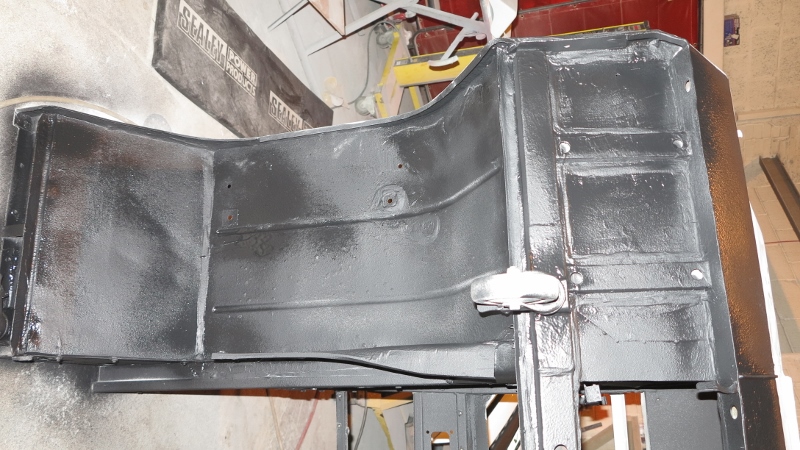
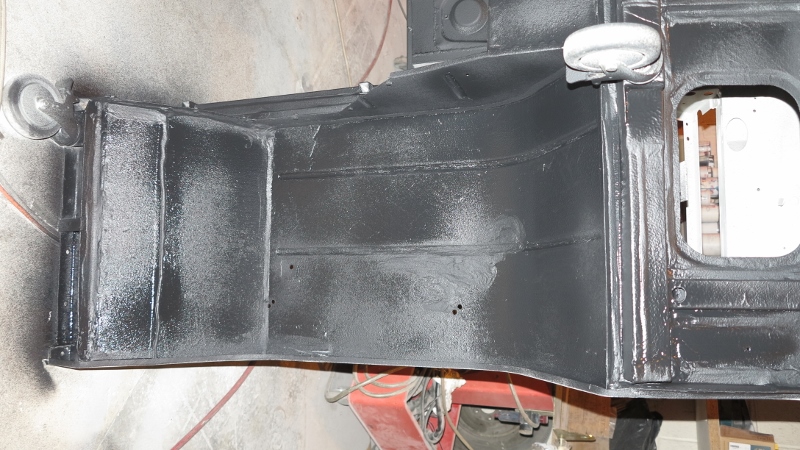
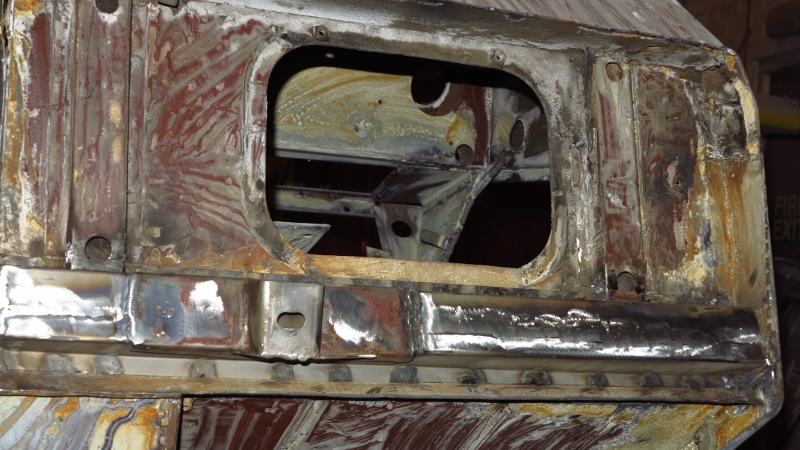
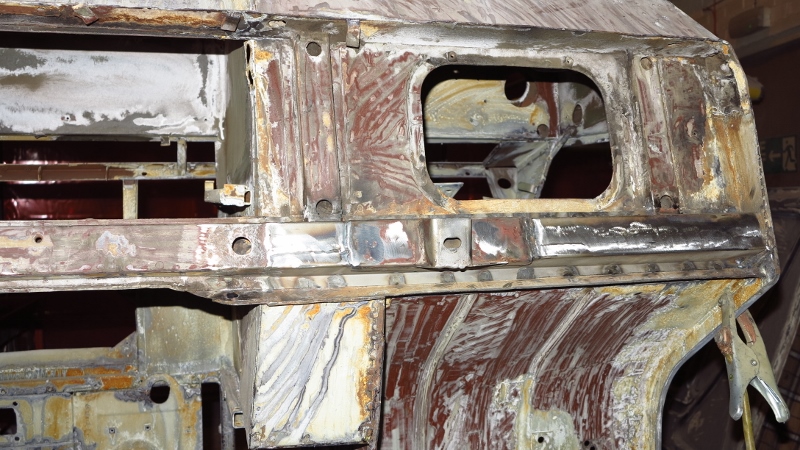
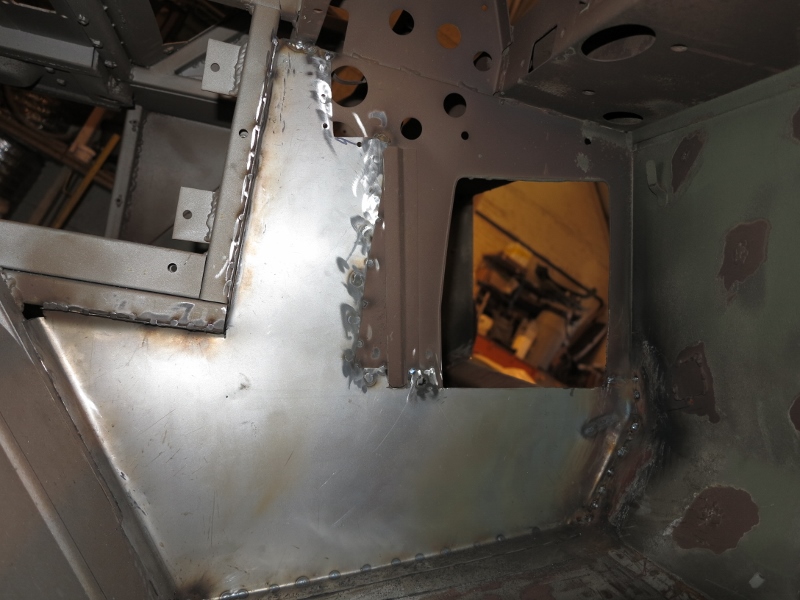
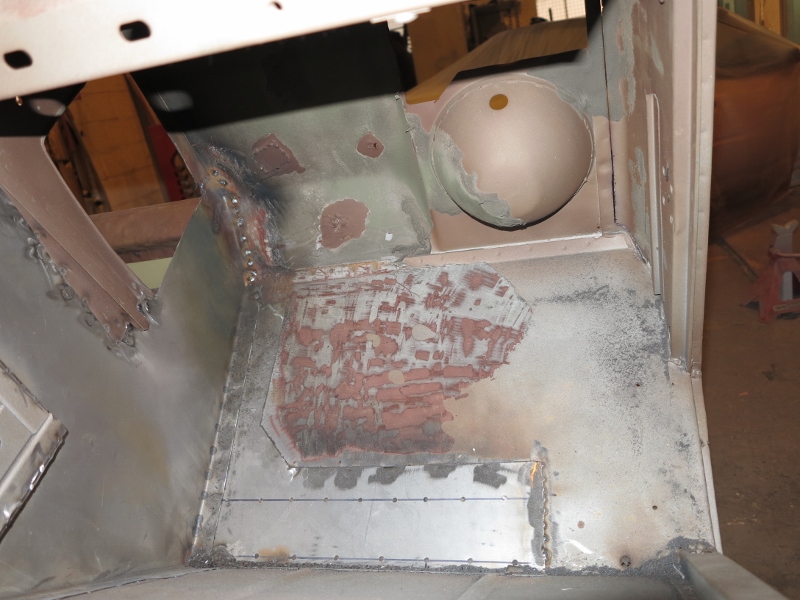
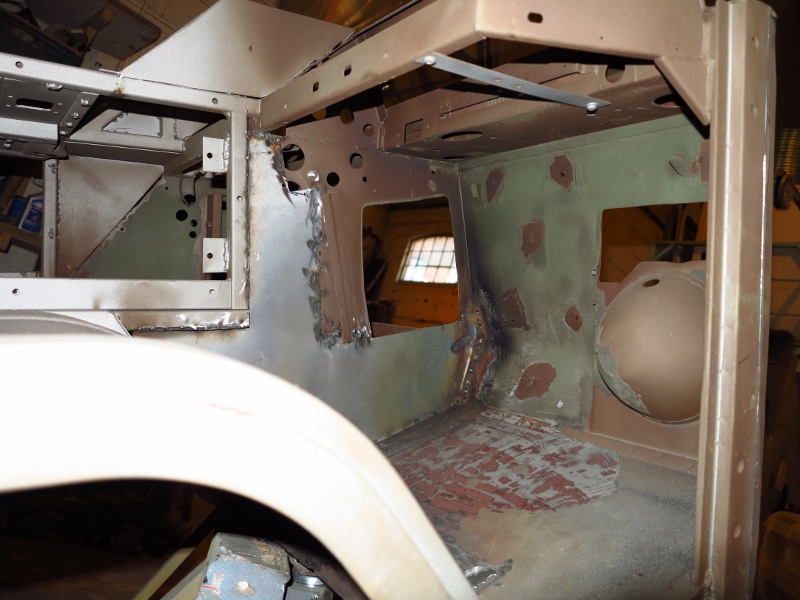
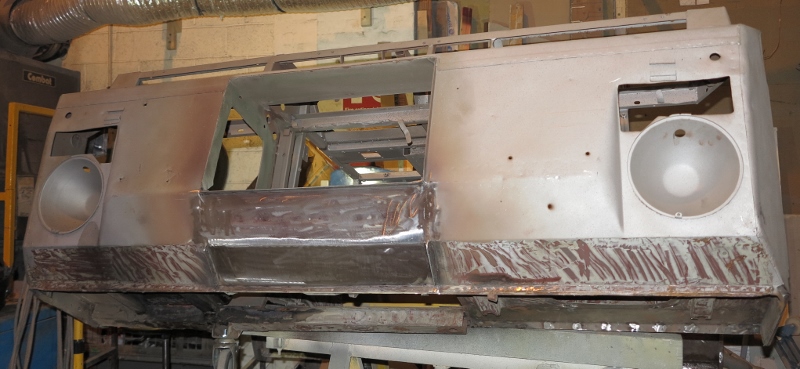
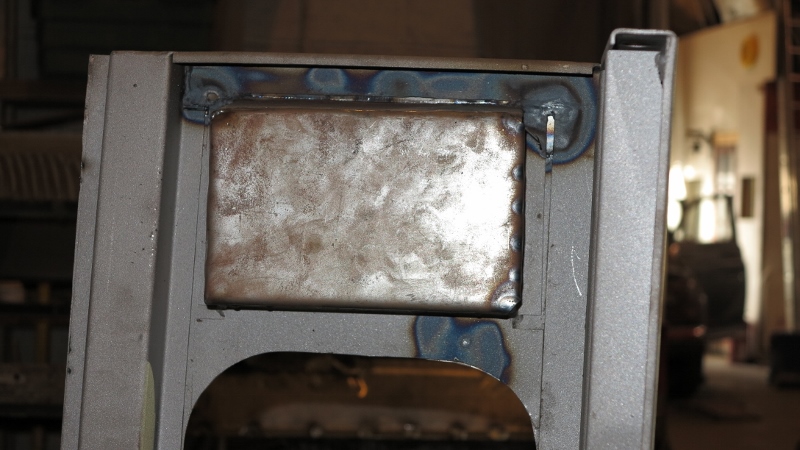
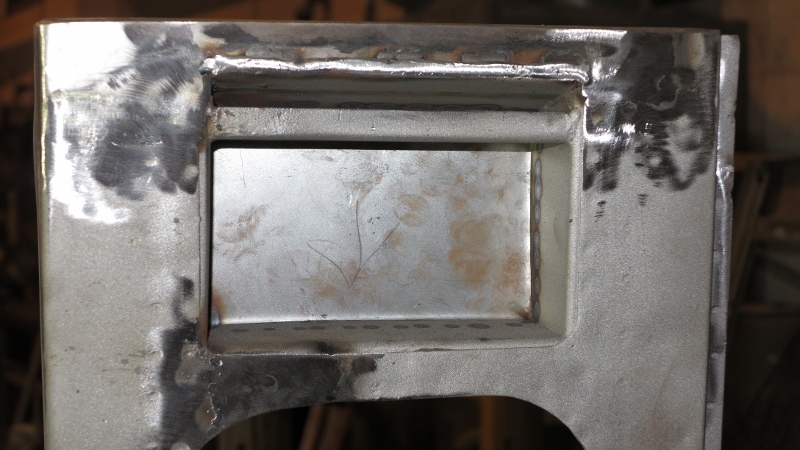
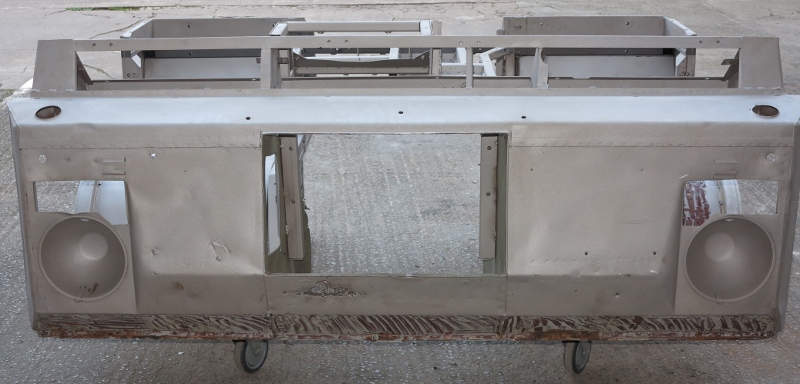
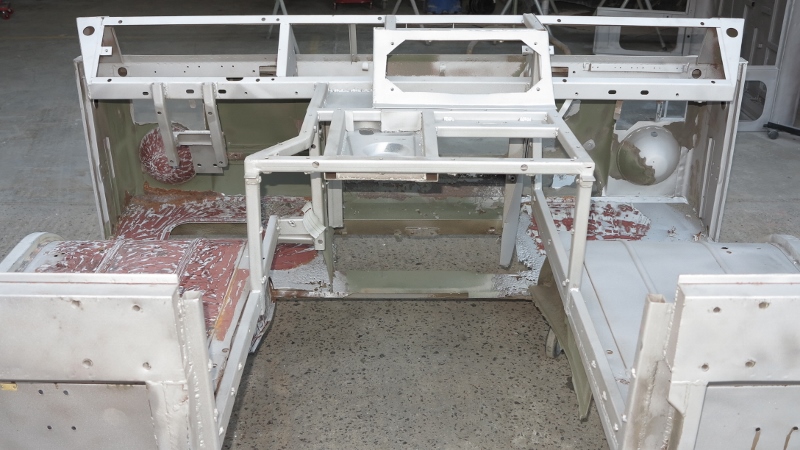
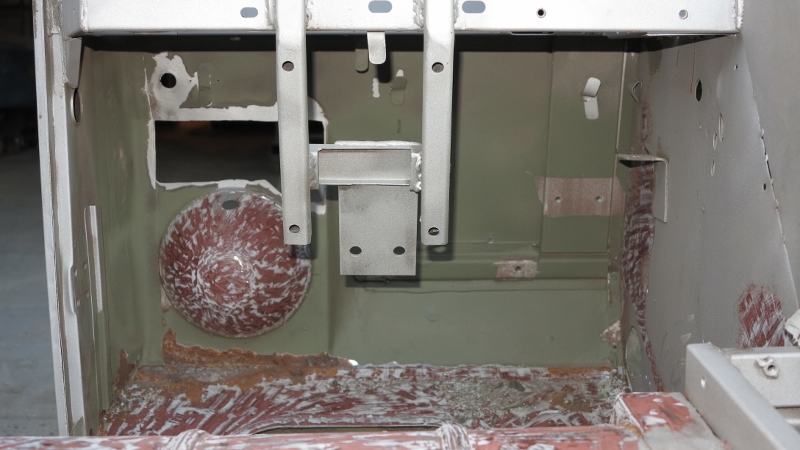
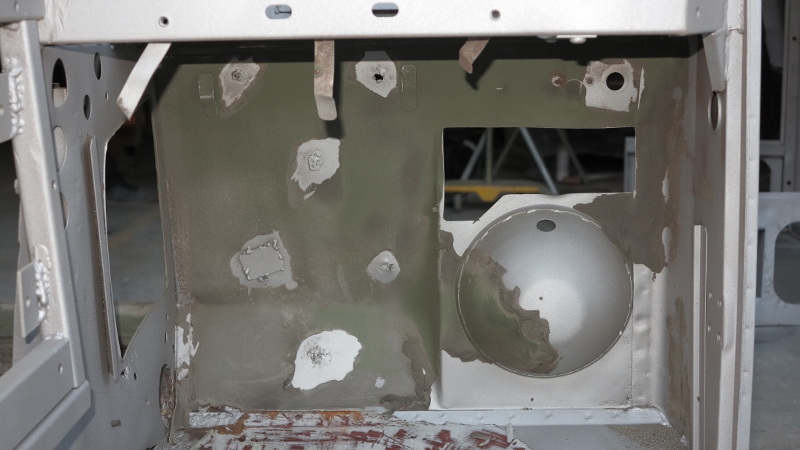
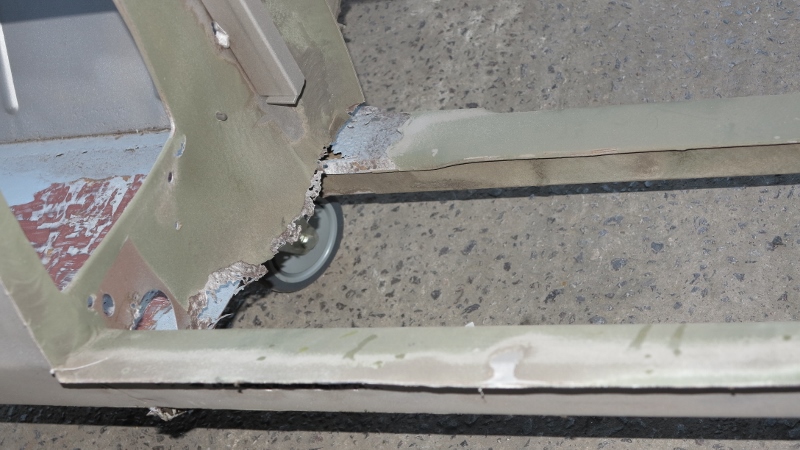
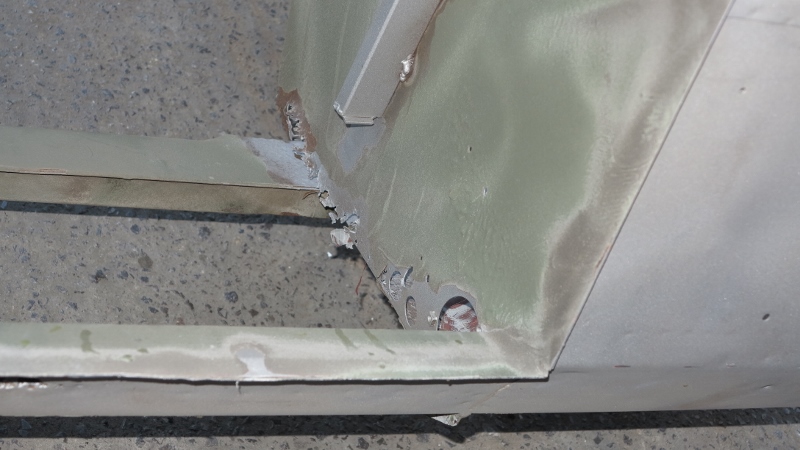
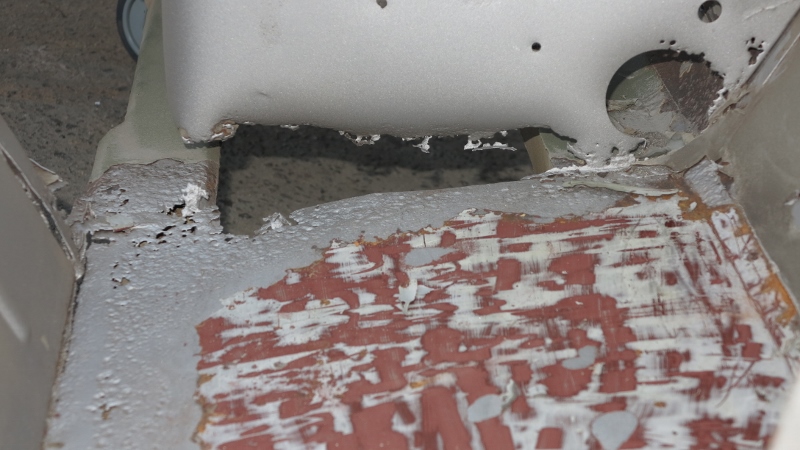
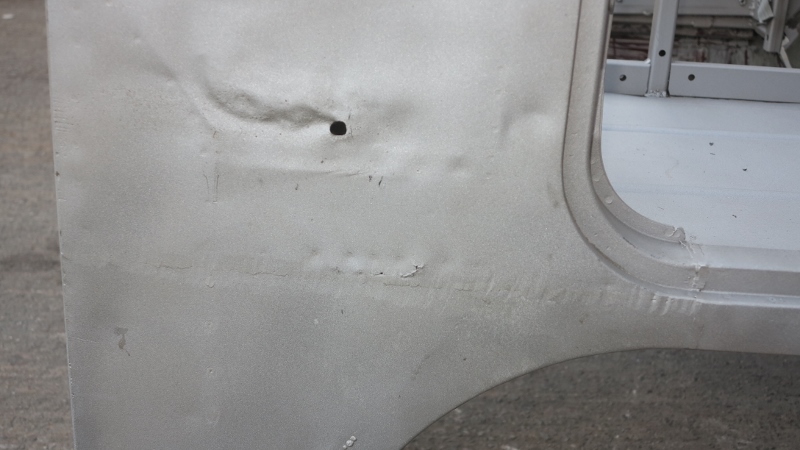
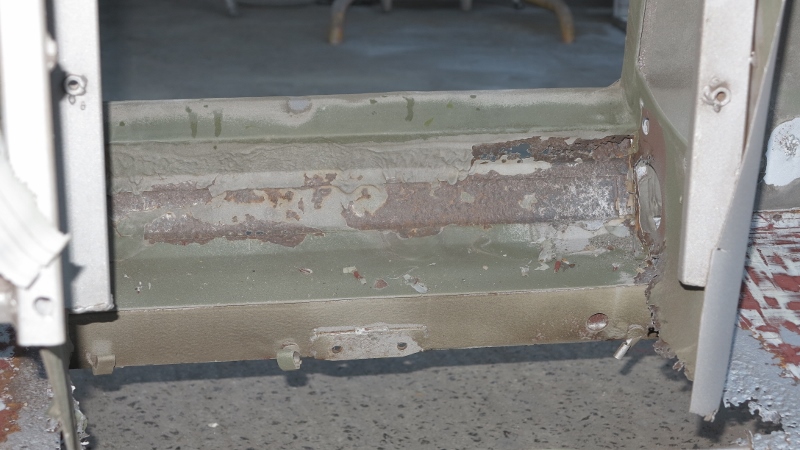
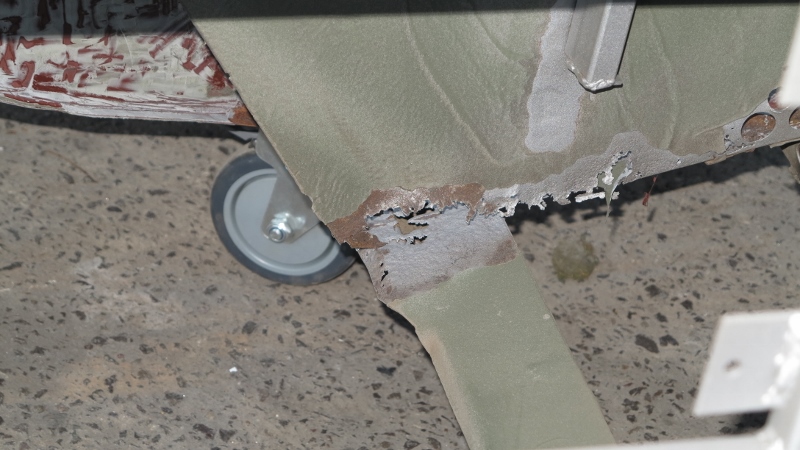
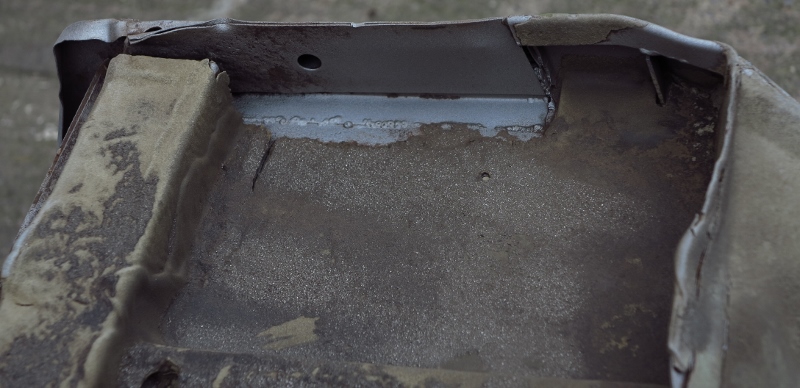
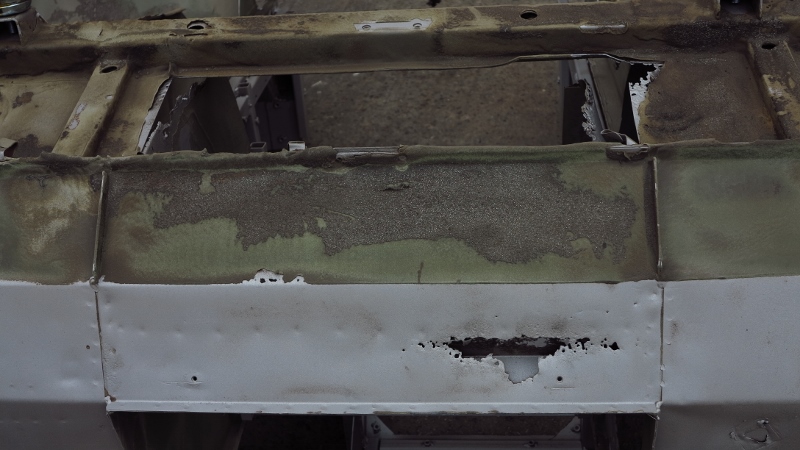
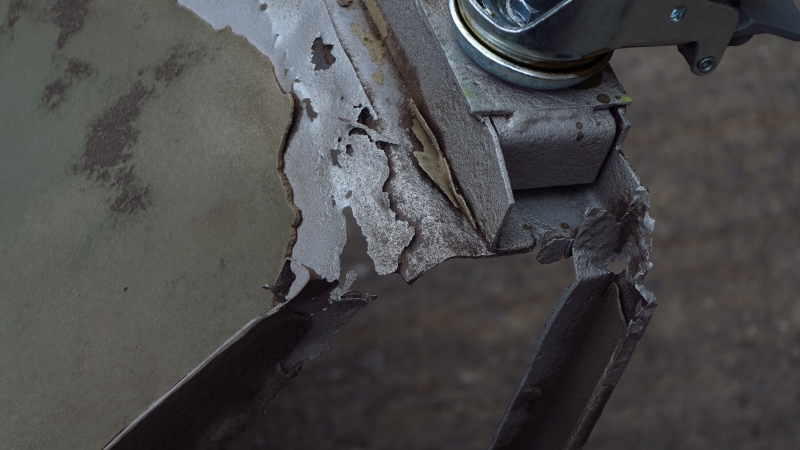
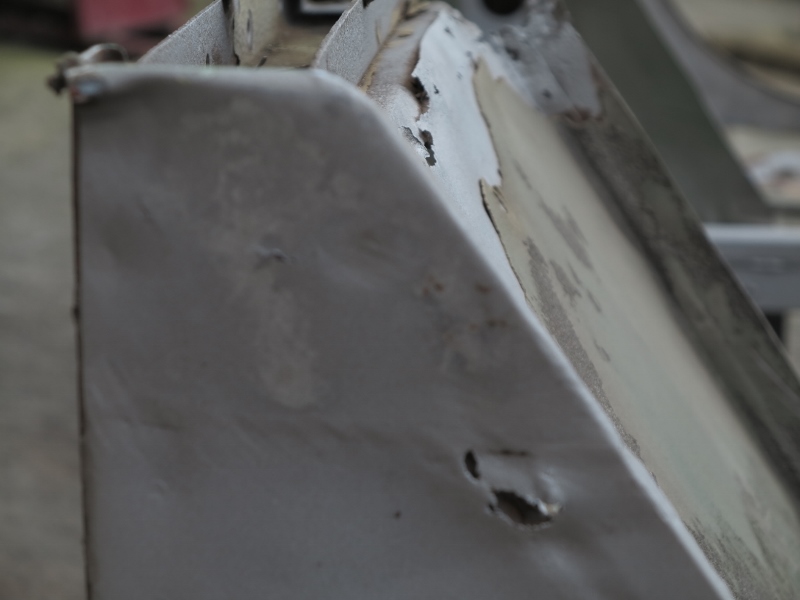
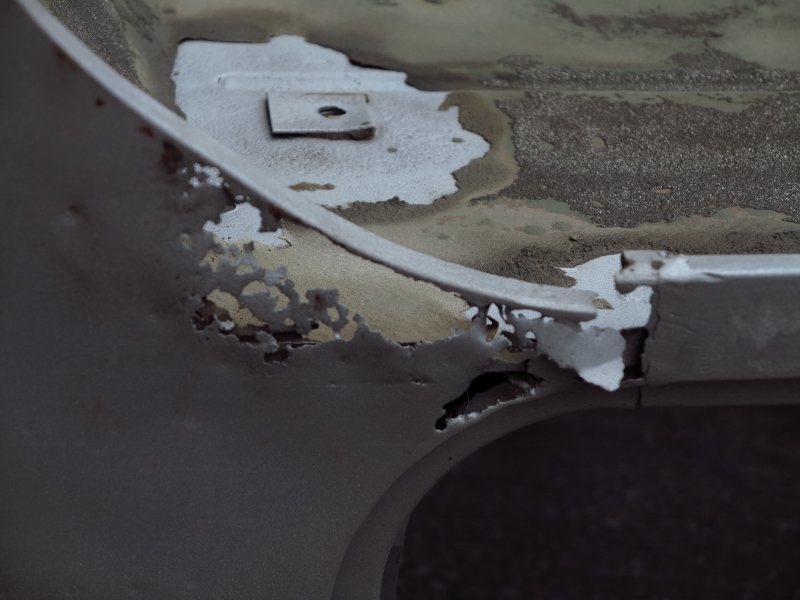
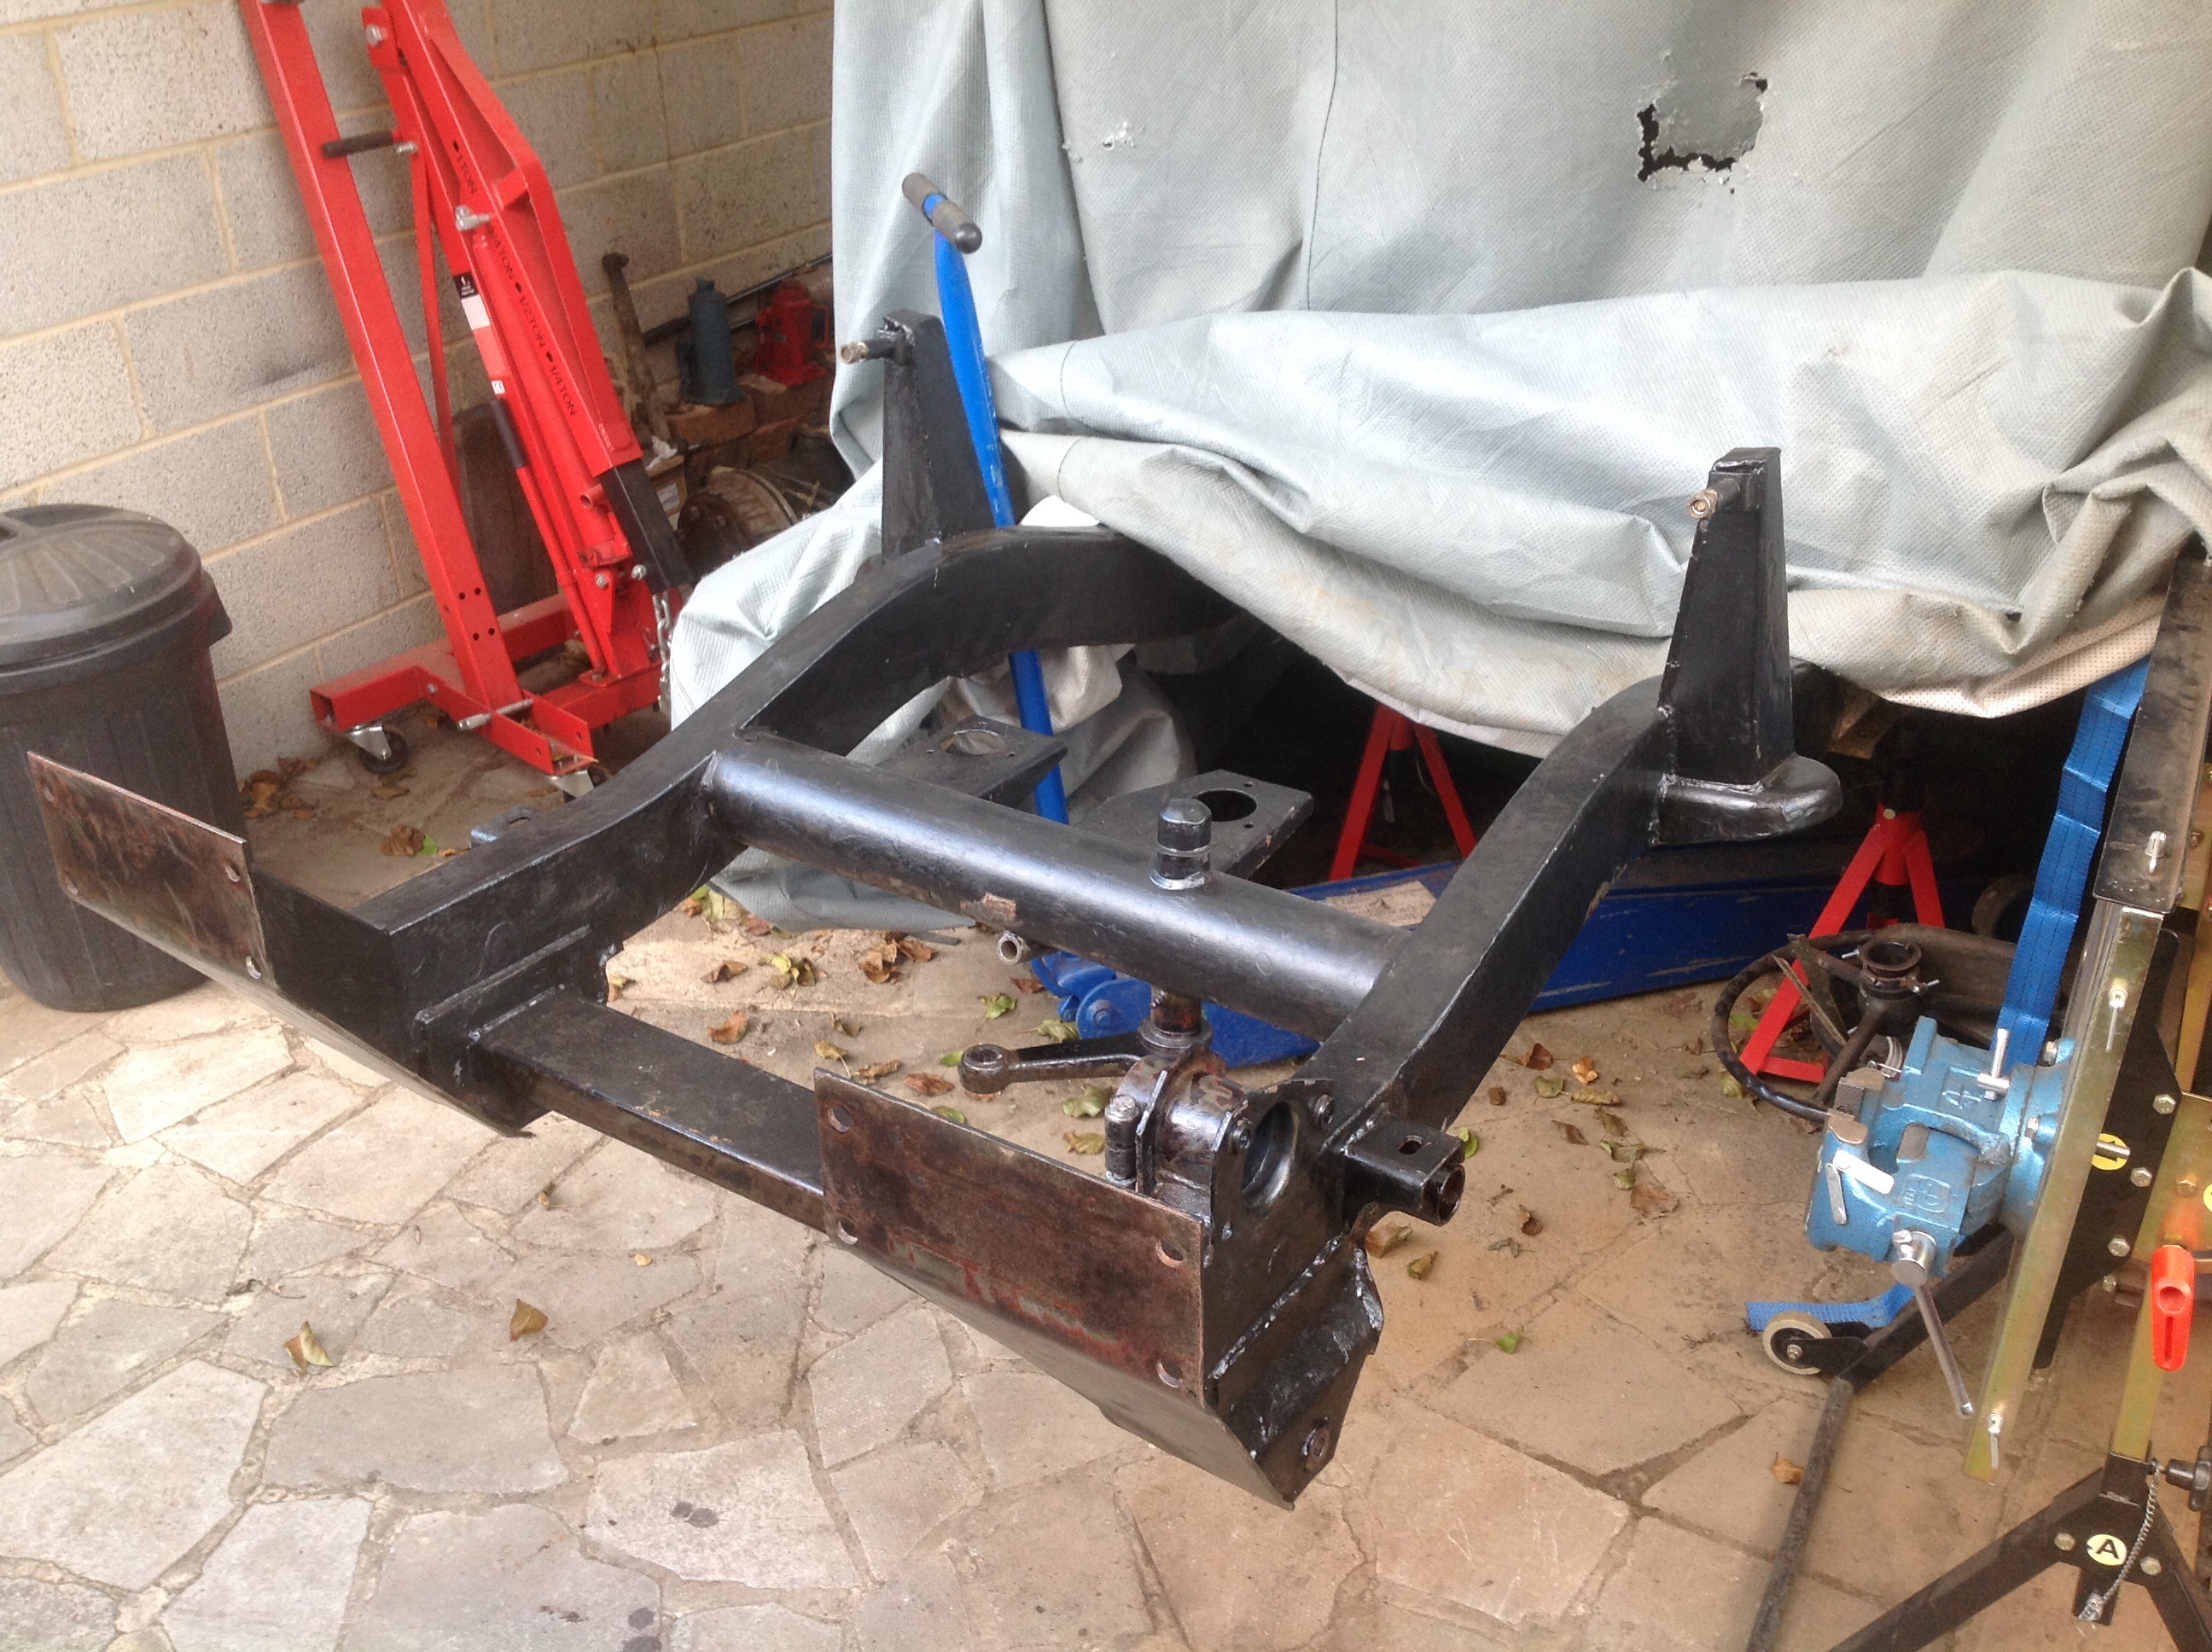
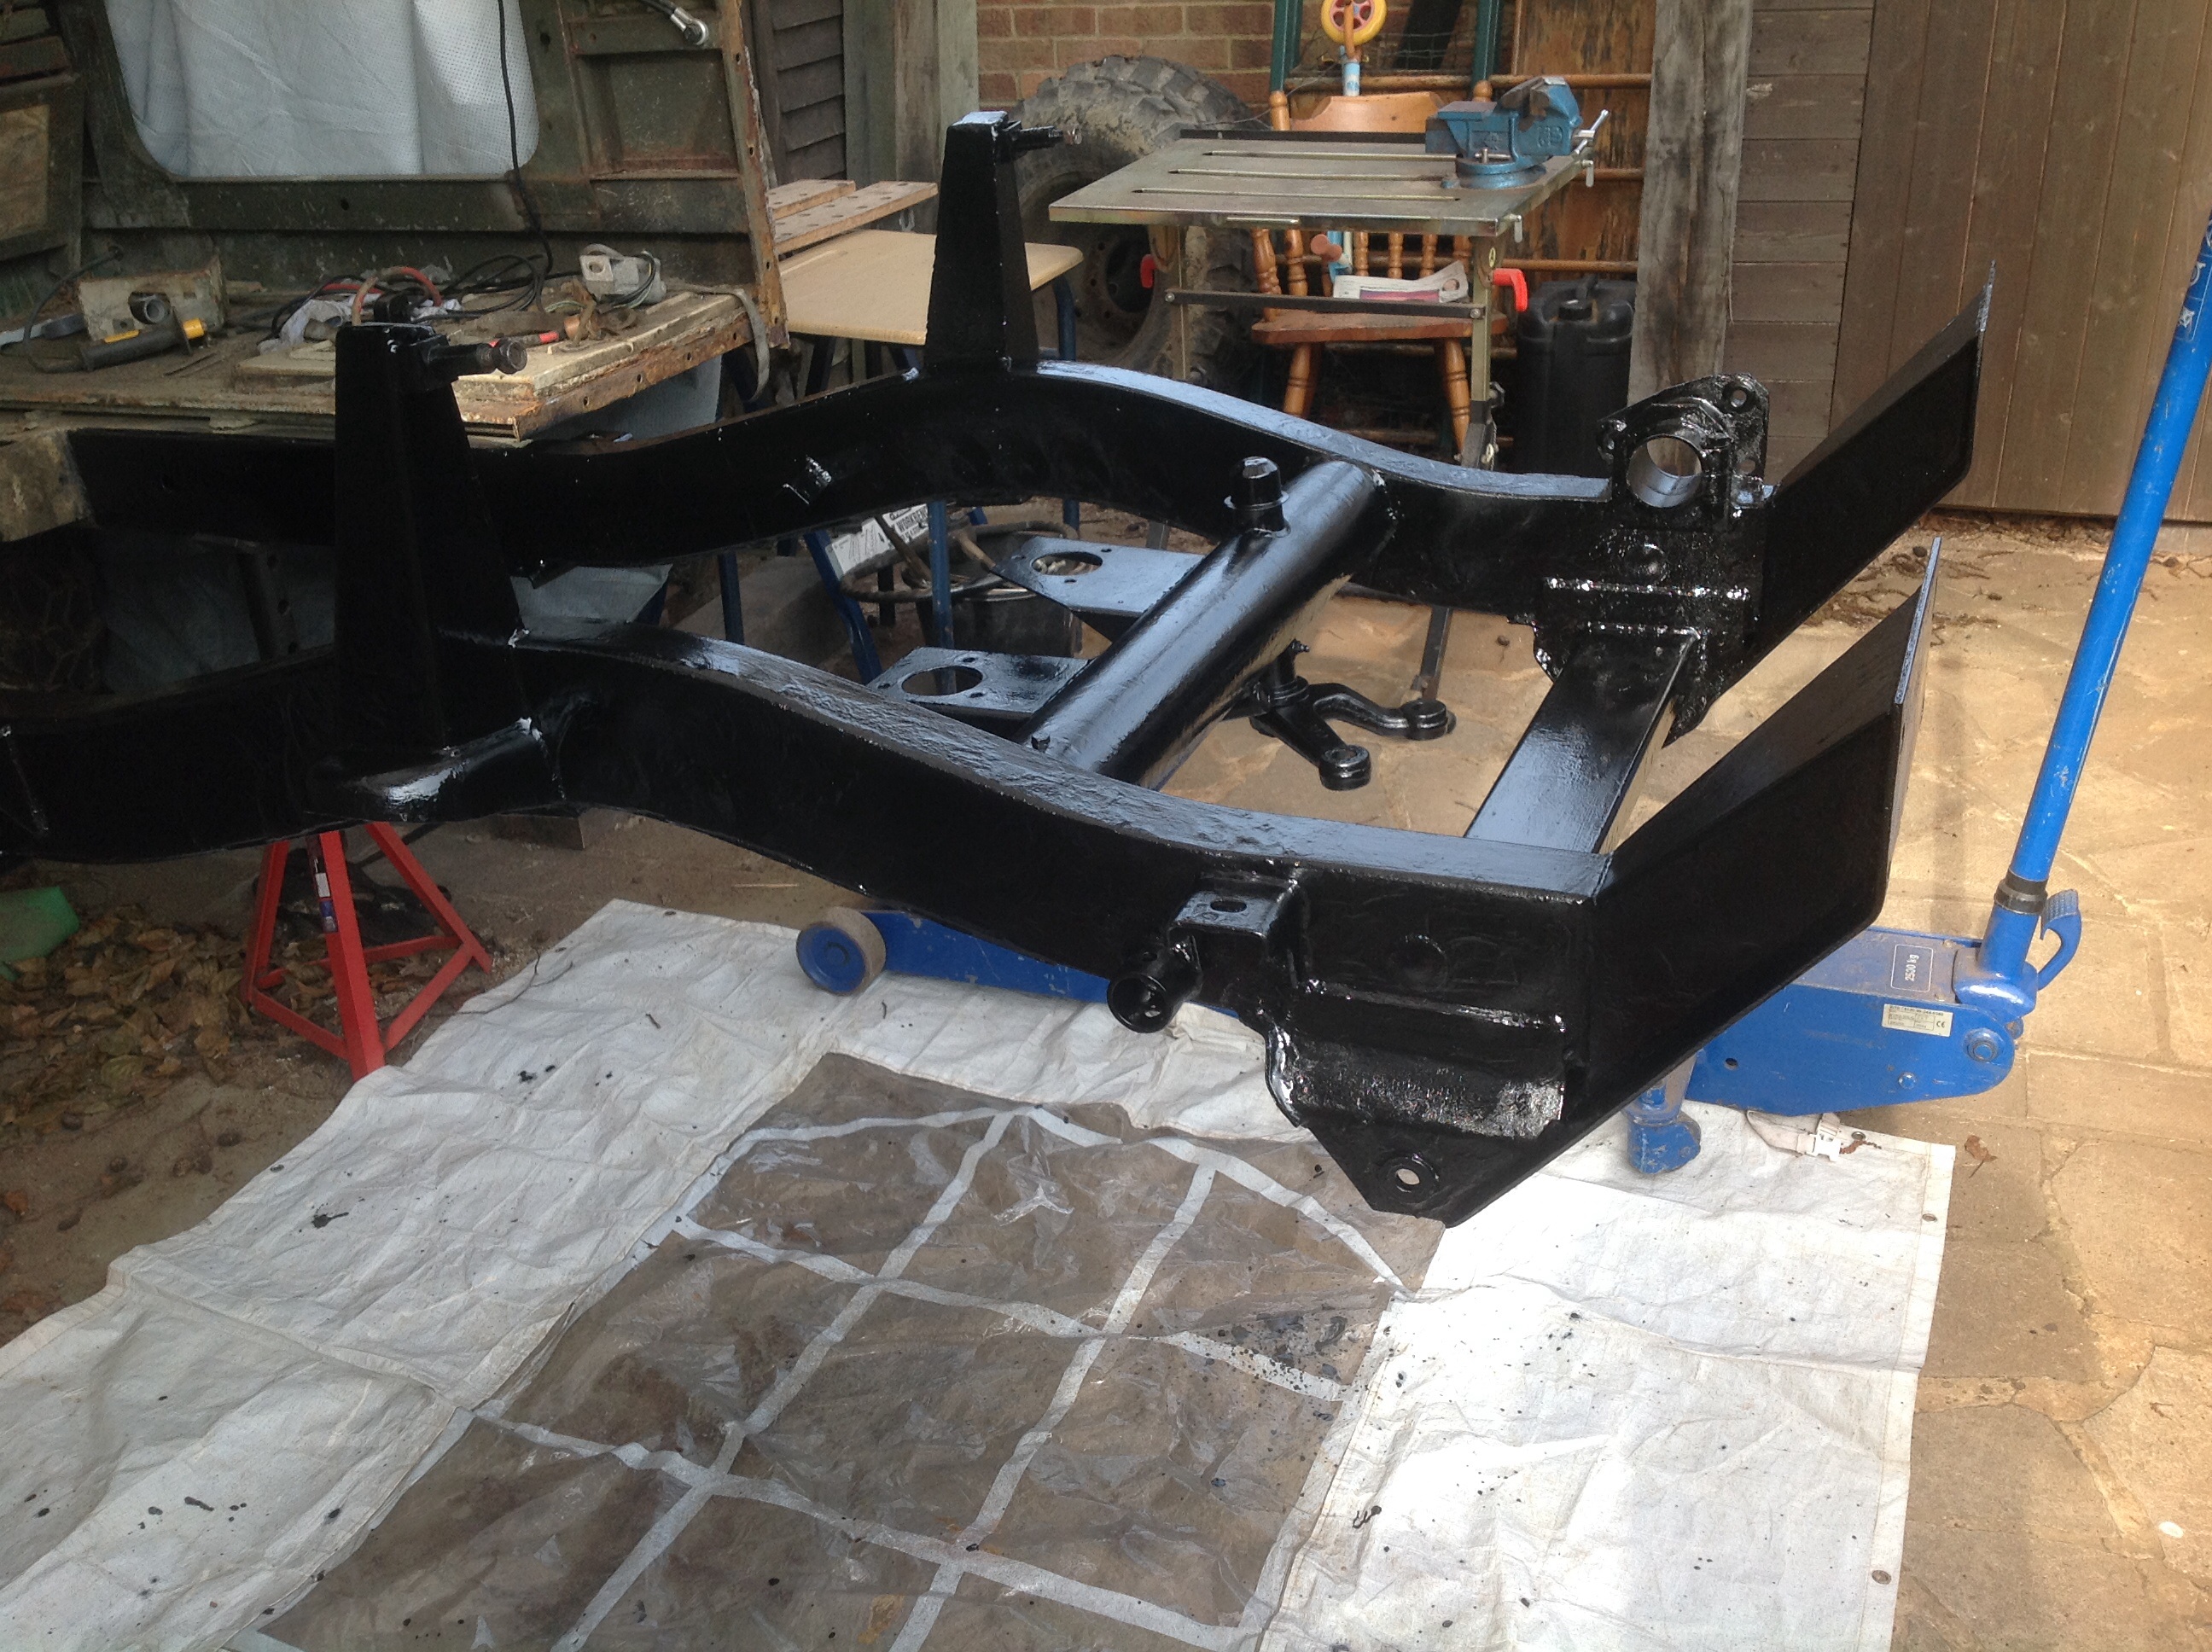
(3)Dislikes(0)I did a bit of cleaning and priming with the cab on but now I have the measure of it it’s time for the cab to come off to finish and have a go at the engine mounts
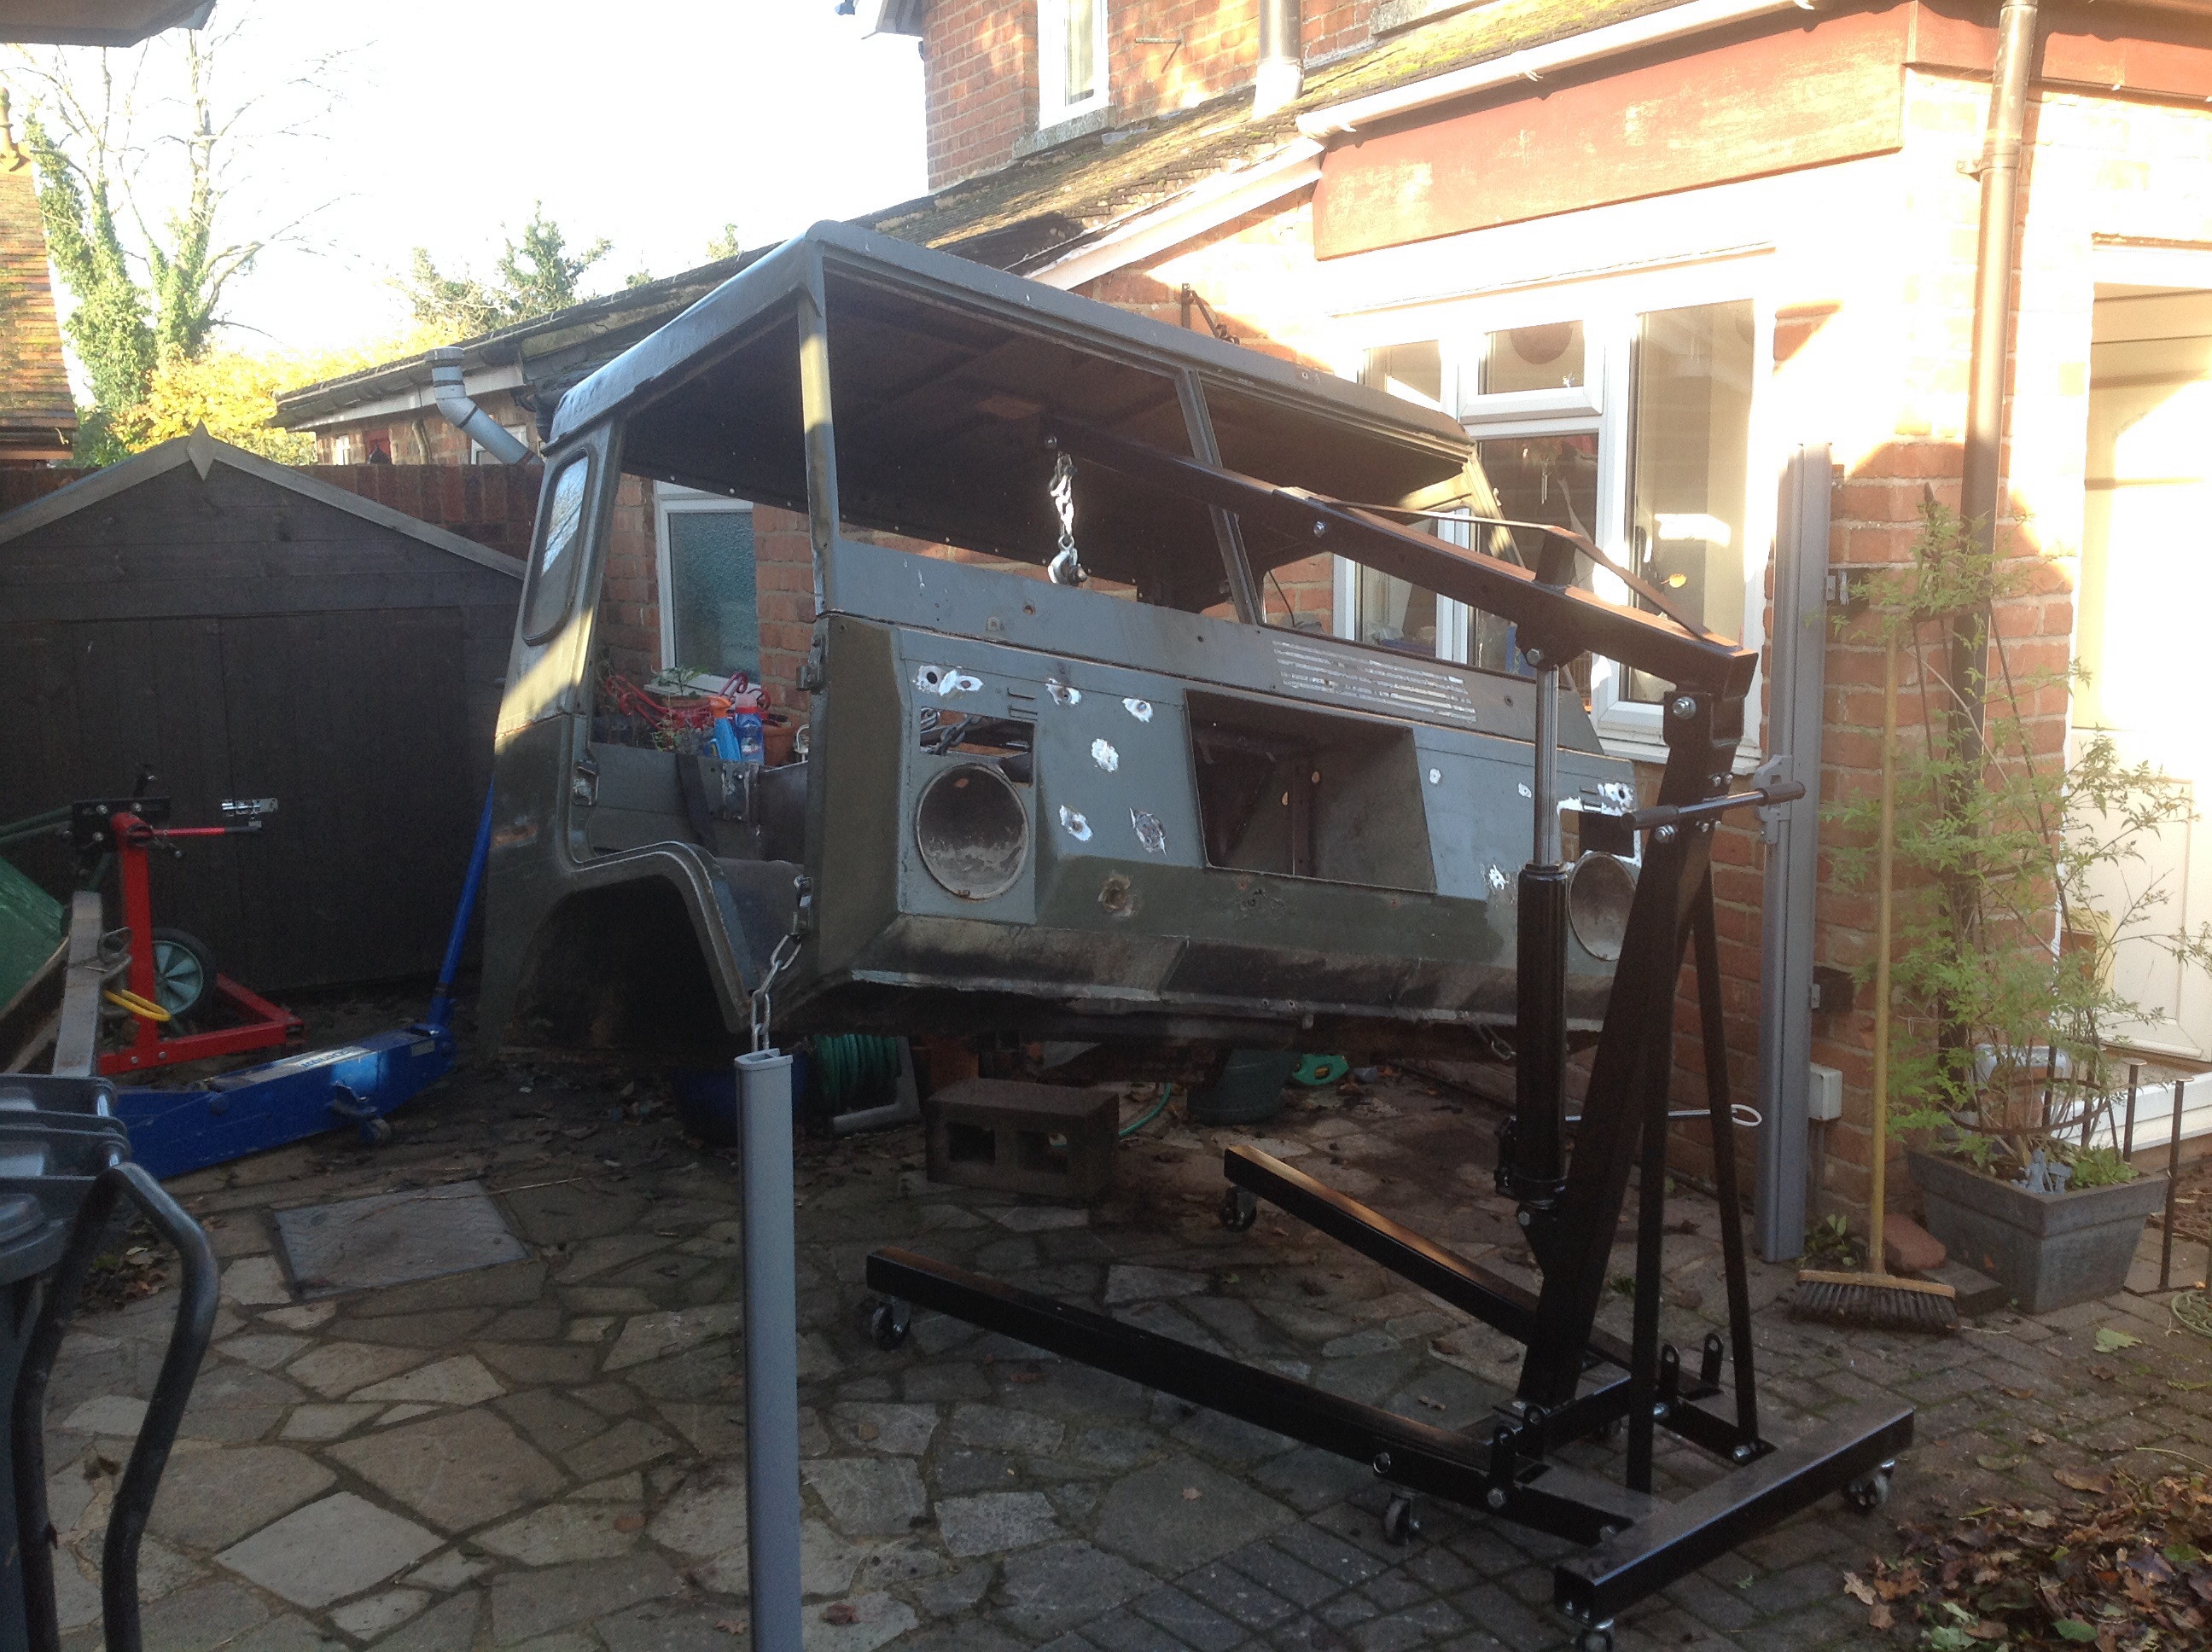
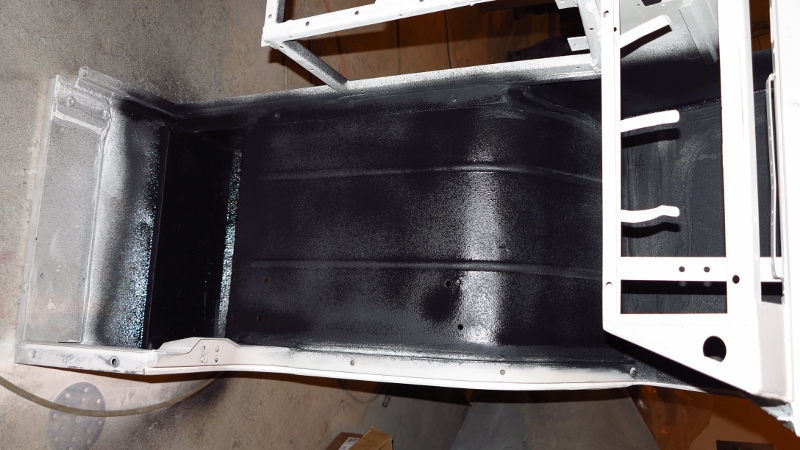
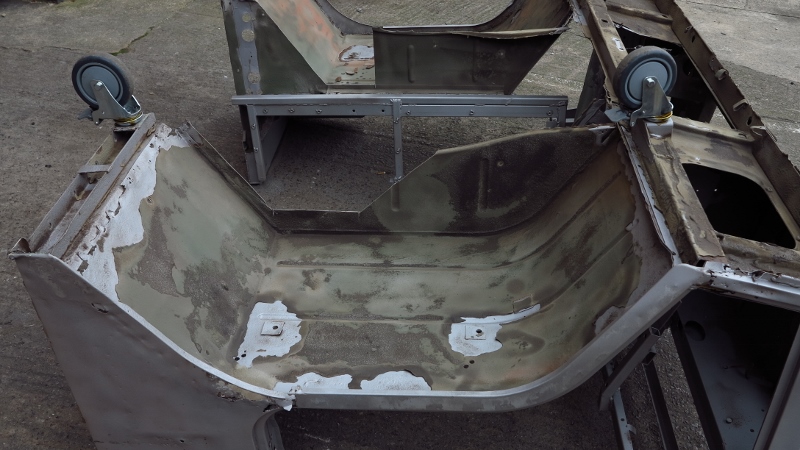
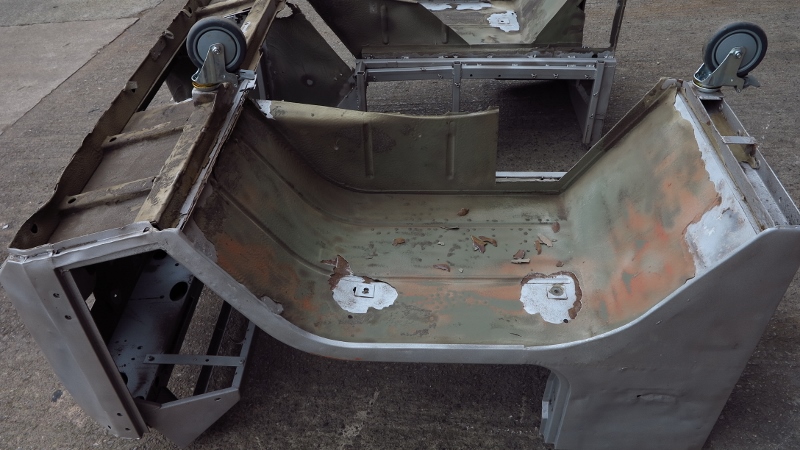
Chassis so light now it floats
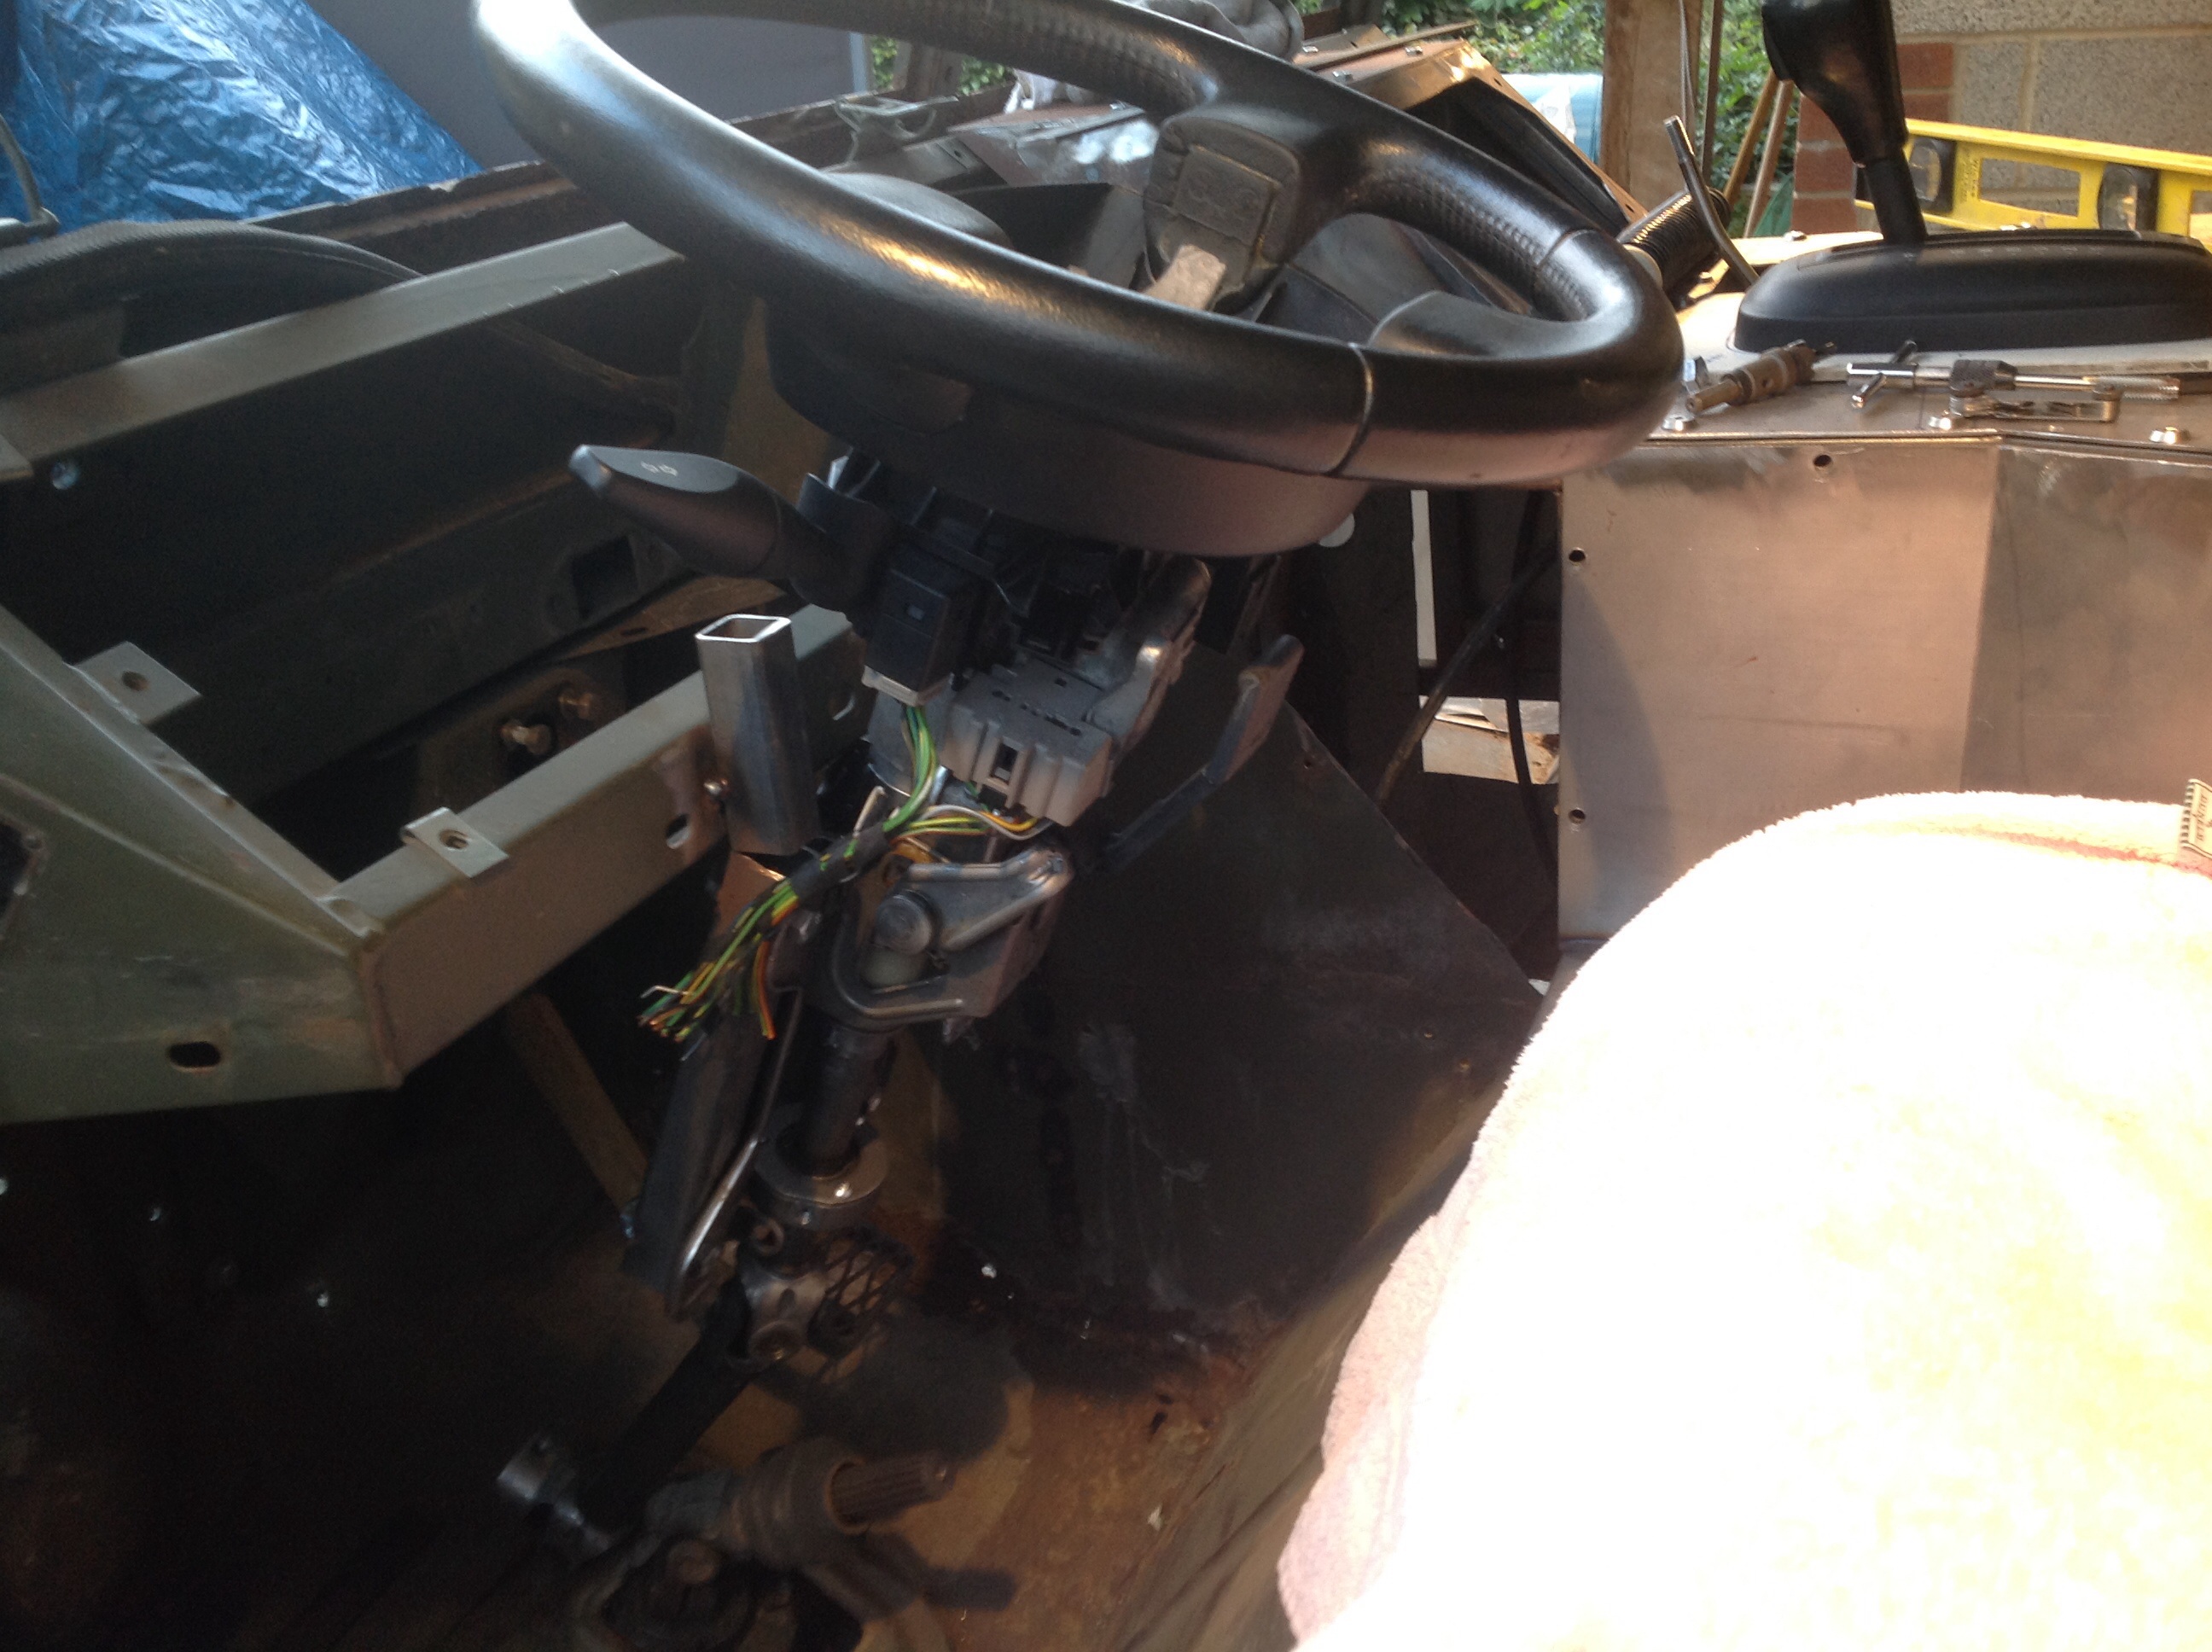
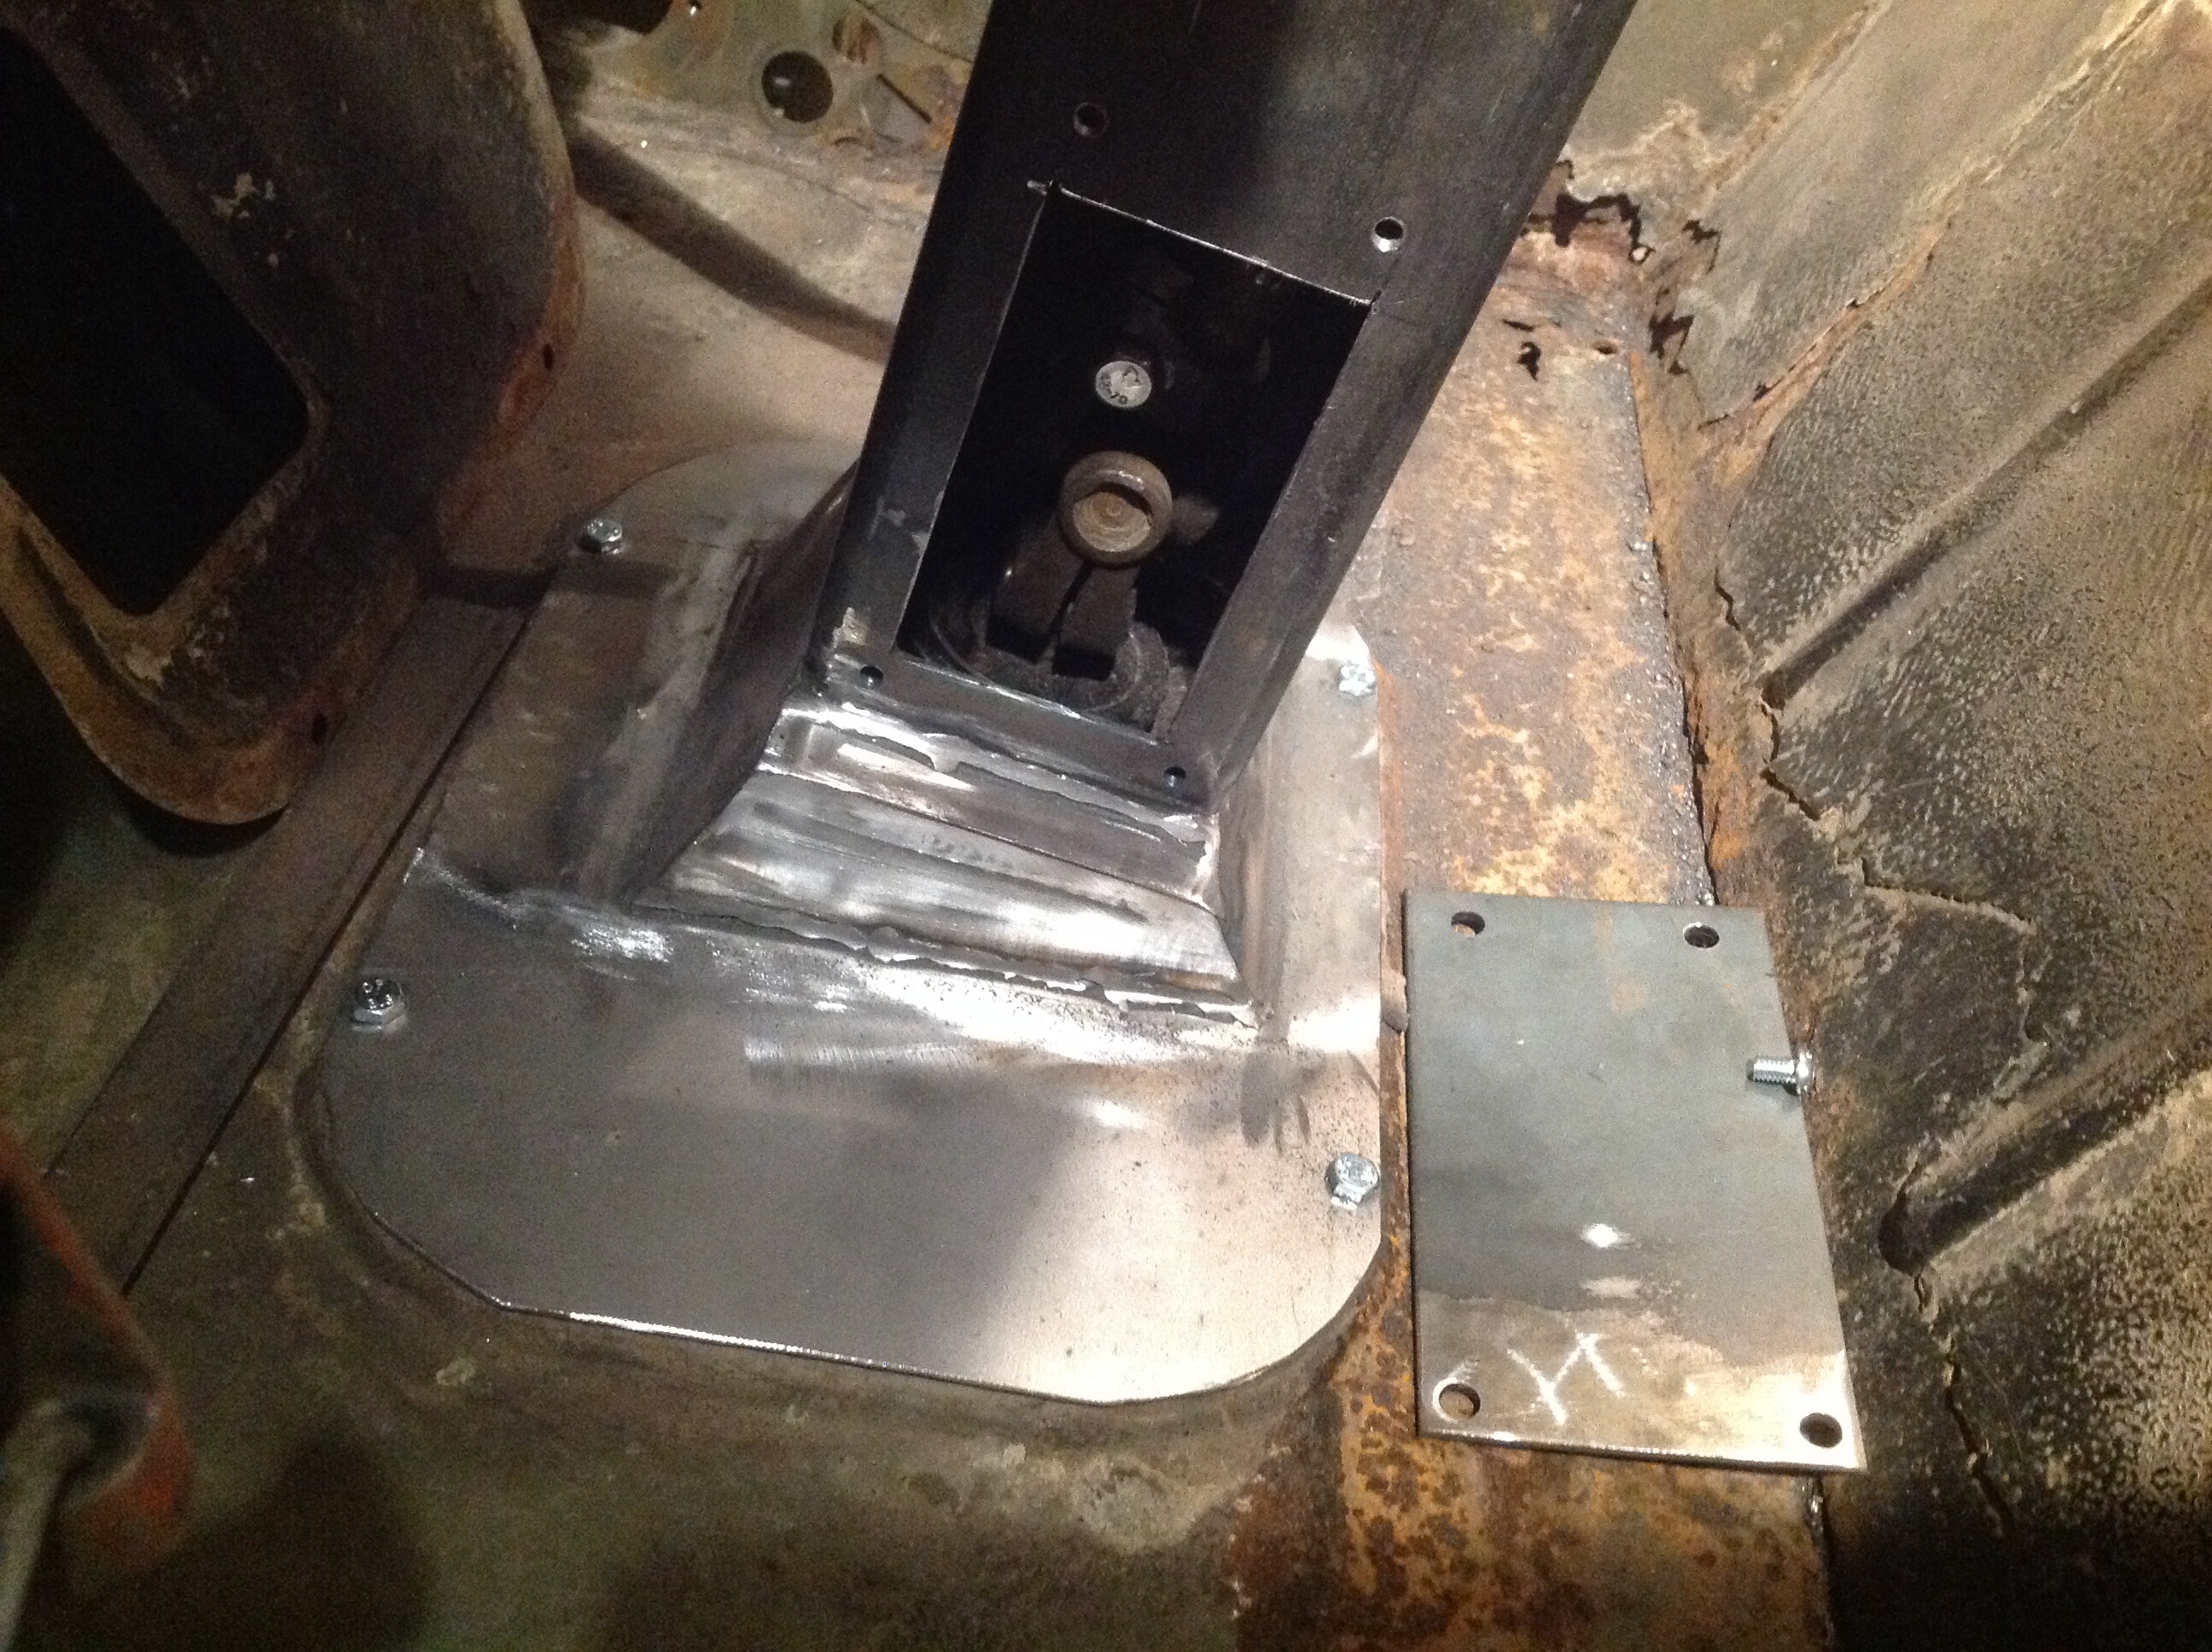
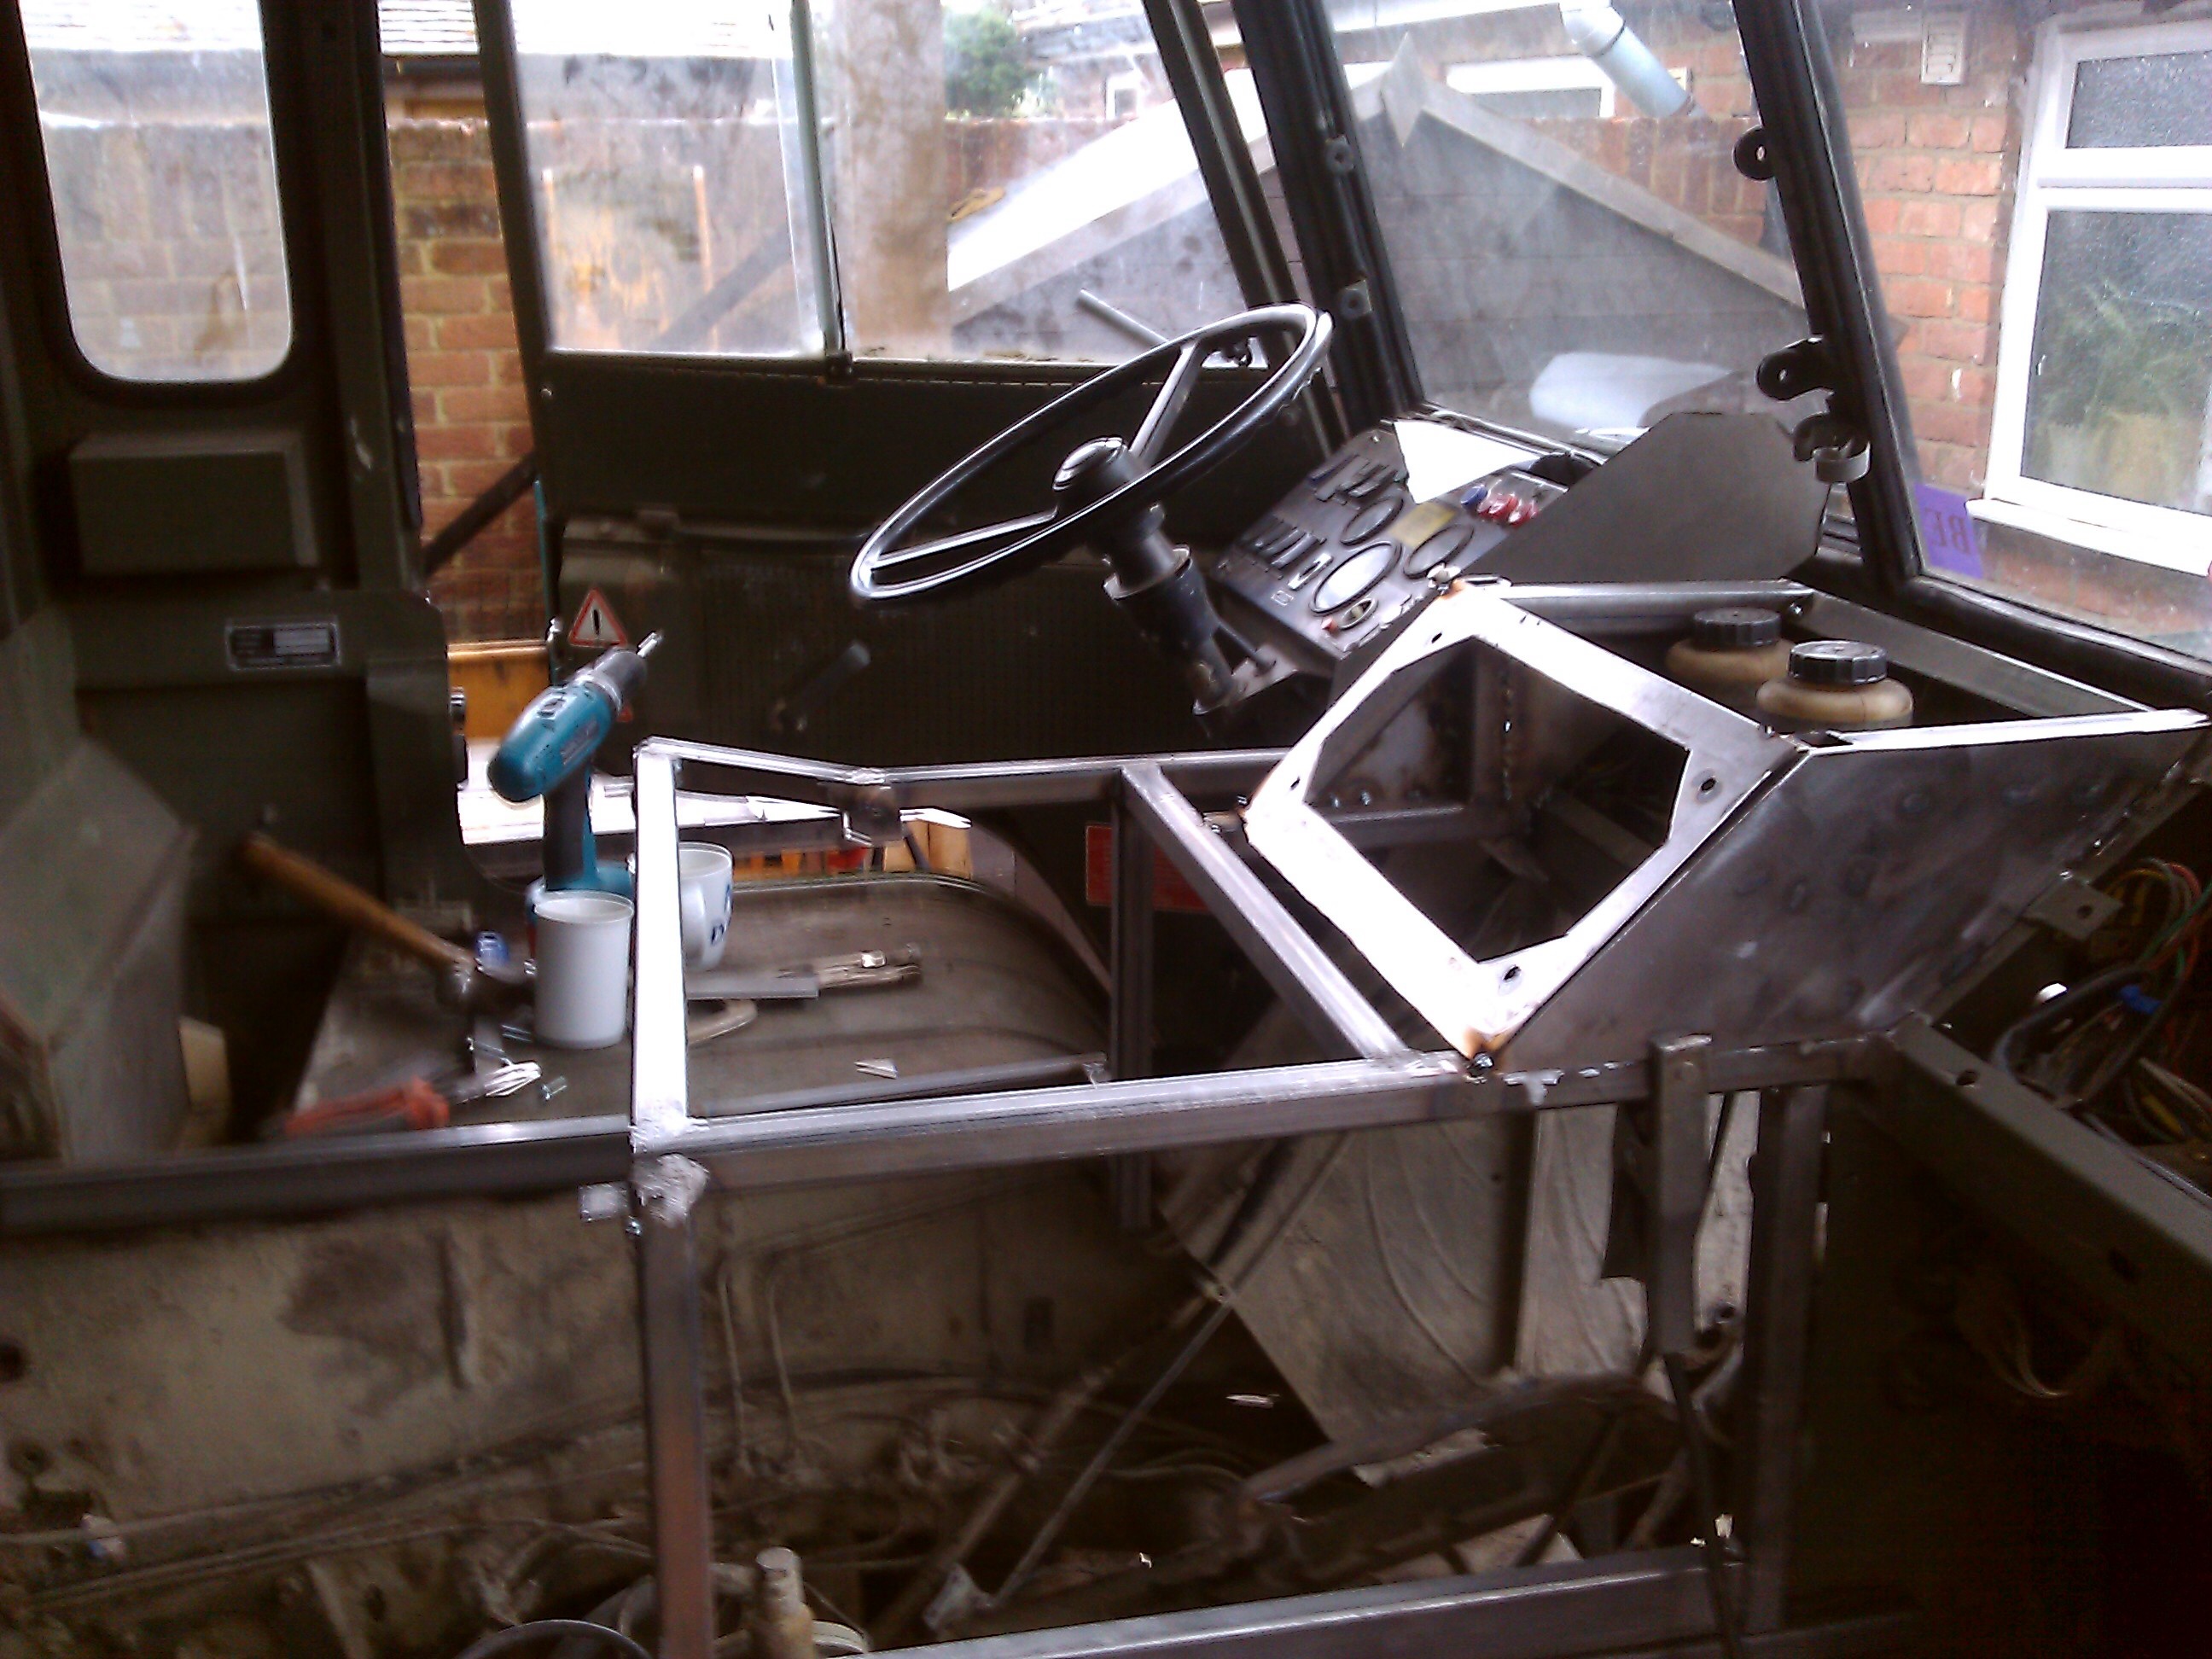
(1)Dislikes(0)I want to remove the switches for lights etc from the dashboard so have bought a modern steering column with stalk switches. Now got to fit it.
brand new seats go in and the column lined up
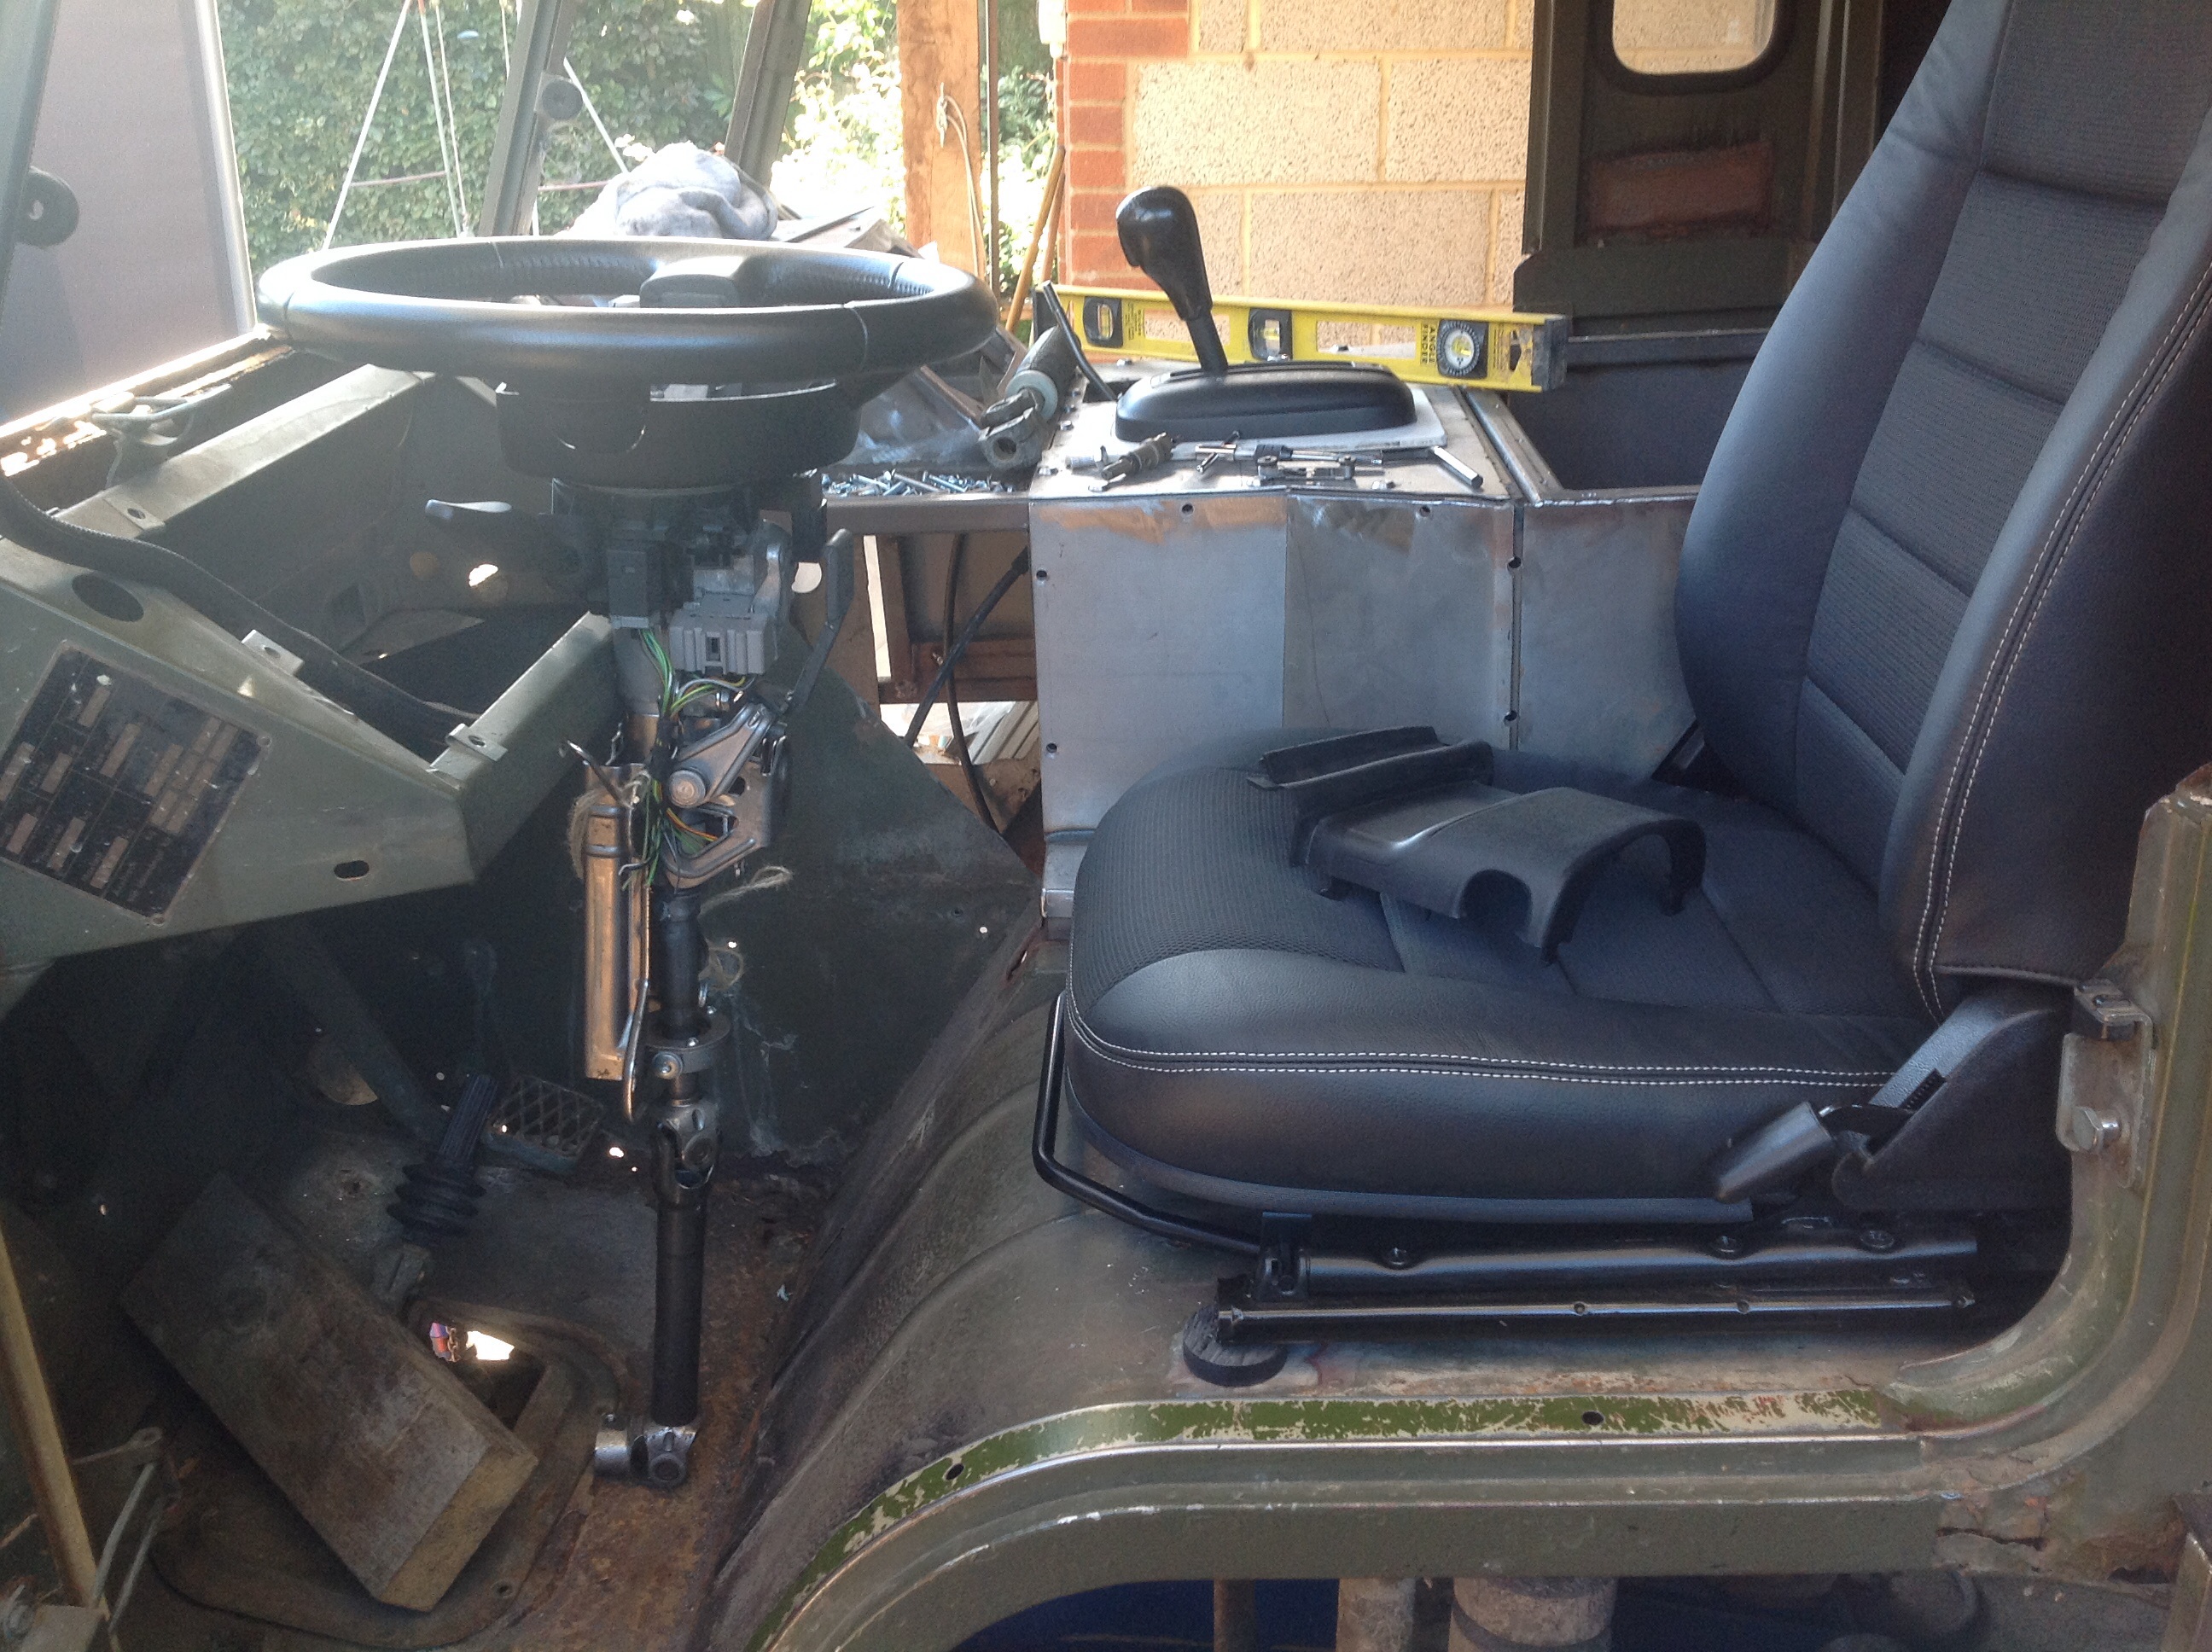
then made brackets for the column – might need to support the brackets
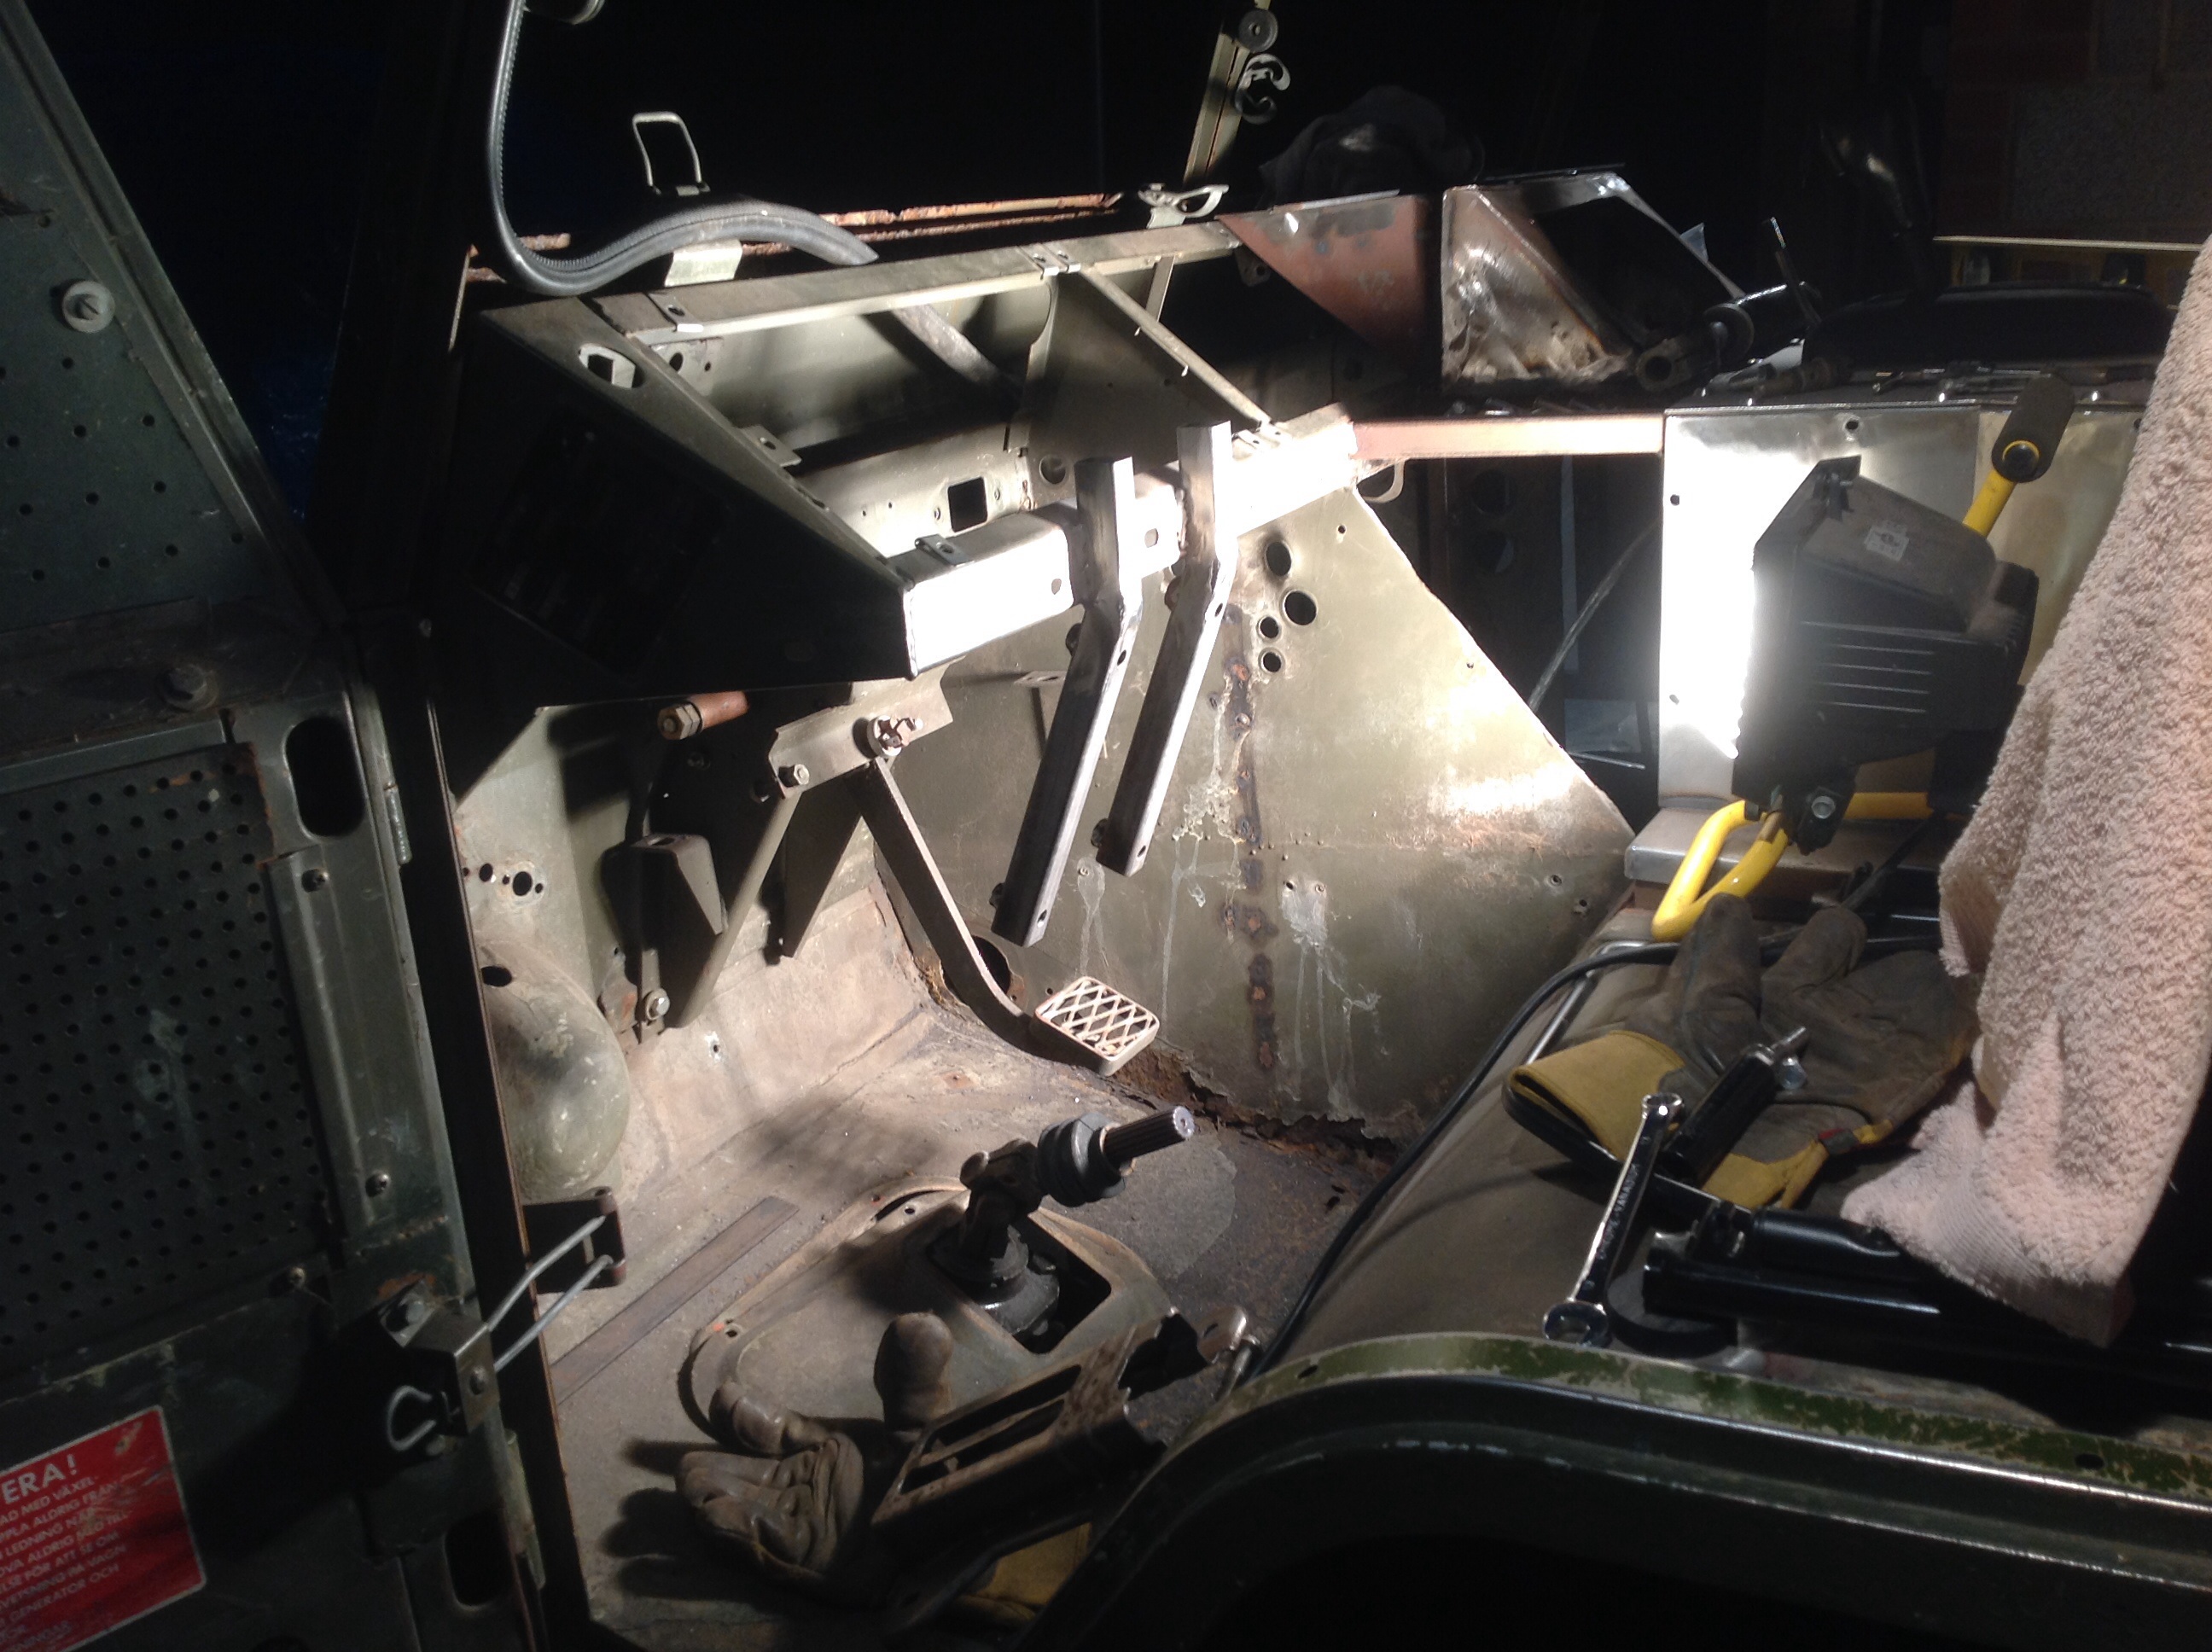
Had to make a new floor access too match the column
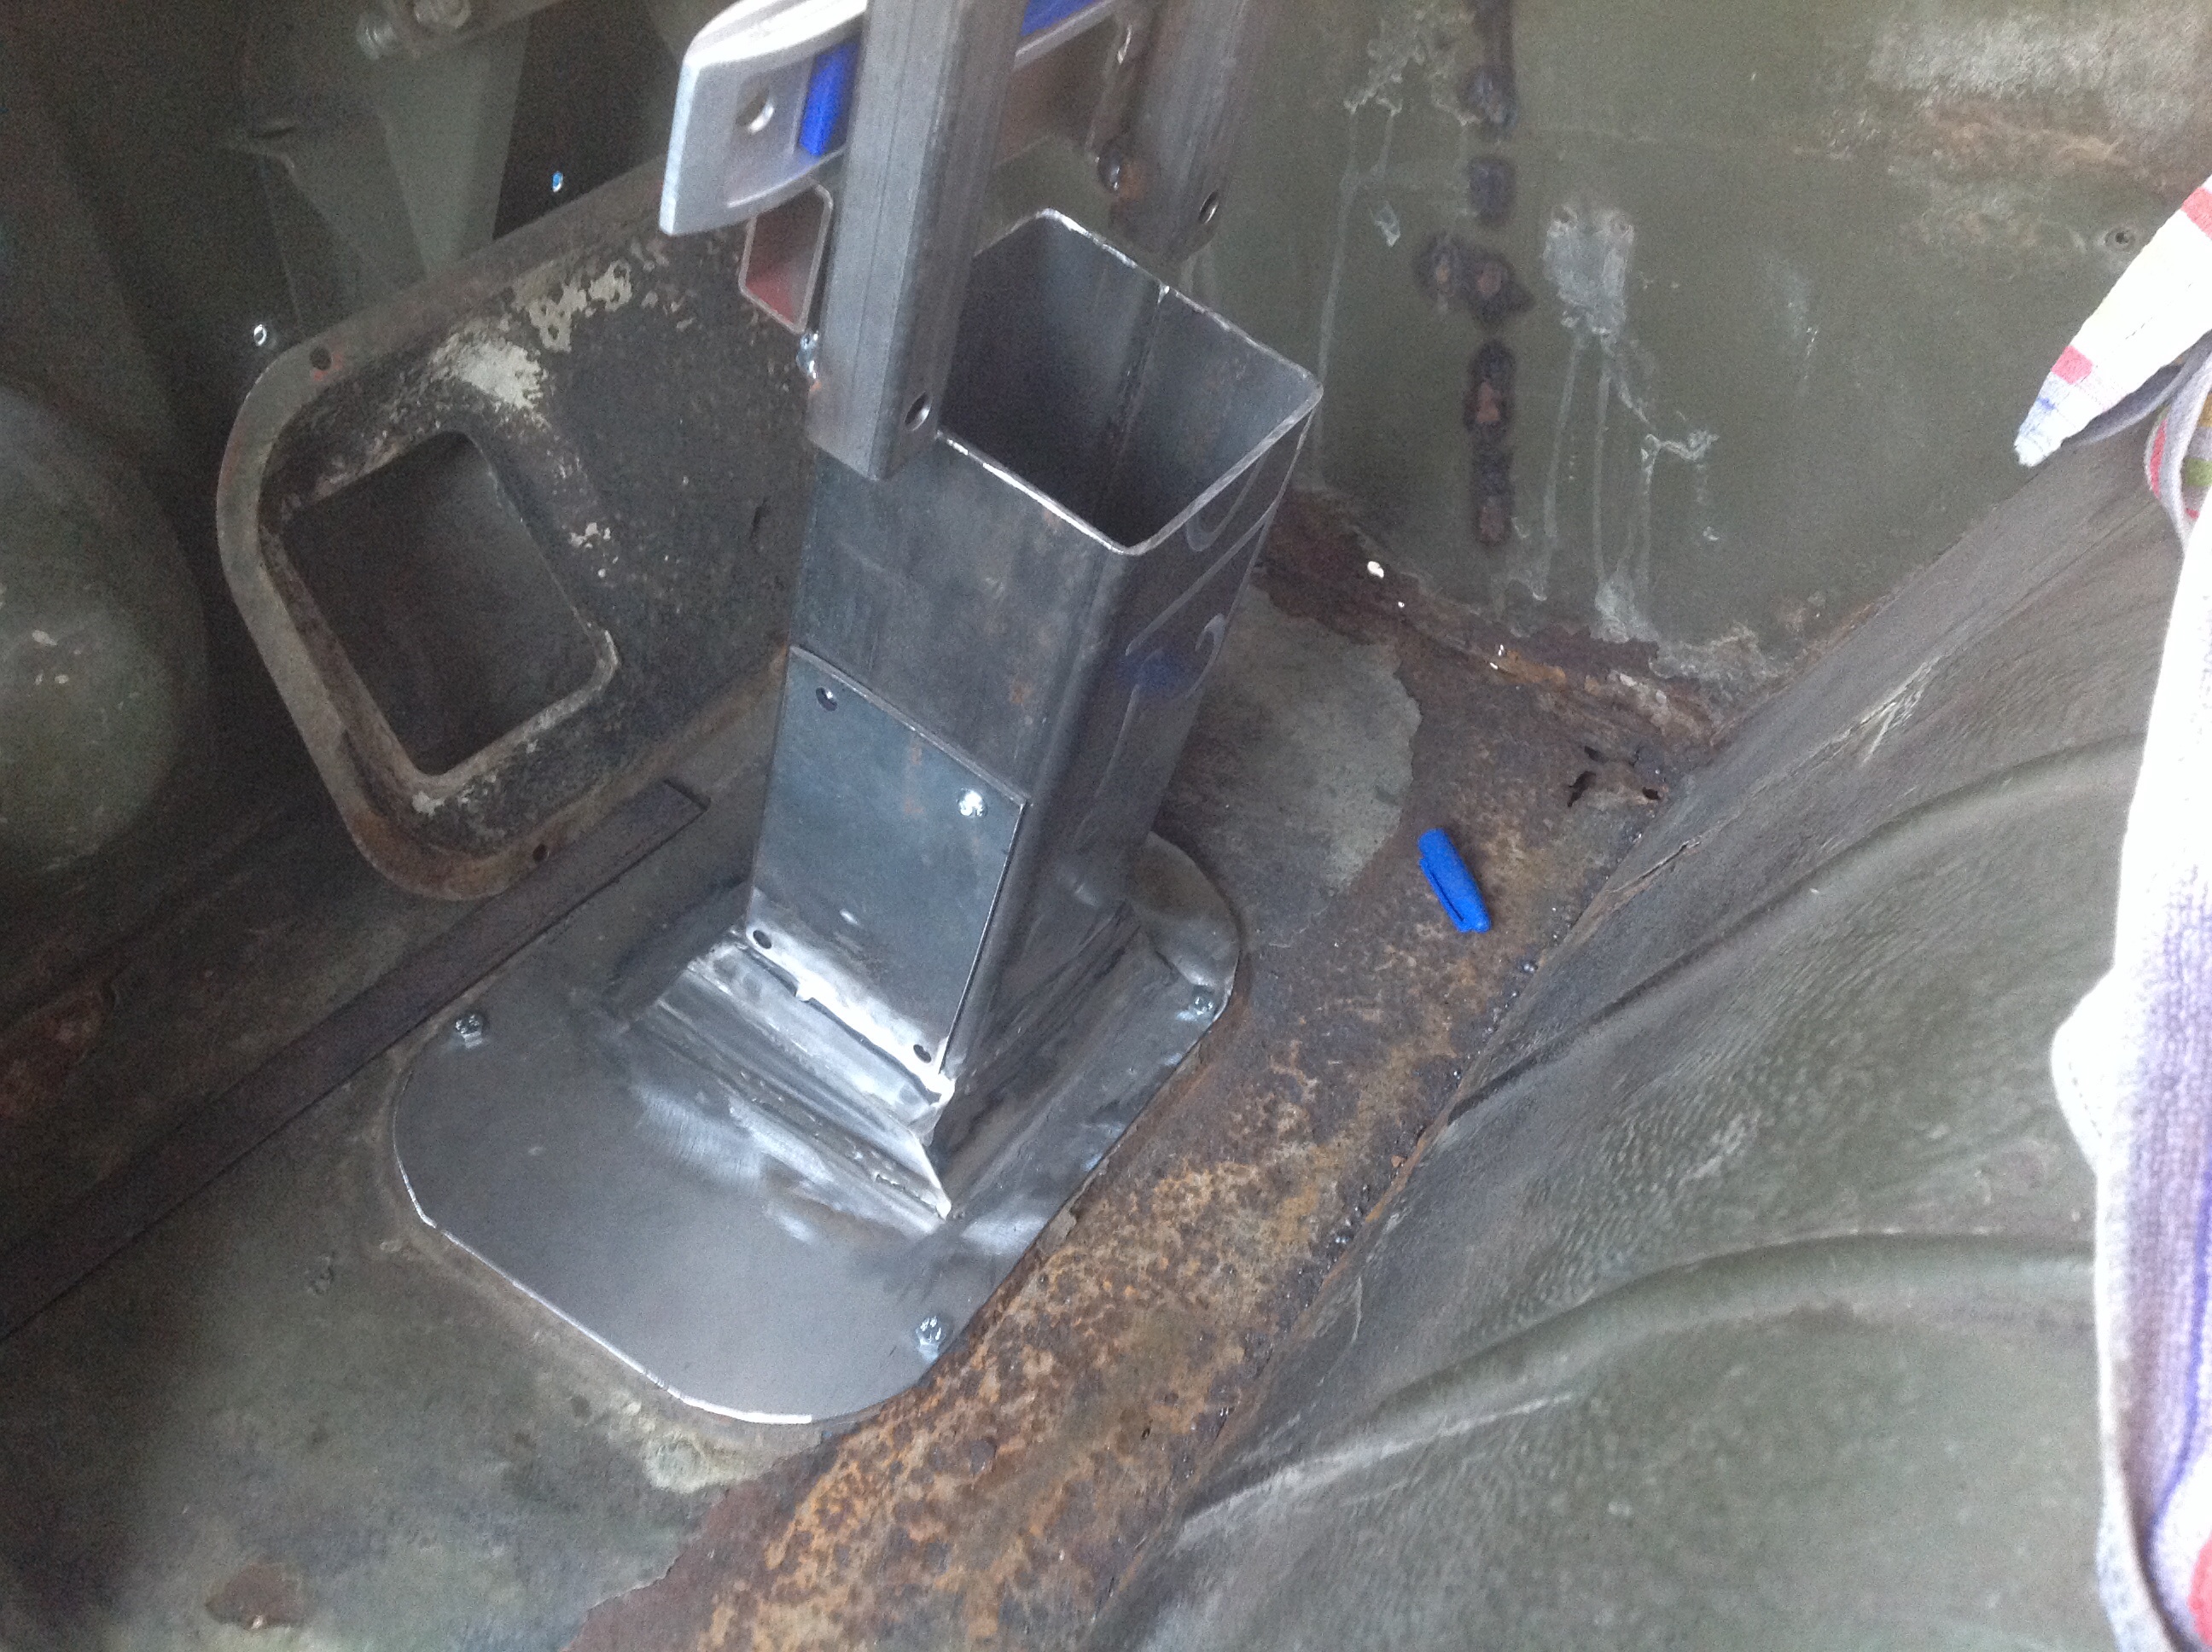
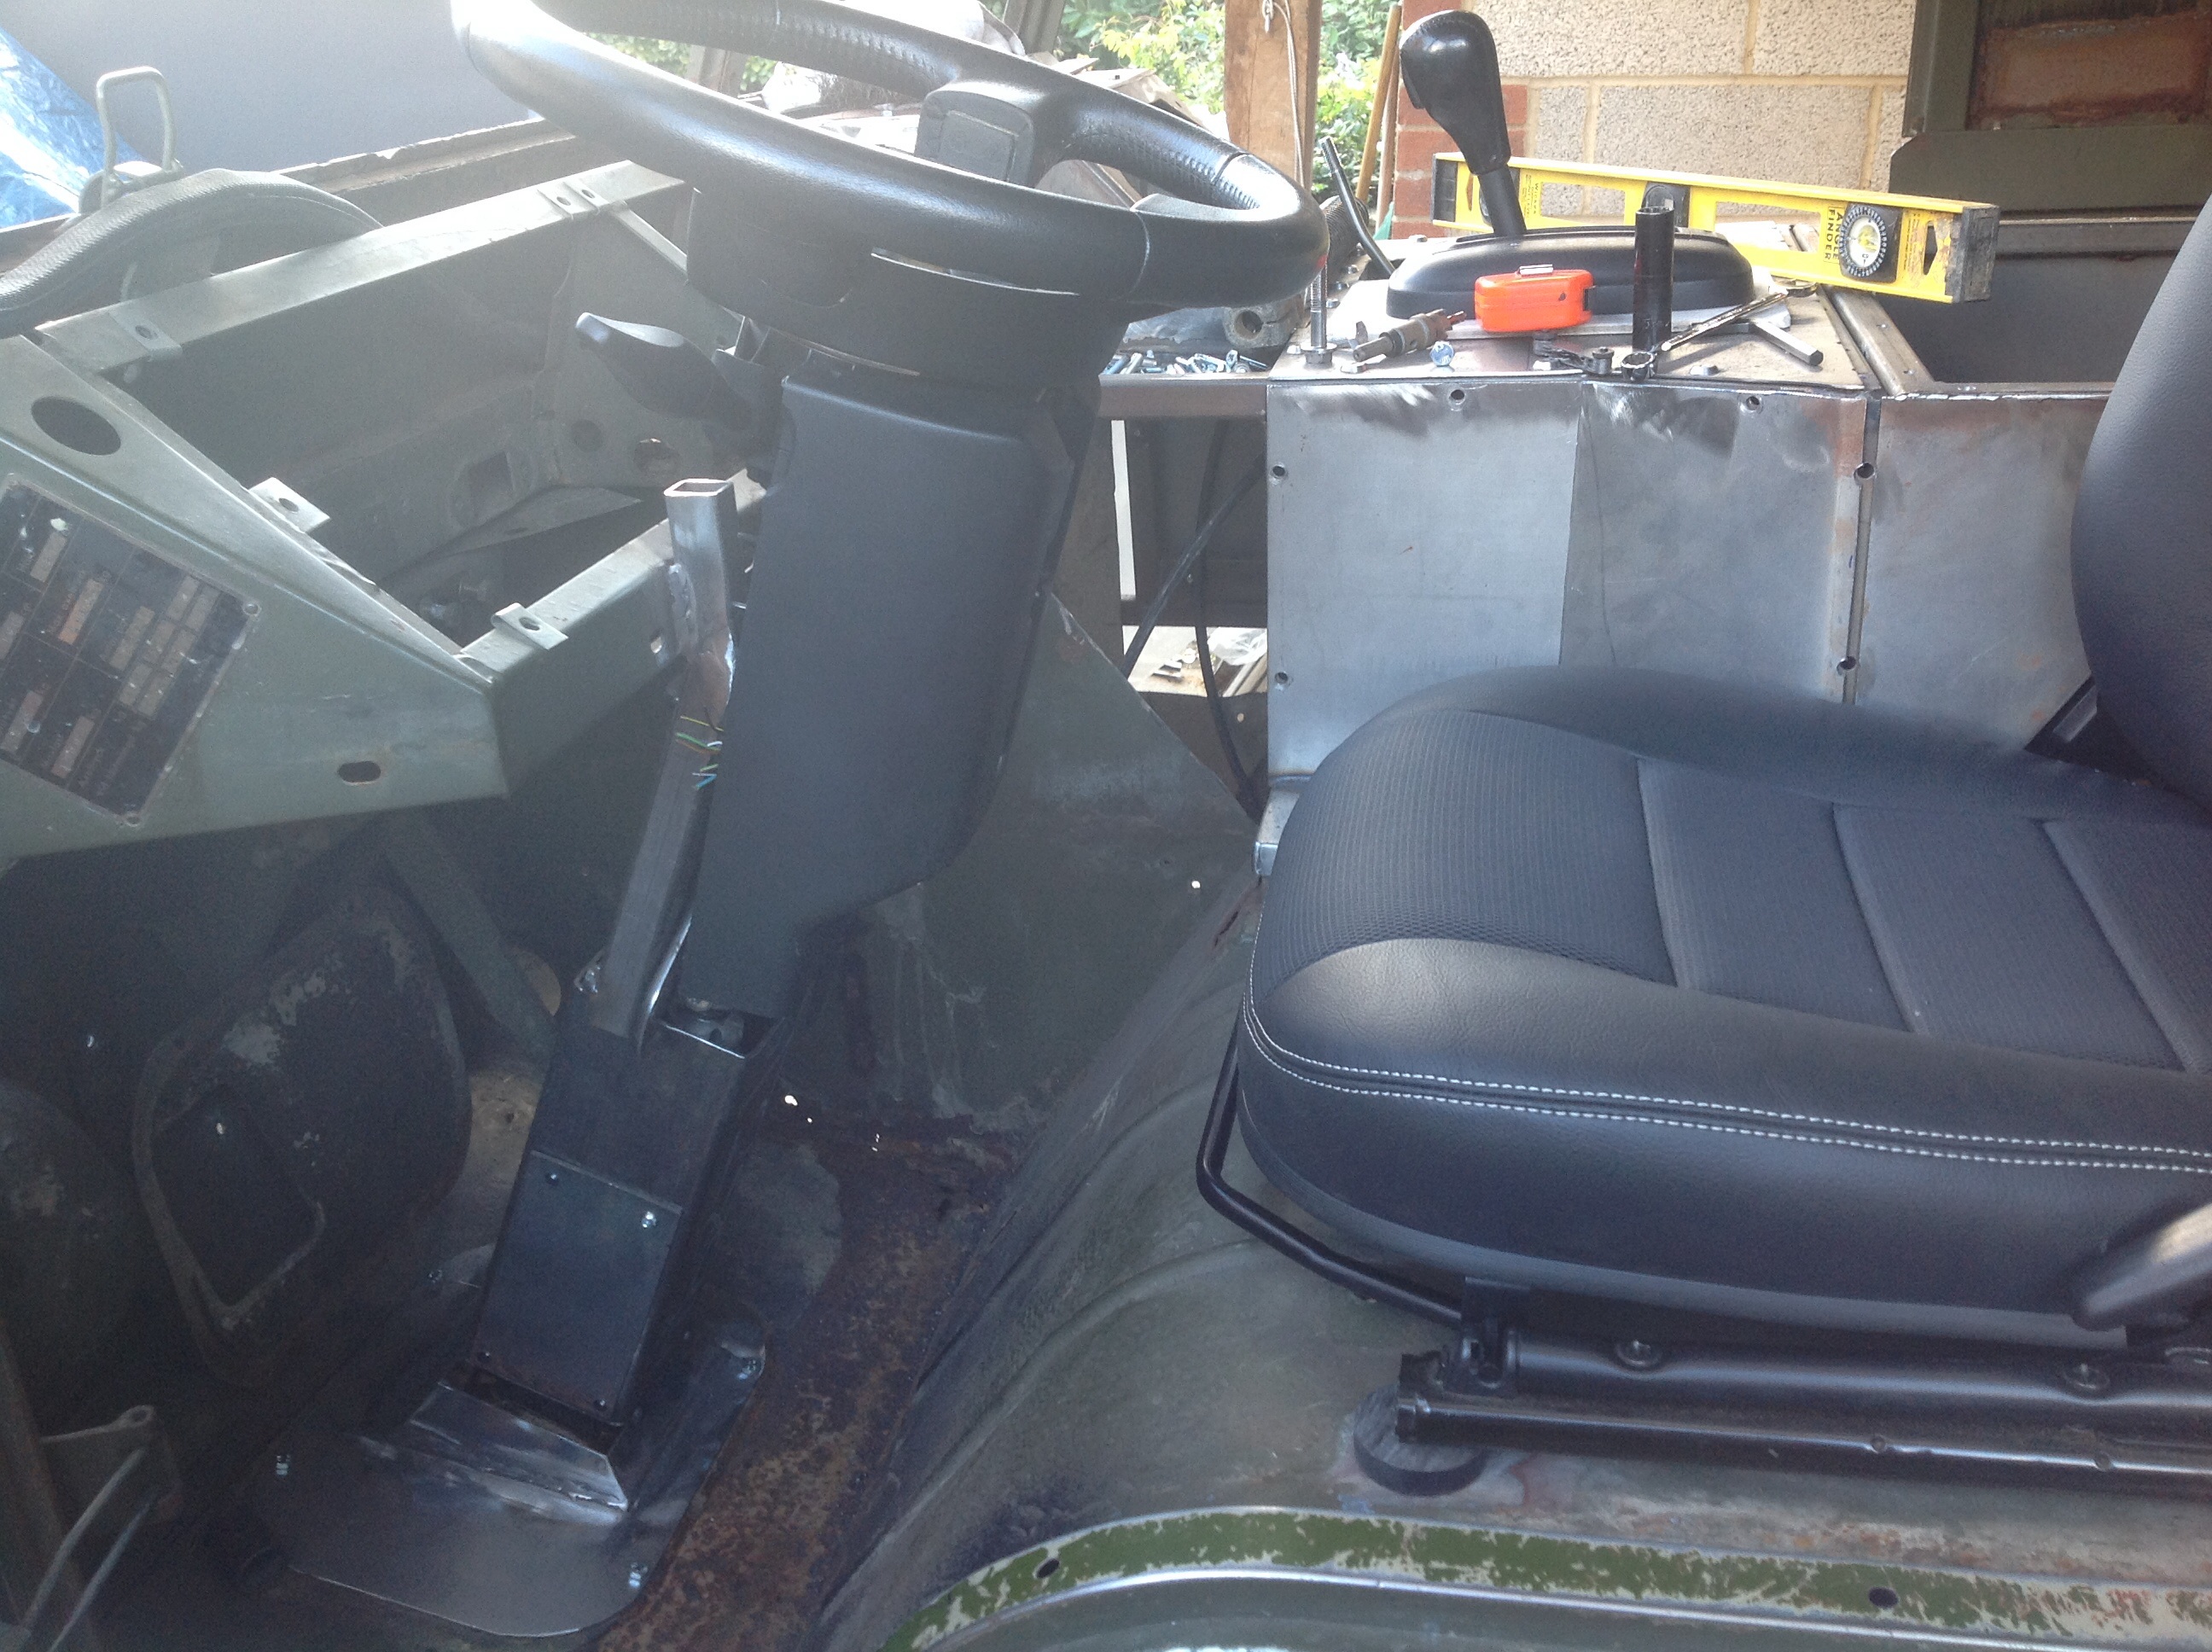
Decided that the bracket needed attaching to the floor plate, should give the column strength. But it needs to be removable.
Column now has some 3mm plate overlapping the tunnel. 2 m10 bolts tapped into the tunnel. no wobble at all now.
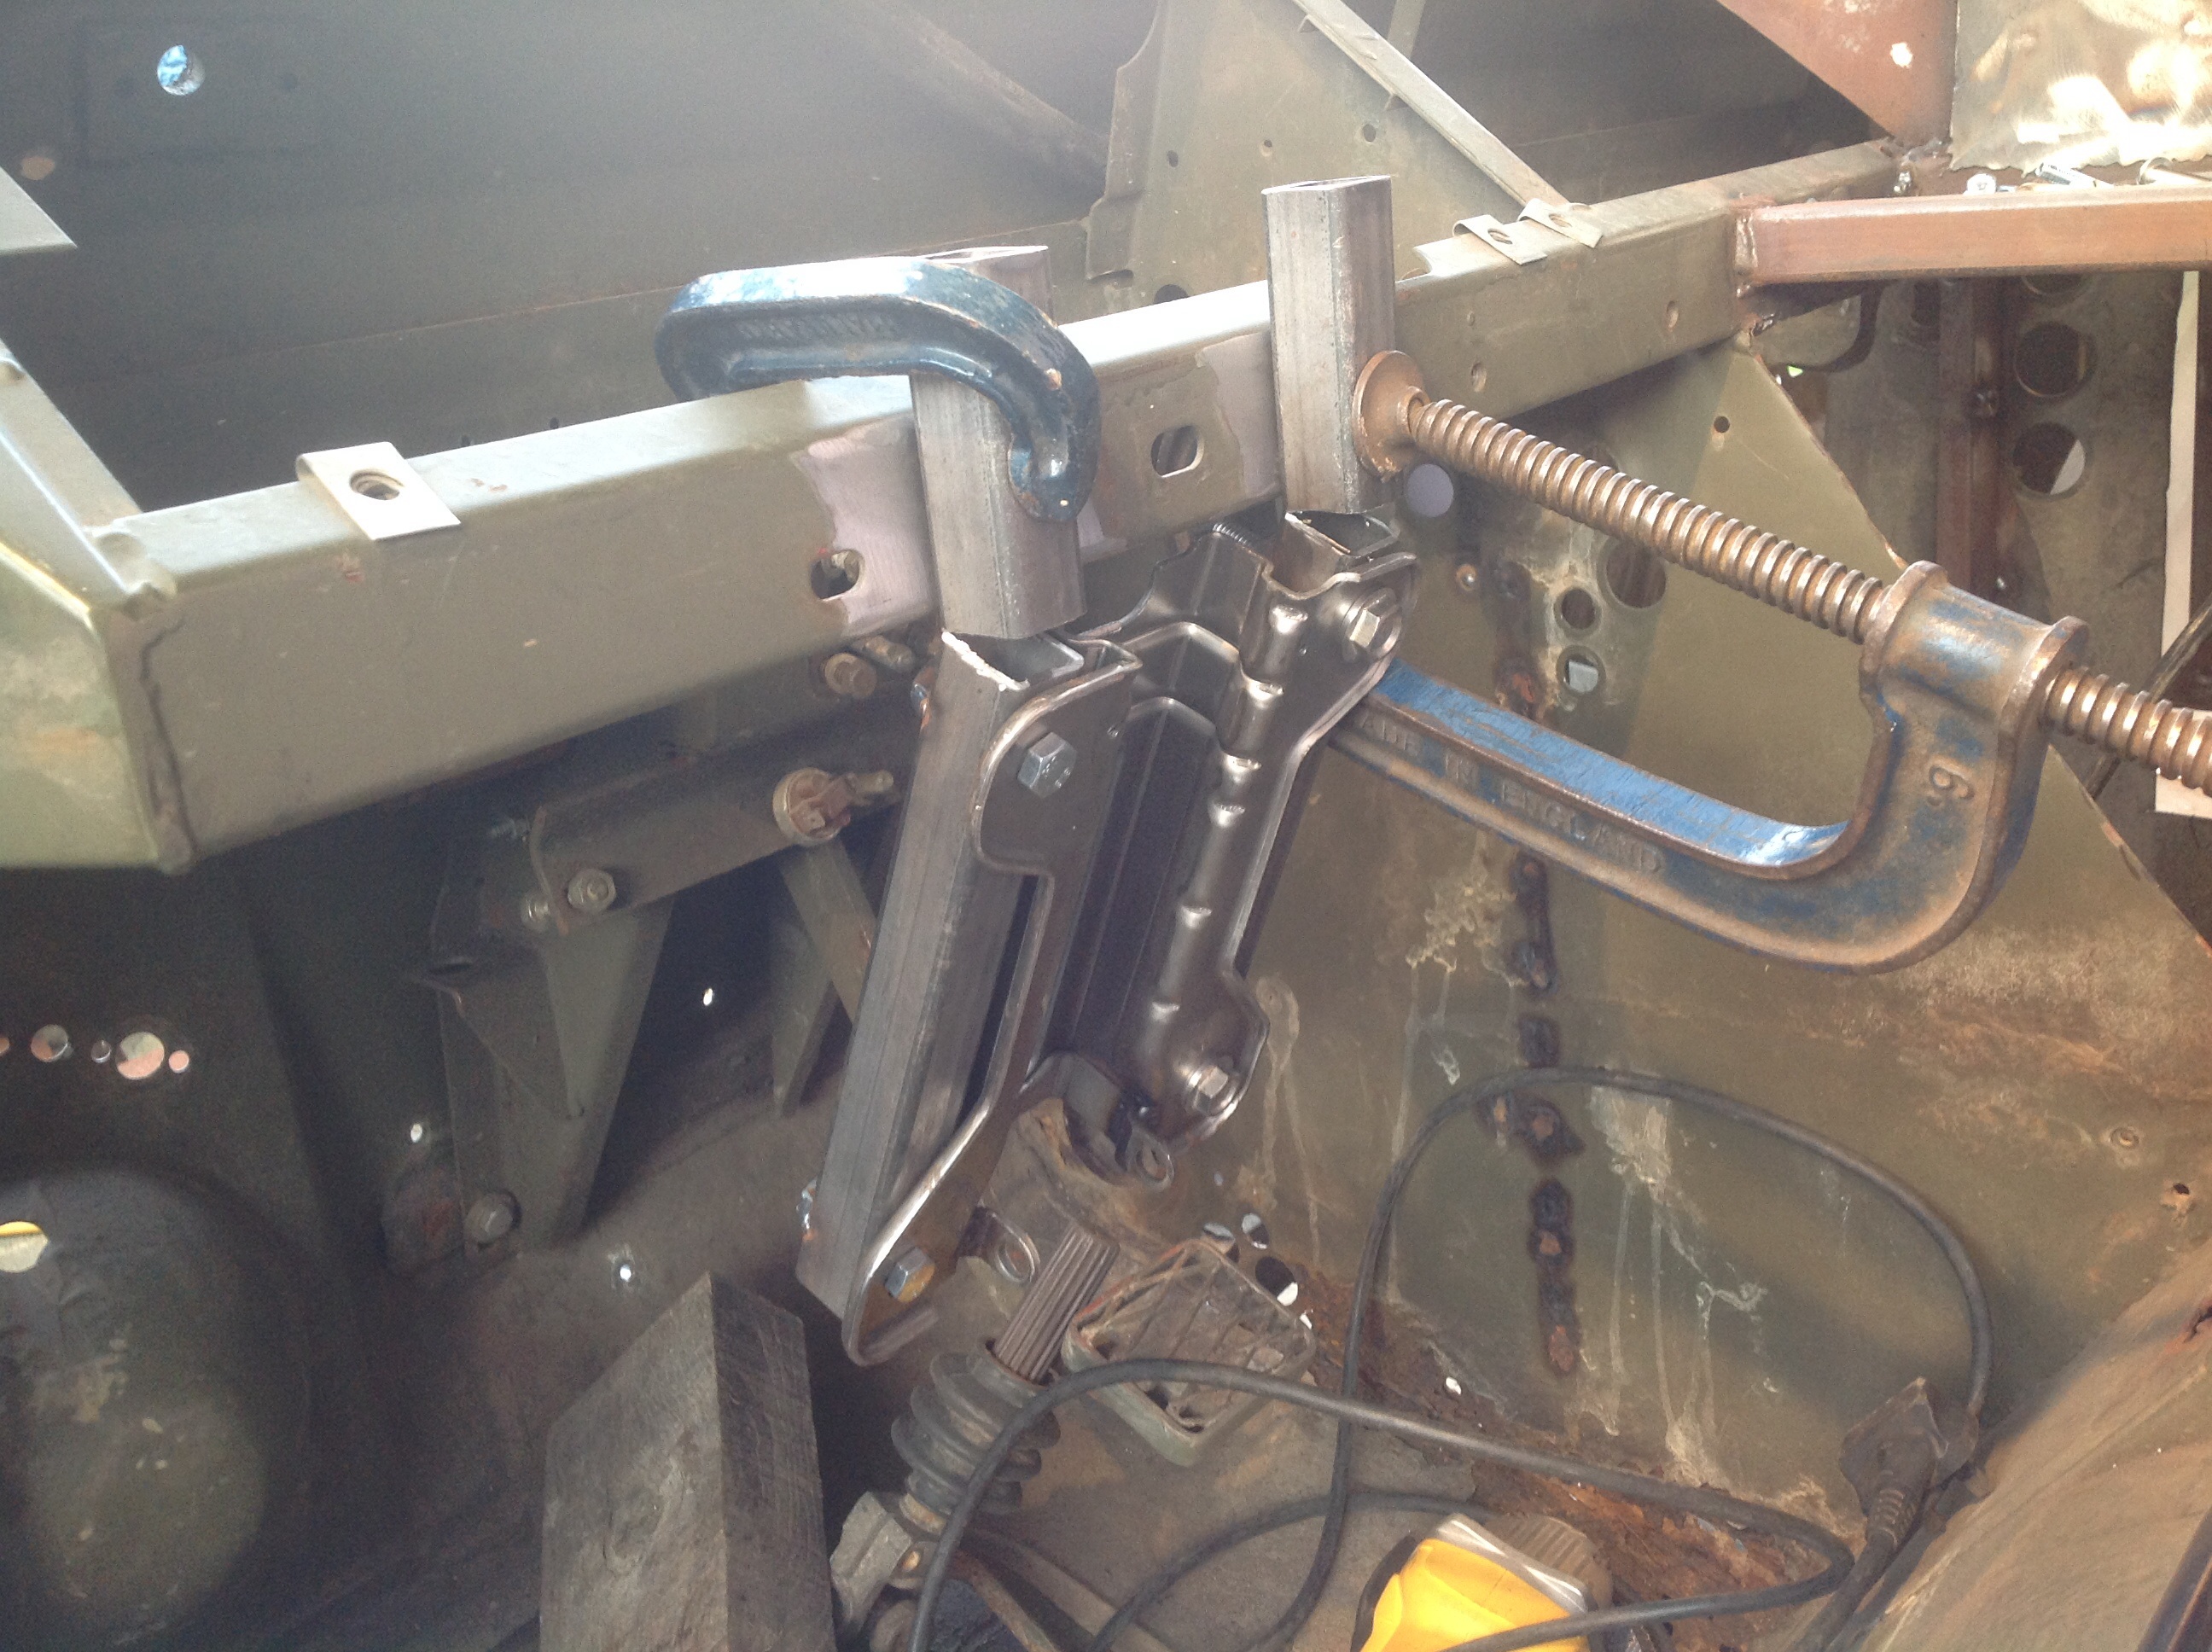
next to find a way to join the steering column to the steering box. I found a g wagon steering shaft.
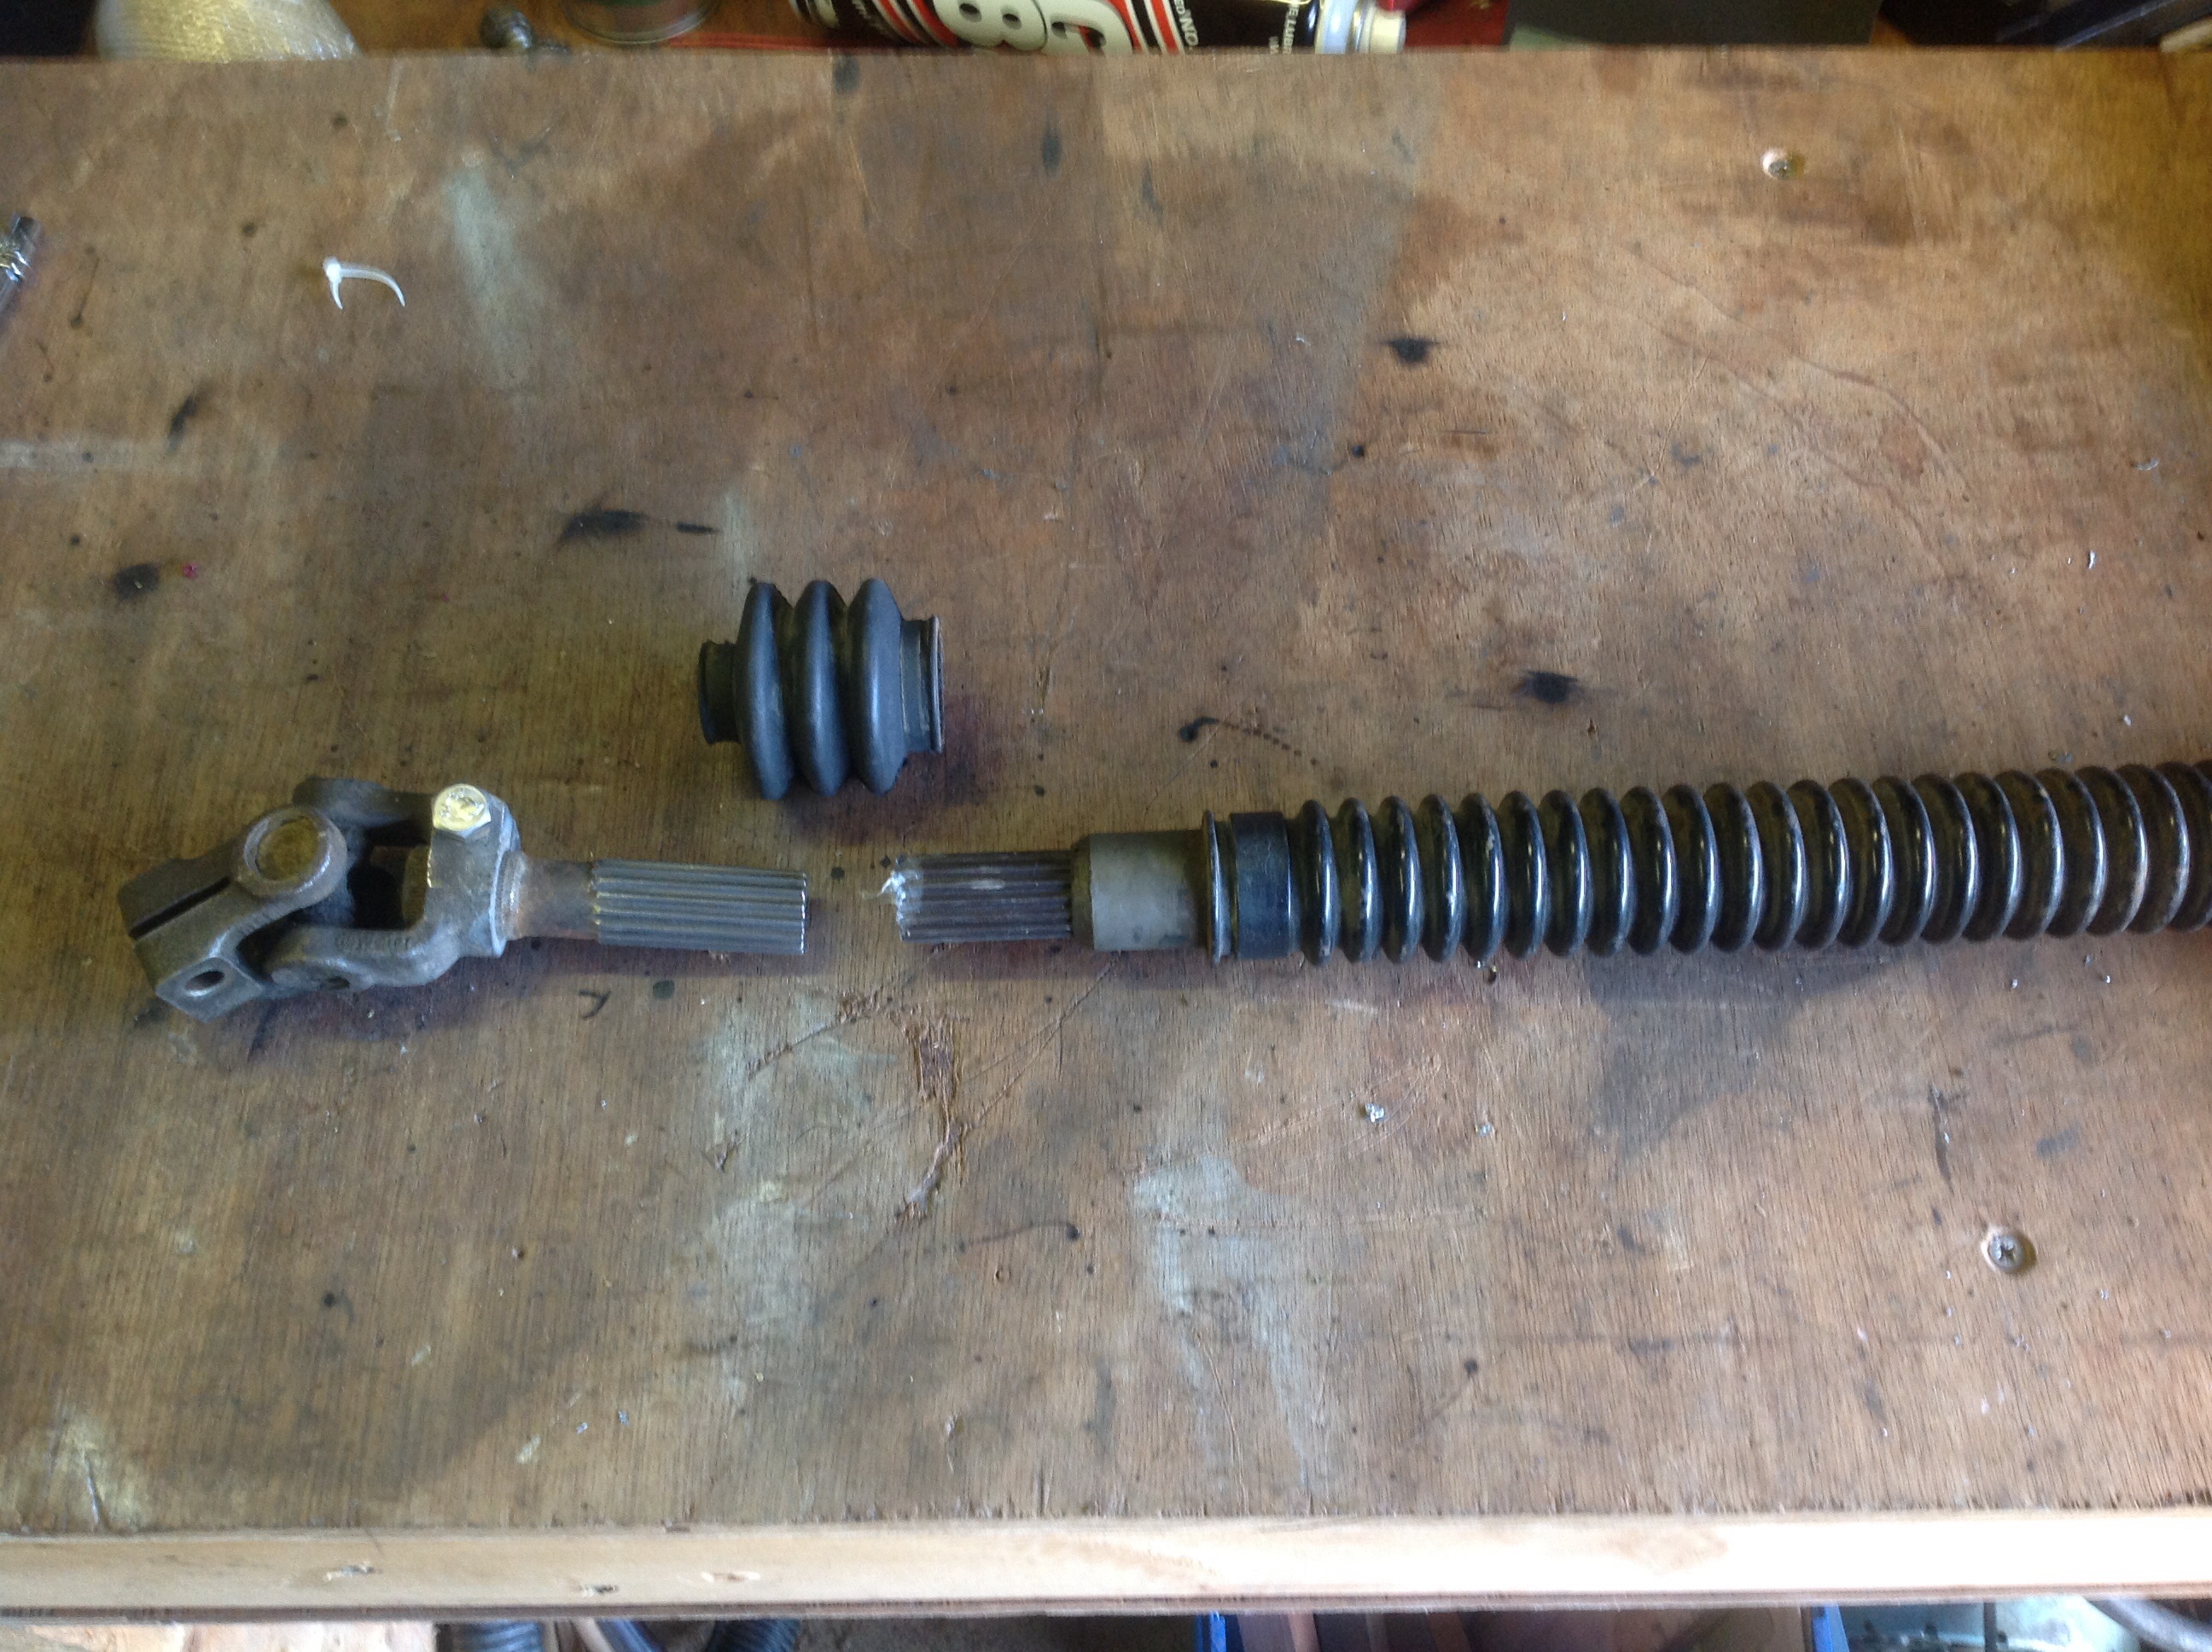
a quick cut and polish and the uj is off.
cut the uj of the steering column and some slits
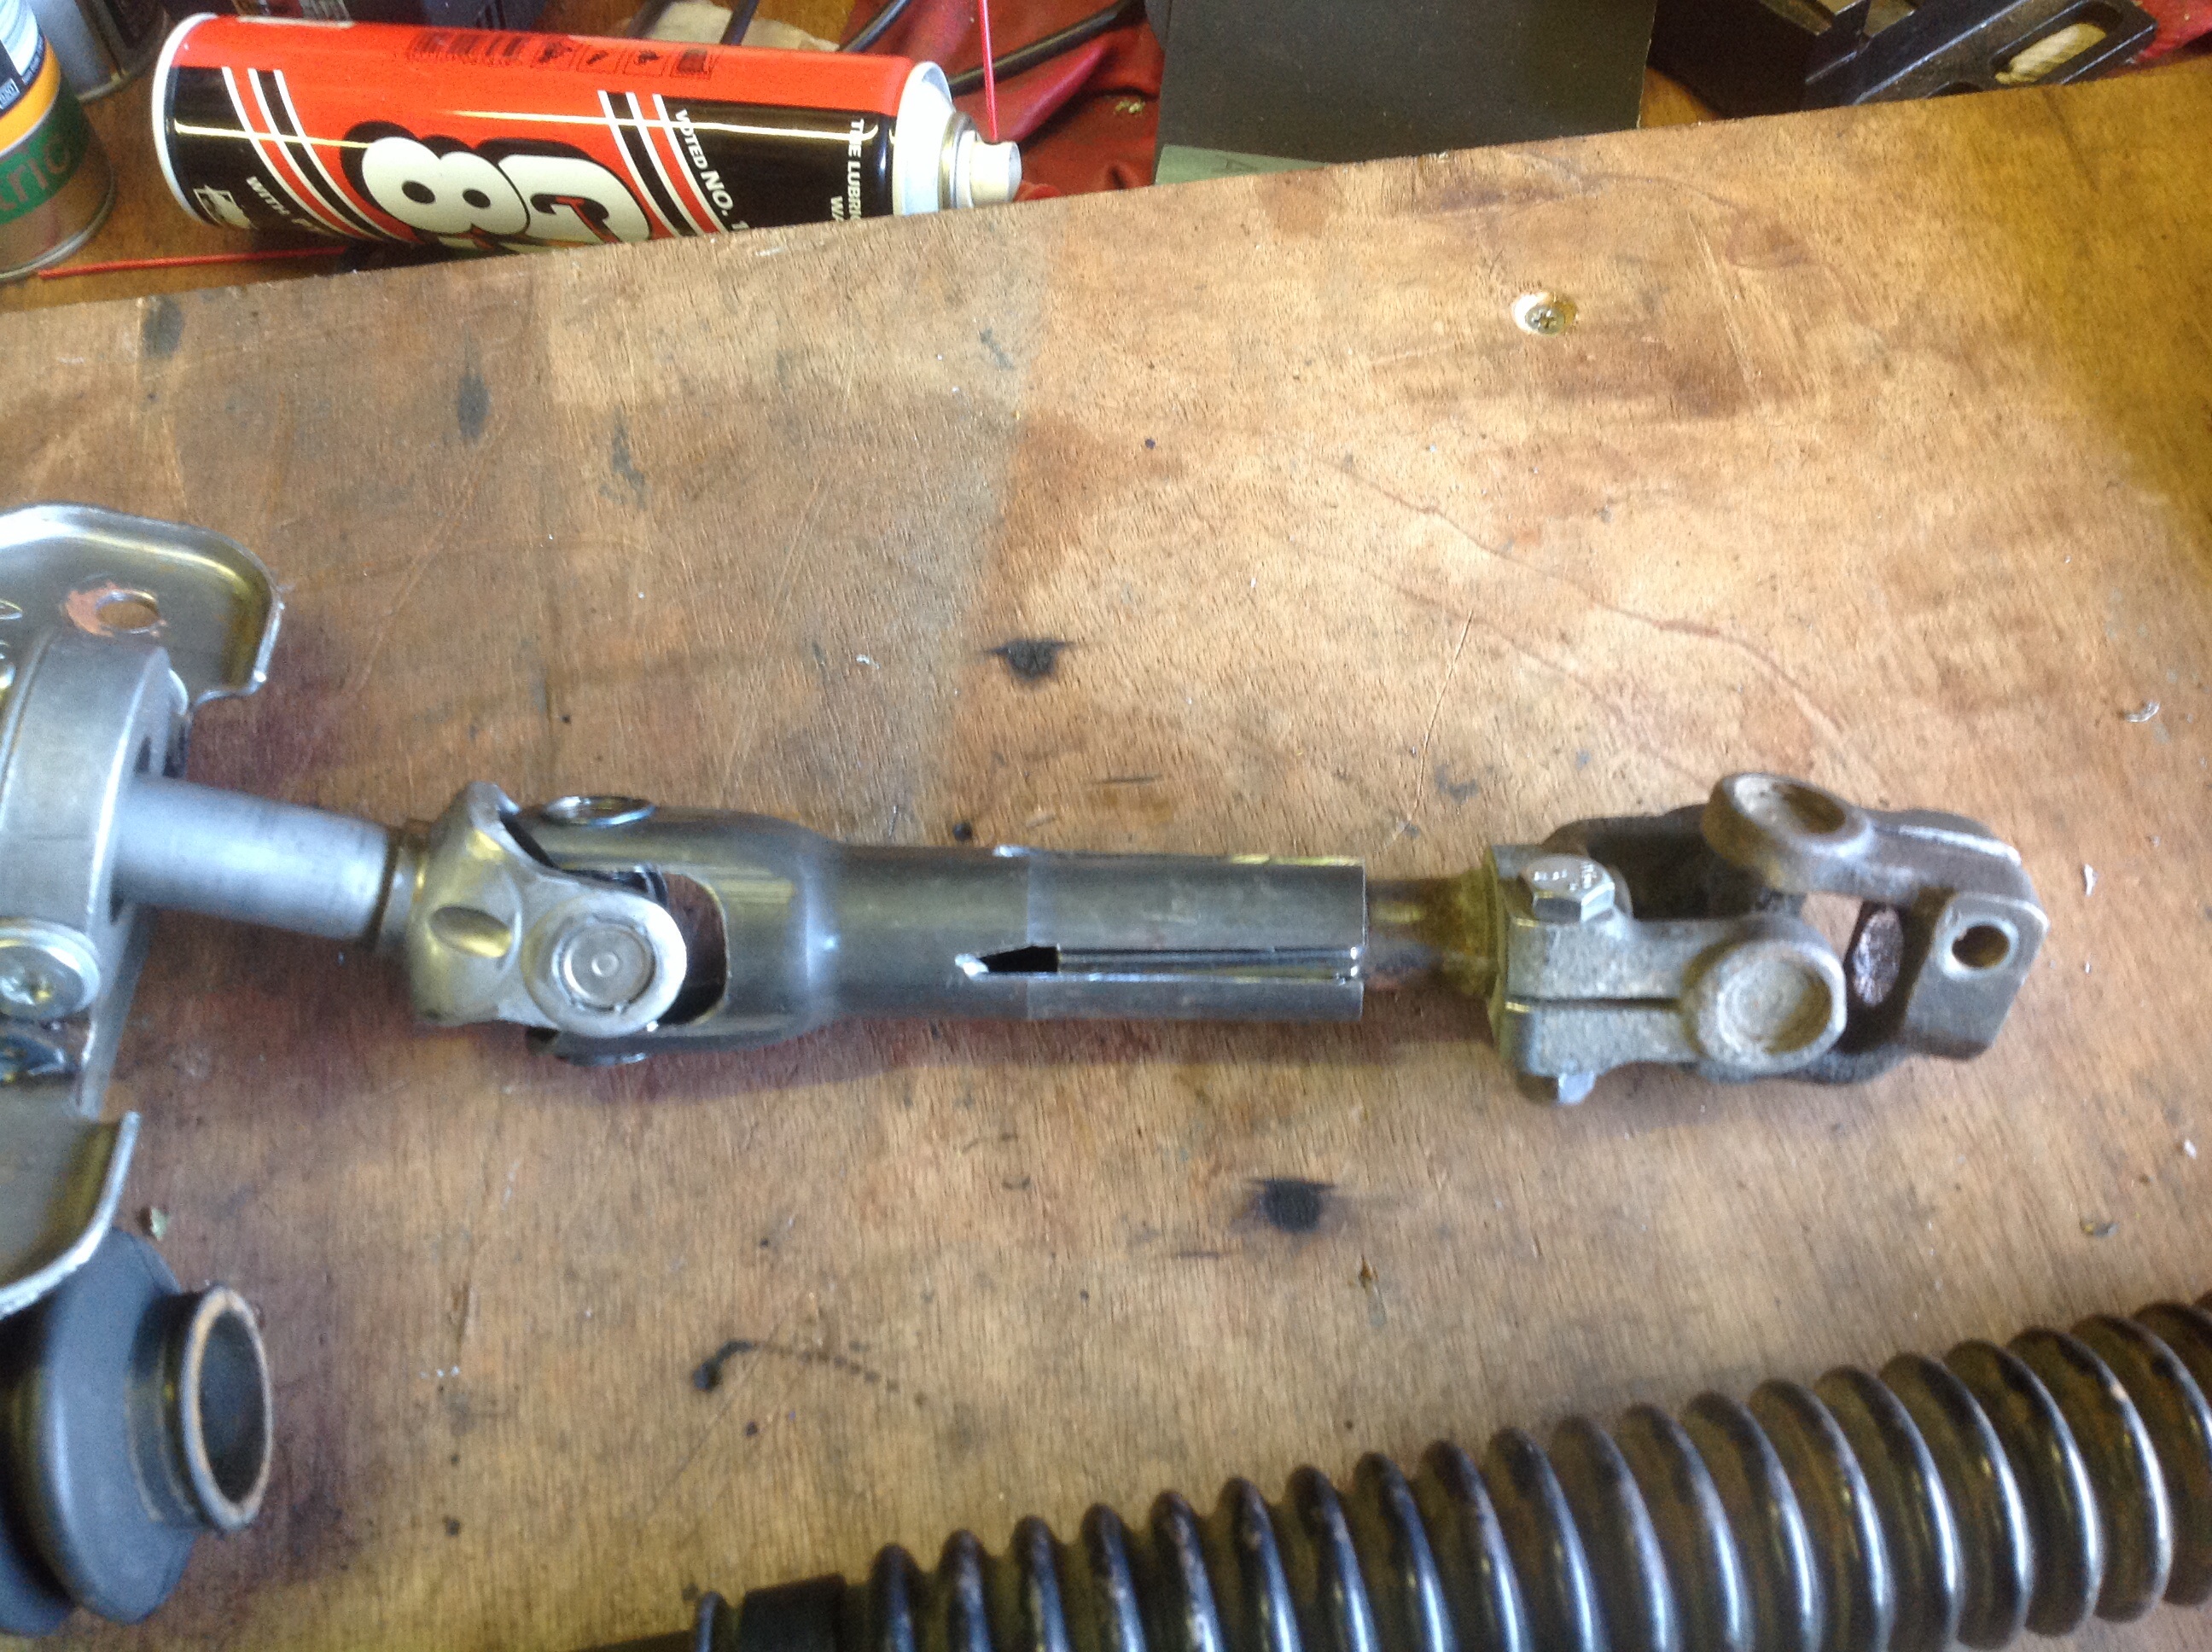
just needs welding up now. shame the welder has packed up. It’s still under warranty though so has gone back to the supplier.
(3416)
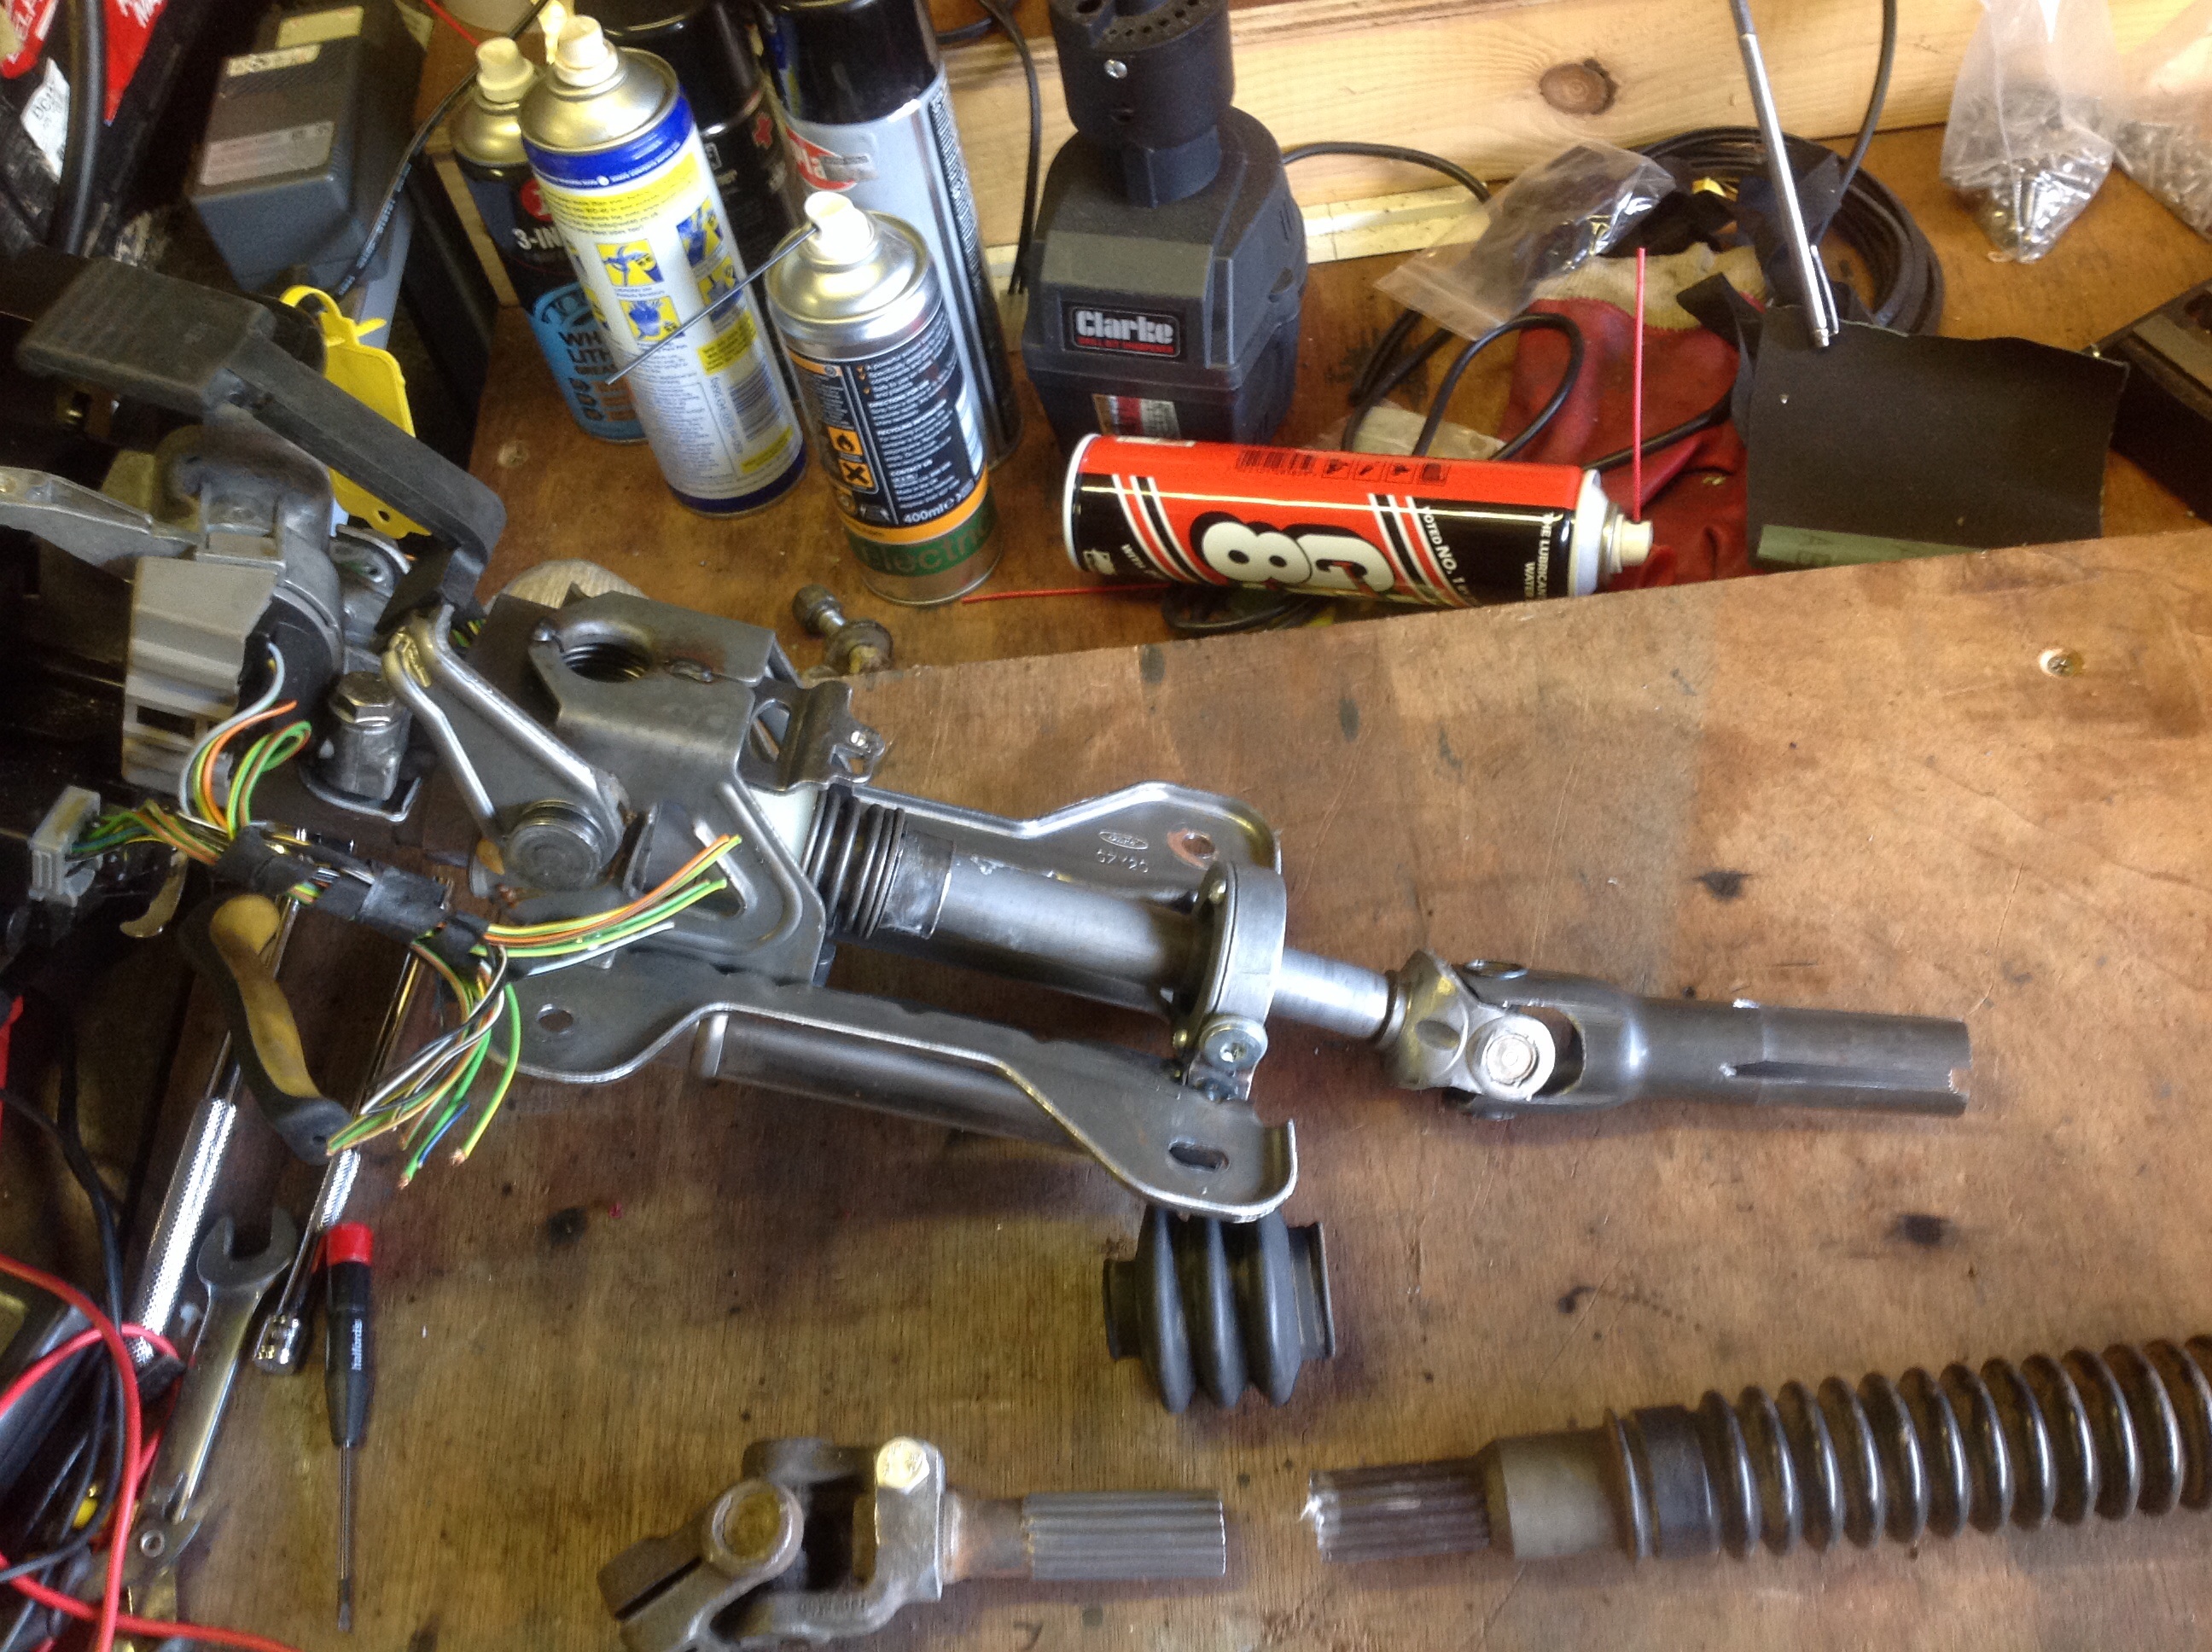
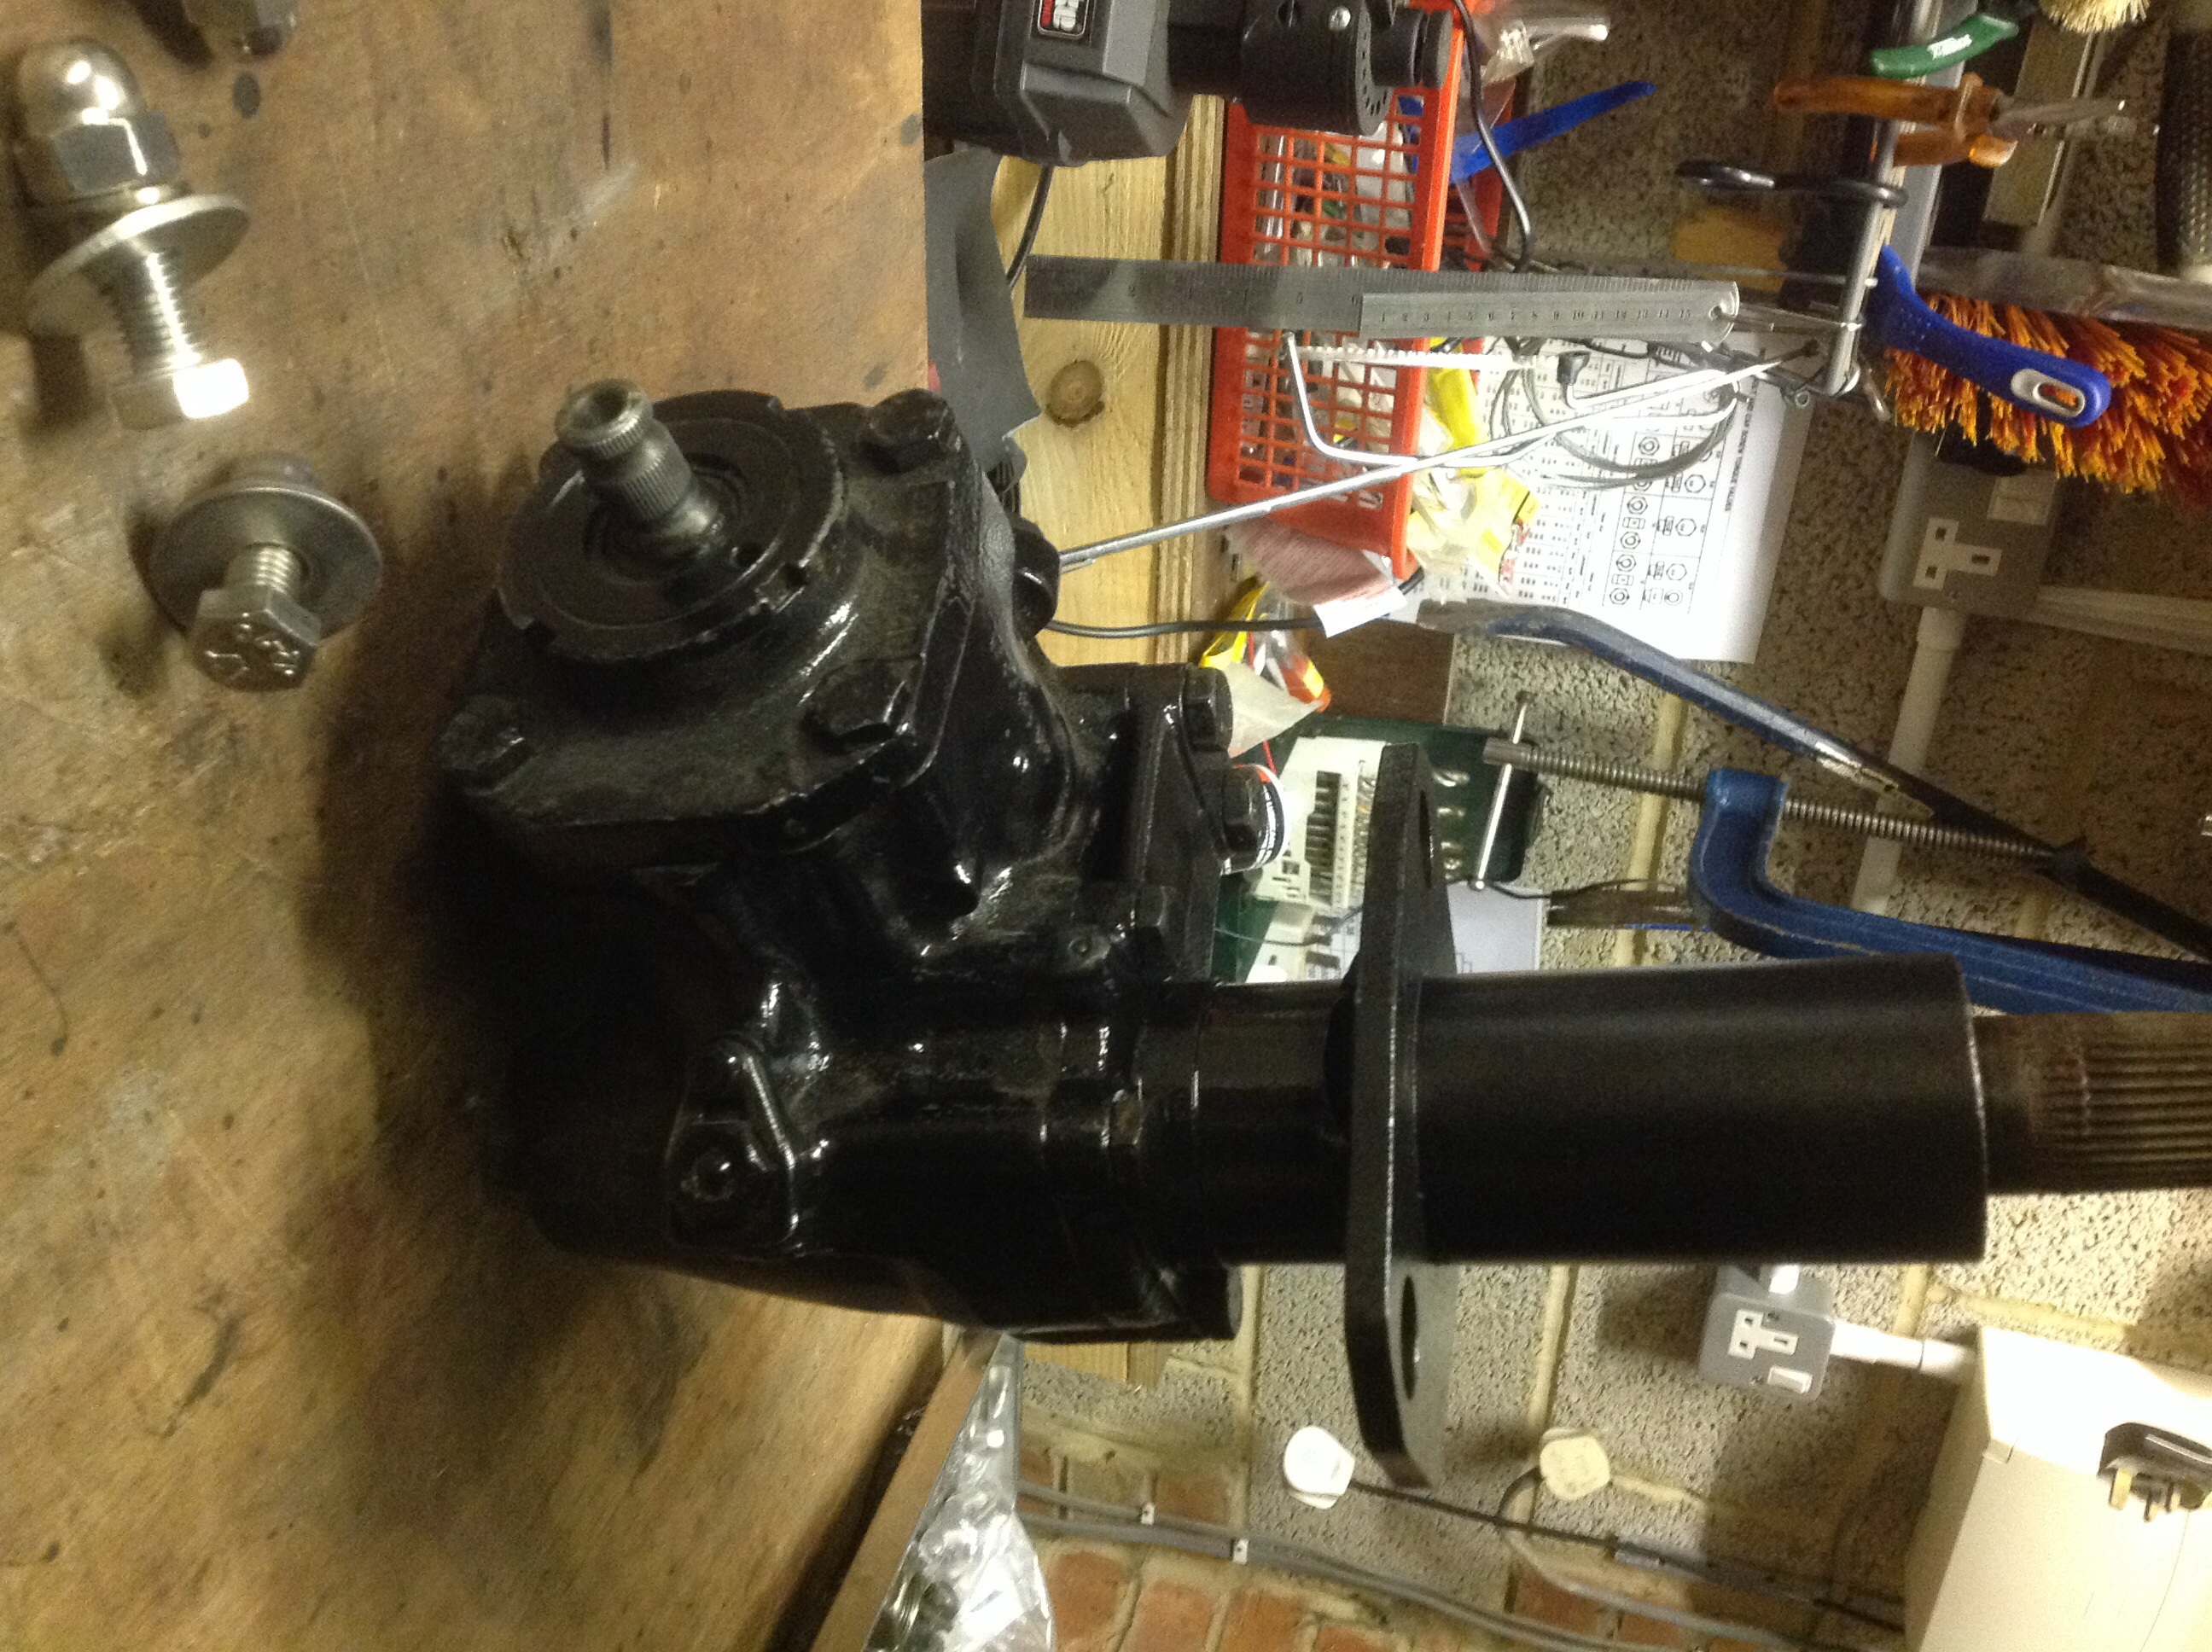
(2)Dislikes(0)Hooray, the steering shaft is back.
many thanks to Martin Lilwall and his mate Reg who converted this
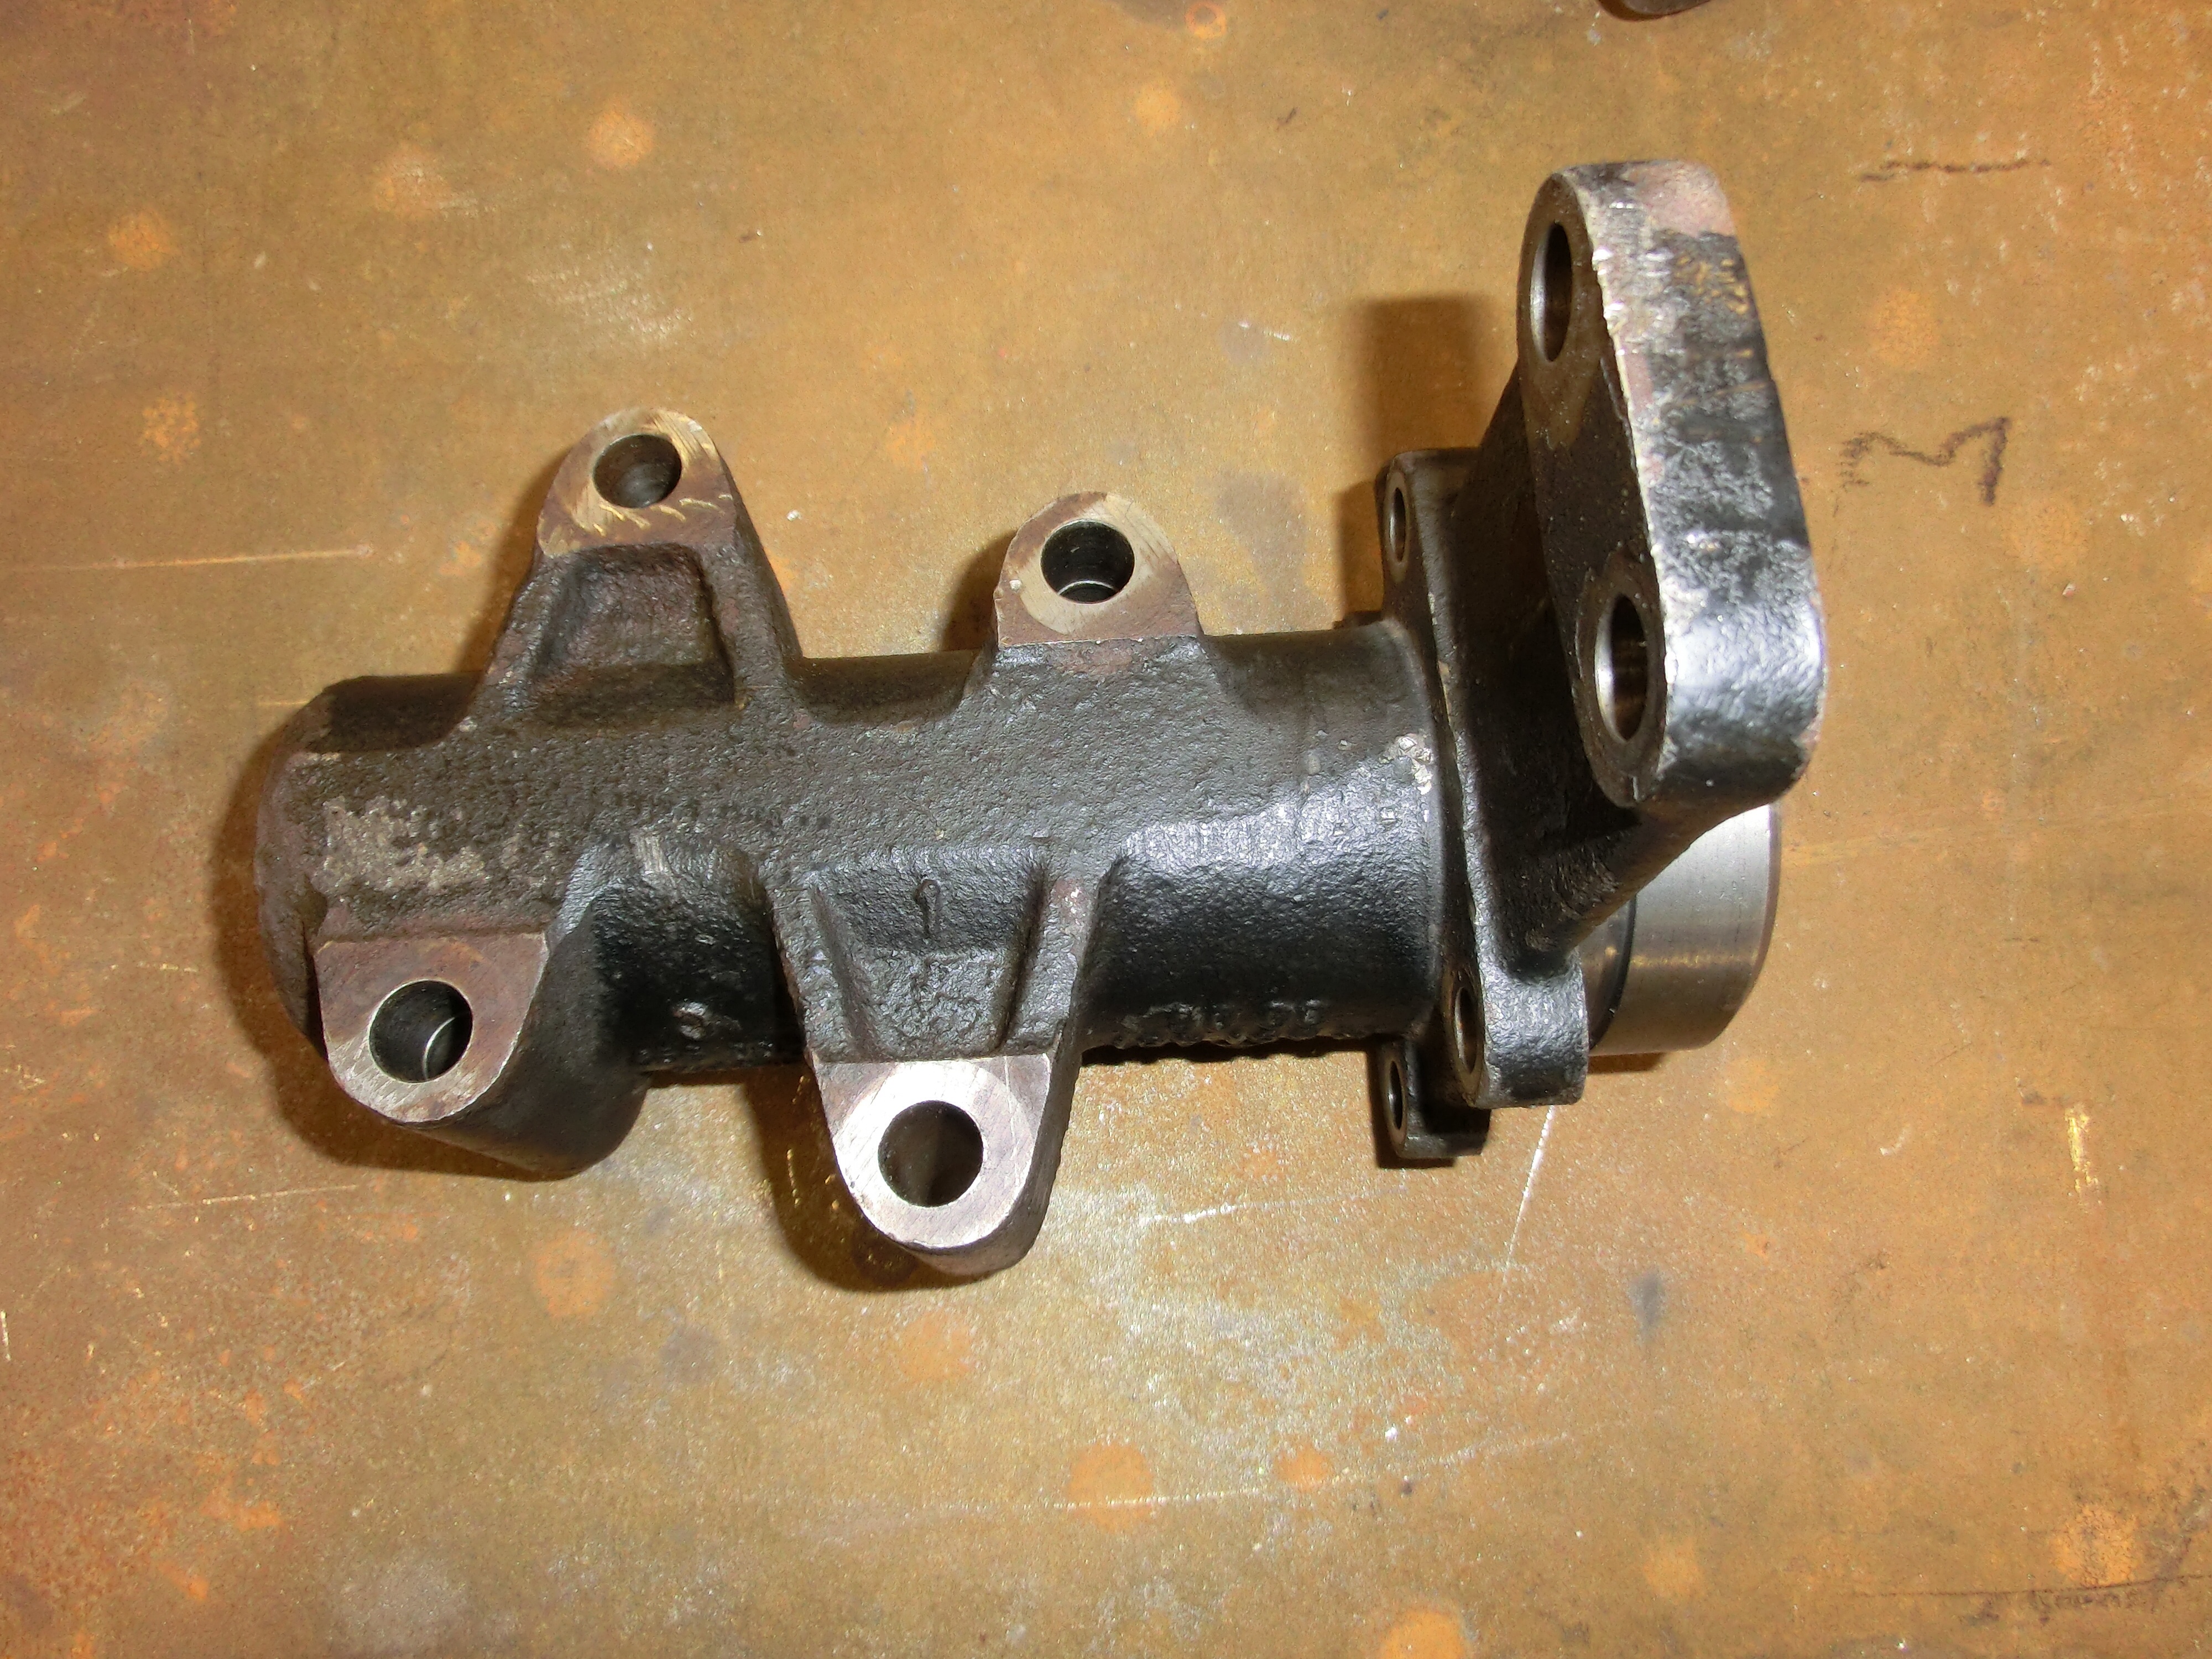
Into this and cut the bracket.
I can get on and work out how the steering box and column will work.
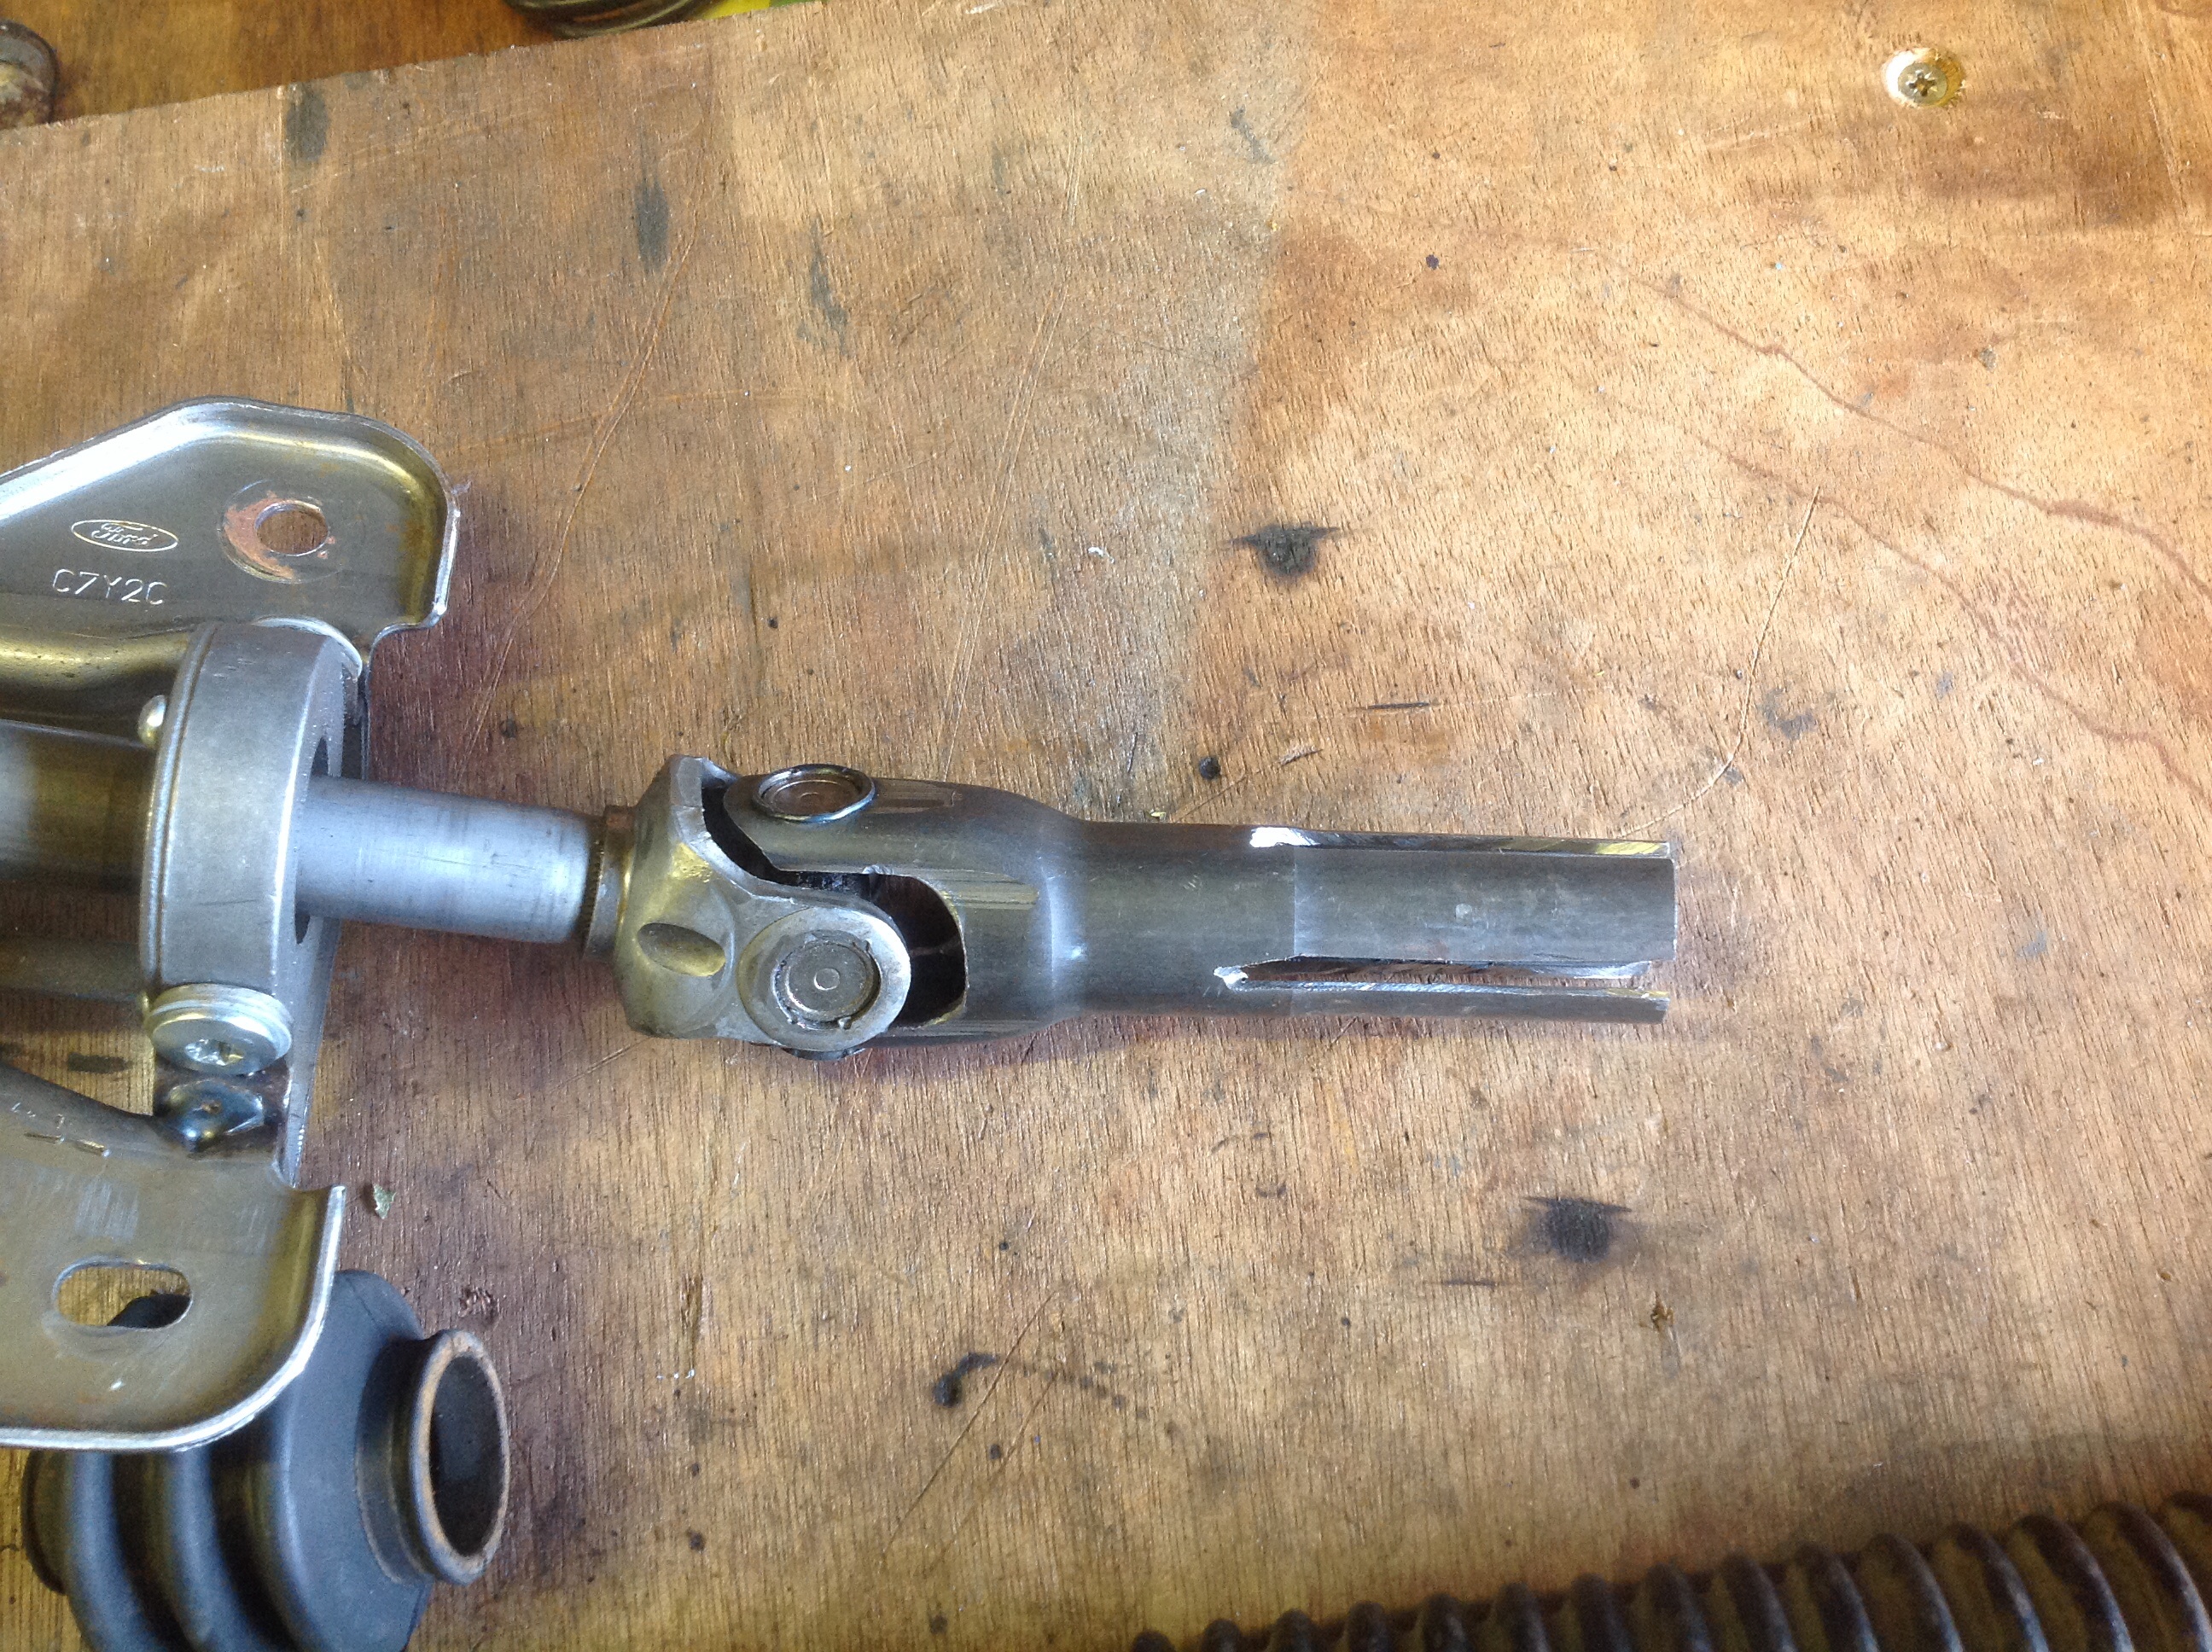
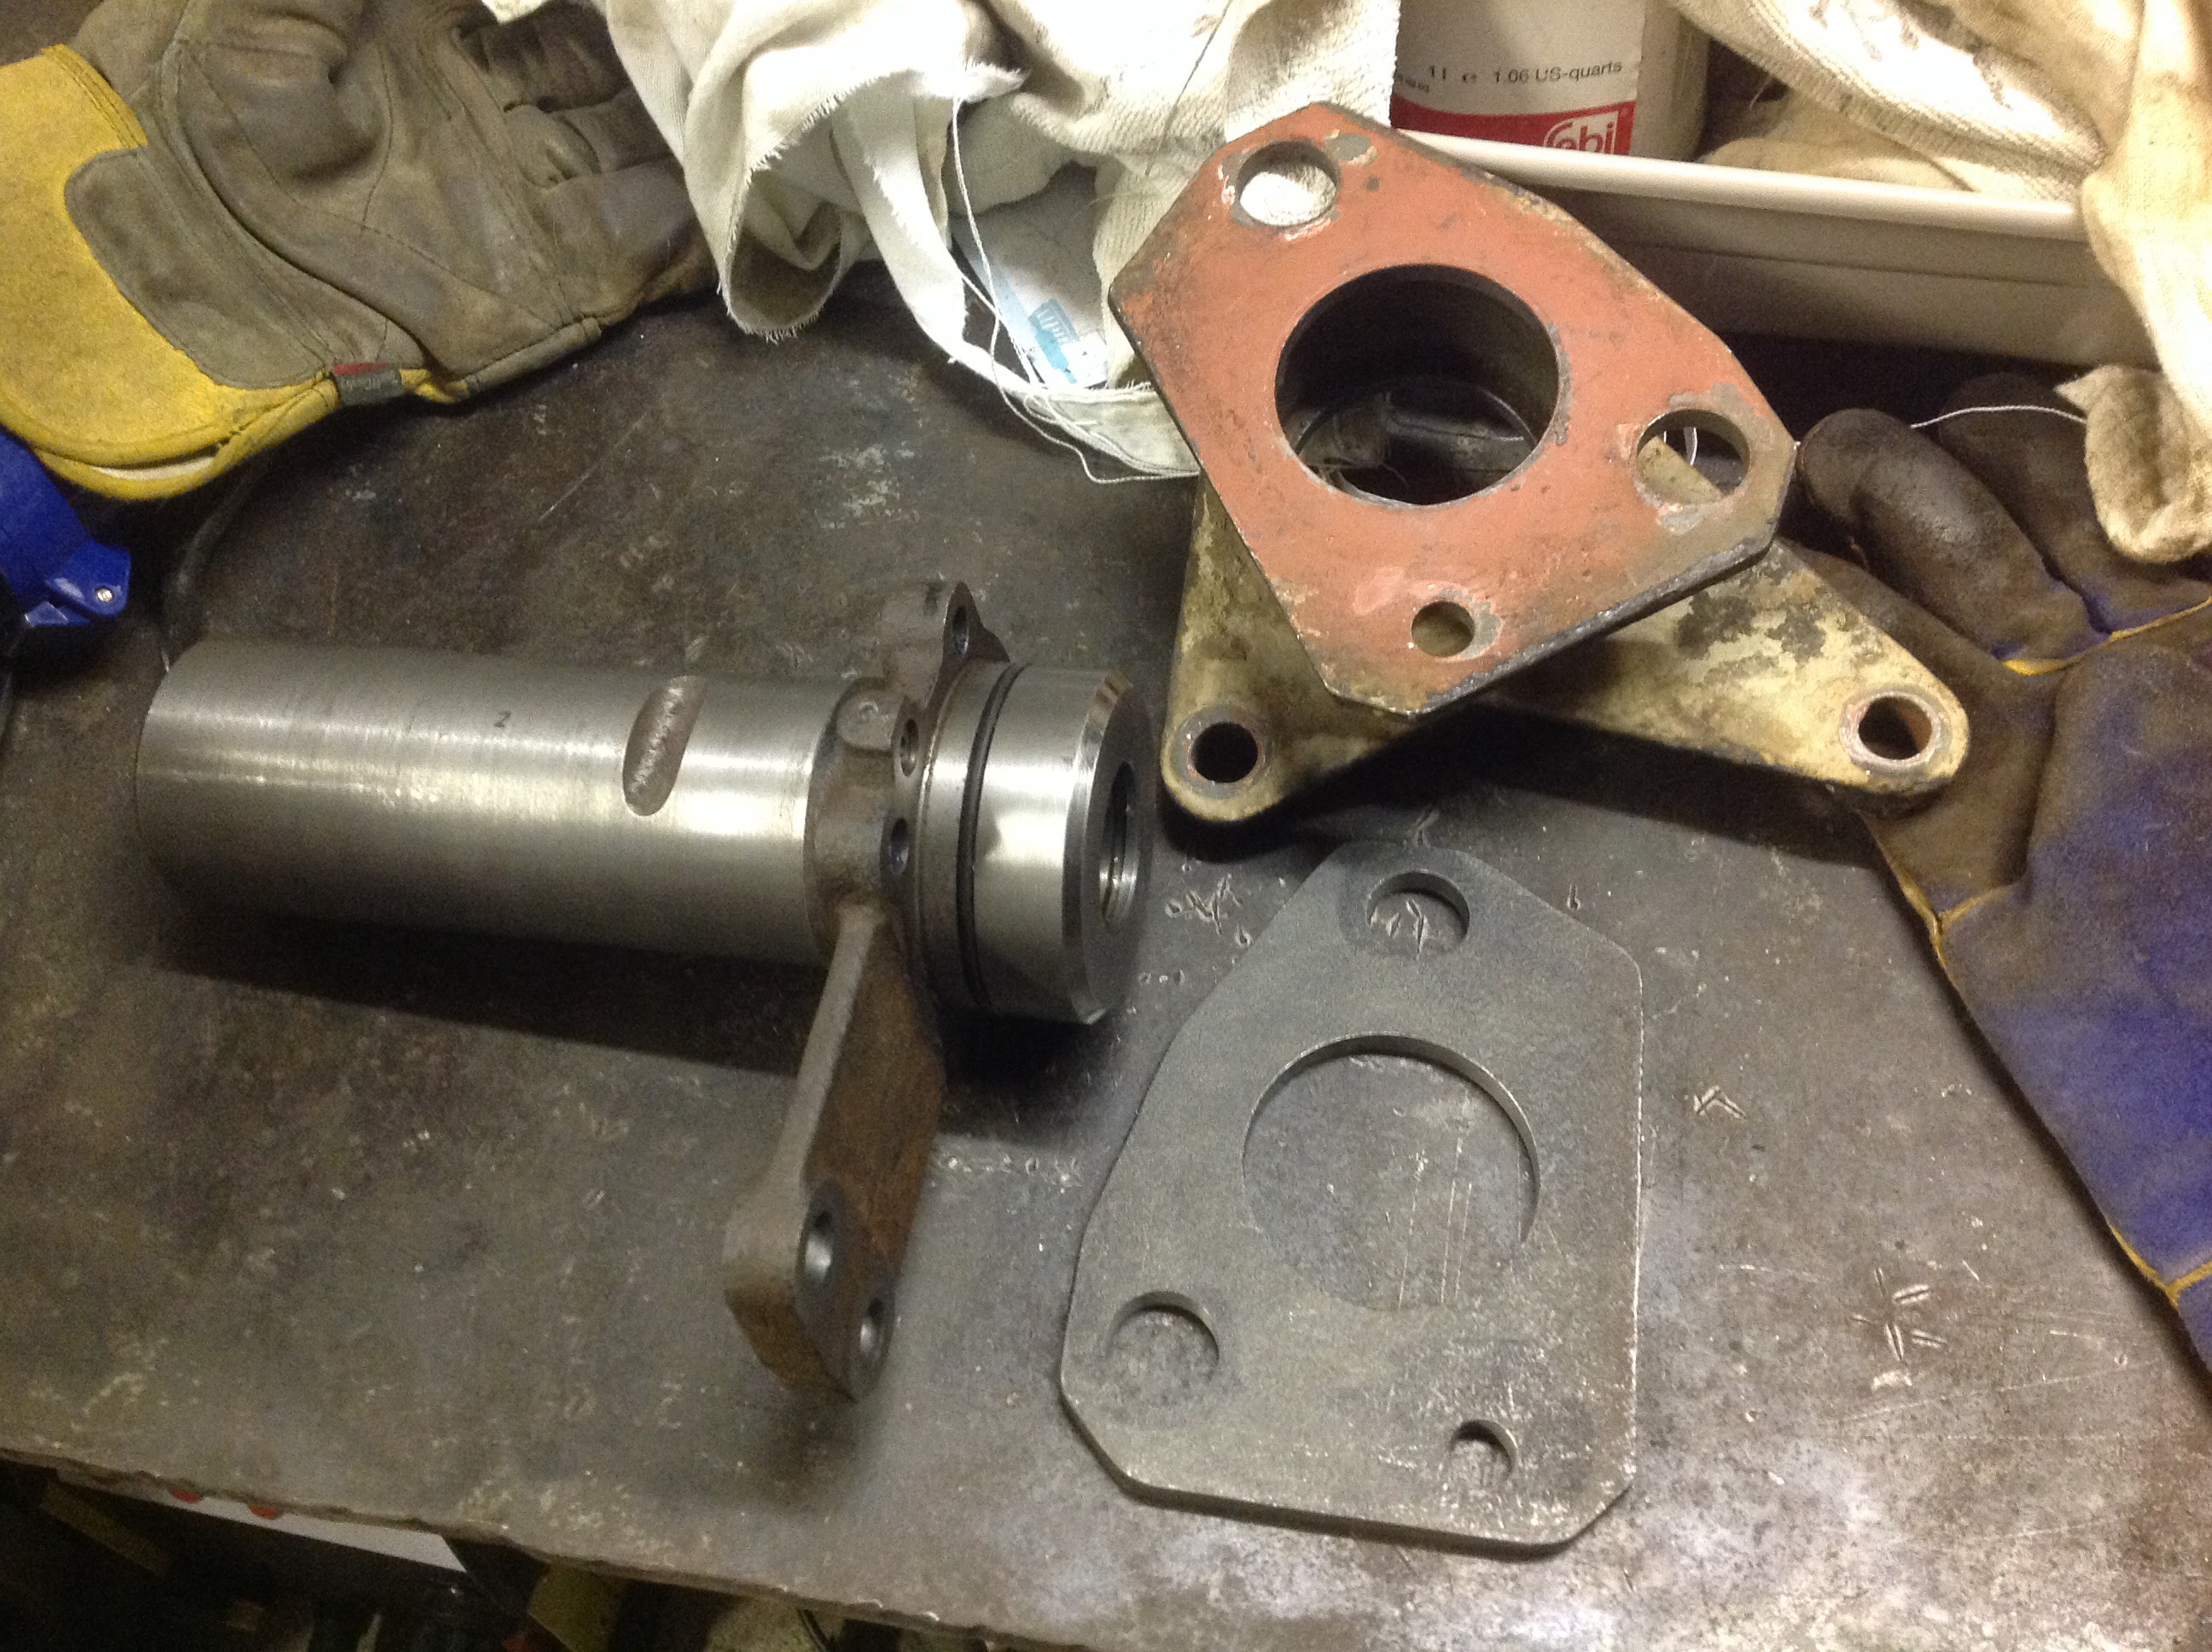
Assembled it today and it fits. Sort of. The shaft fits fine but it sticks into the cab too much. I was expecting this from other installs so will now be sourcing a 2″ body lift kit
Temp 2″ lift. Thanks to some 2×4 I had
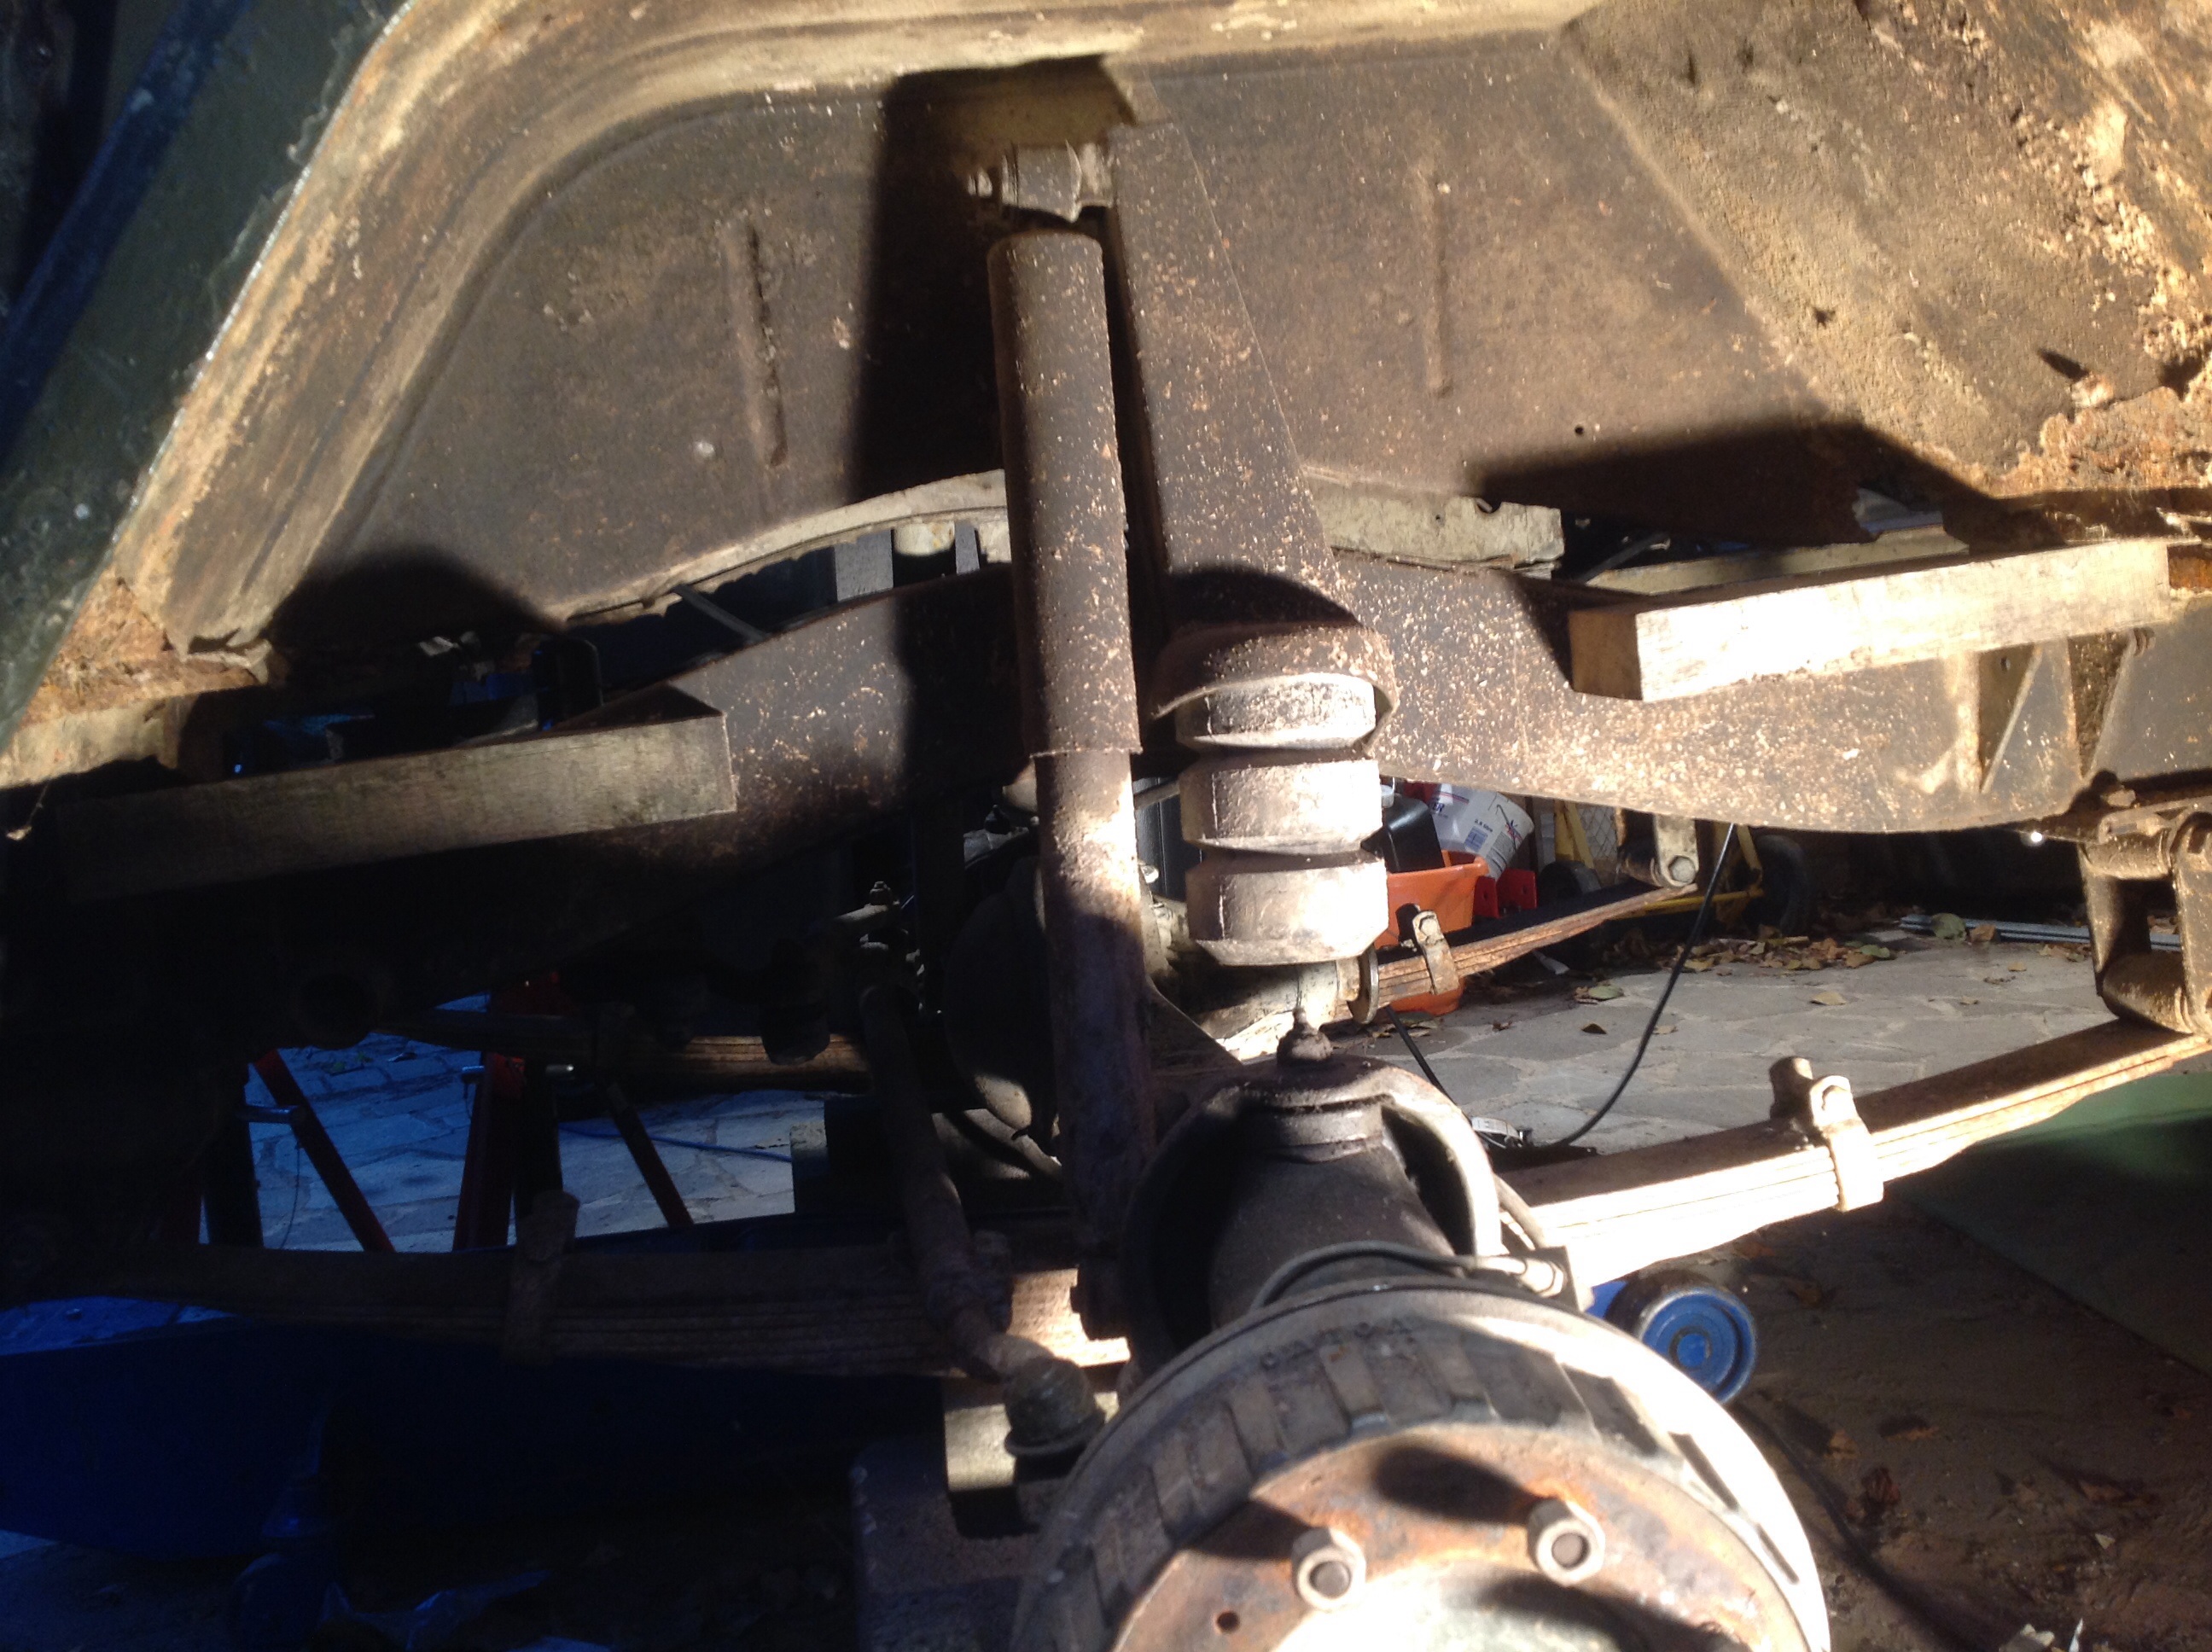
now thats better. might add another 0.5″ but will wait to see how the steering colum looks.
I could really do with a pic of an original steering box to drop arm connection showing how far the steering box sticks out the clamp. Anyone help?
Made some spacers from a 50mm Nylon 6 rod and created my own kit.
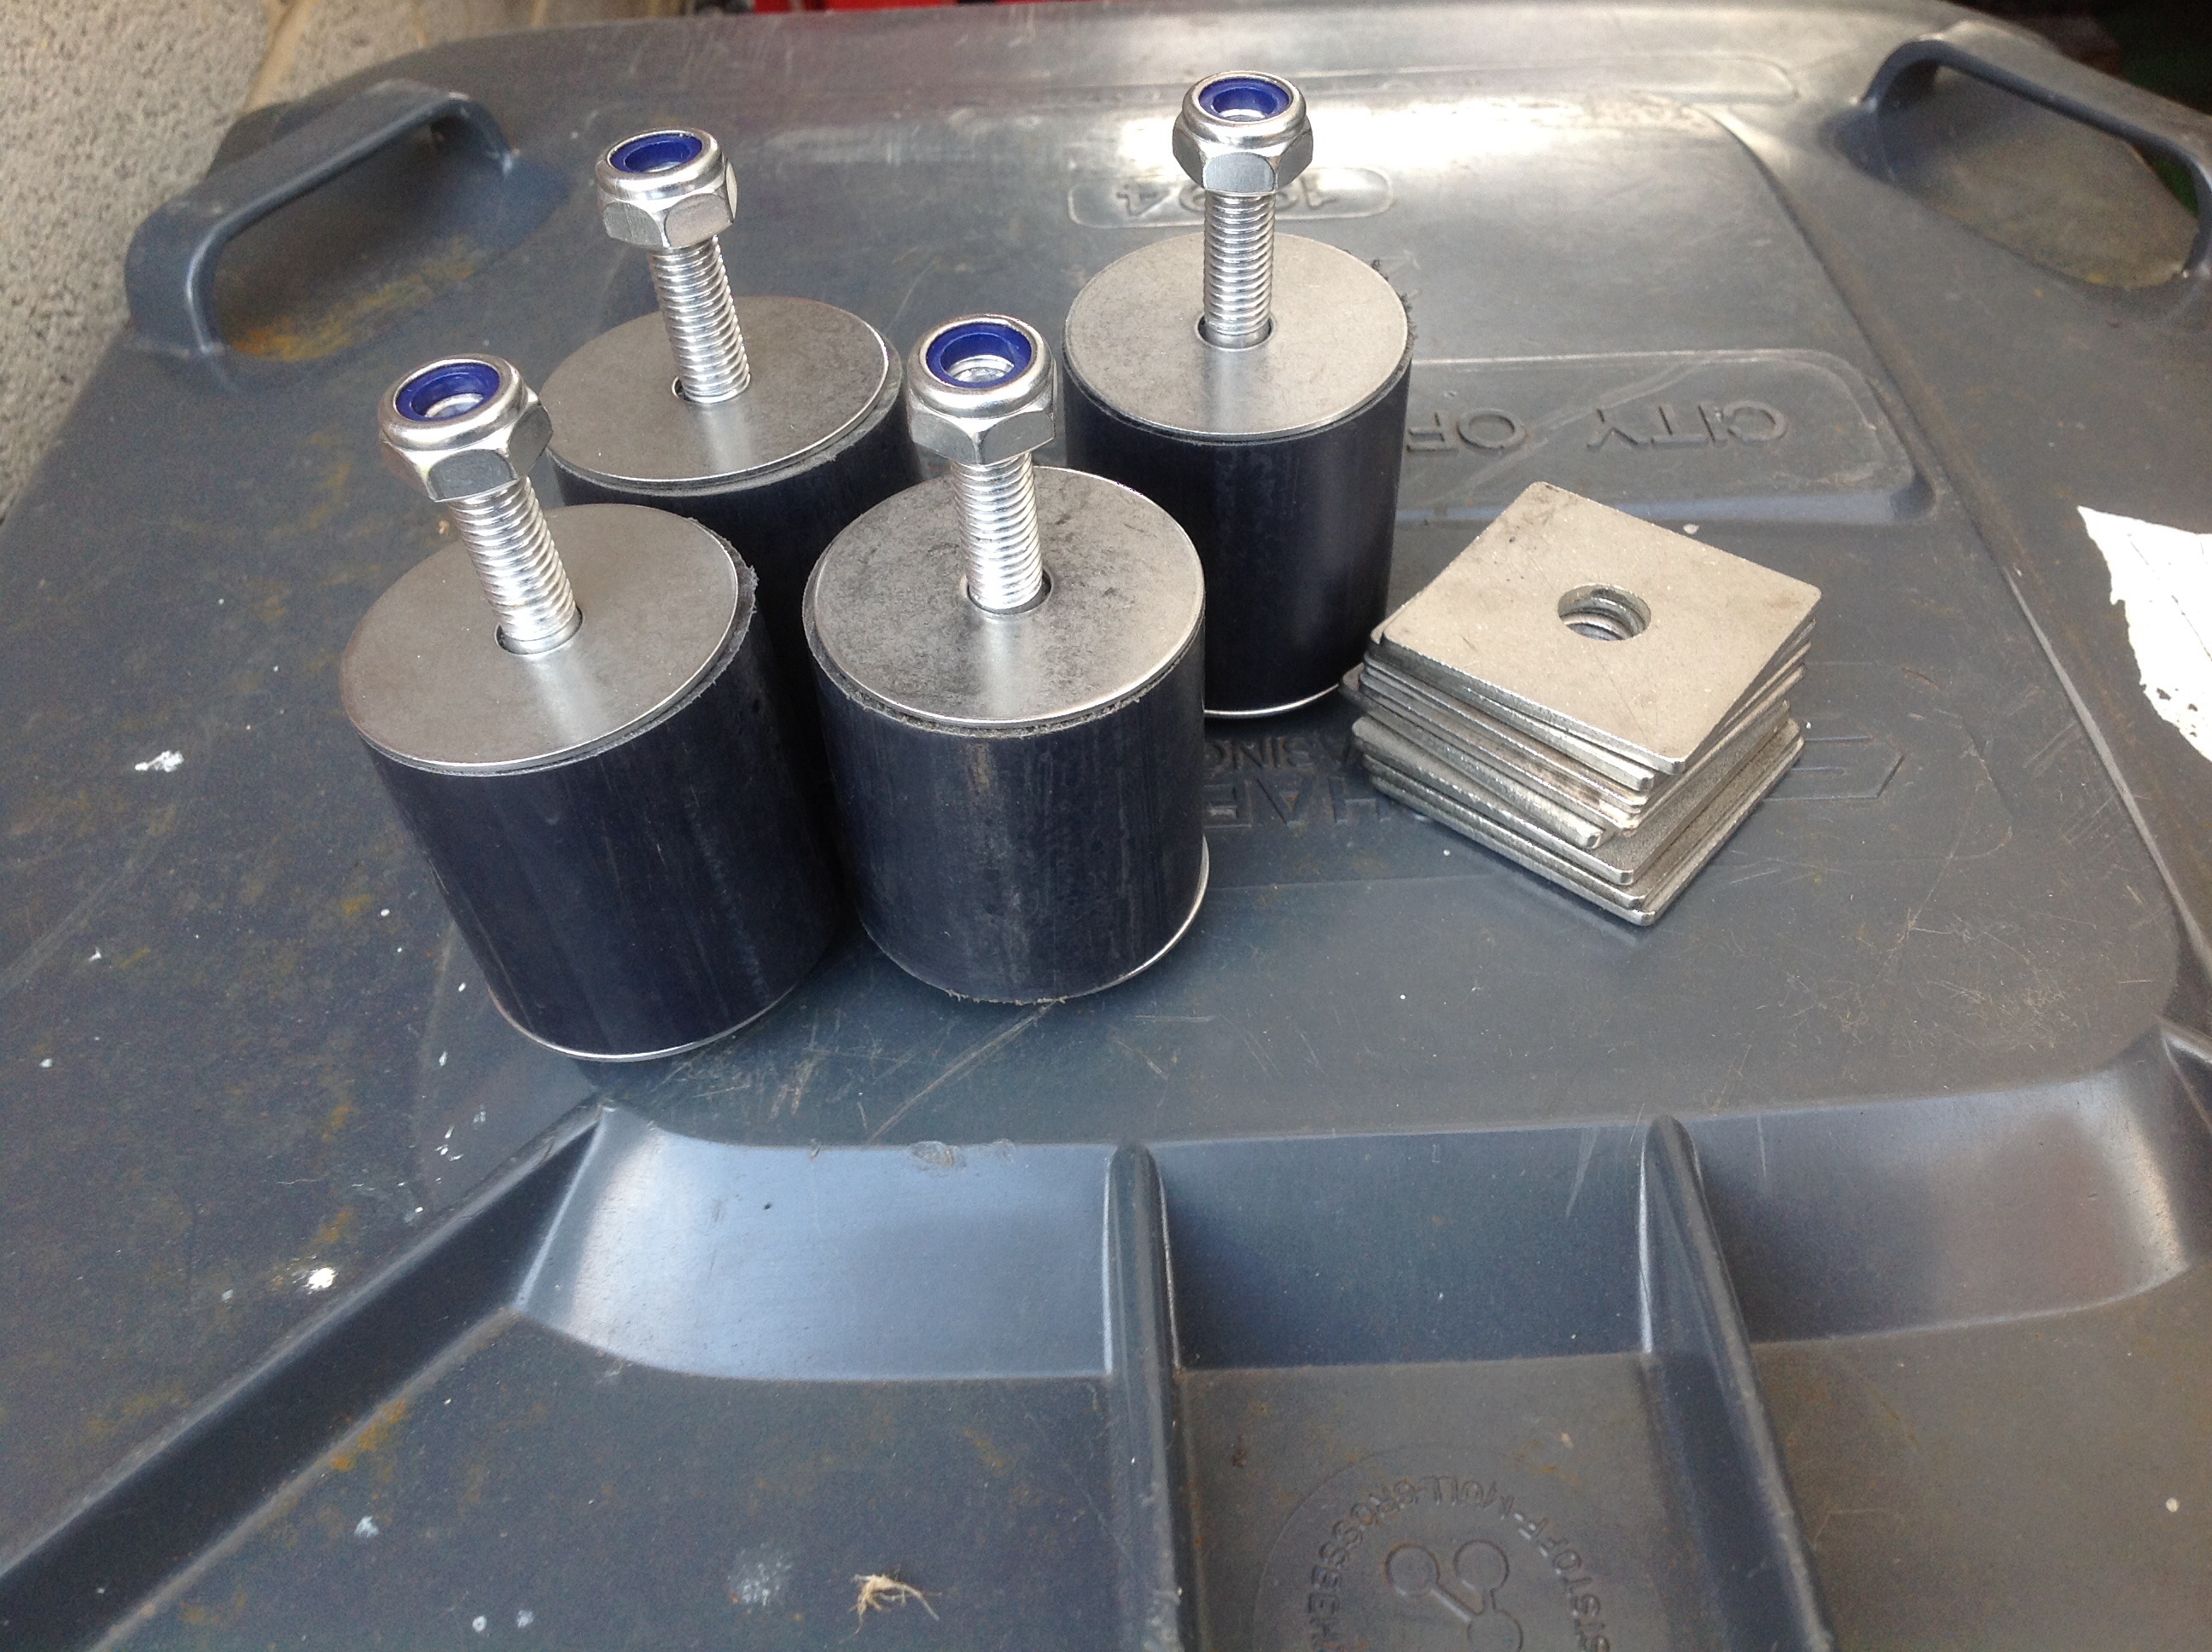
Then popped them on, perfect
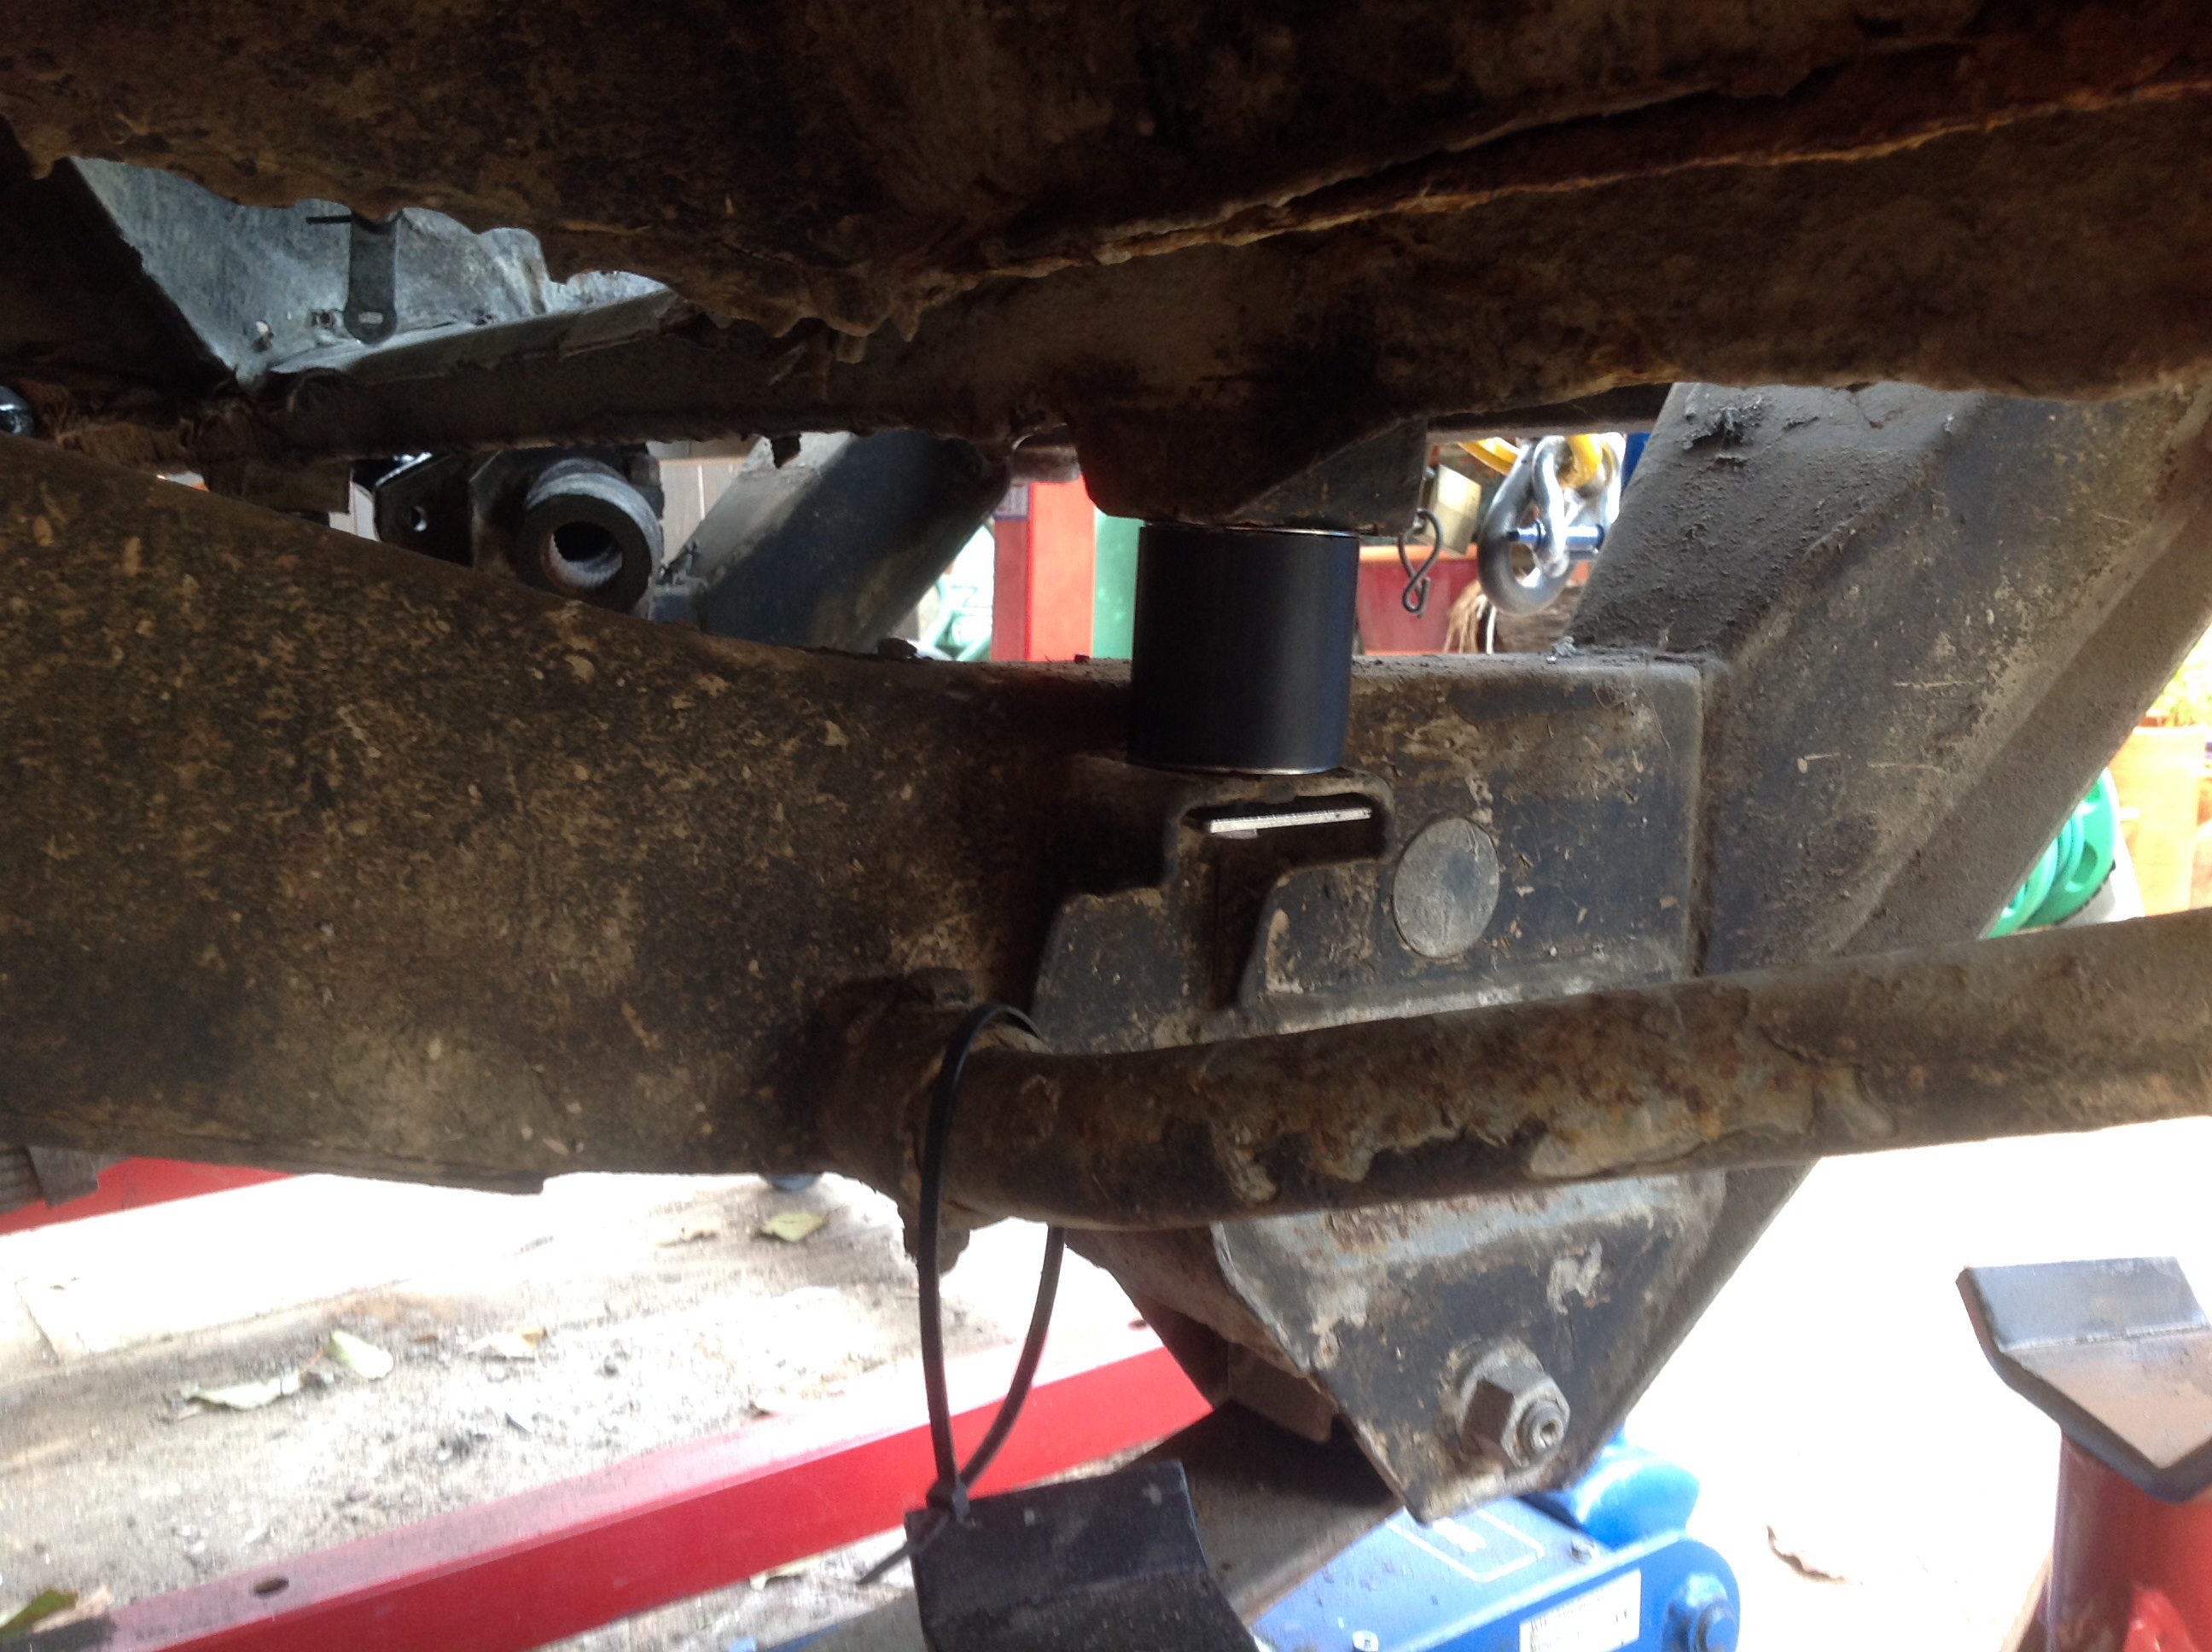
Finished
 (6411)
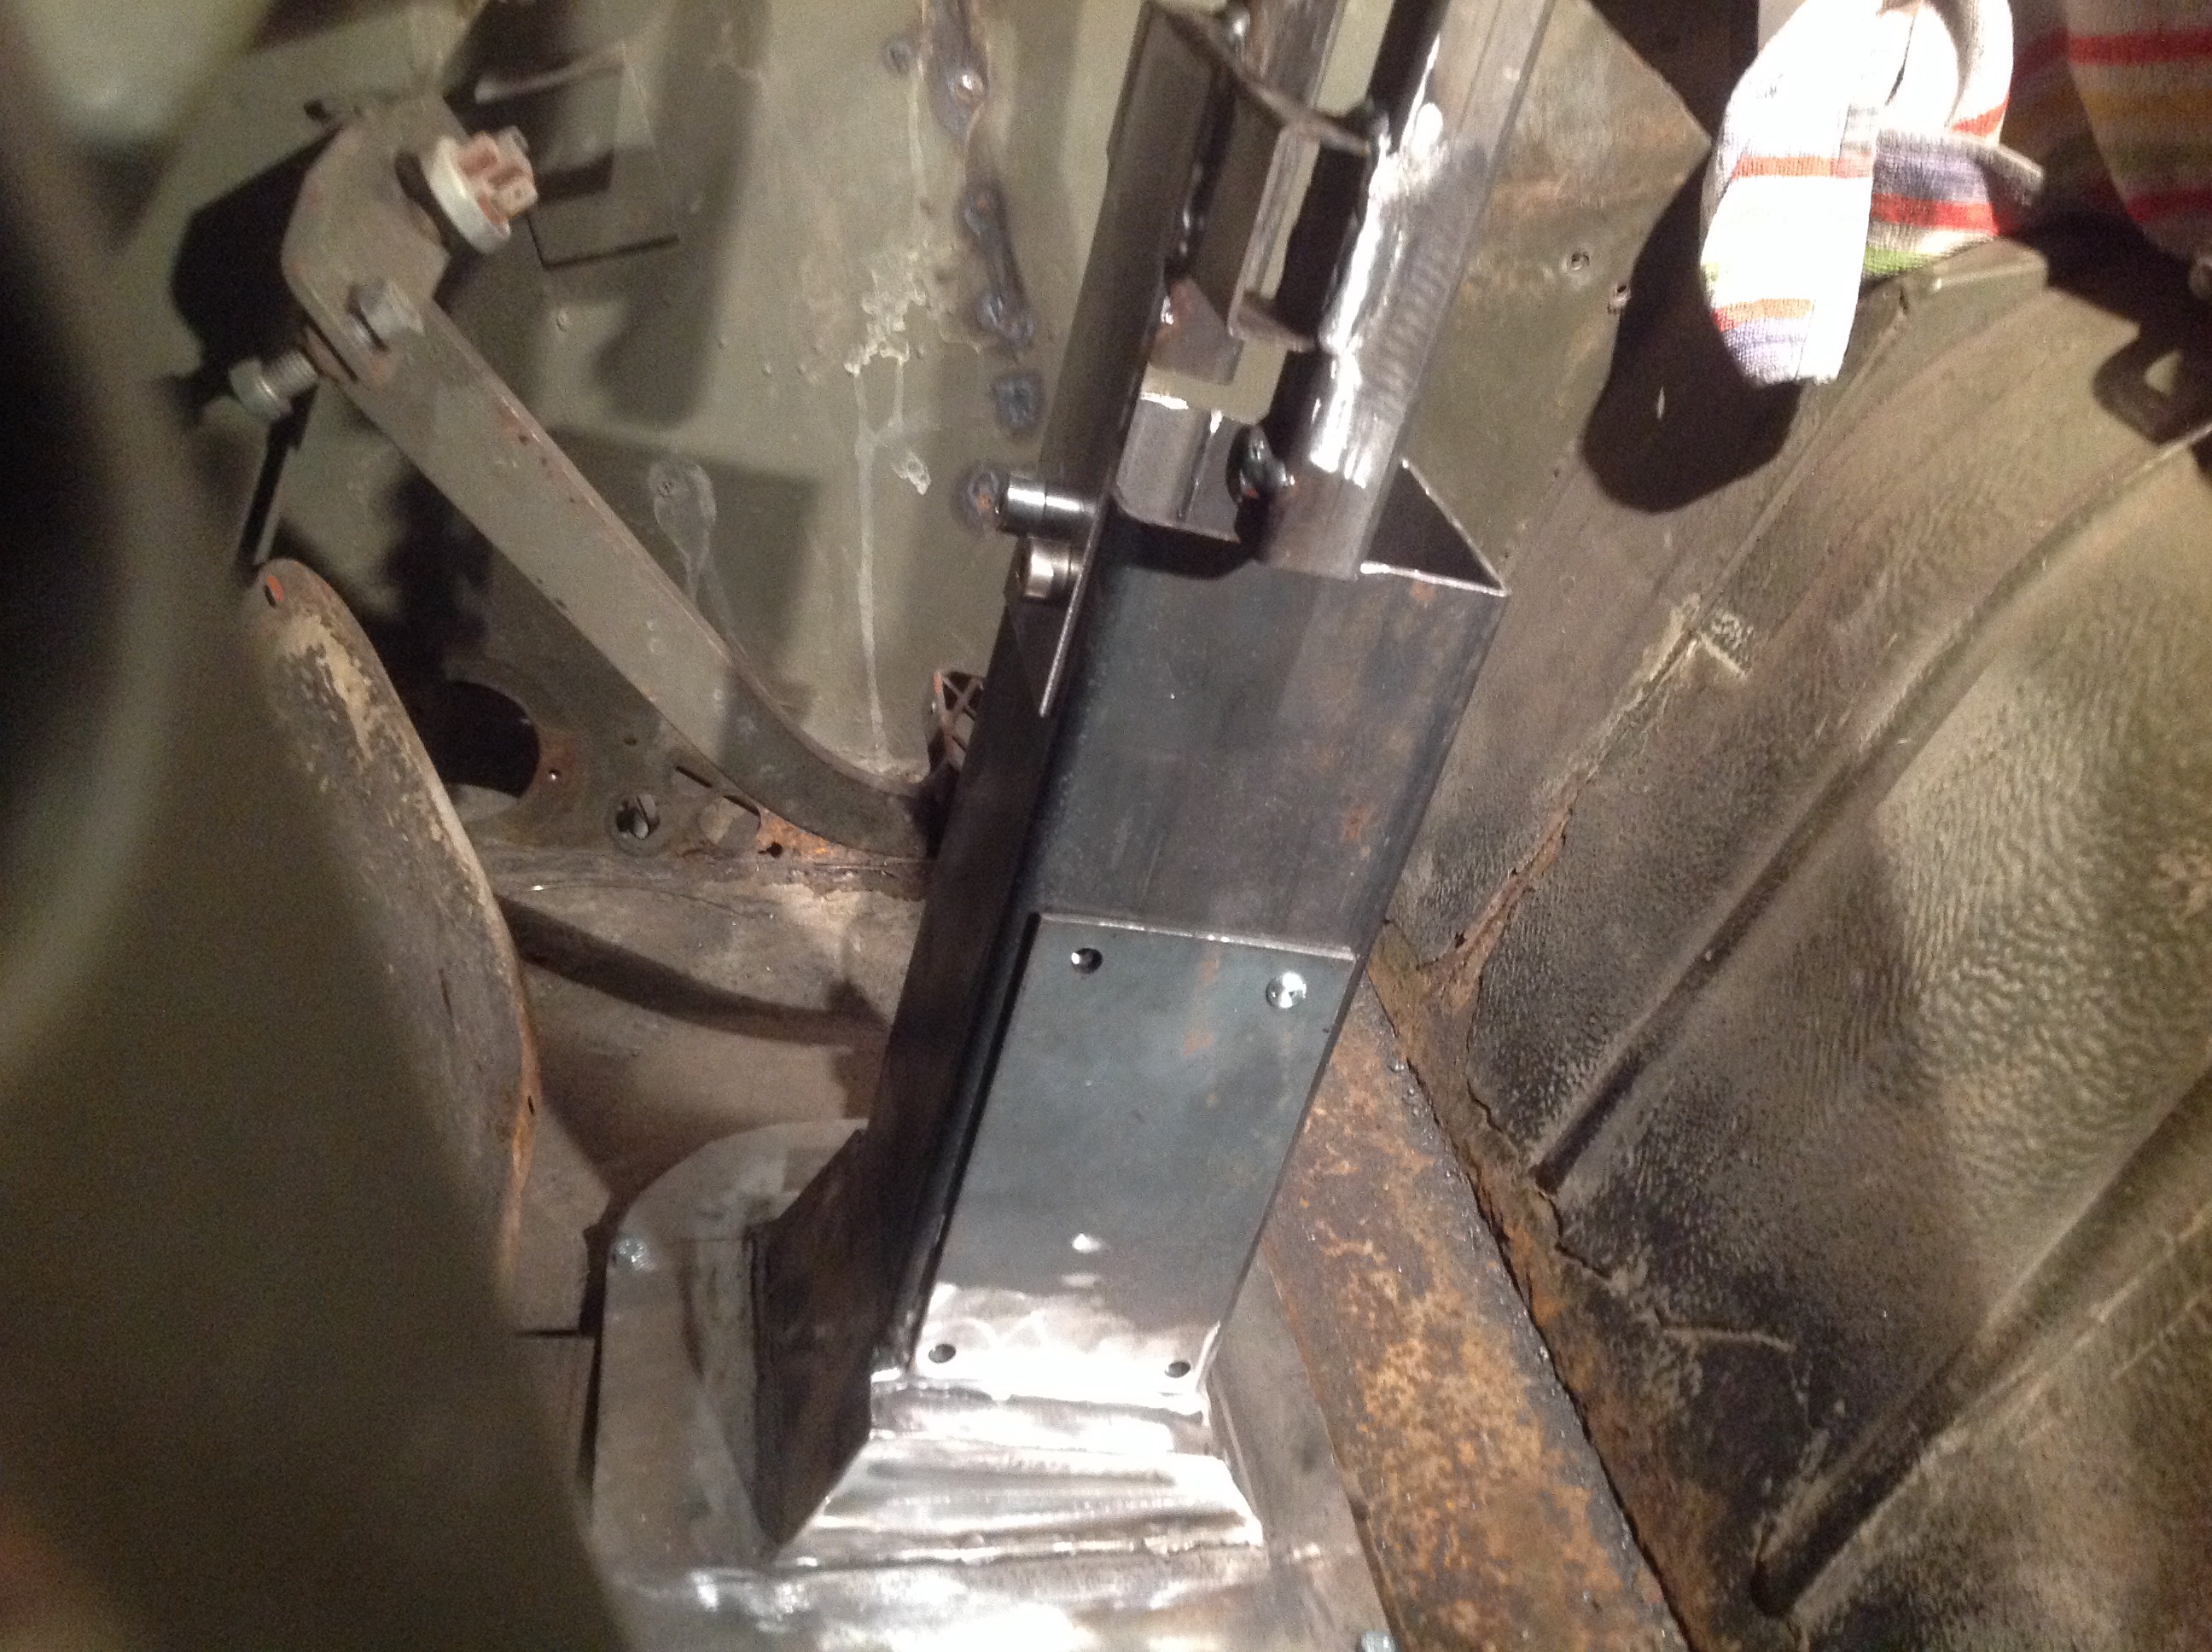
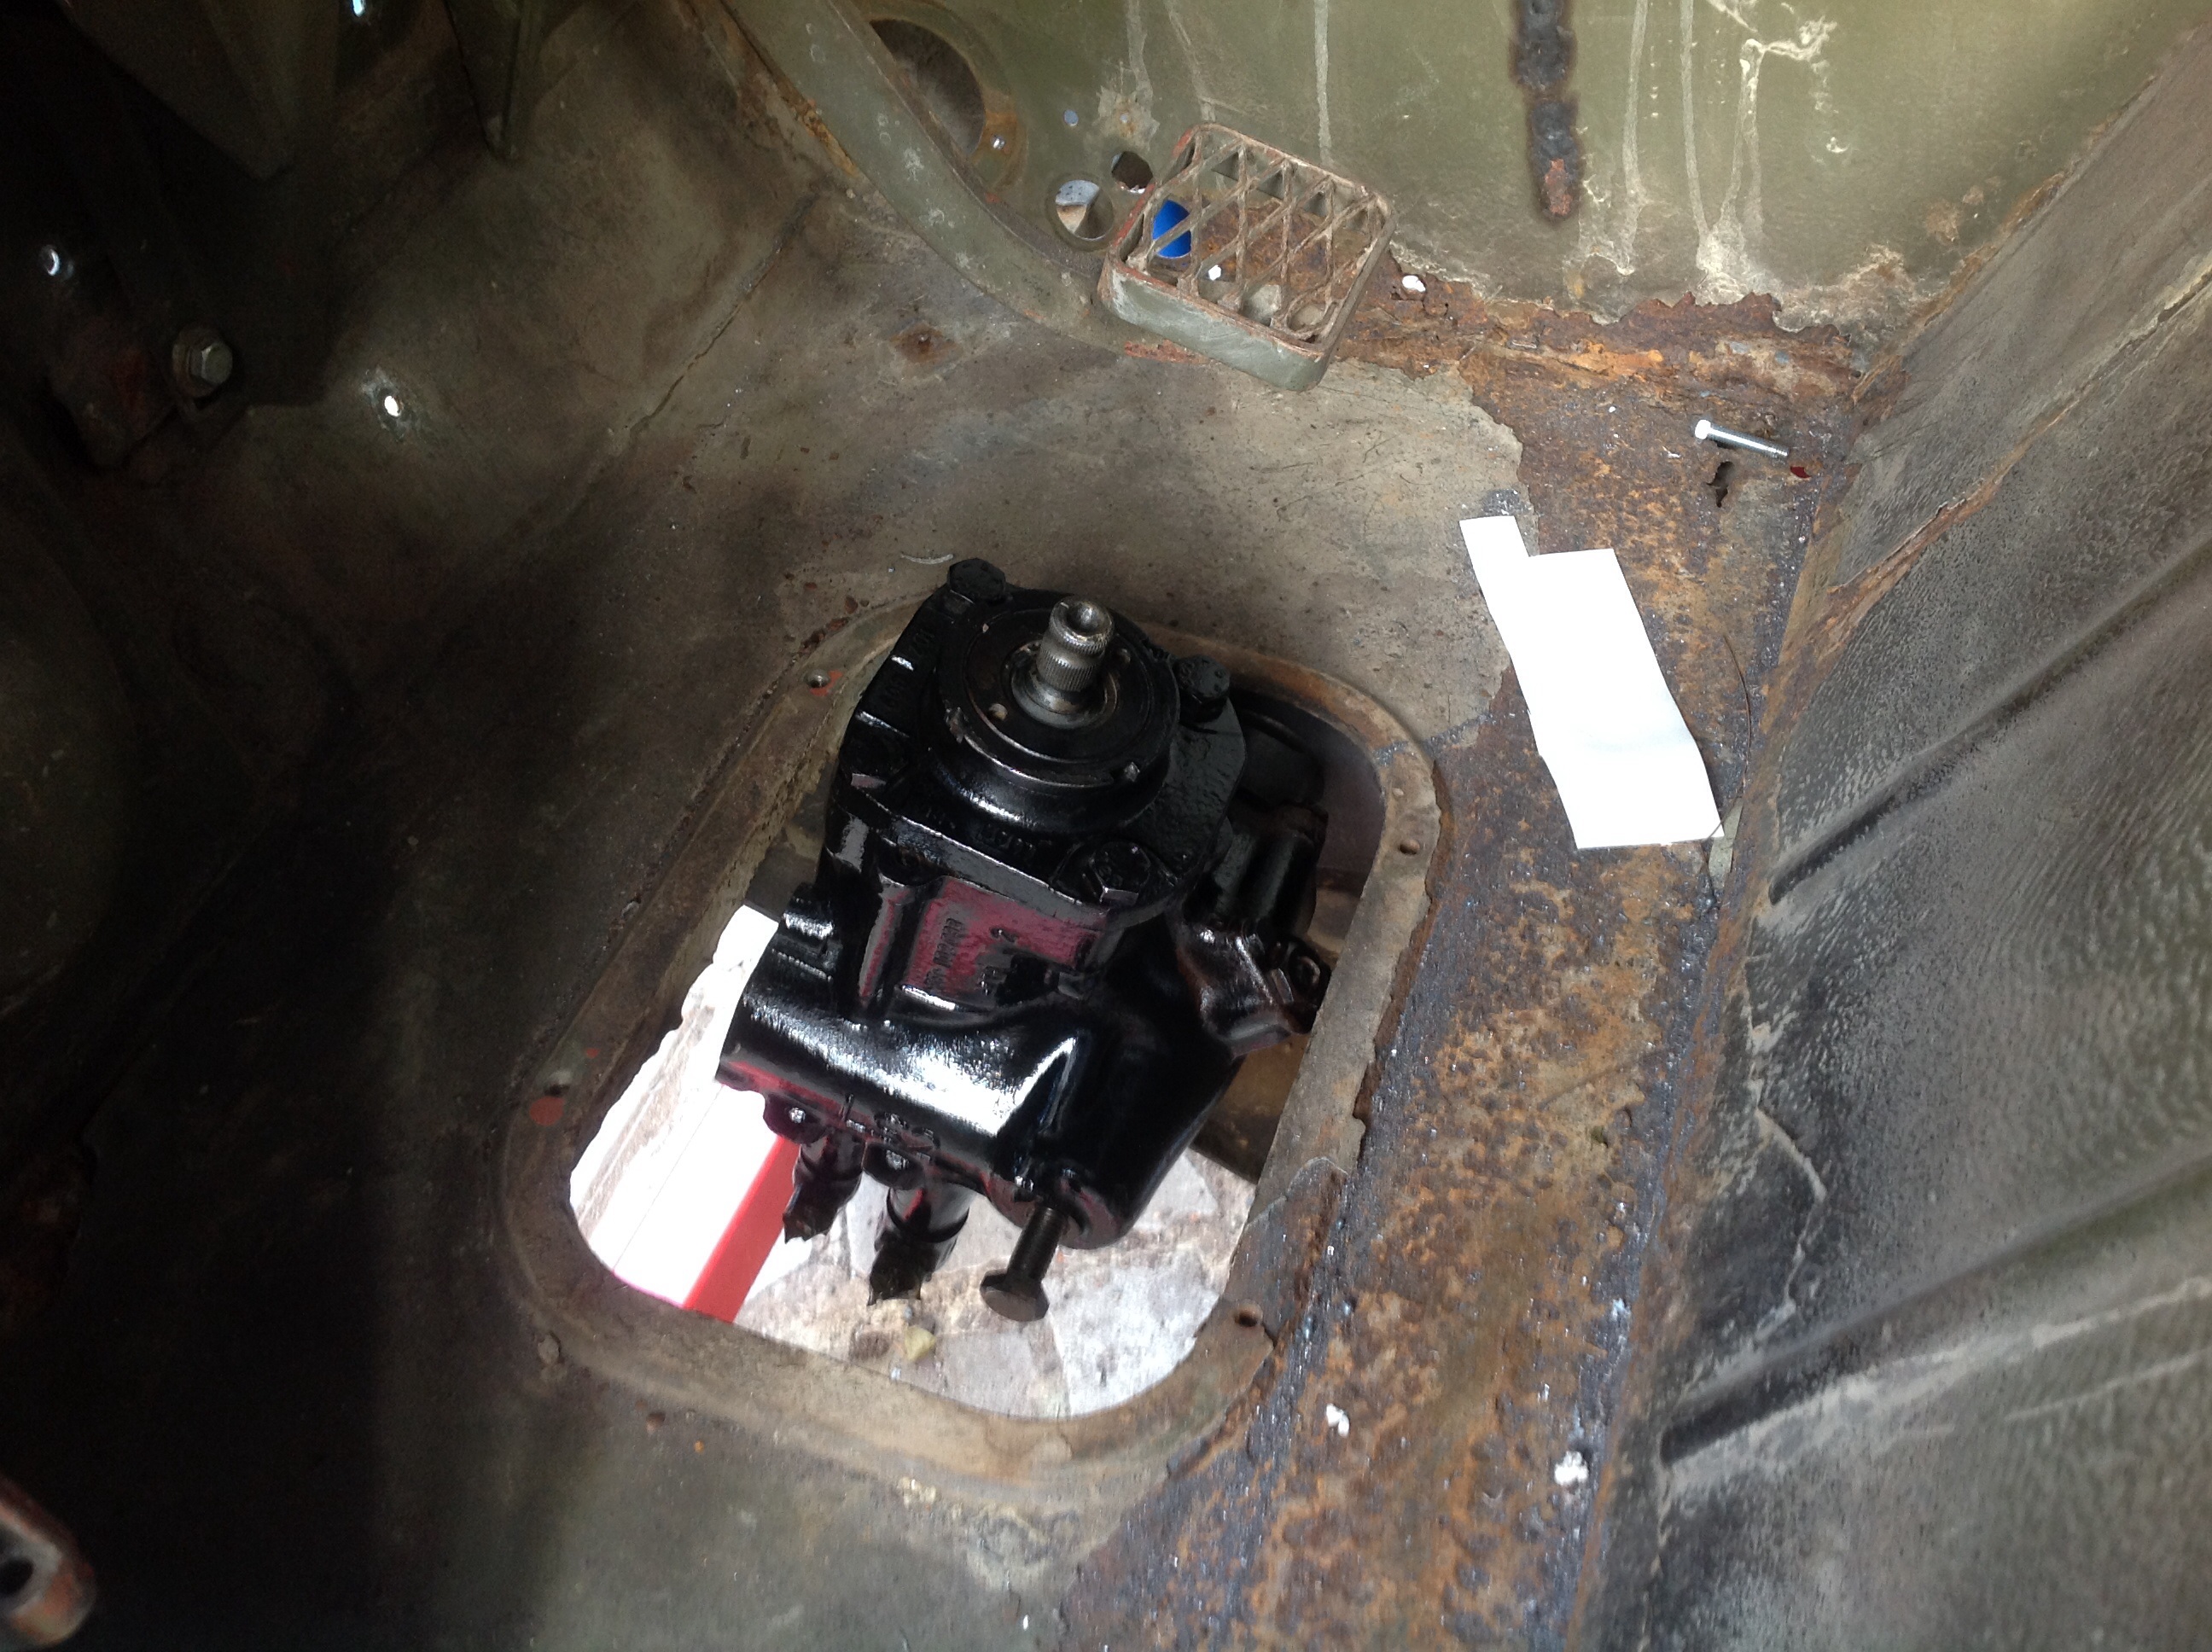
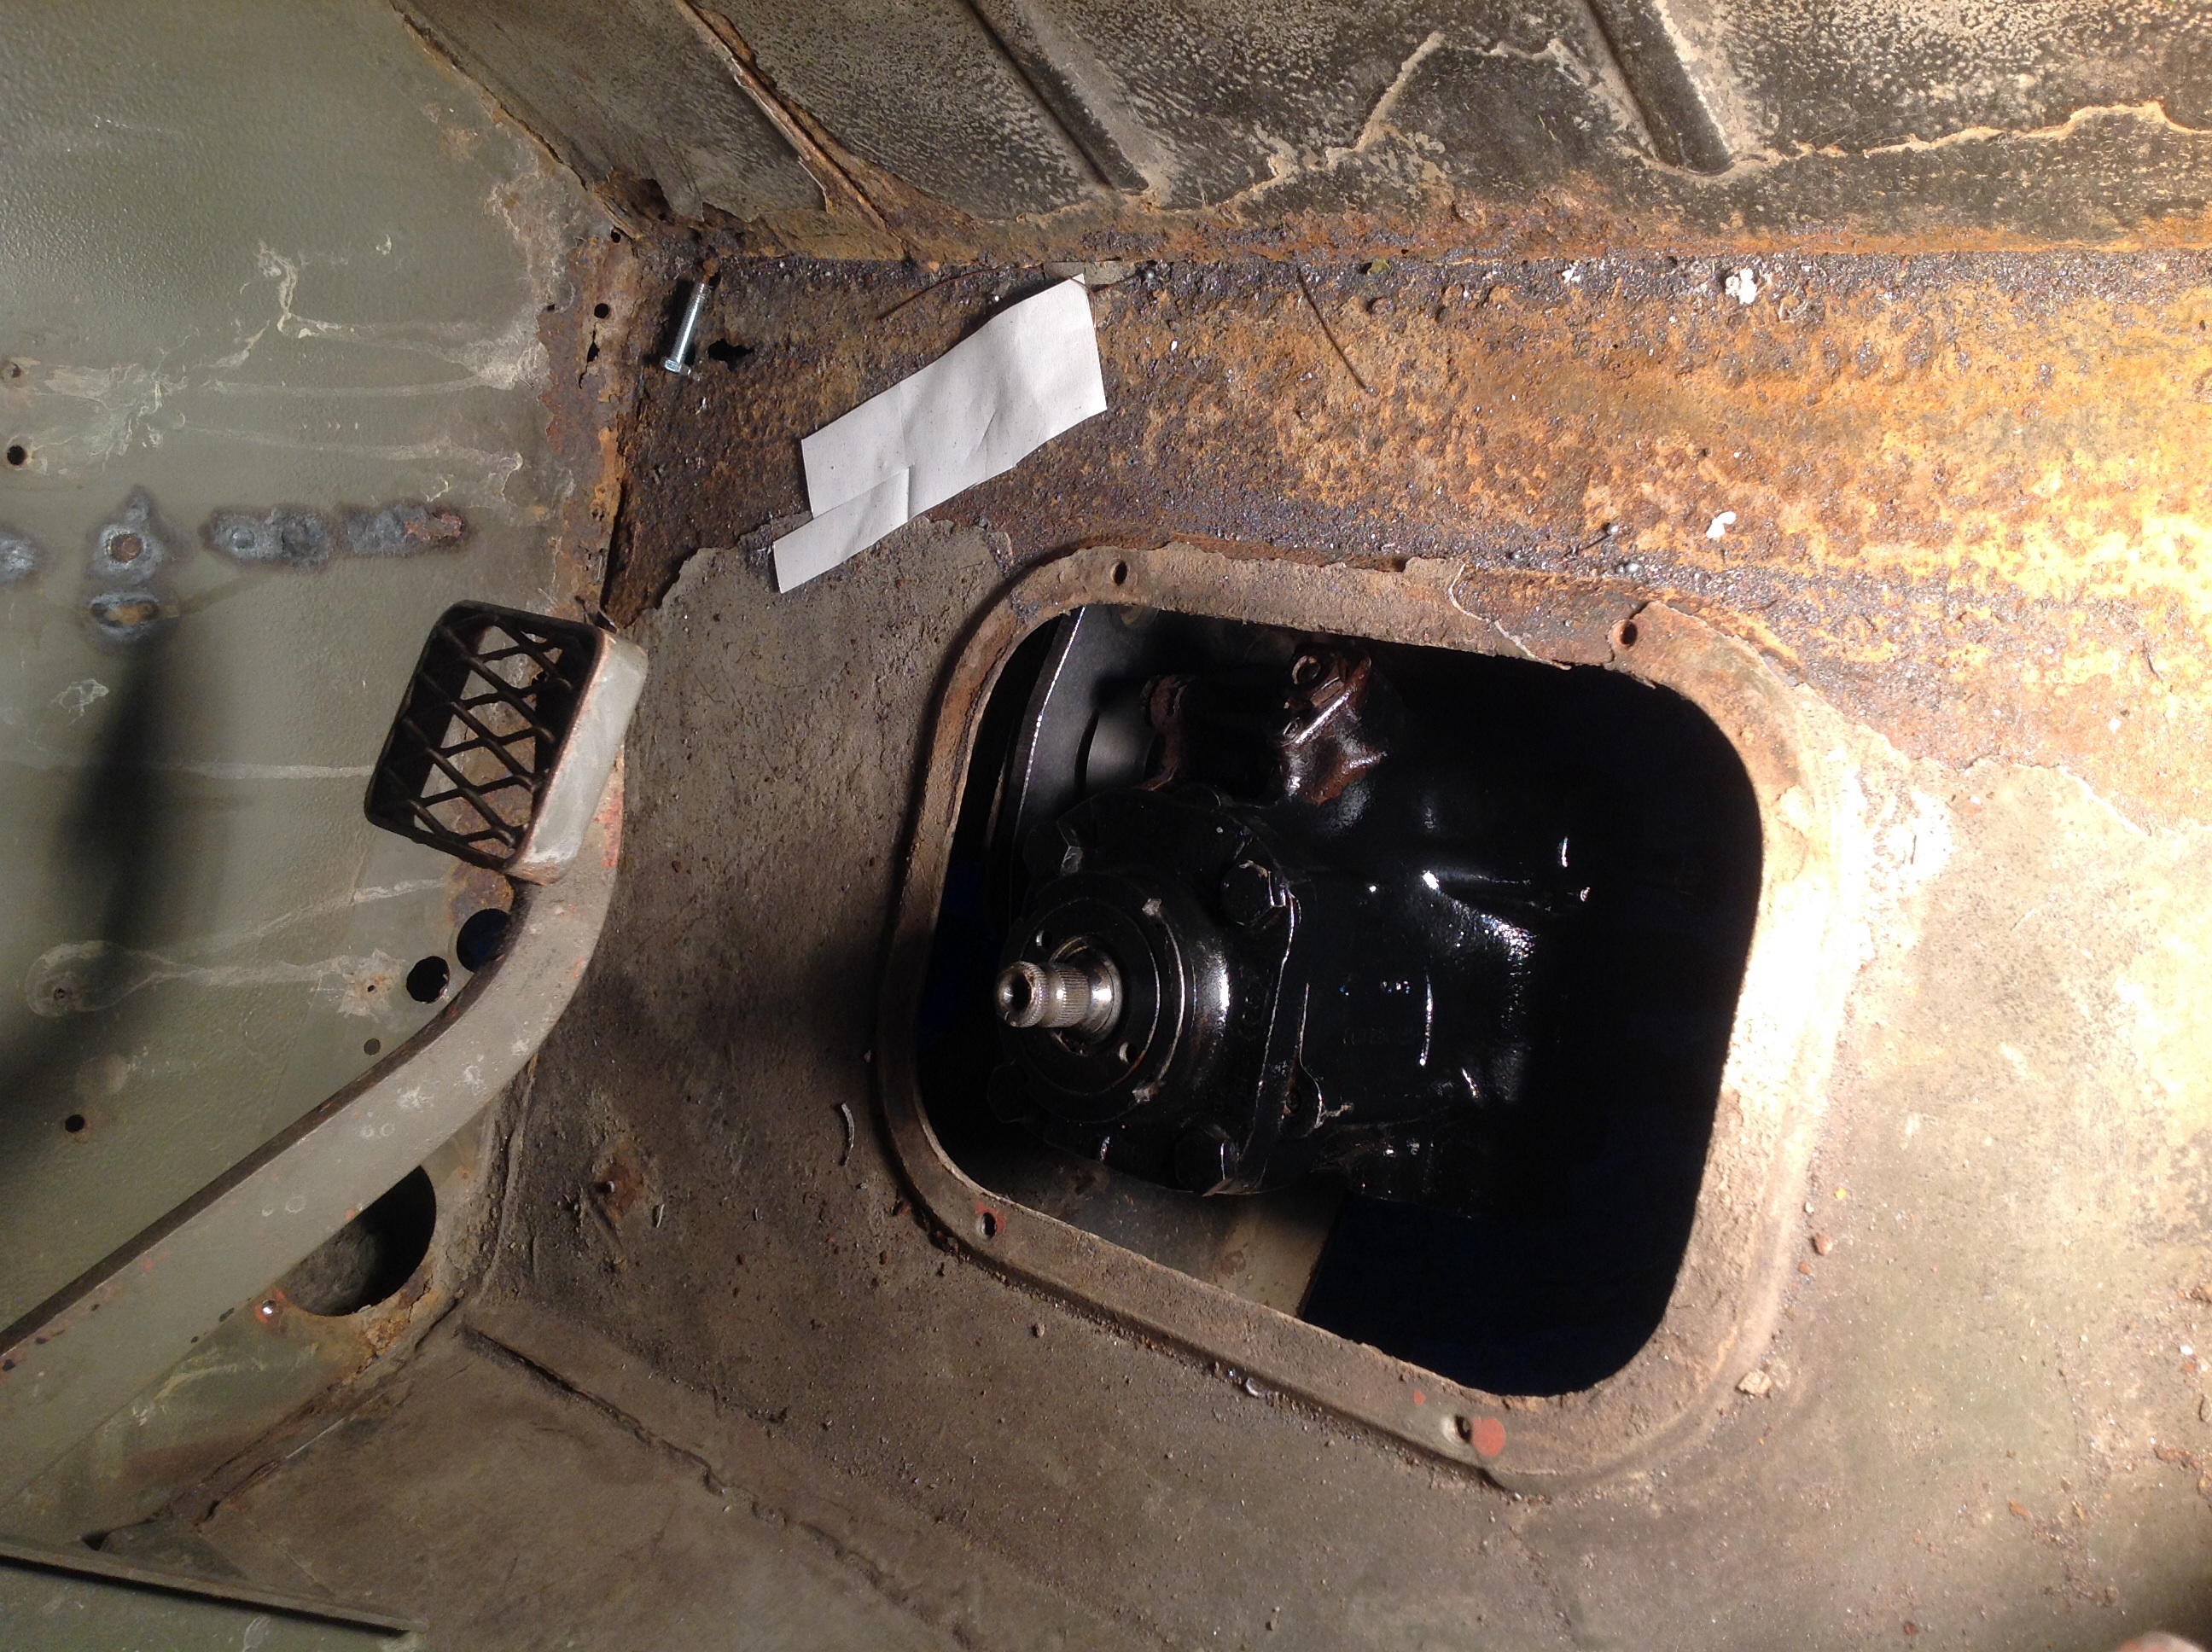
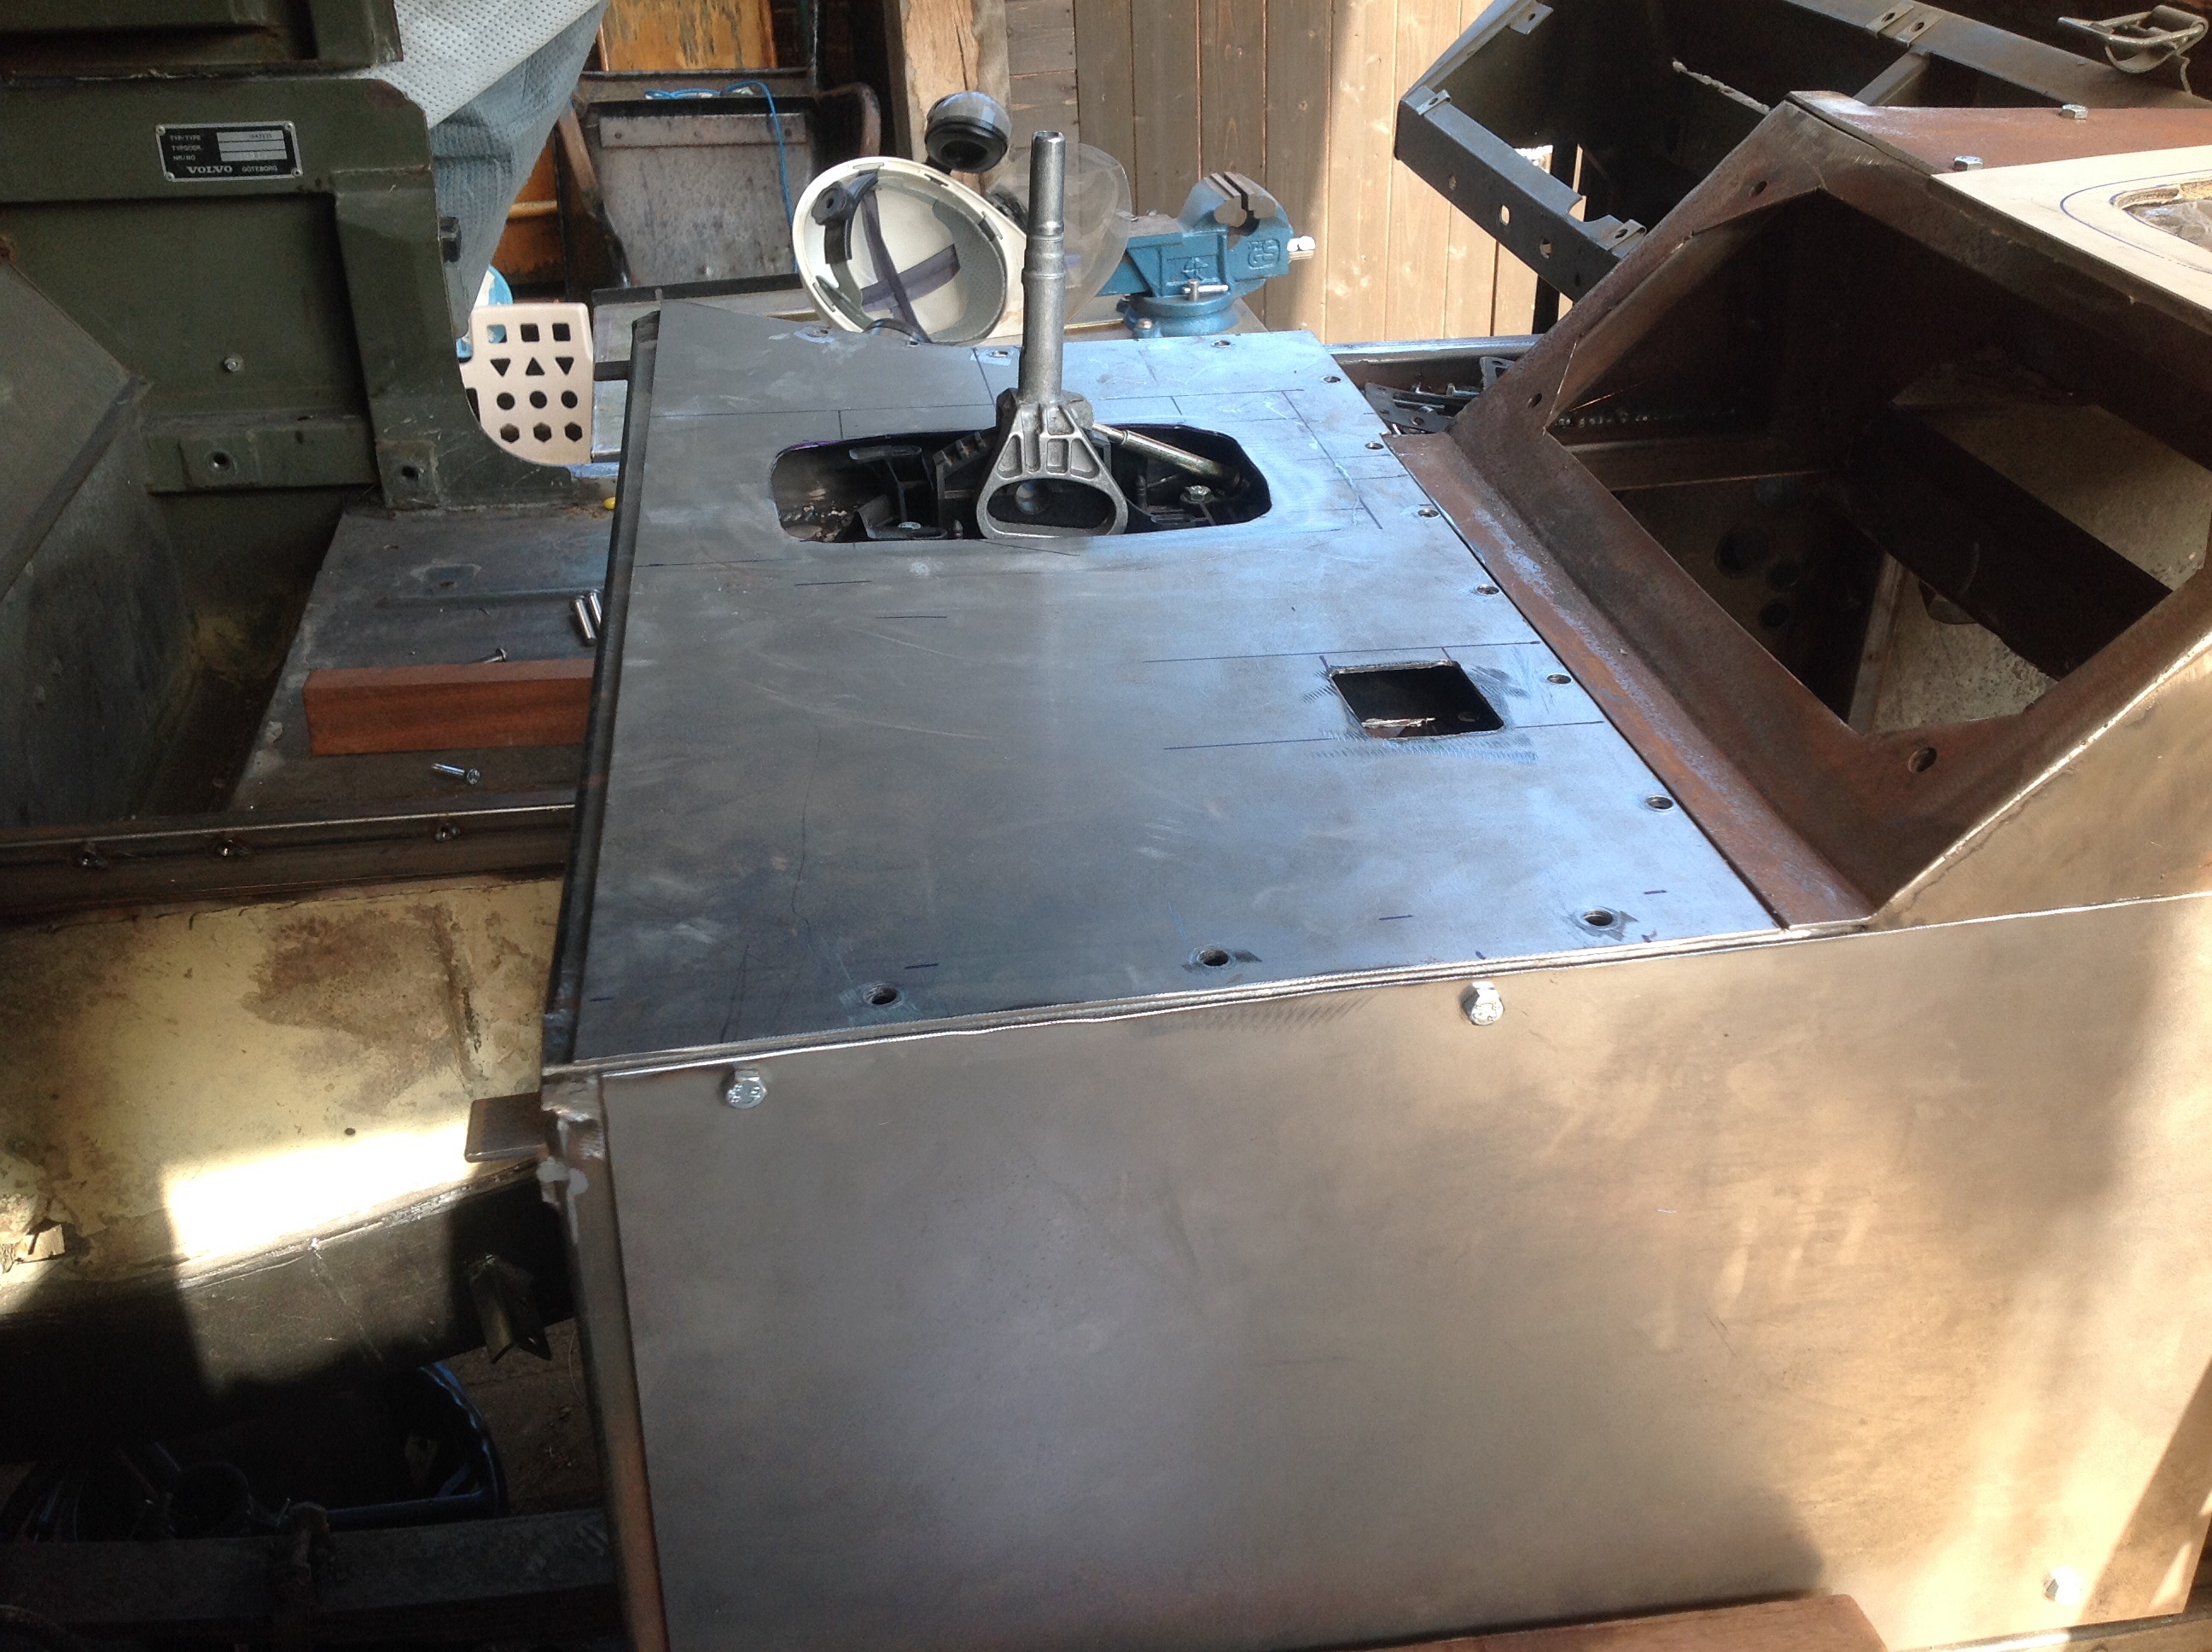
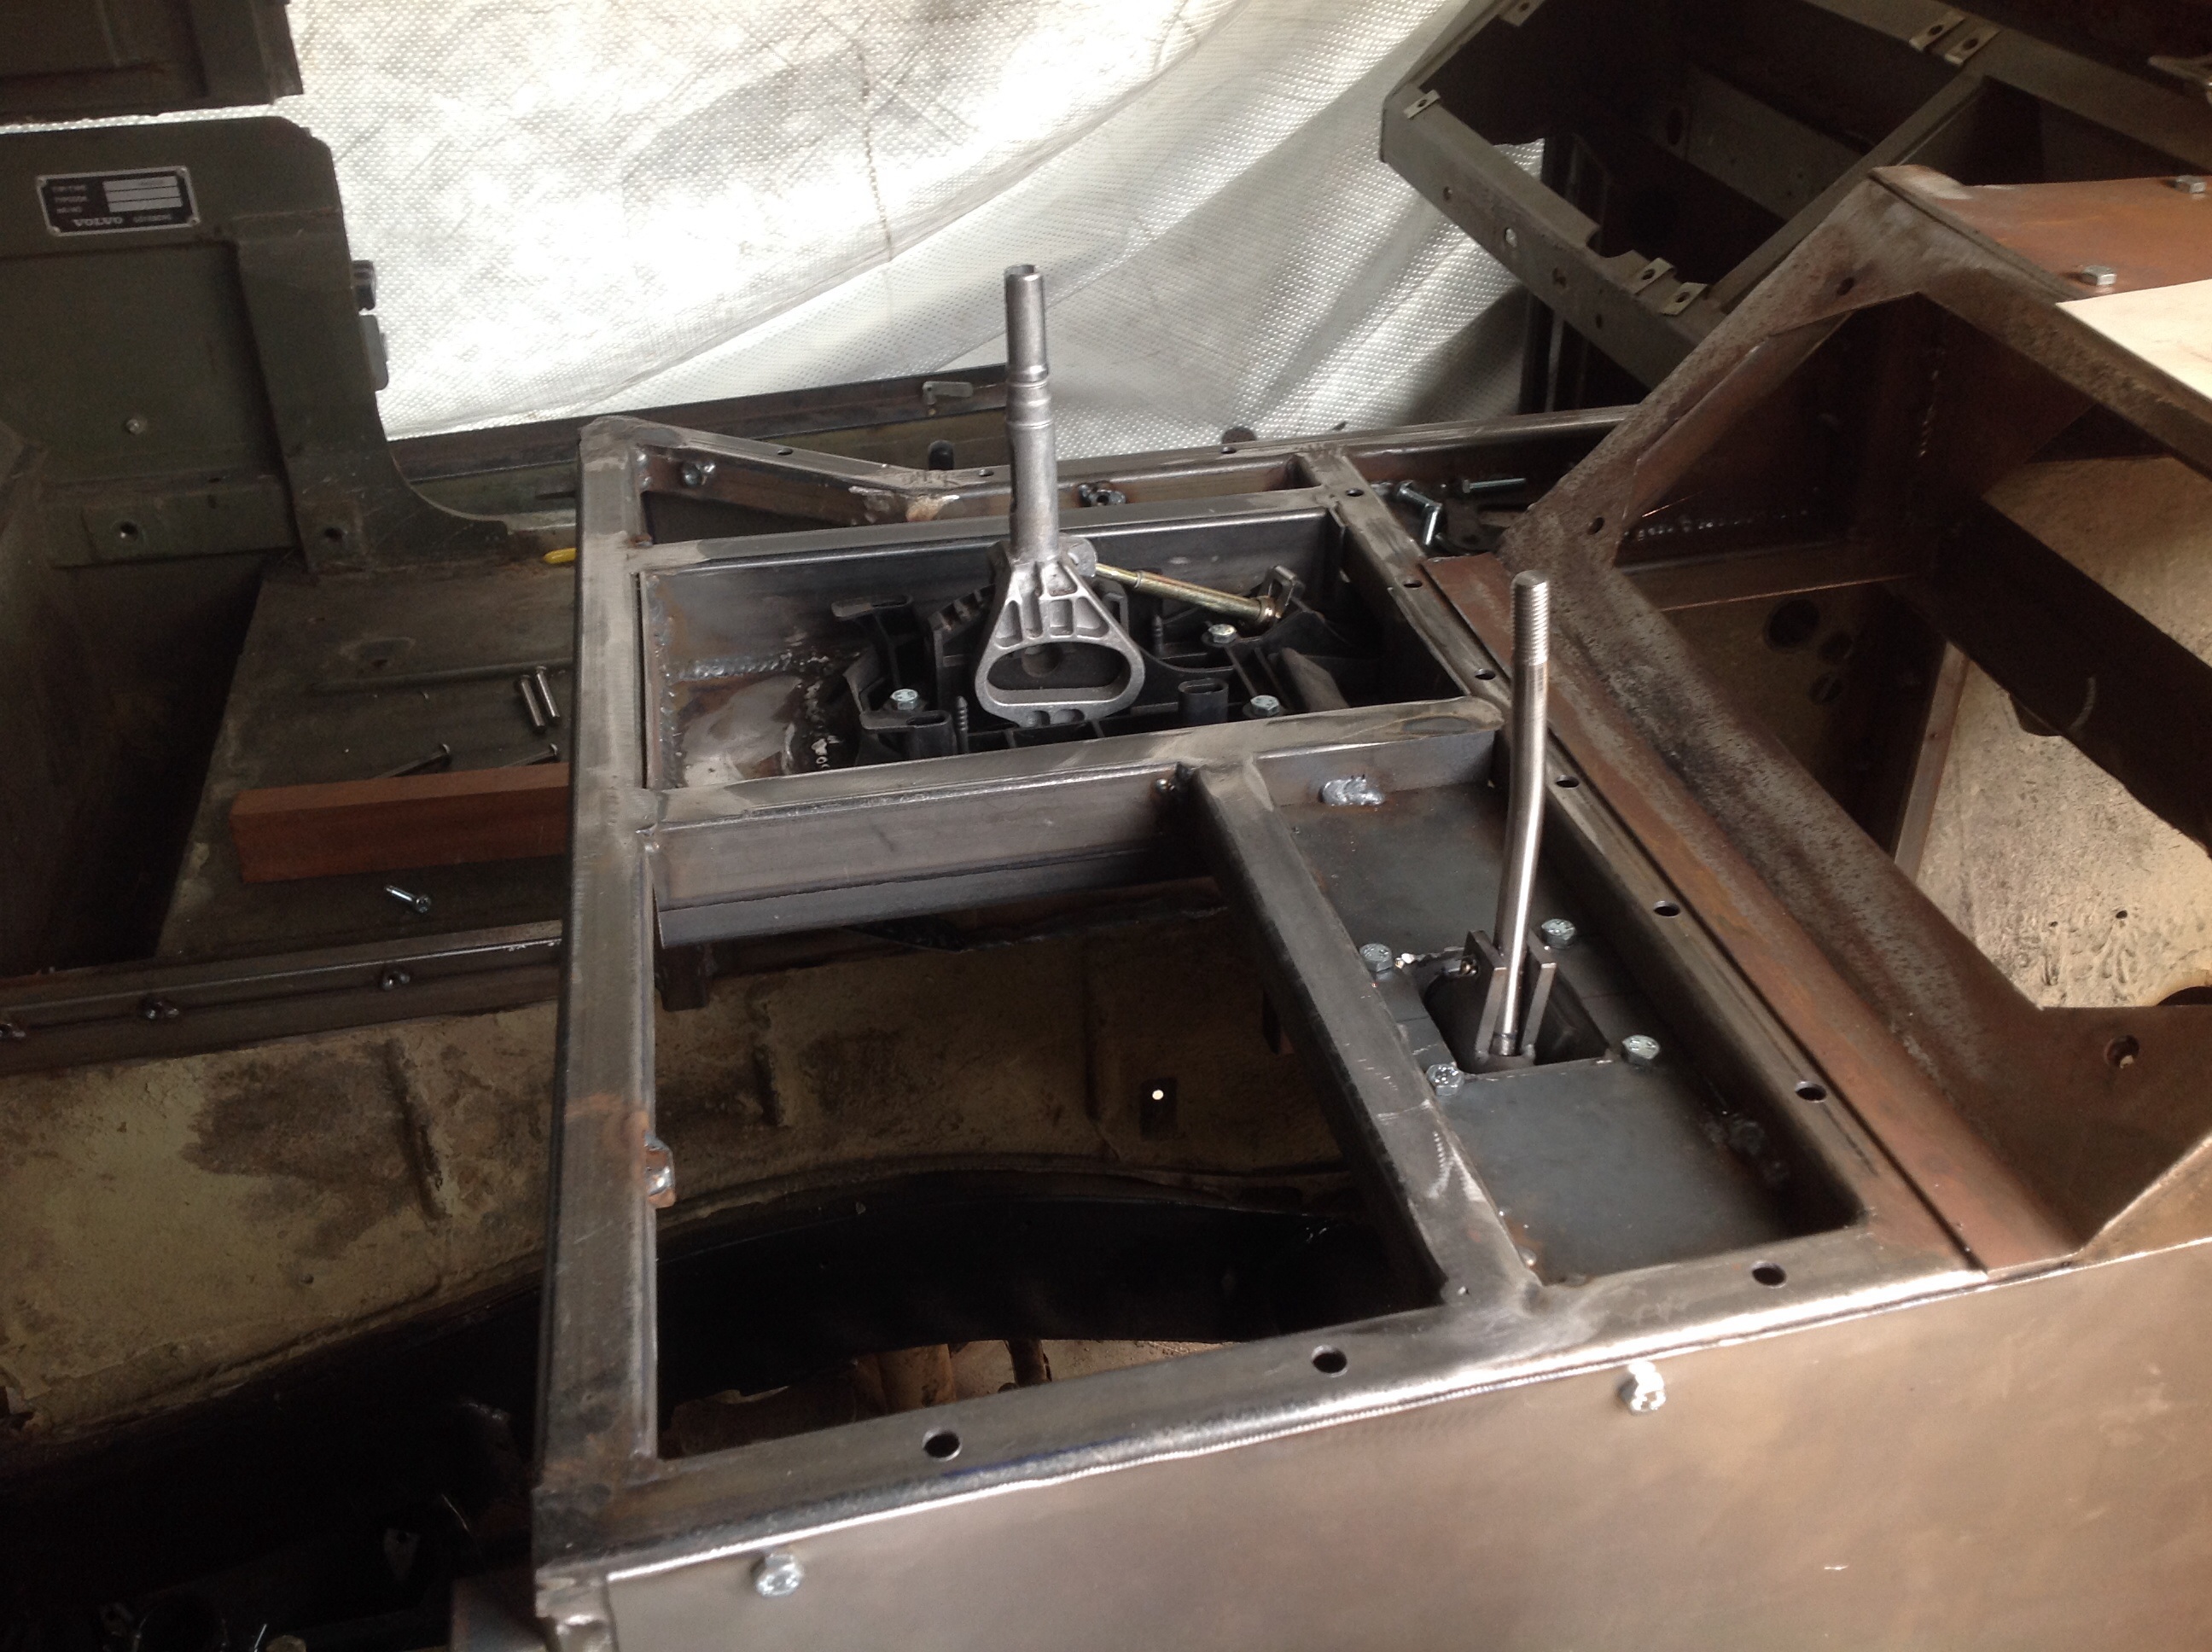
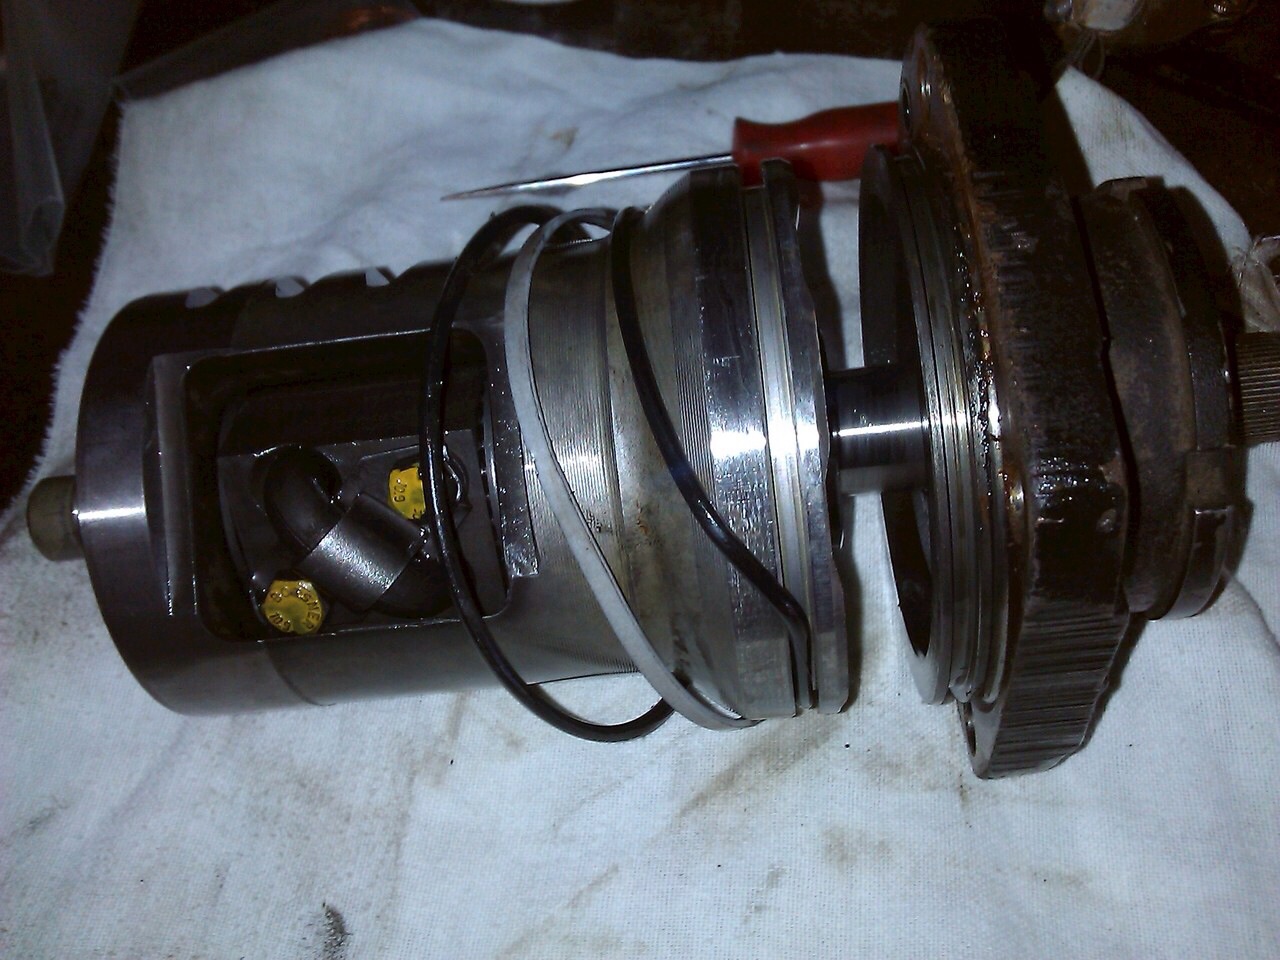
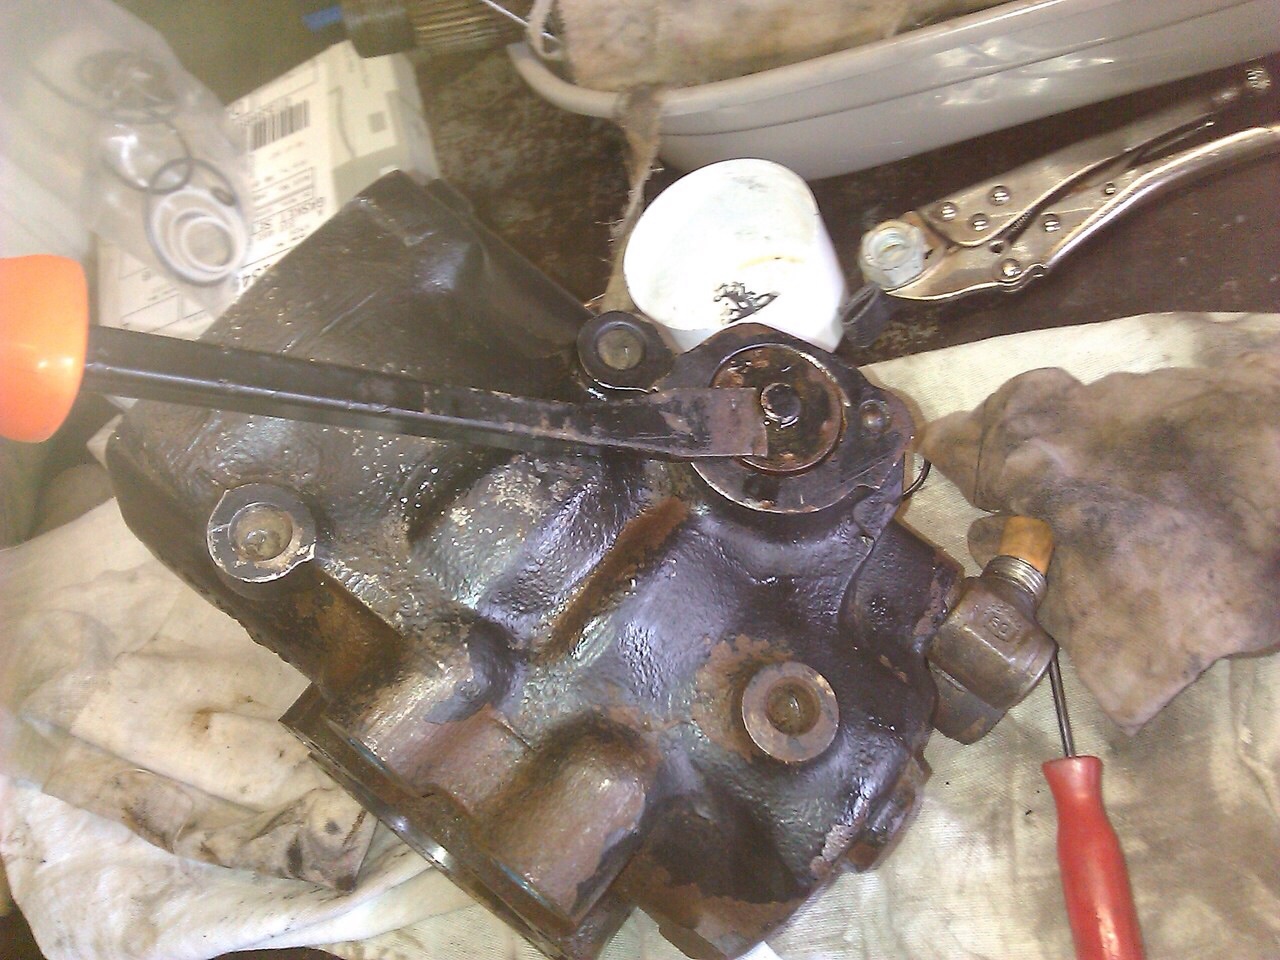
(1)Dislikes(0)So waiting for the PAS box to return I turn my attention back to the tunnel.
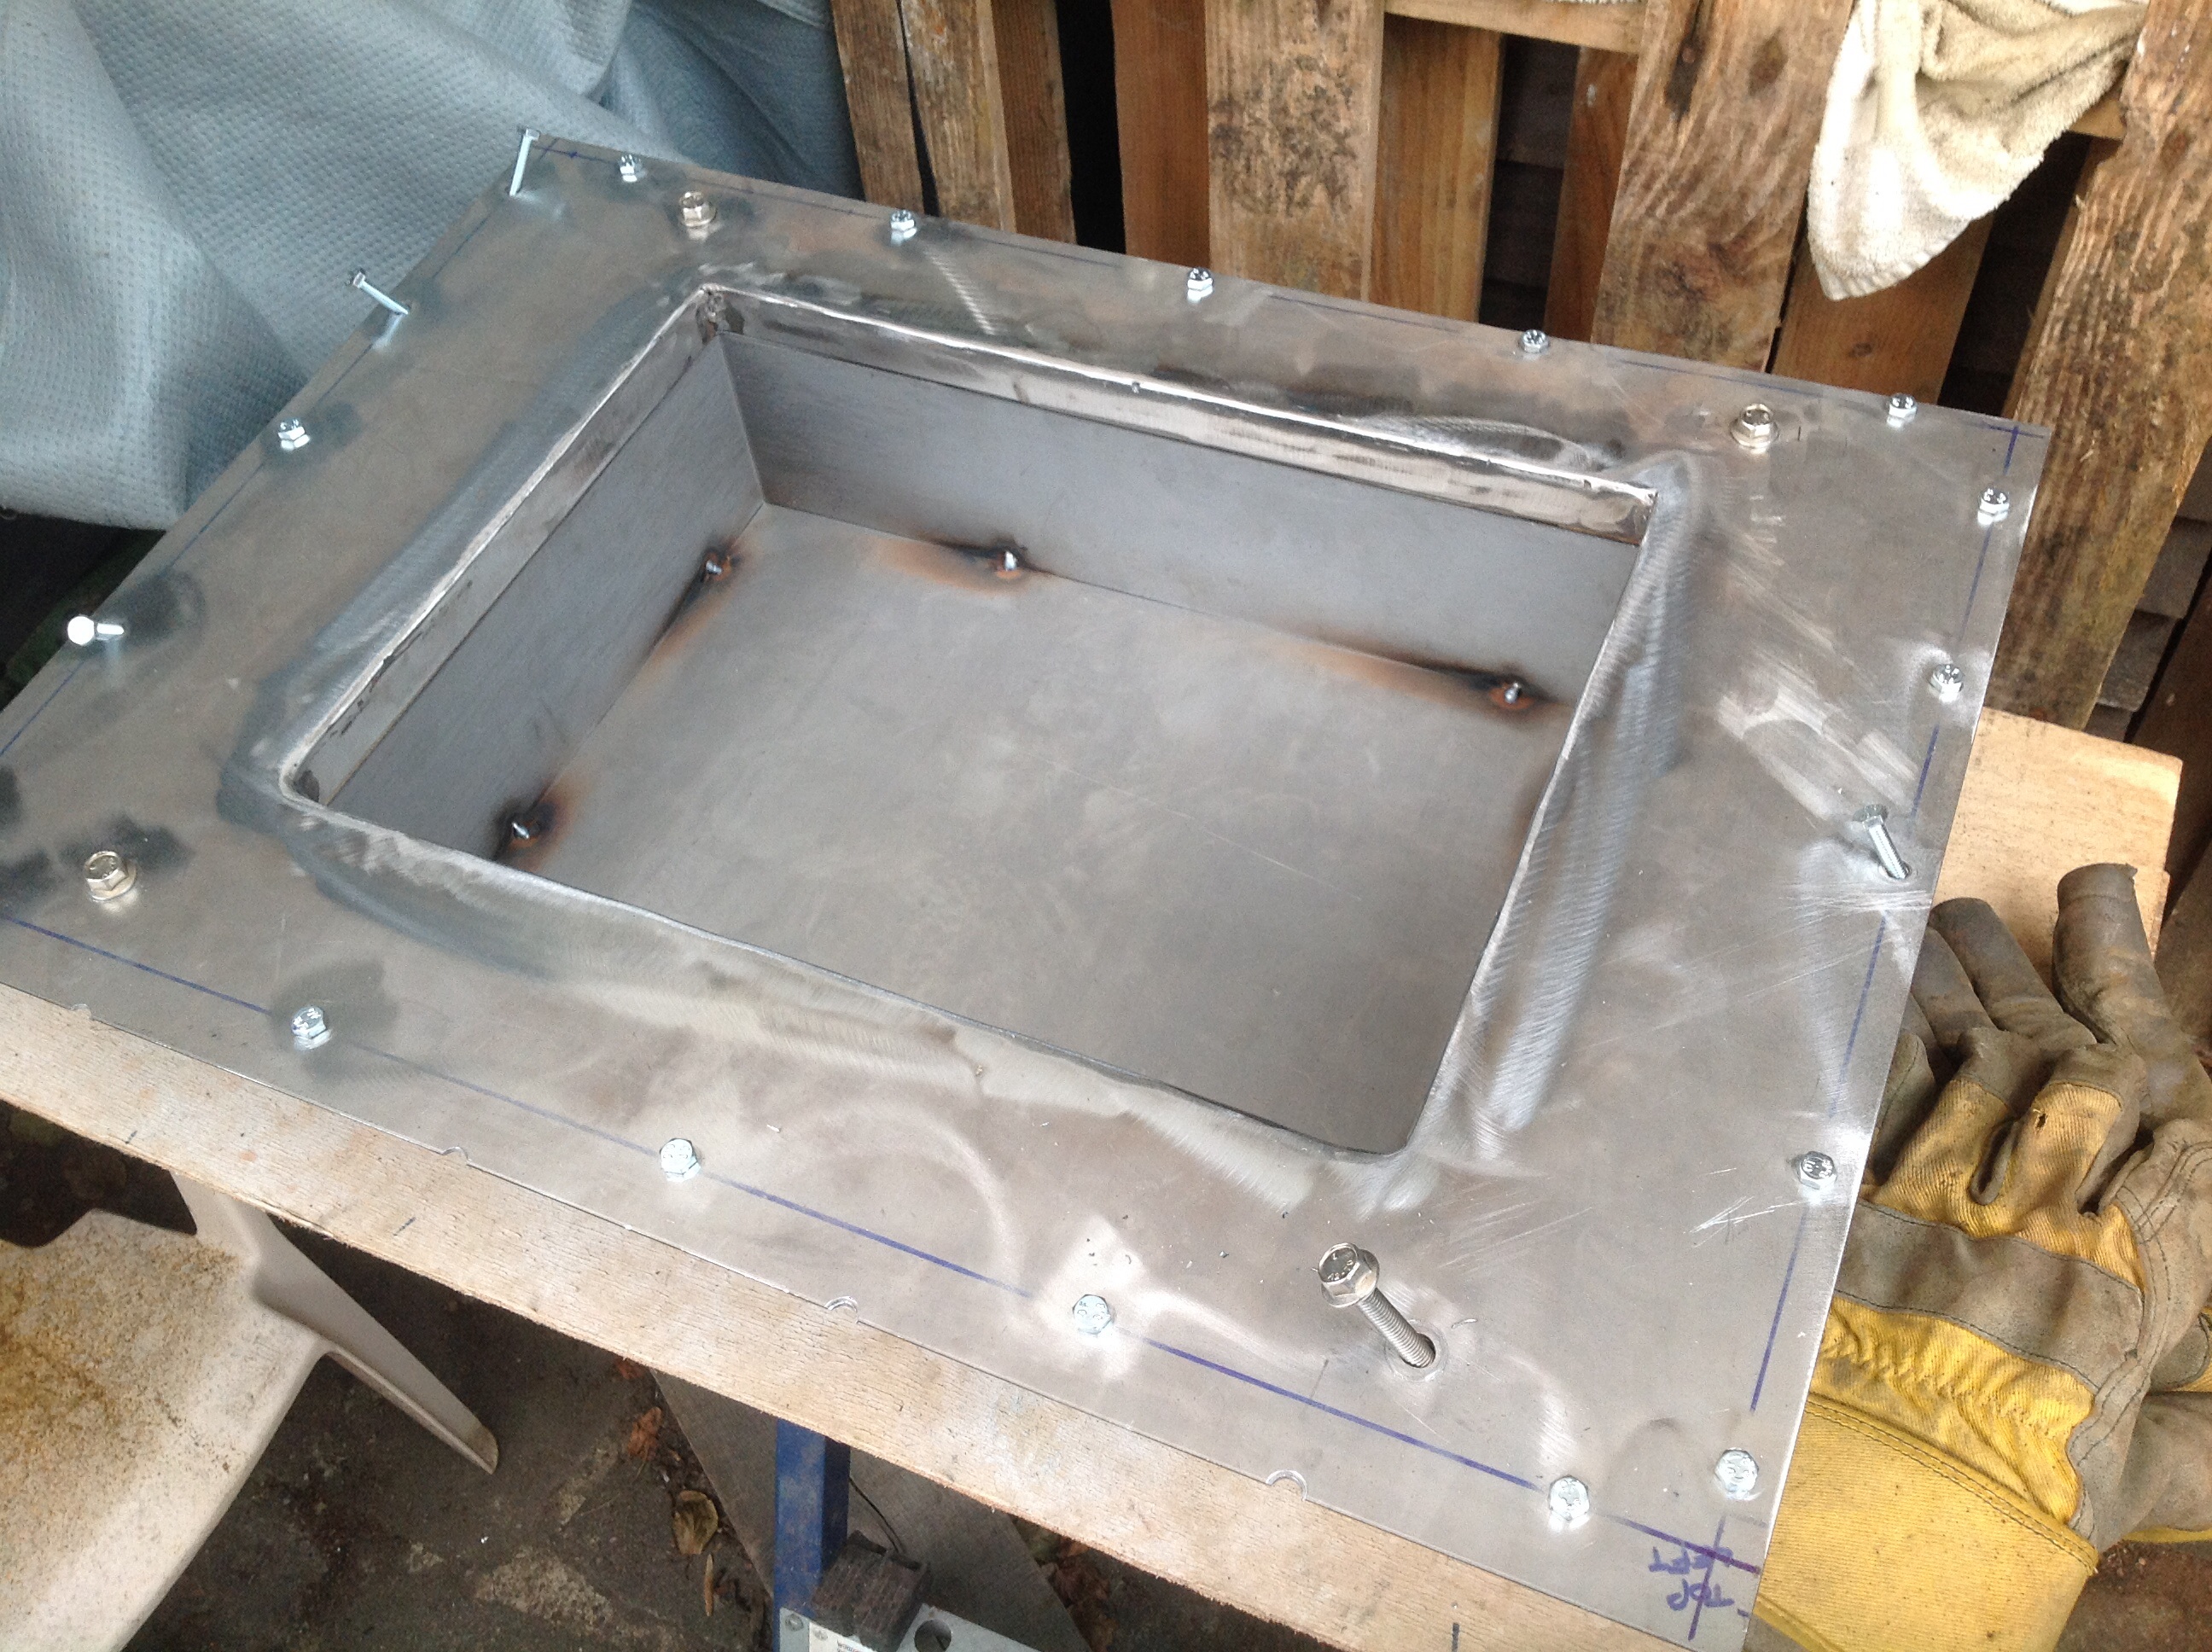
looking for maximum access the panels will be detachable. Captive nuts and bolts
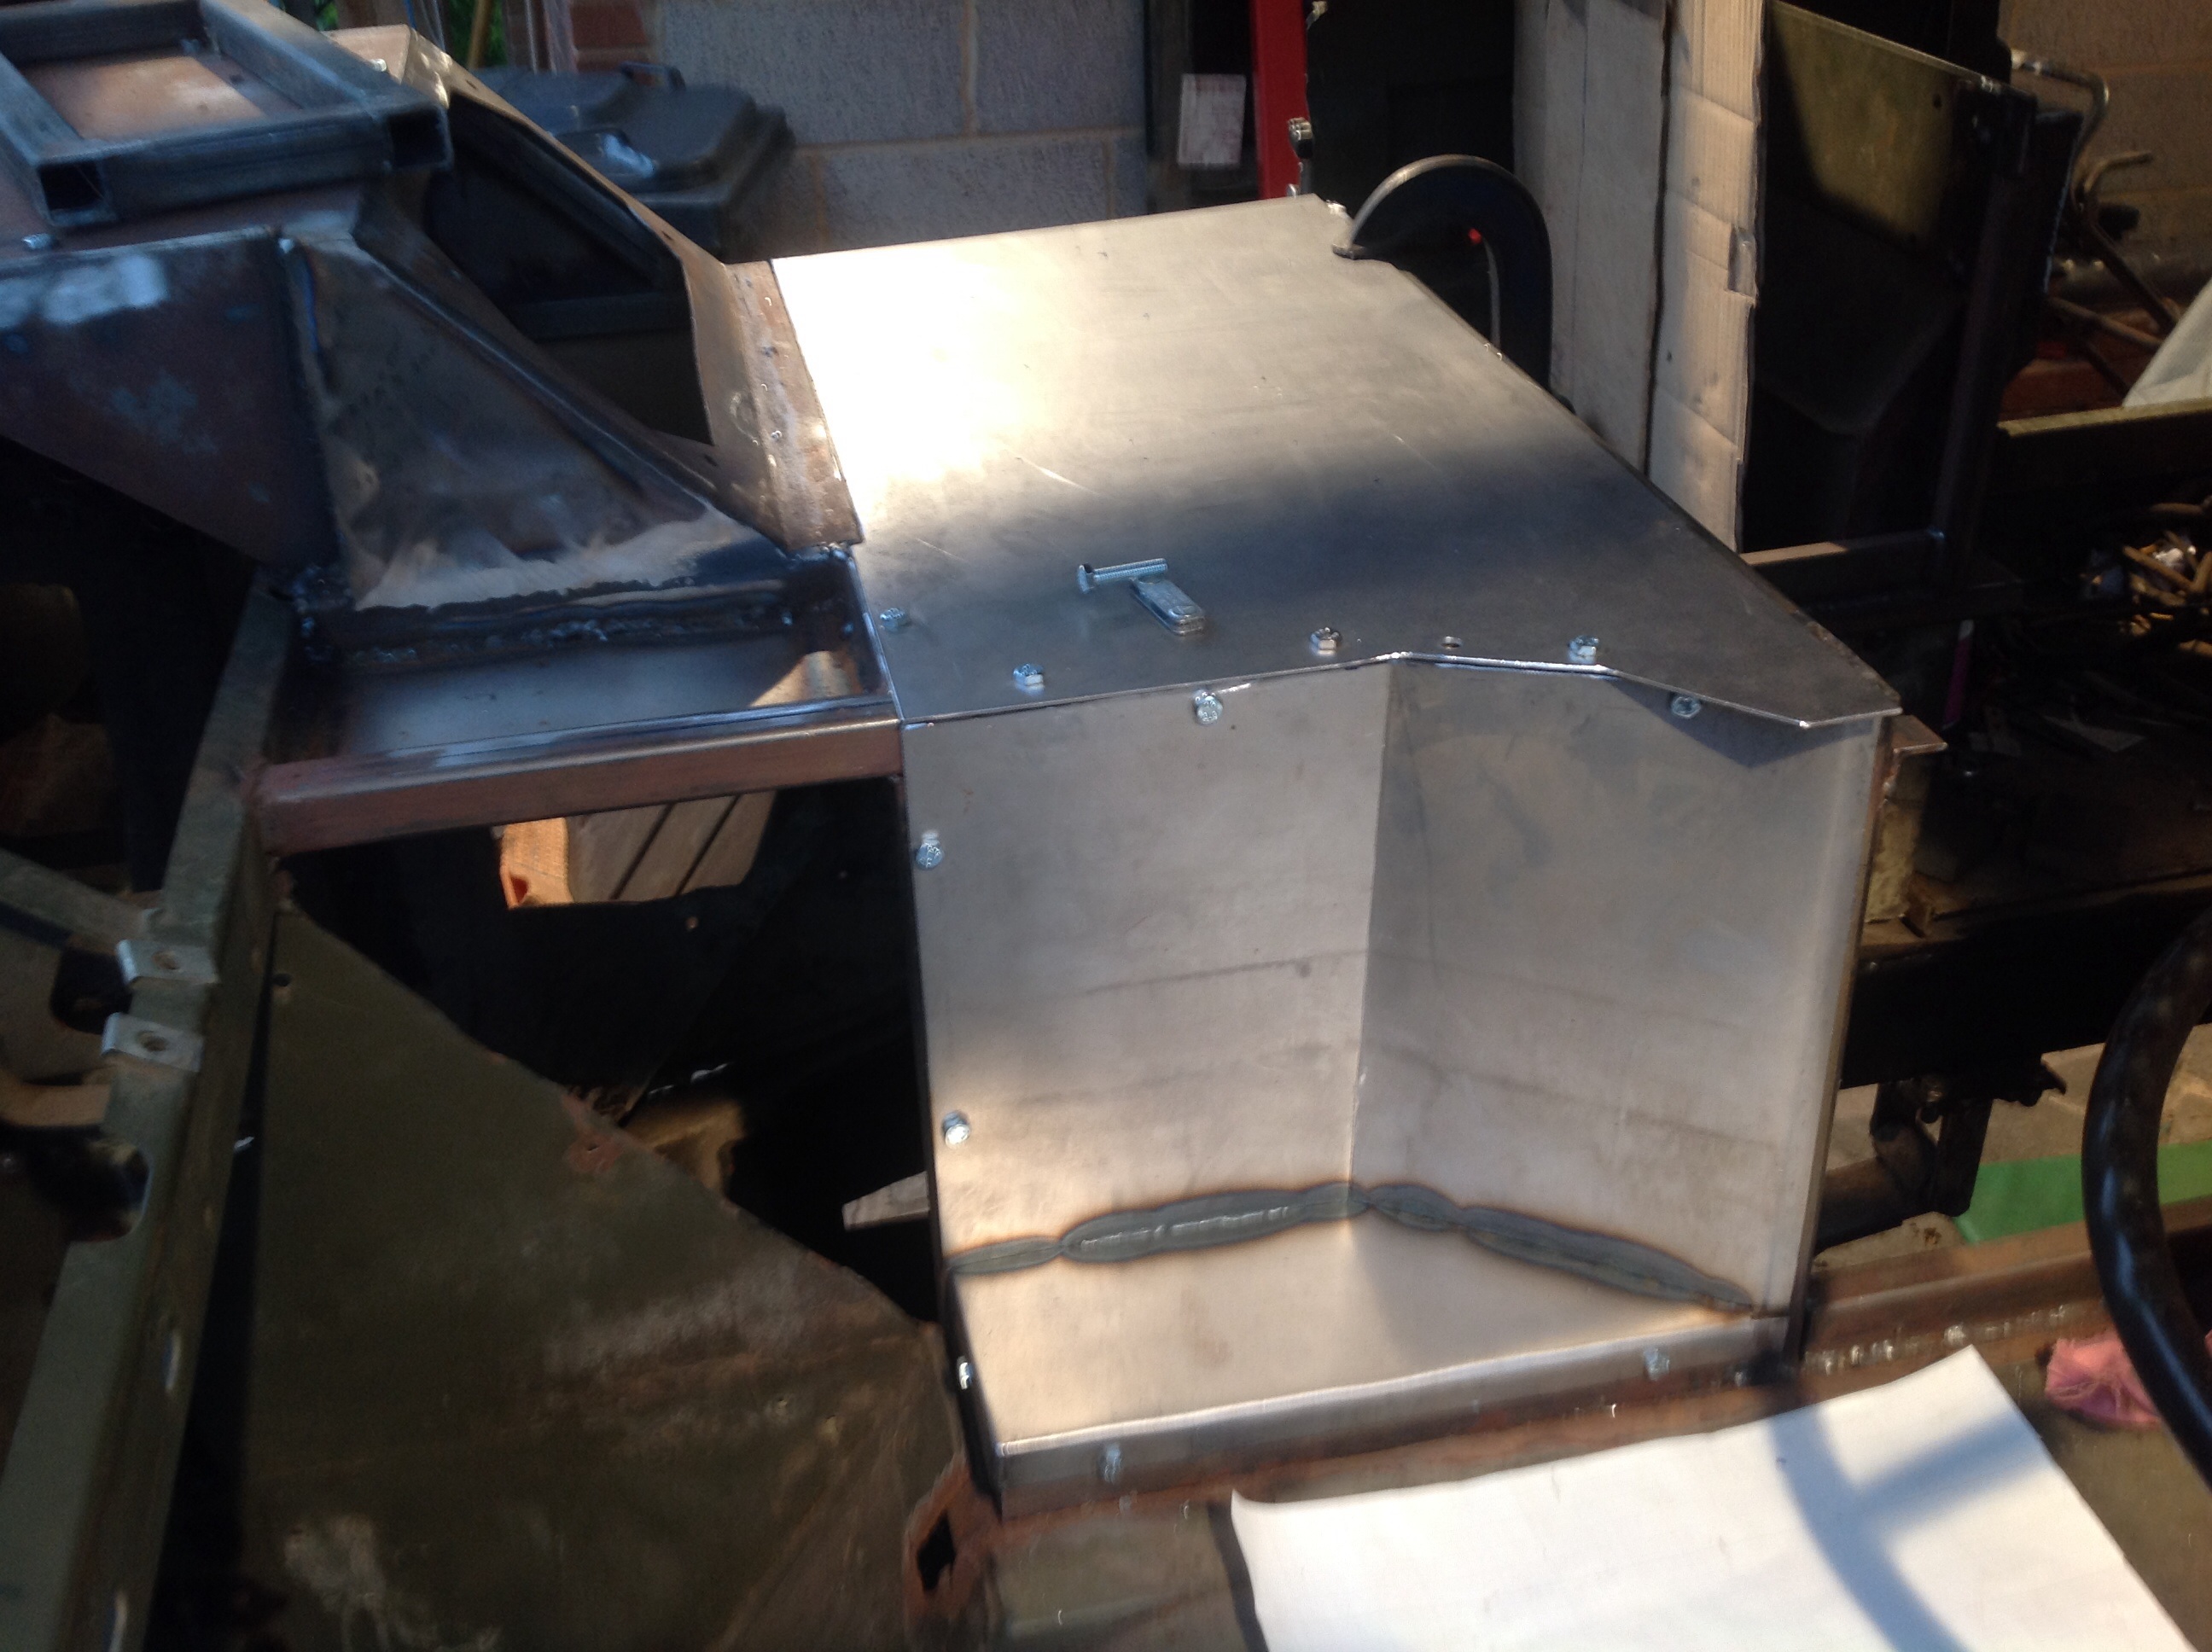
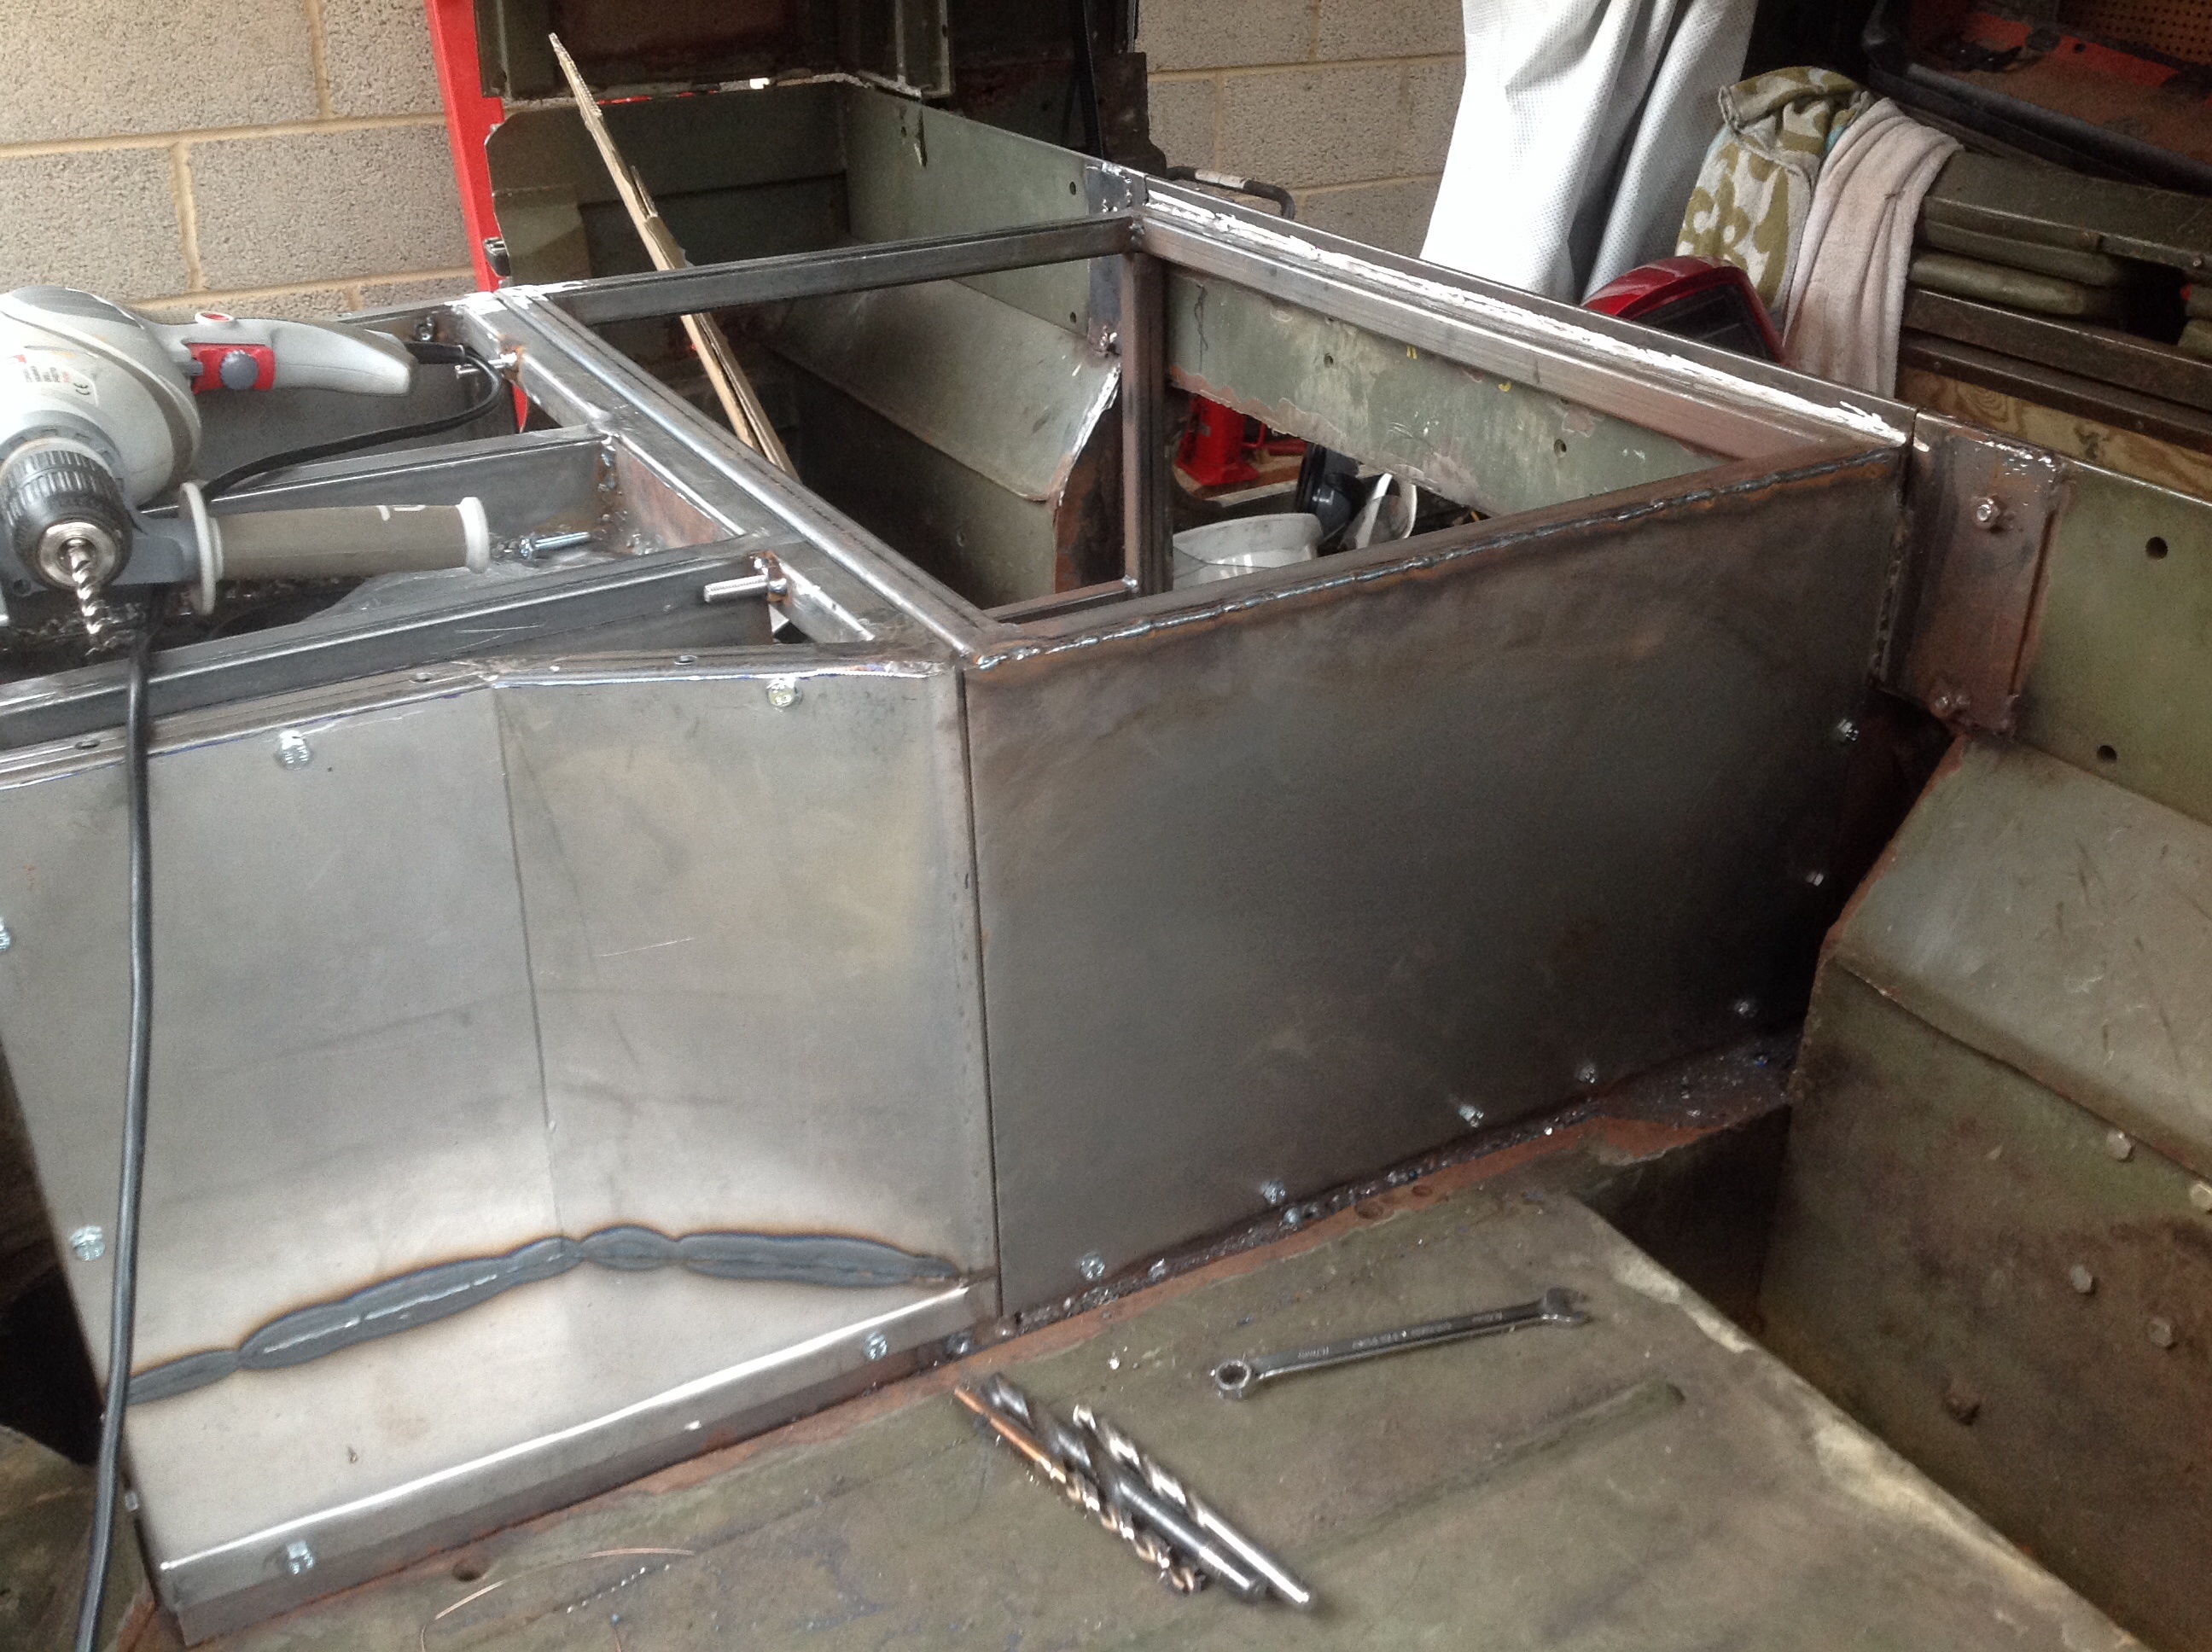
So cutting the holes for the controls was a bit of a faf. Case of measure 27 times cos you only get to cut once.
turns out I’ve made the well for the gearbox control too shallow so had to come up with a way of spacing it out. Looked for ages for a material that is not steel but also will not rot – like wood. Found something called No More Ply which claims to be pretty much inert. stuck some in a a bucket of water overnight and fair enough. It’s almost ceramic but not quite. Anyway it works well for this.
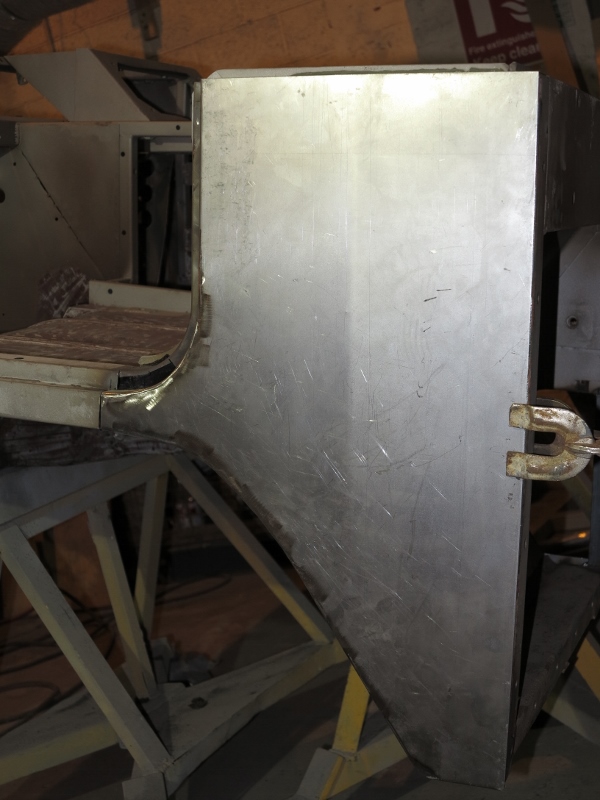
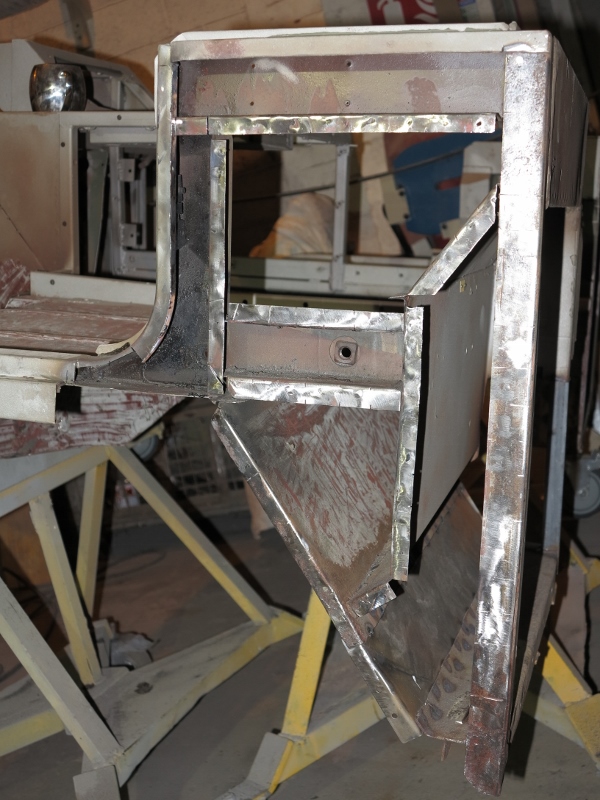
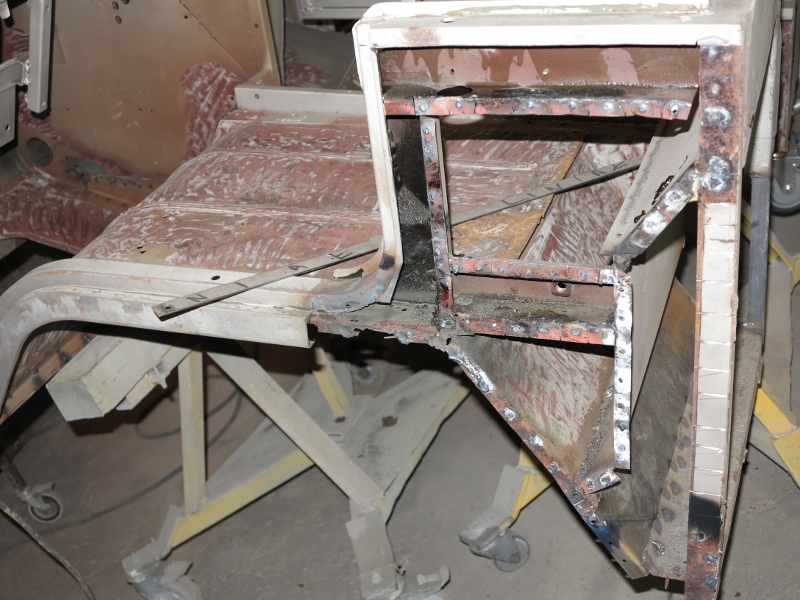
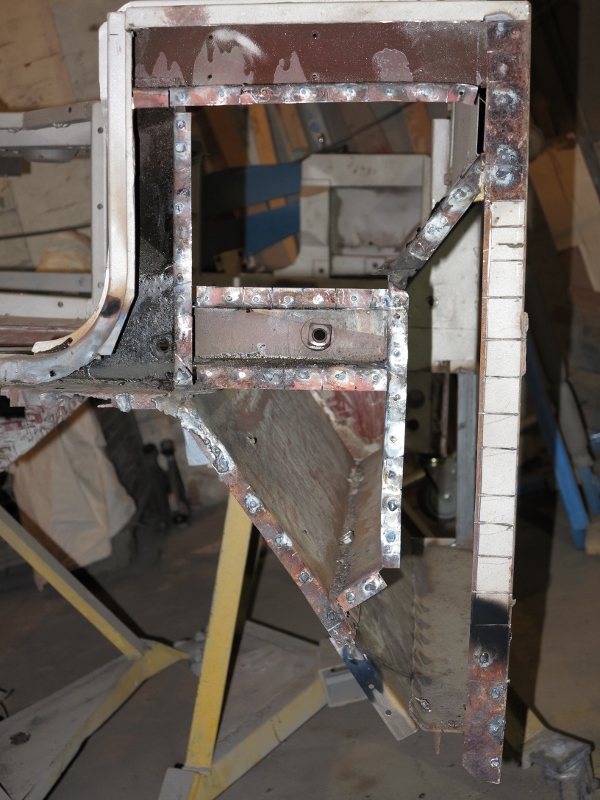
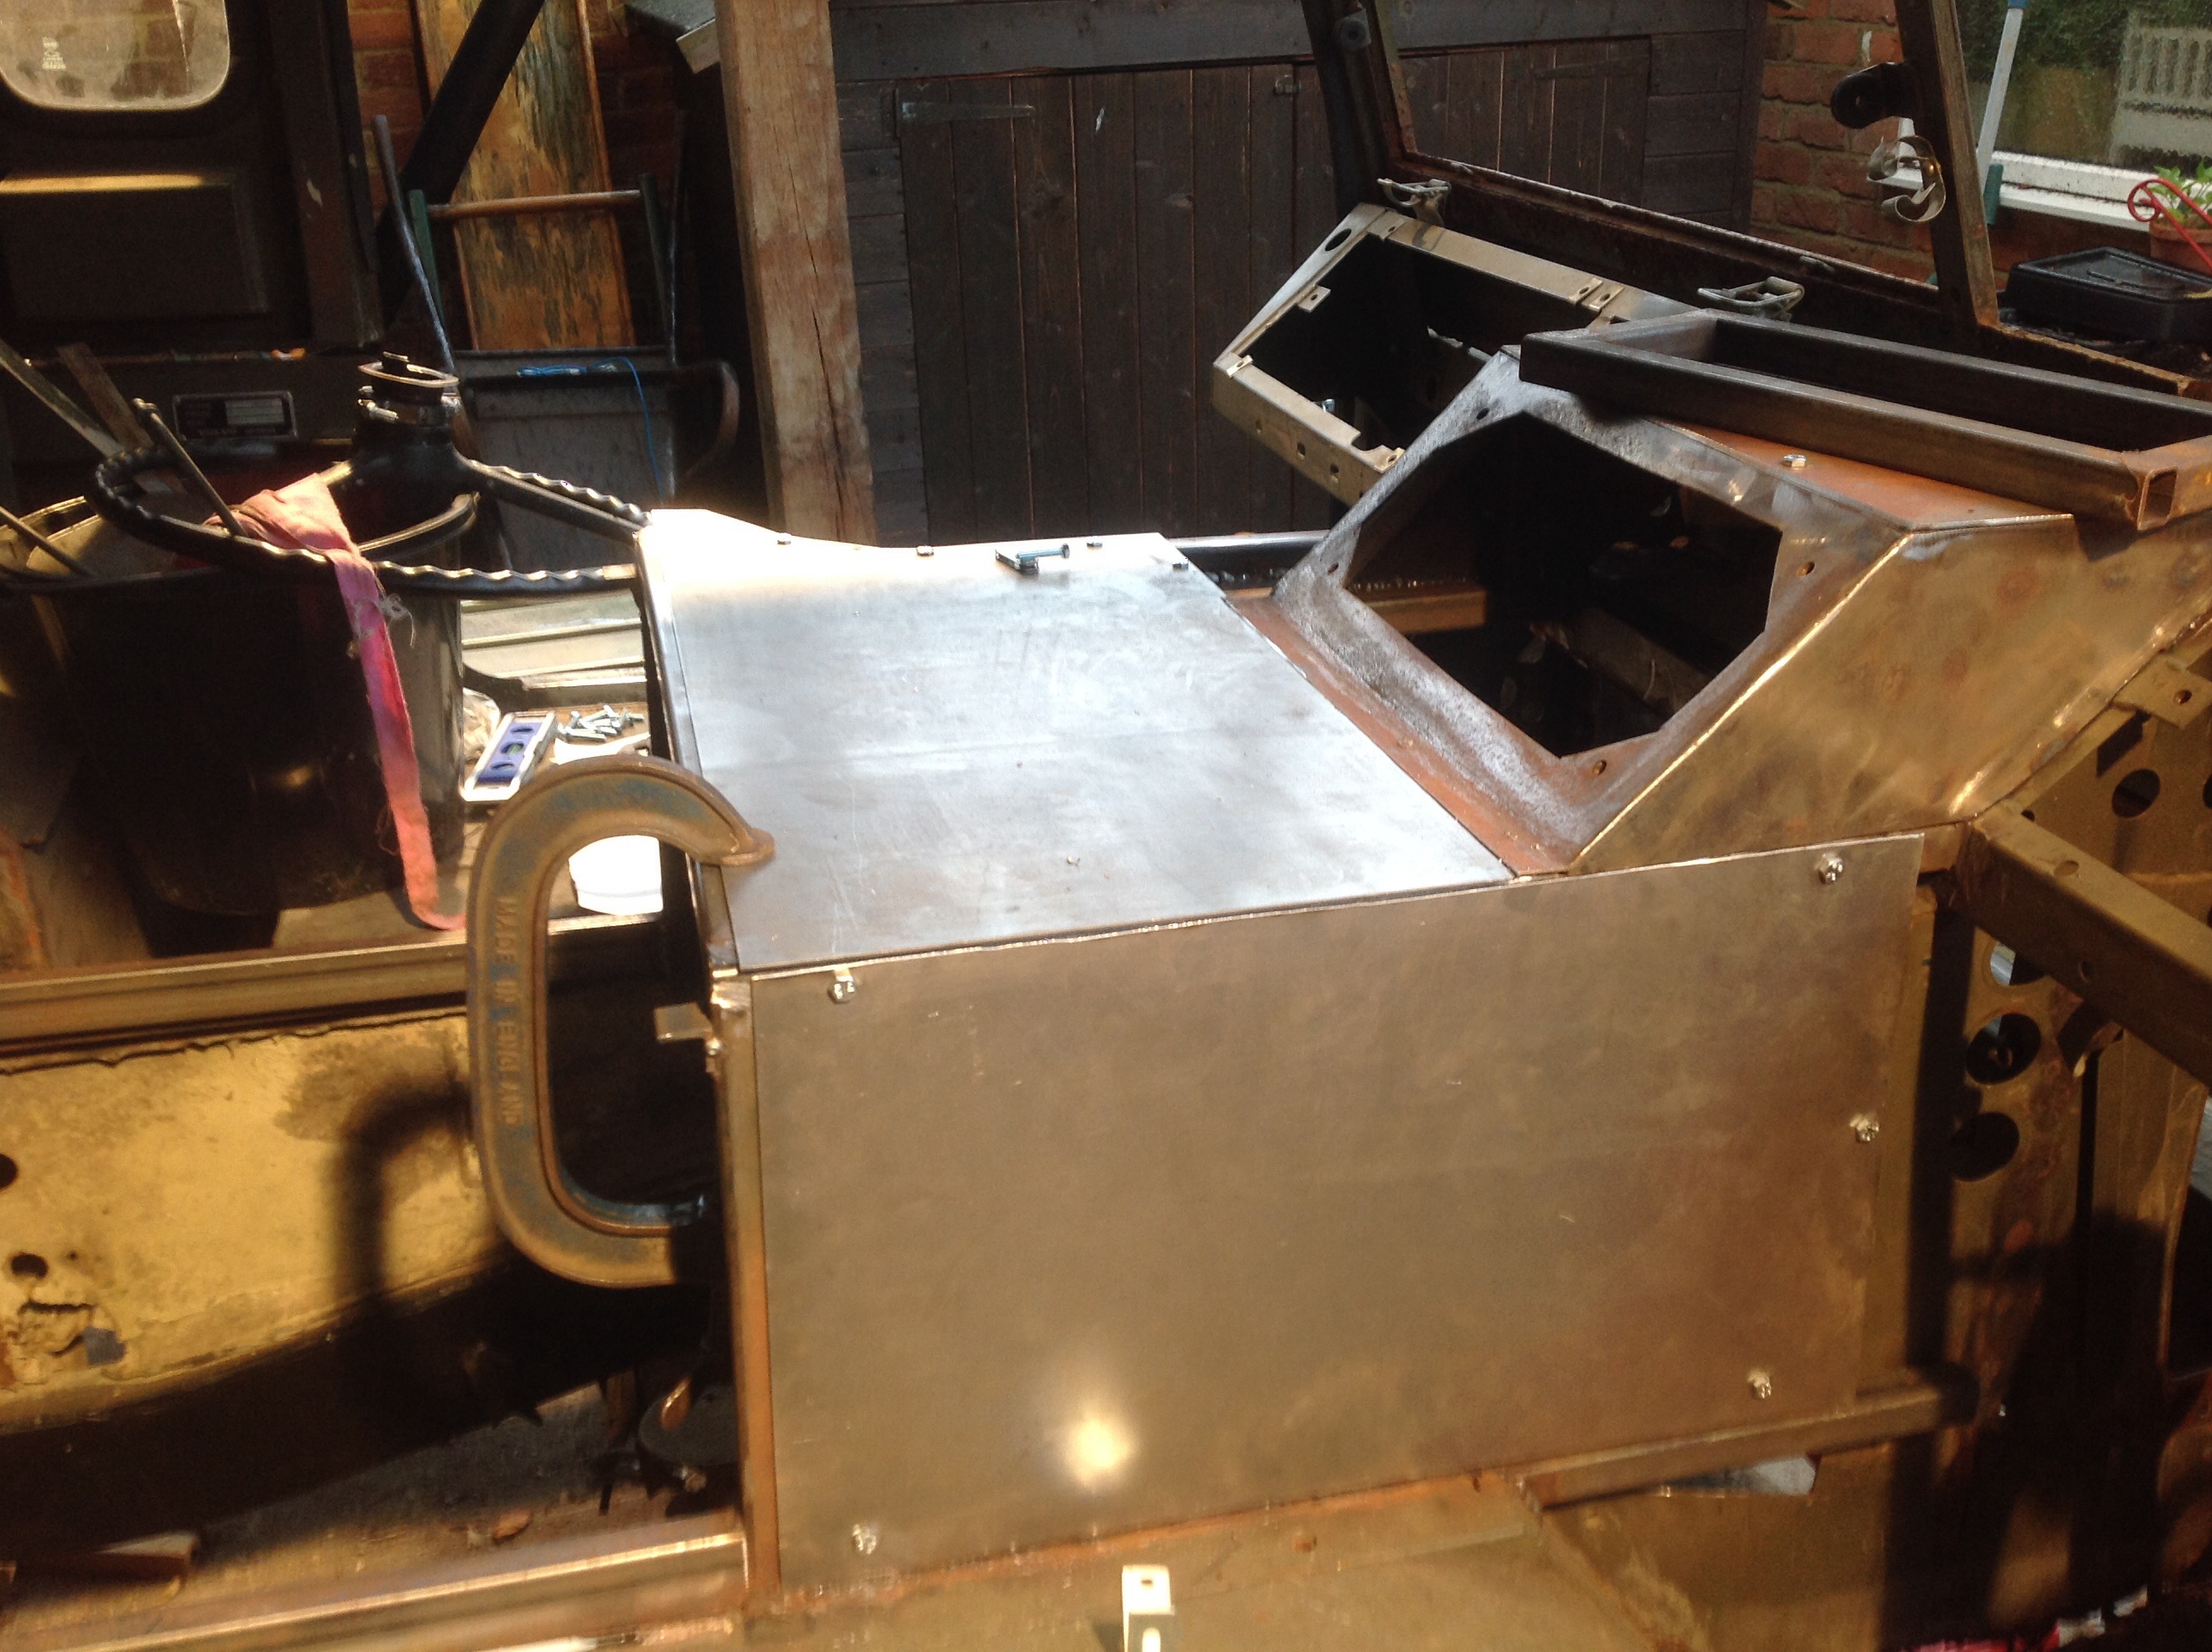
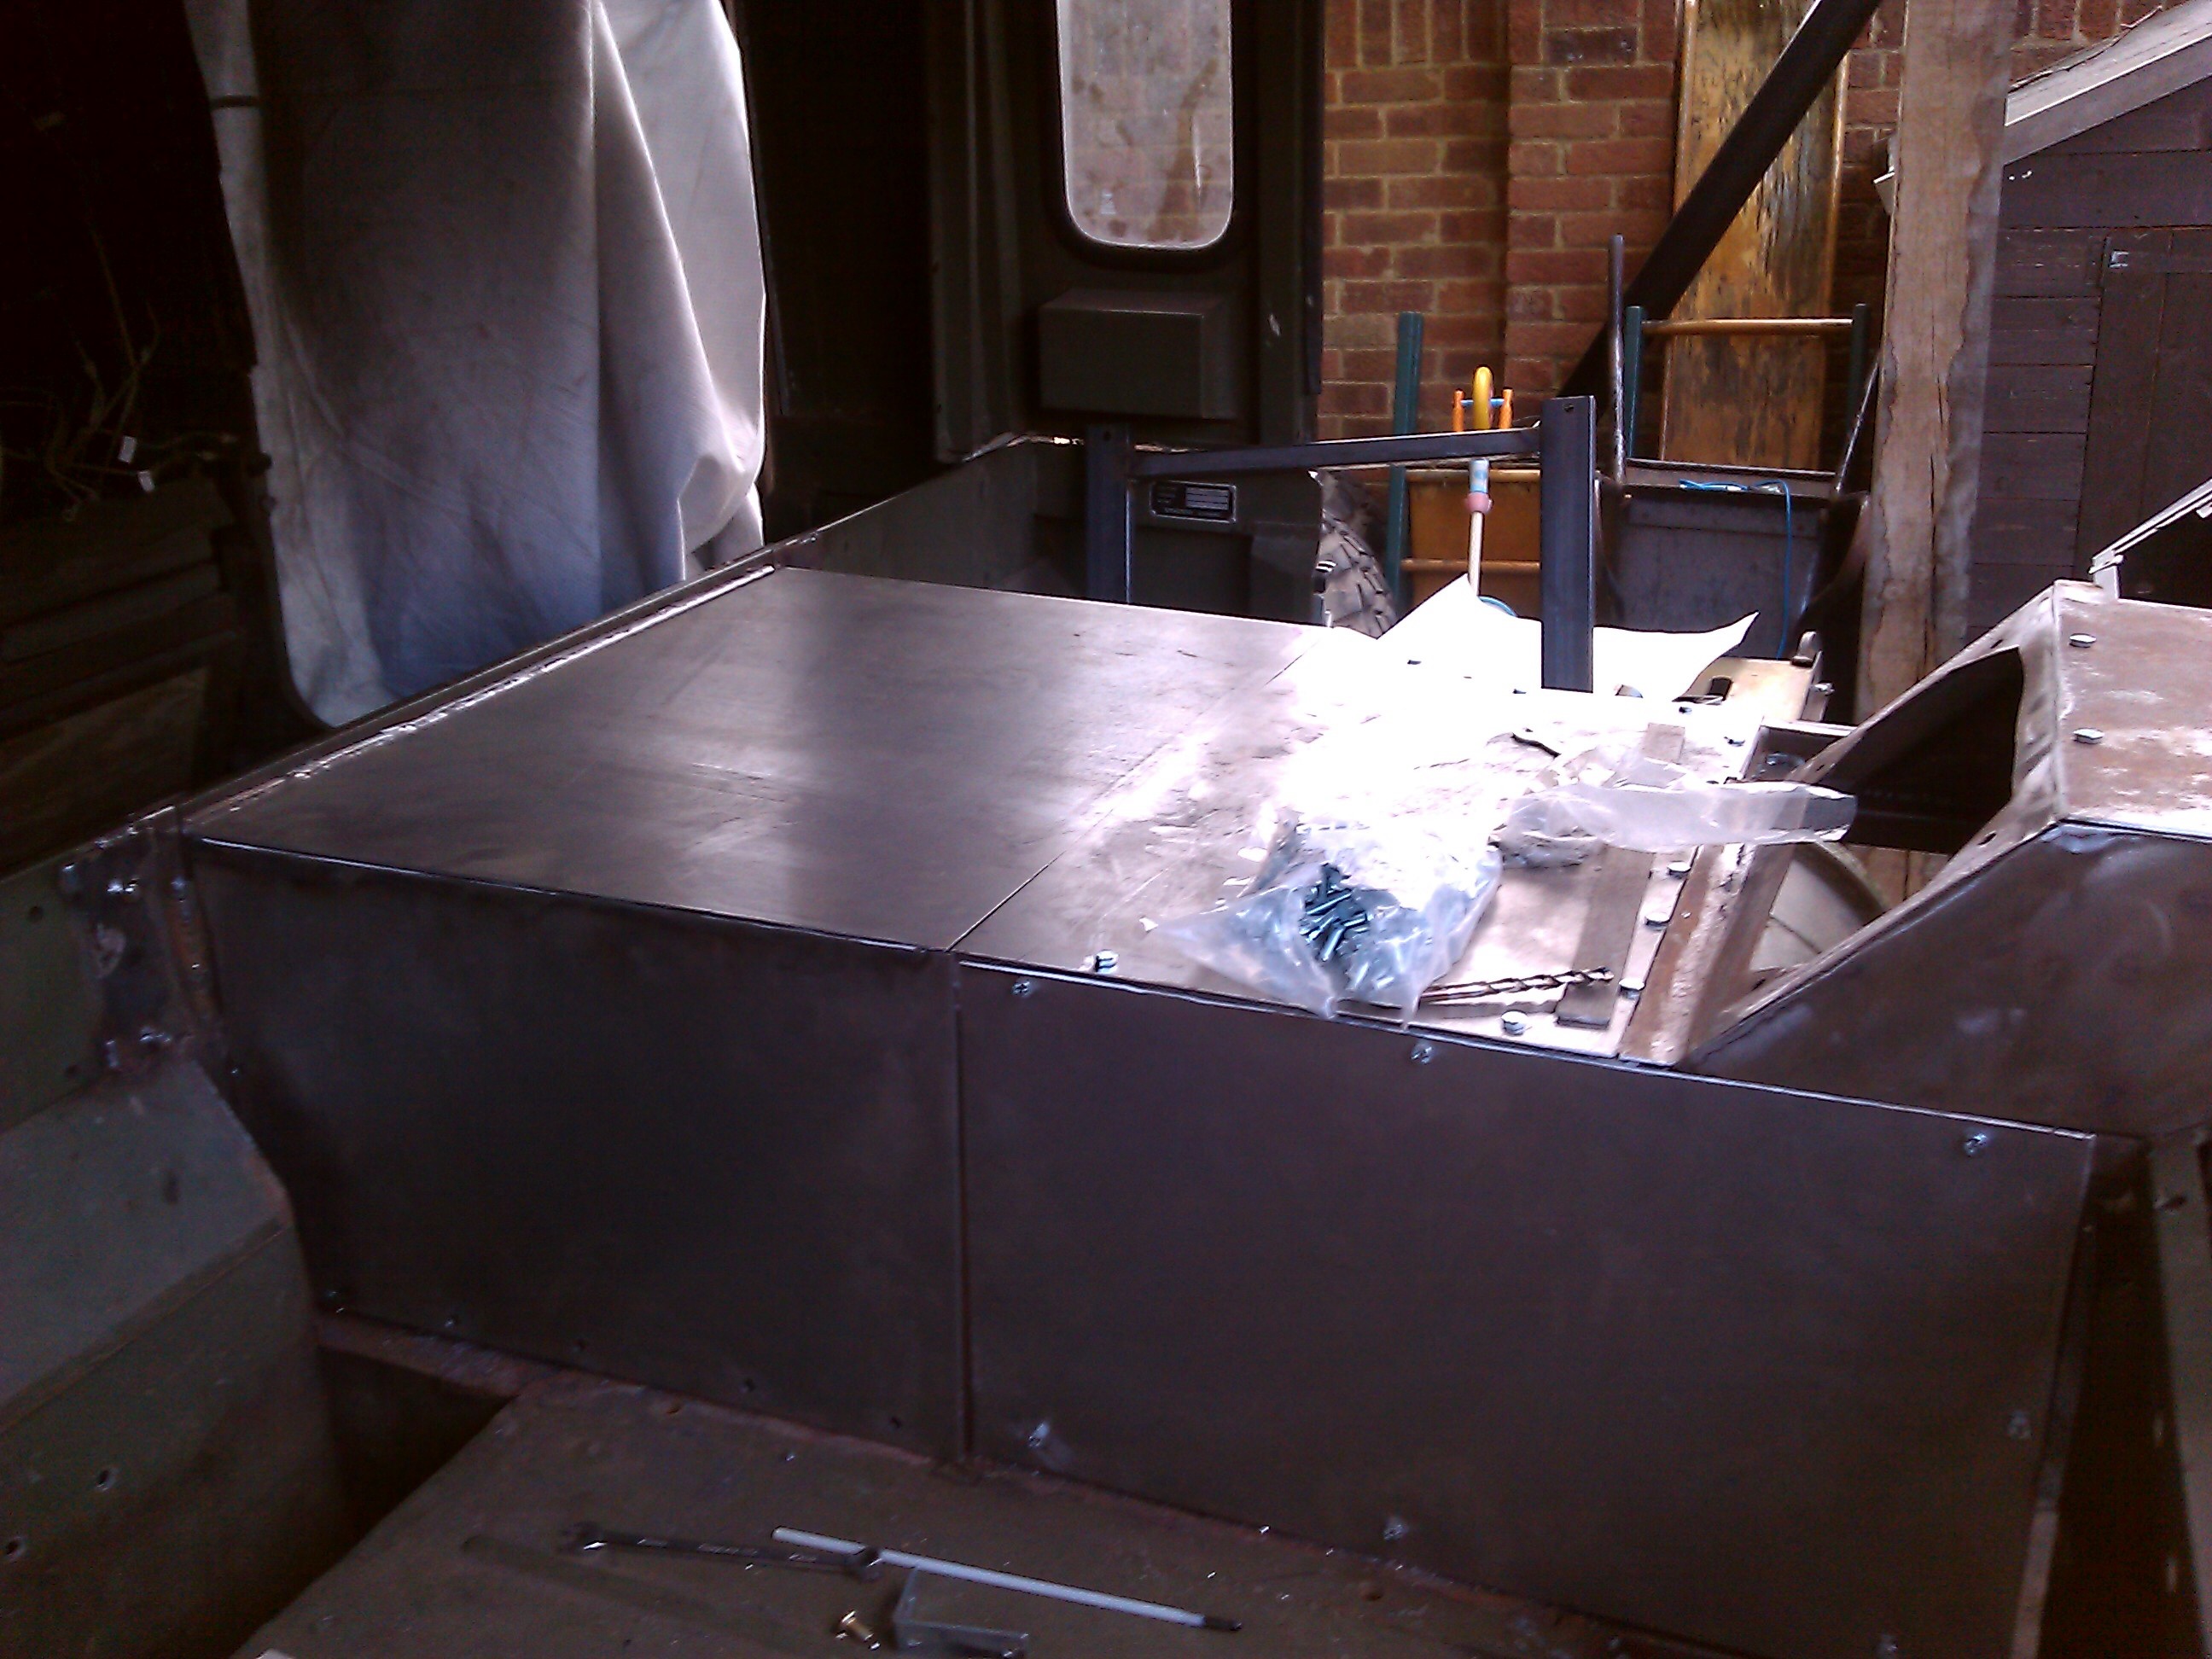
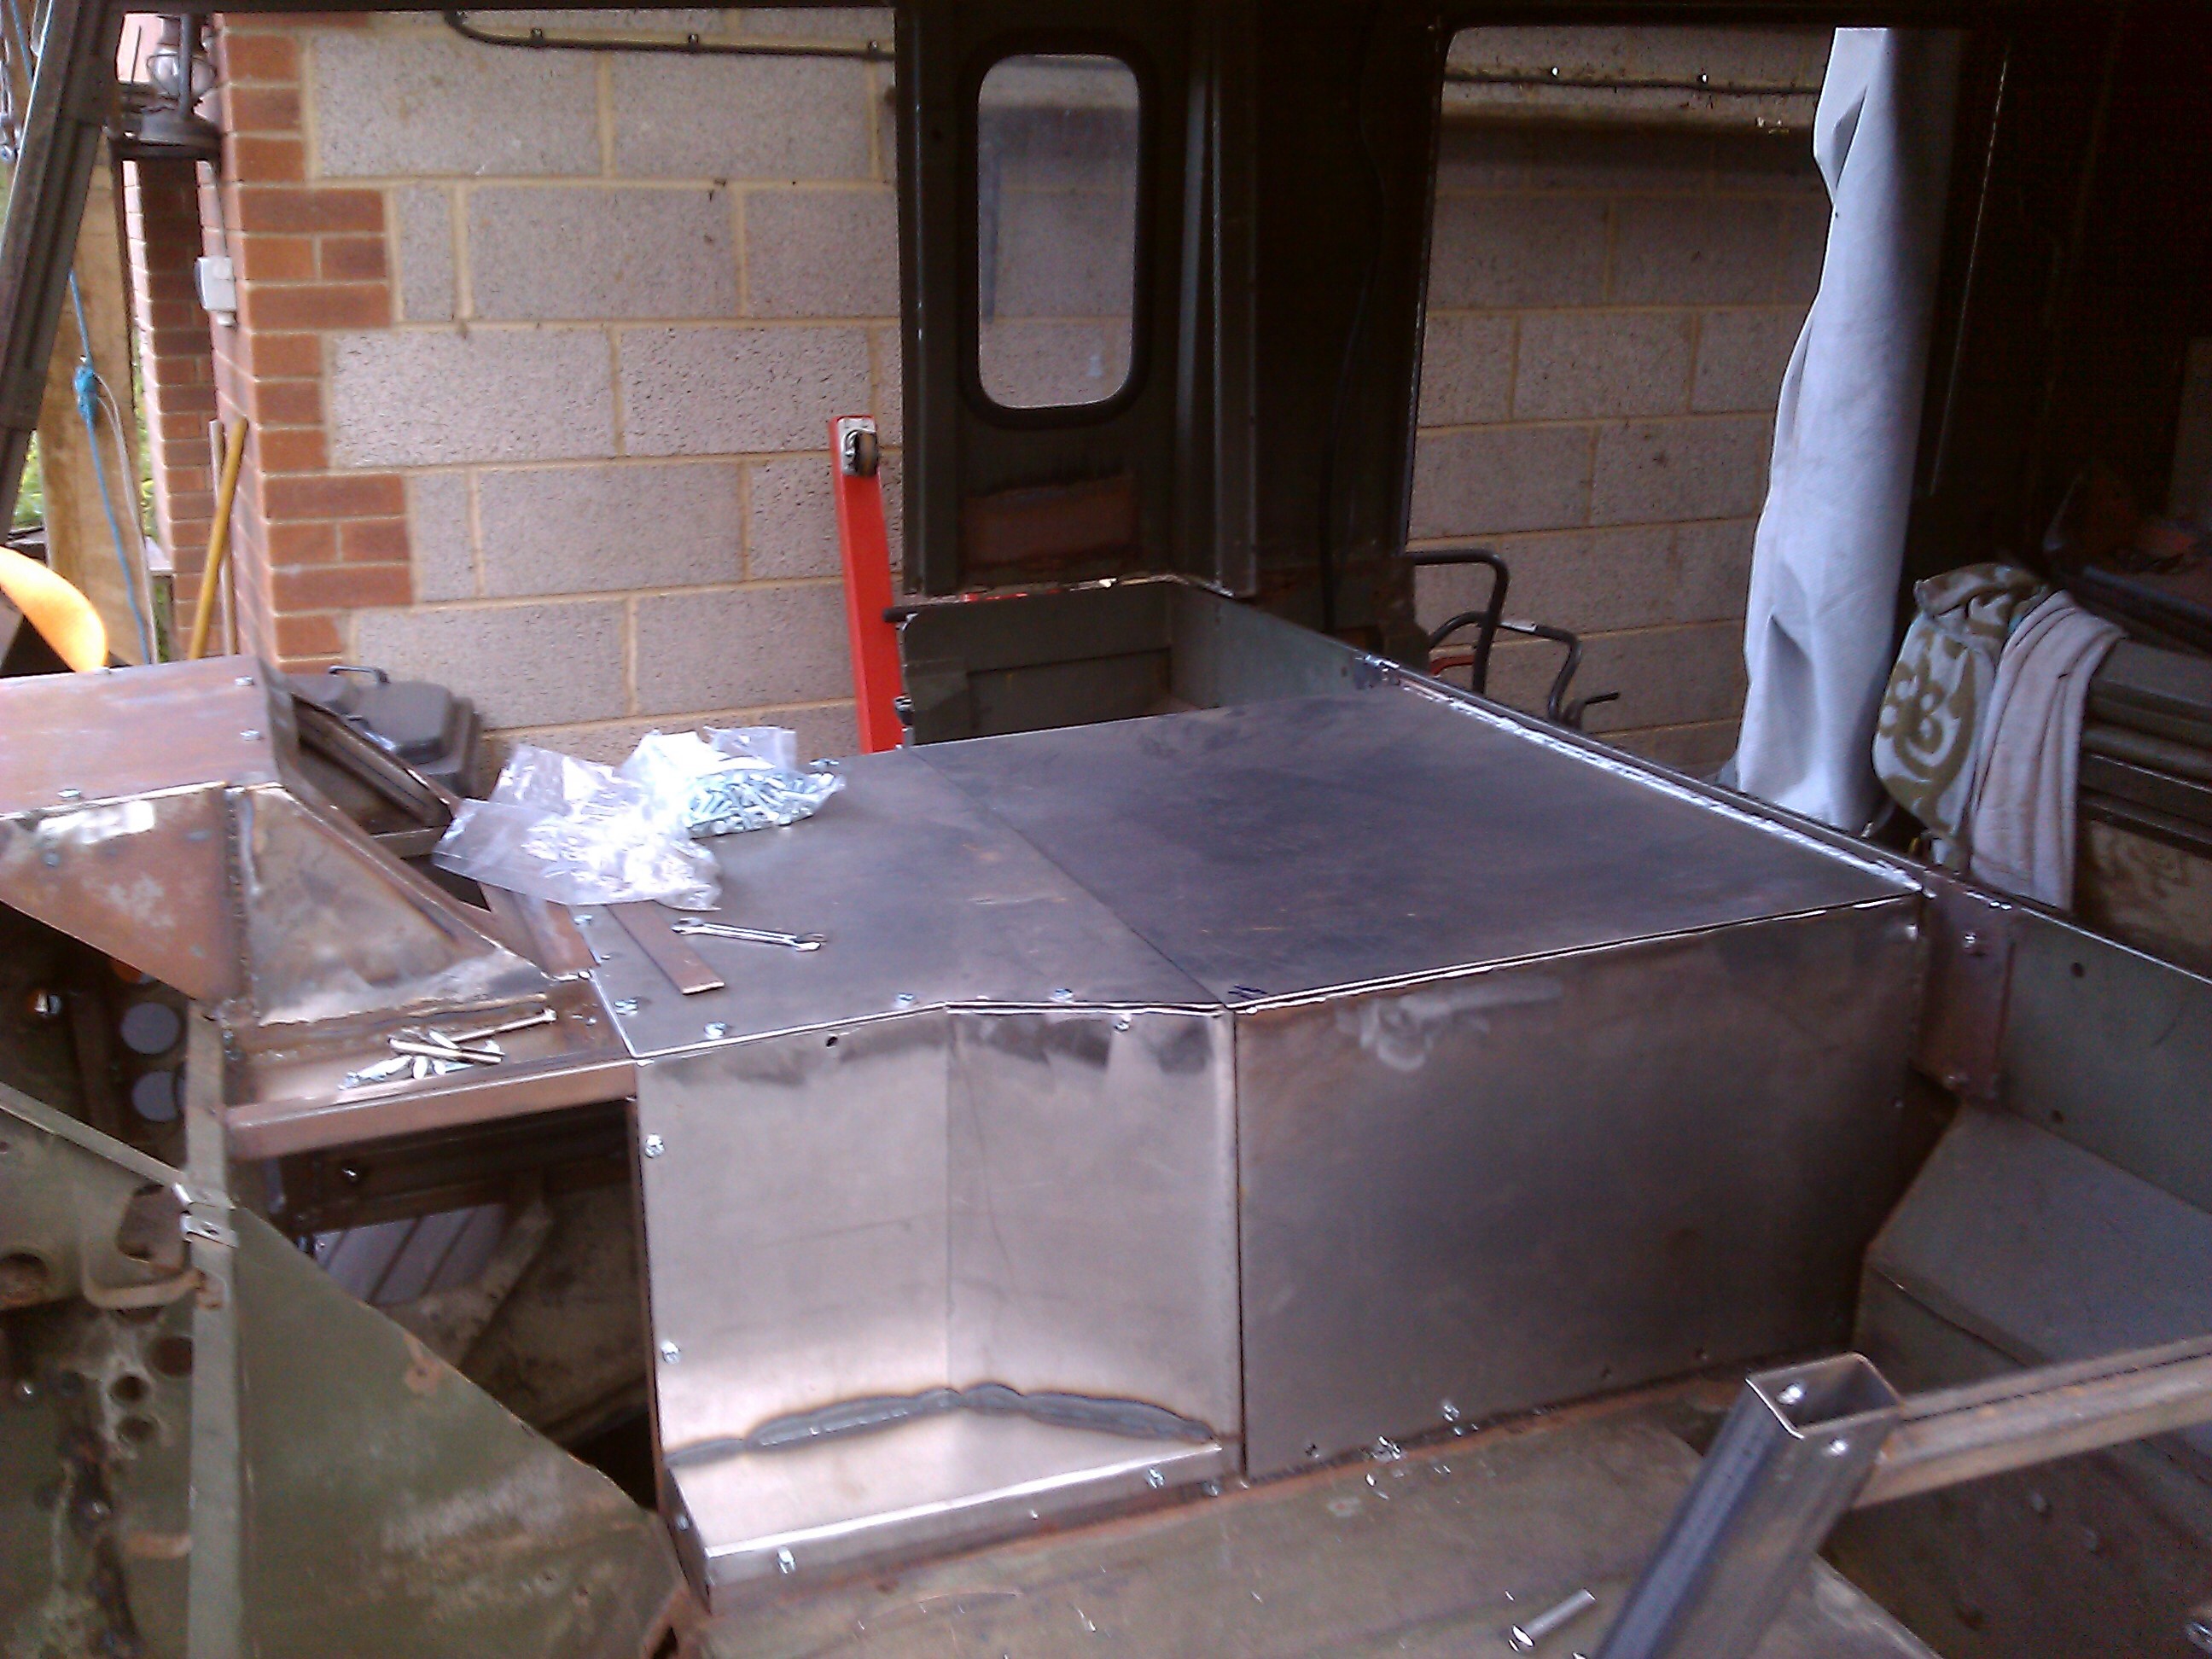
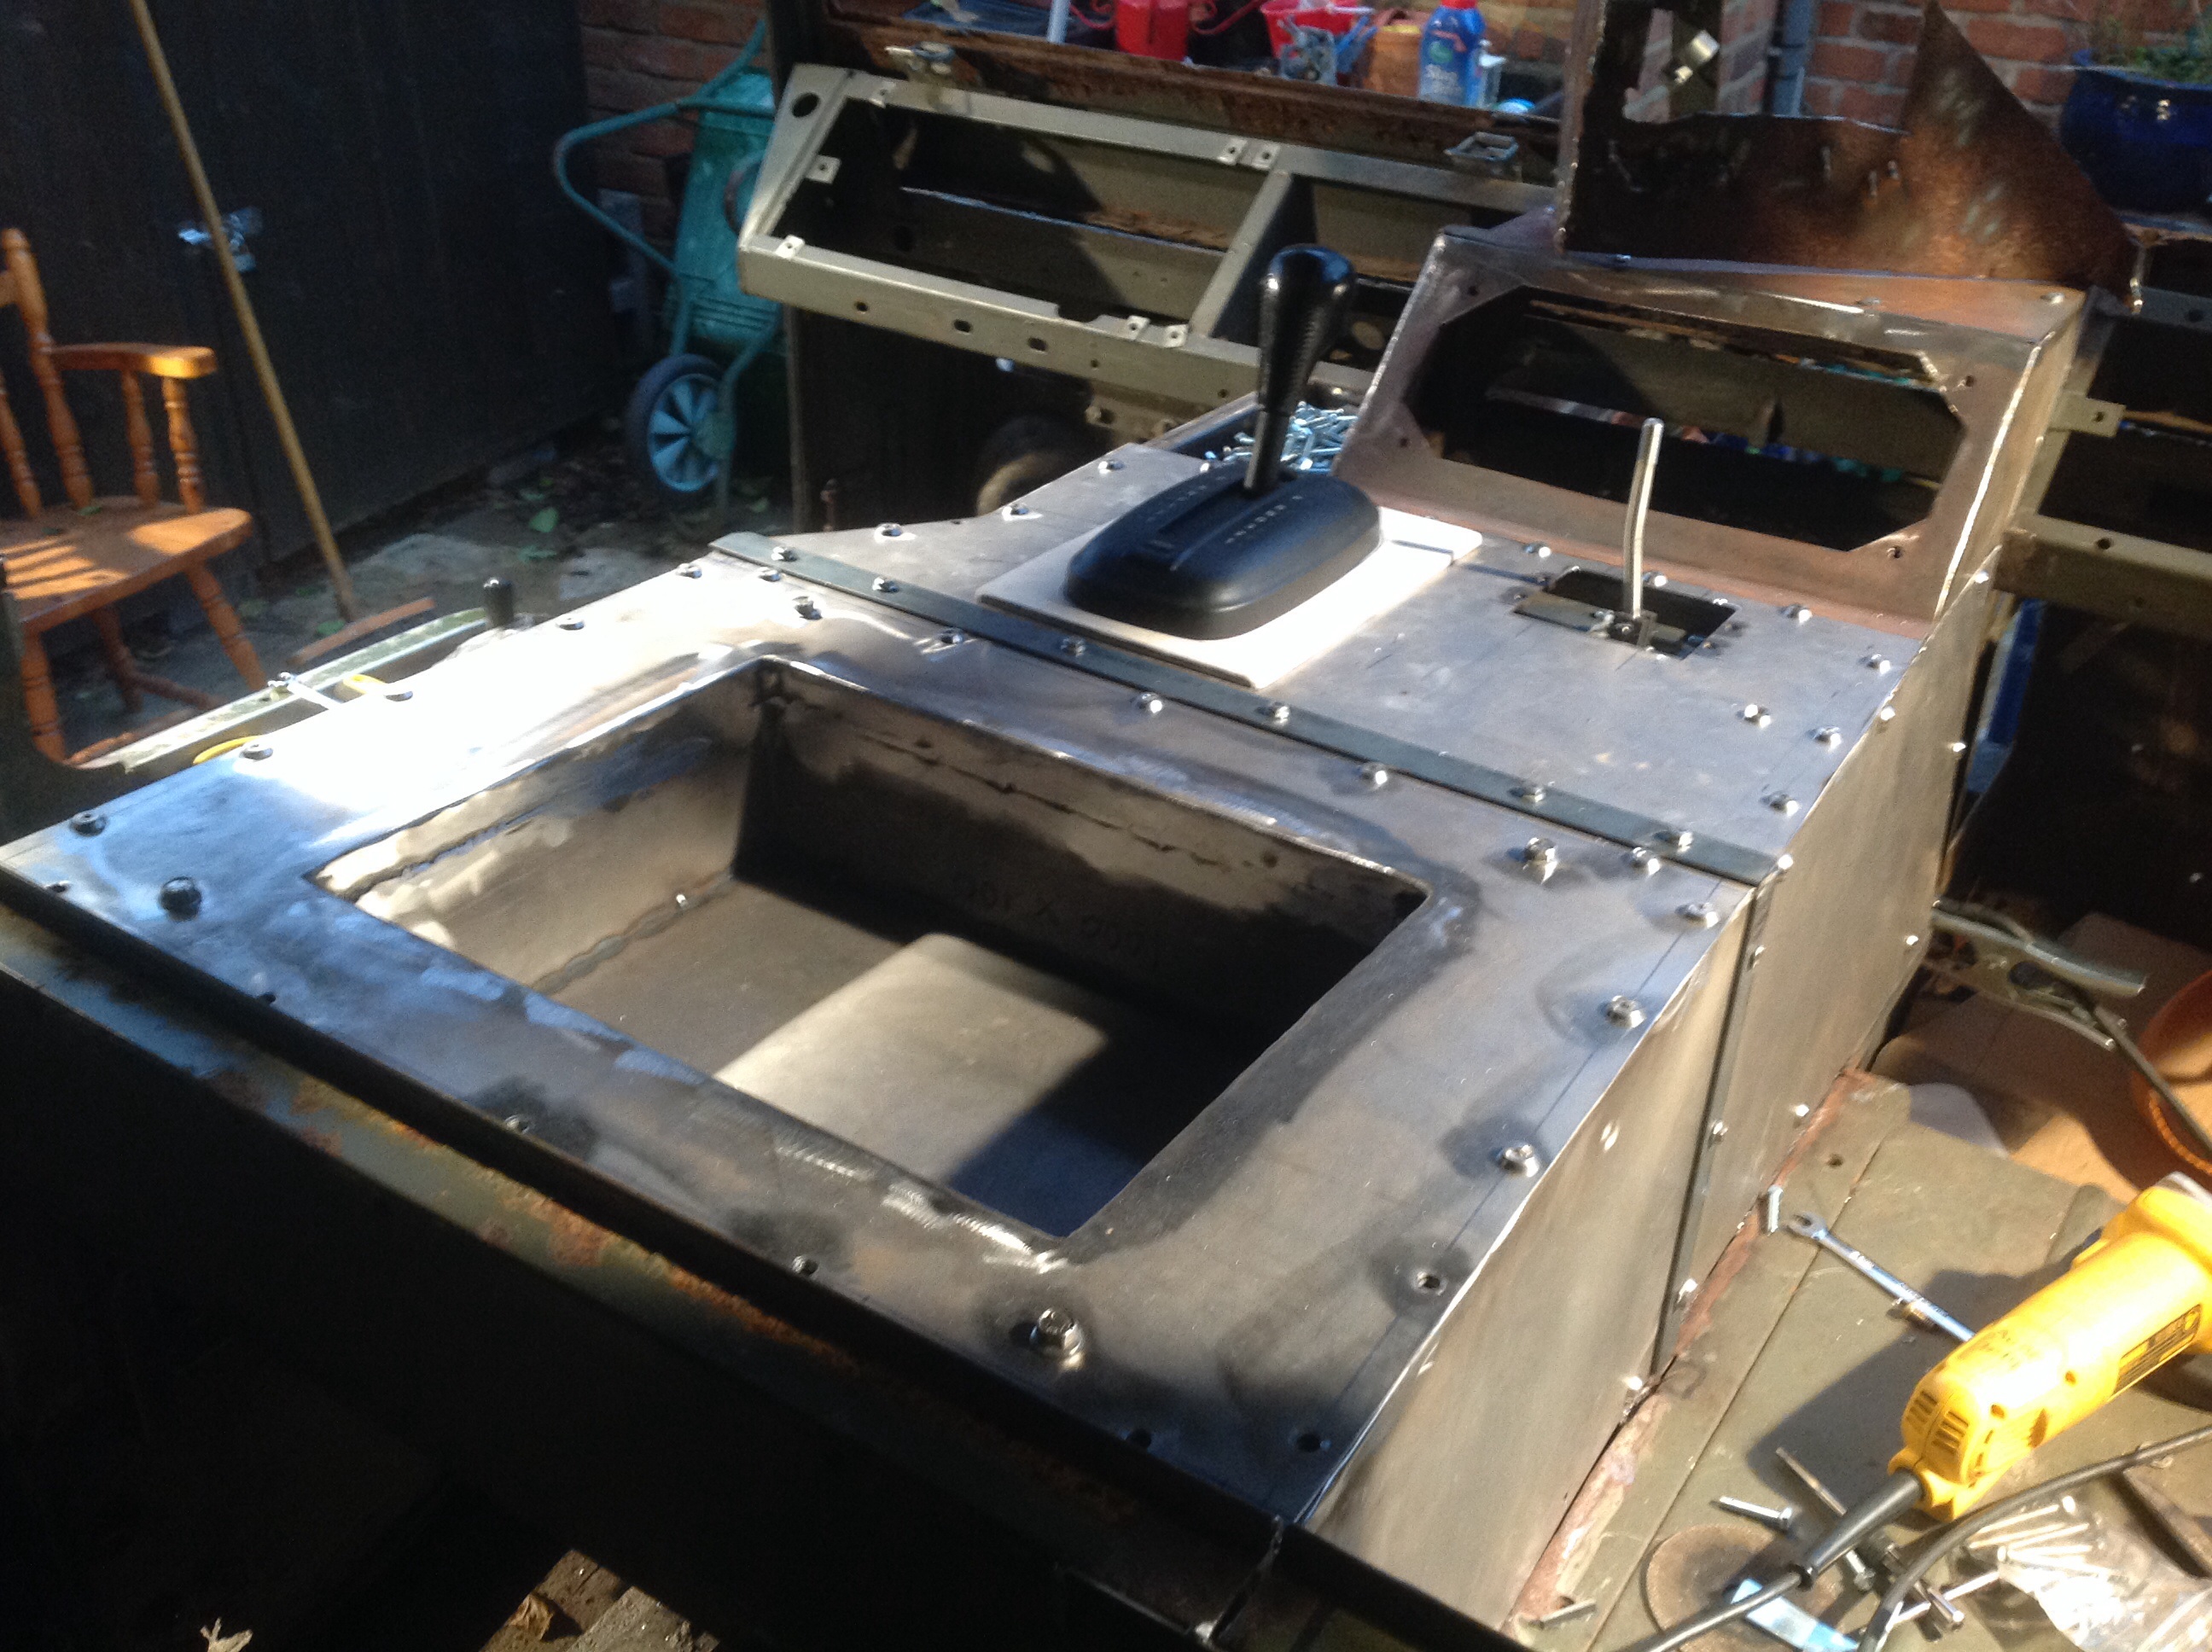
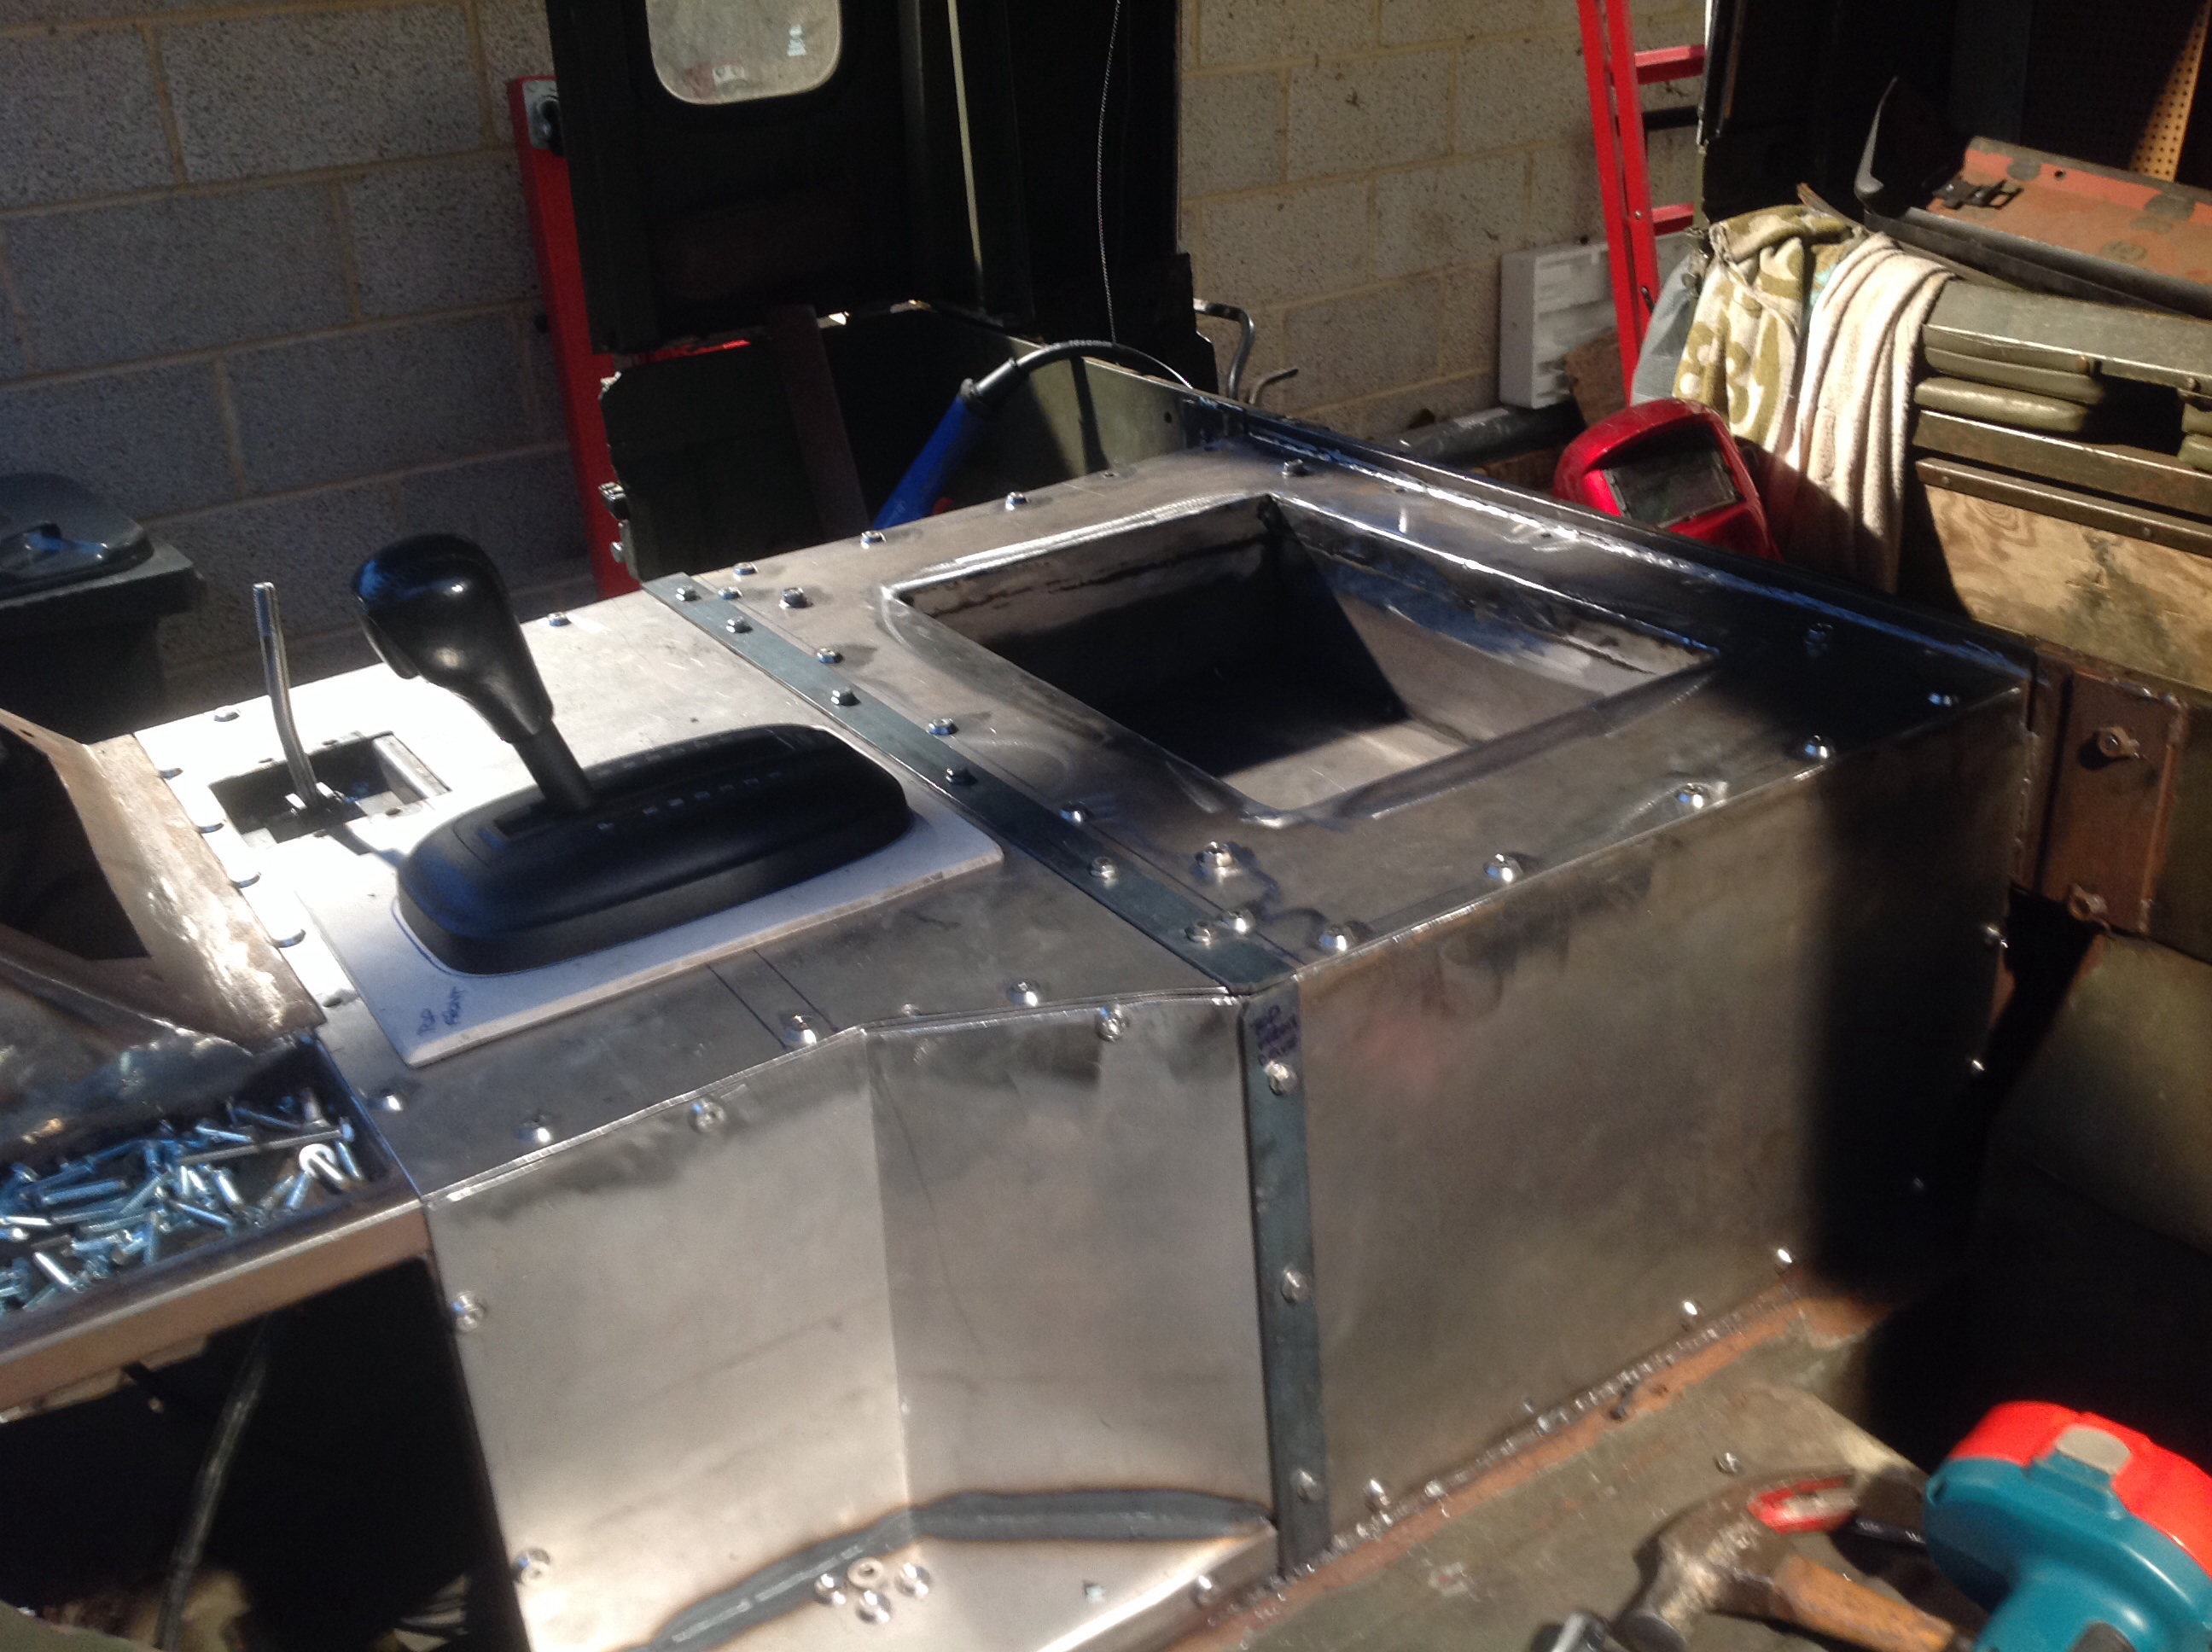
Decided there was too much dead space under the engine cover so have created the hole for the sunken shelf.
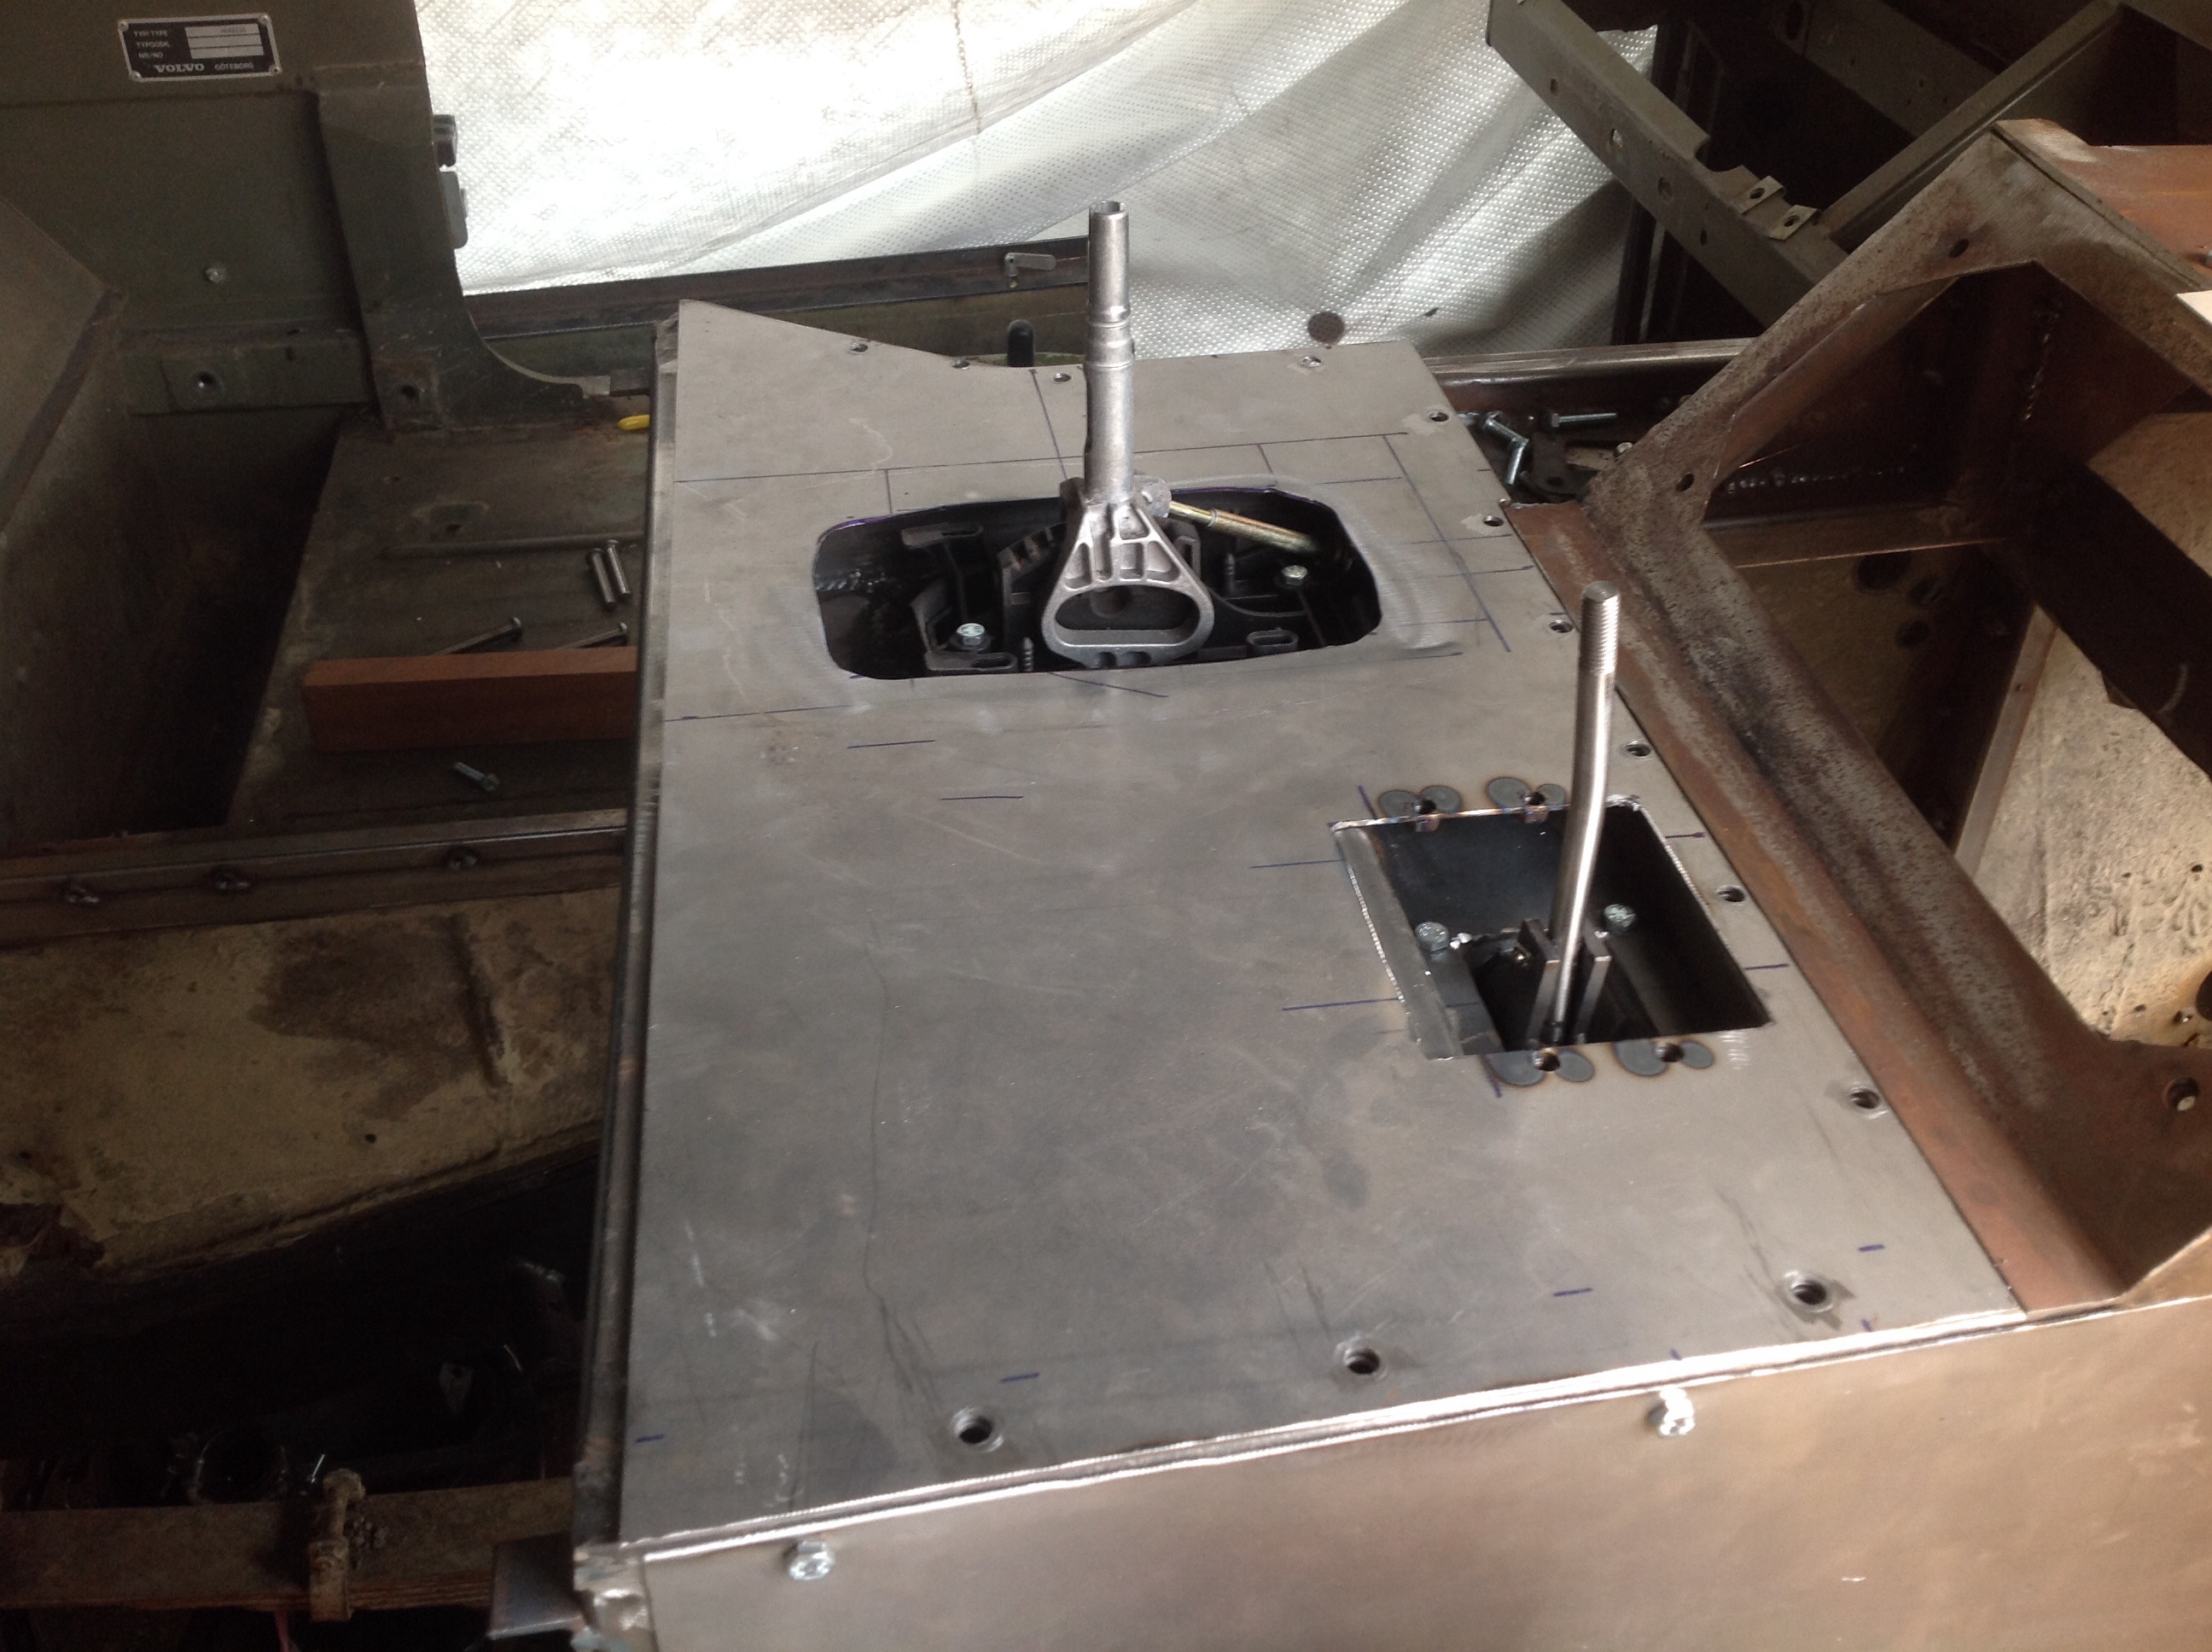
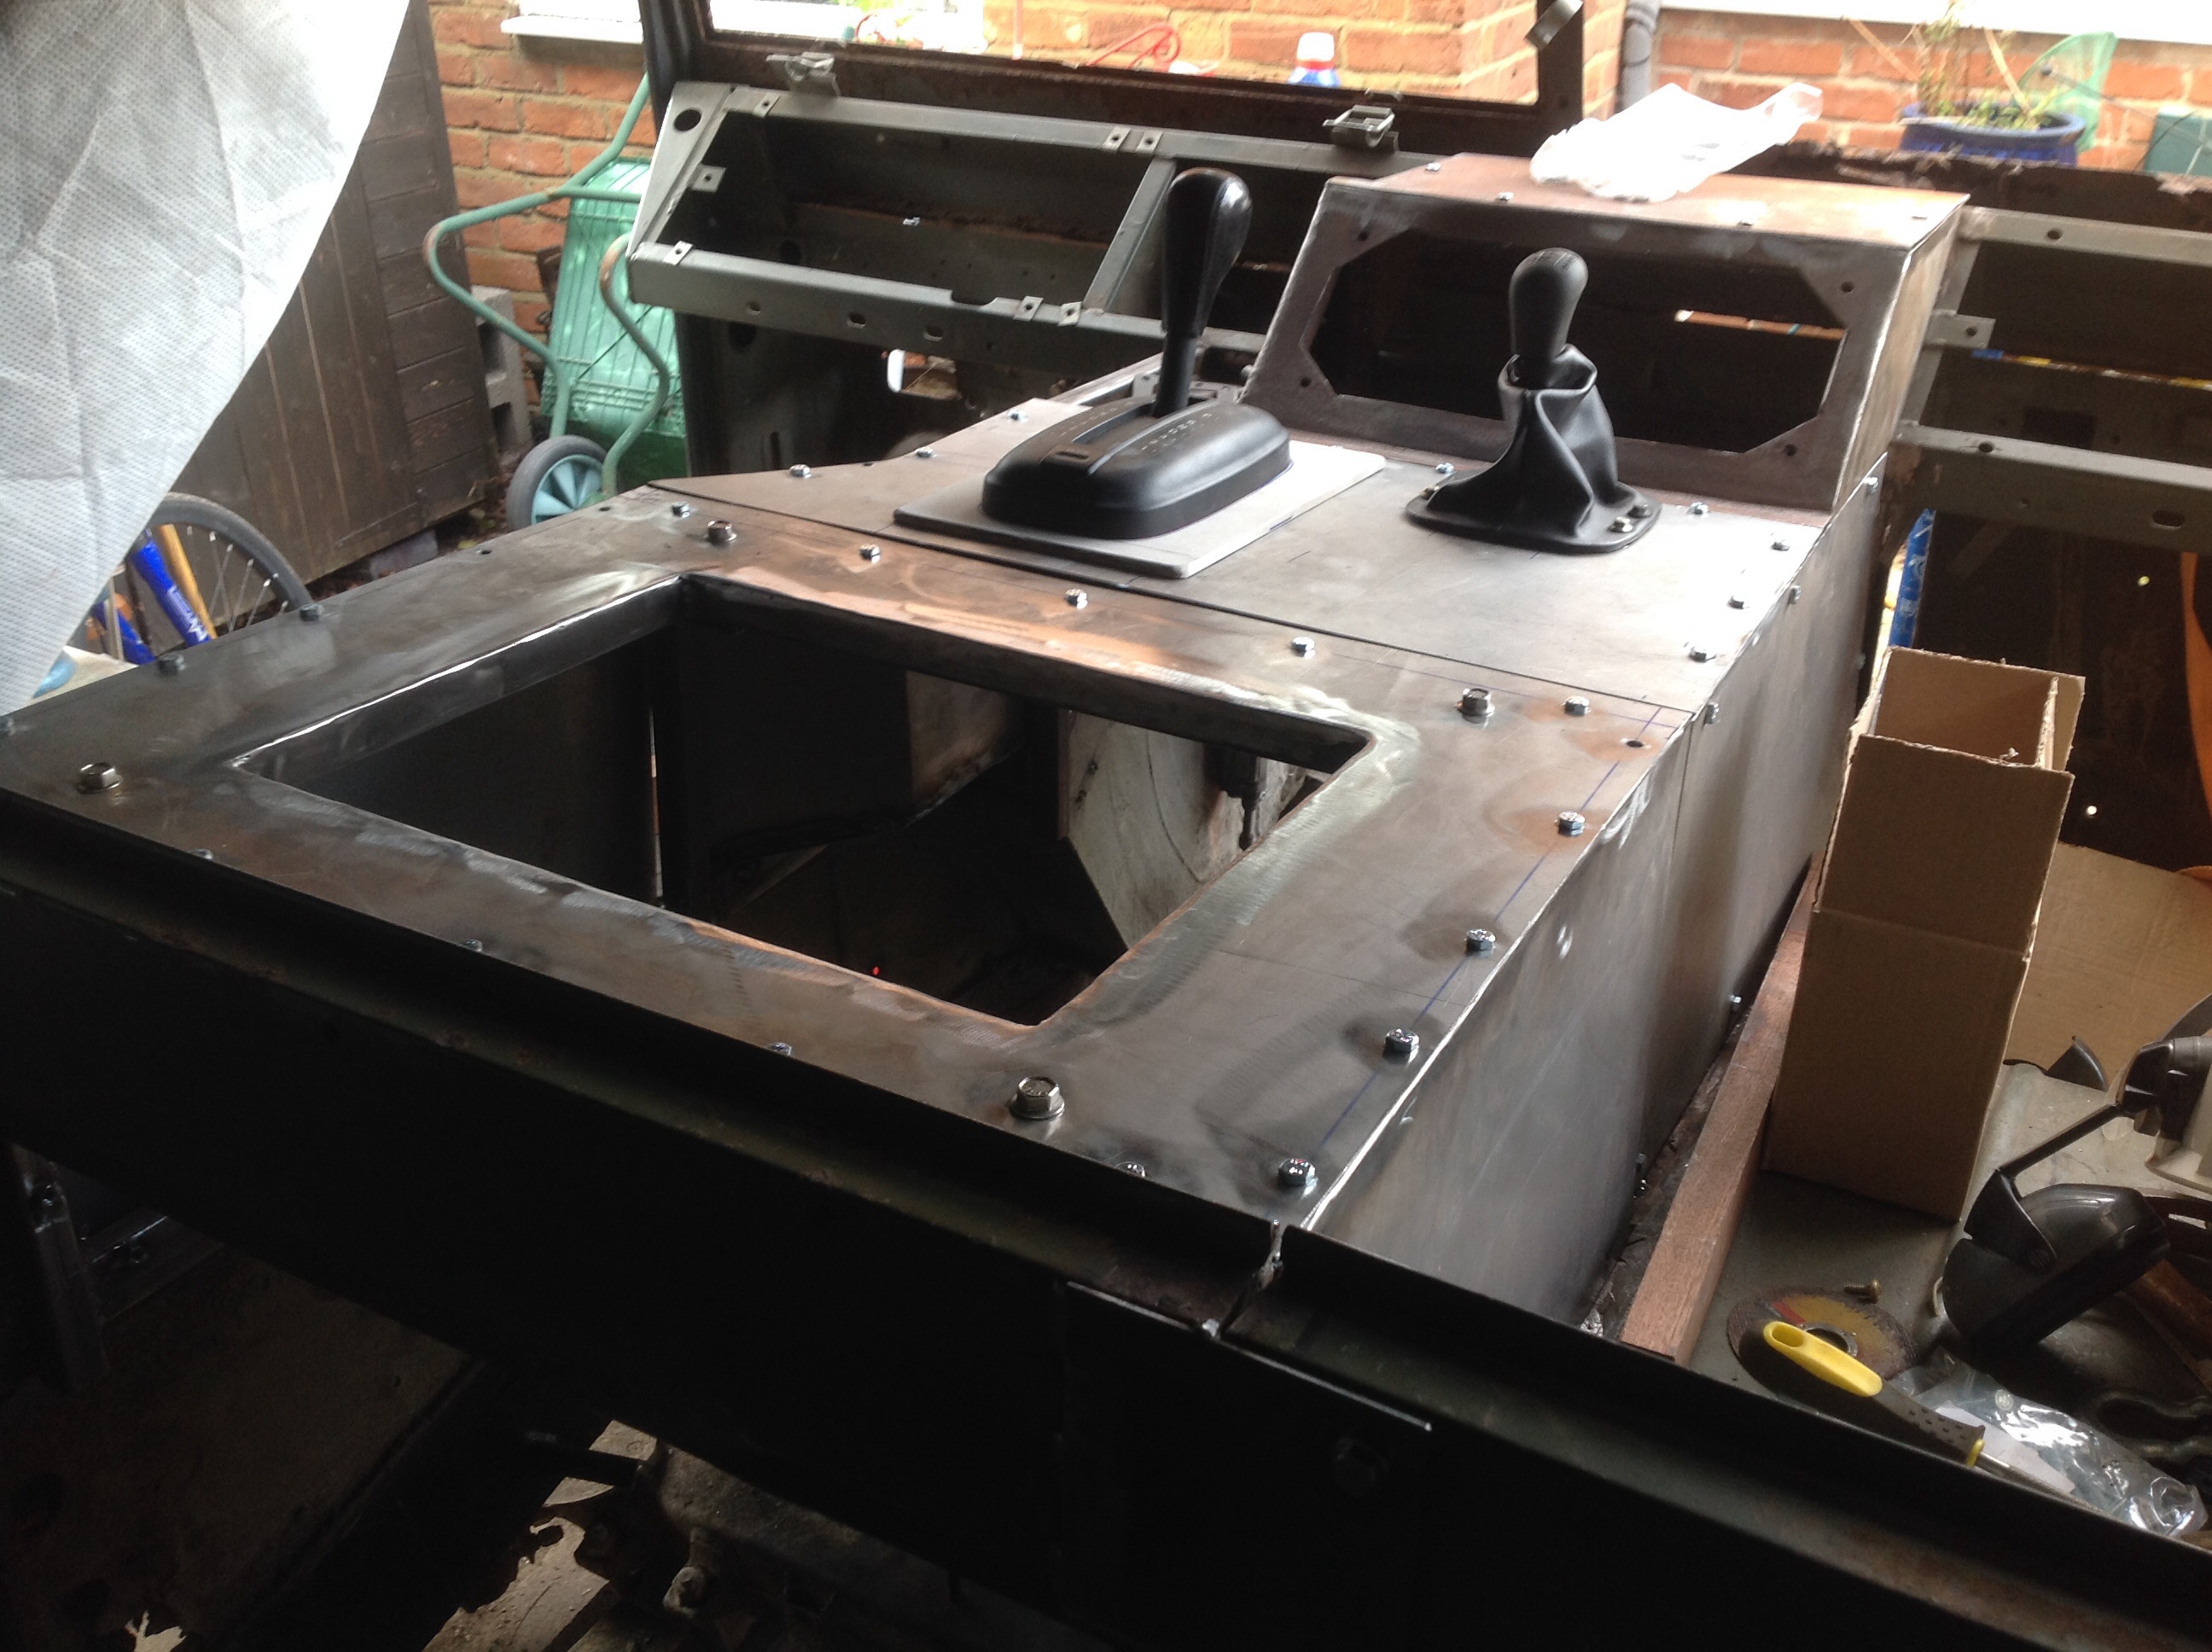
Tray tacked in place
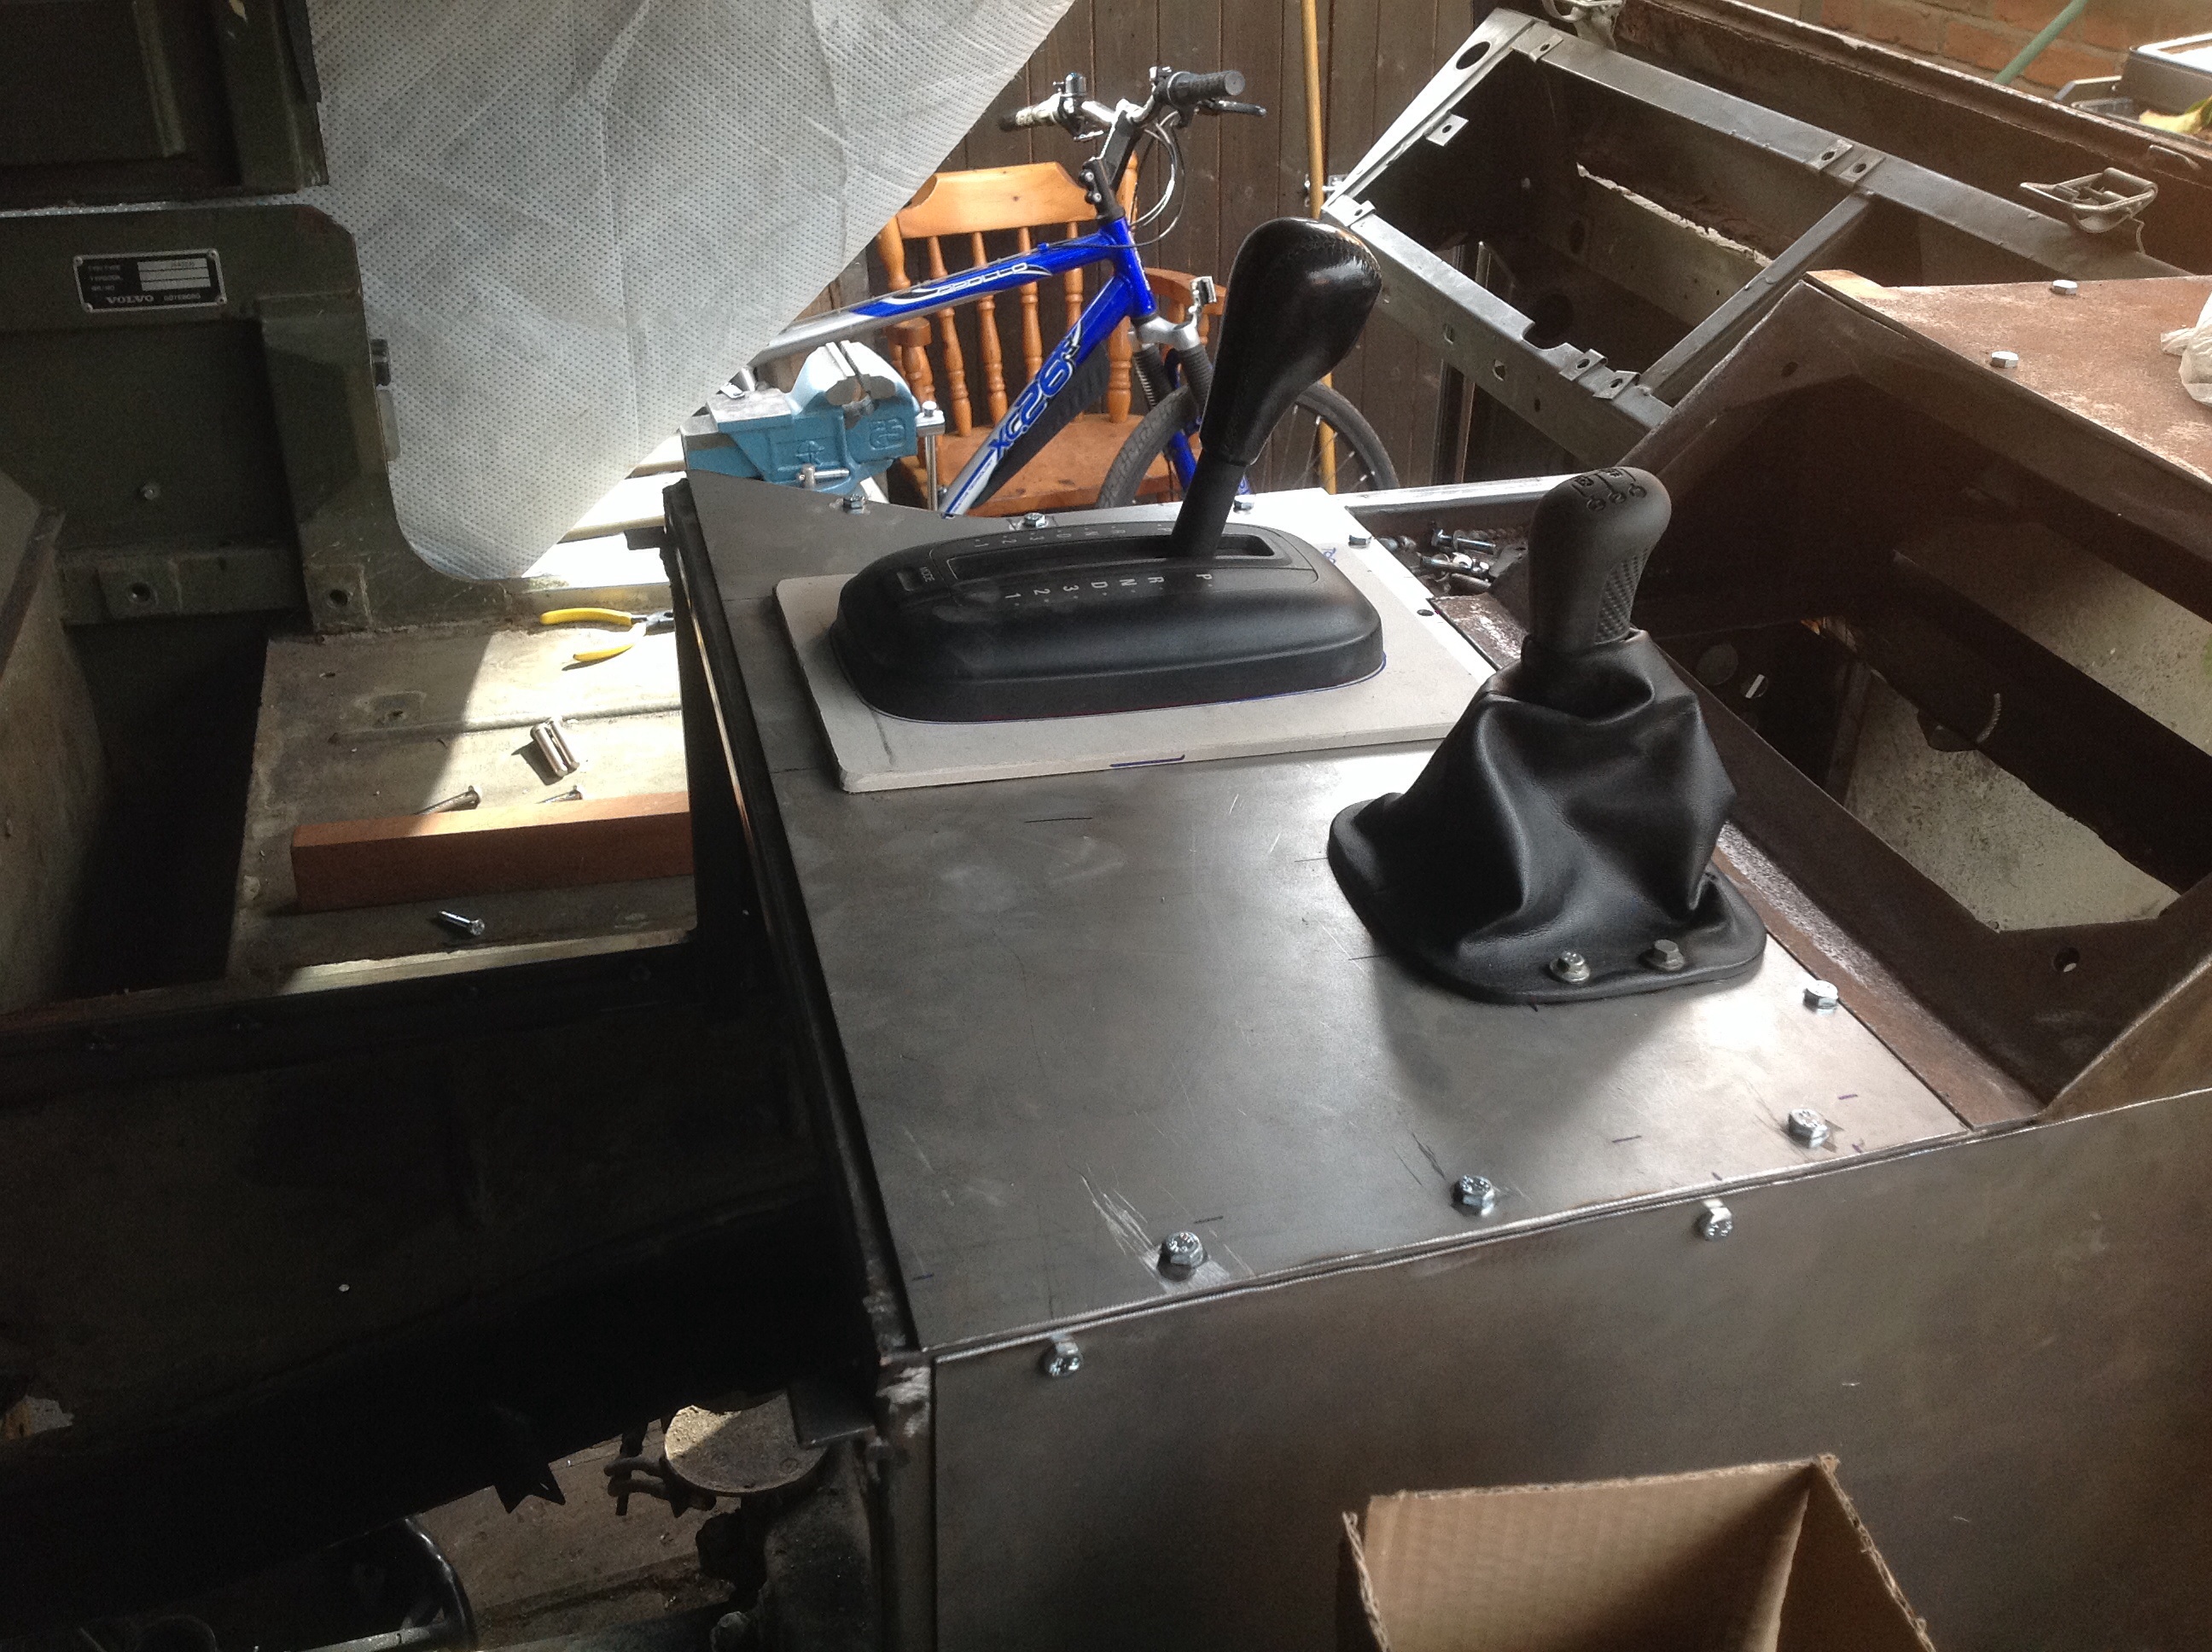
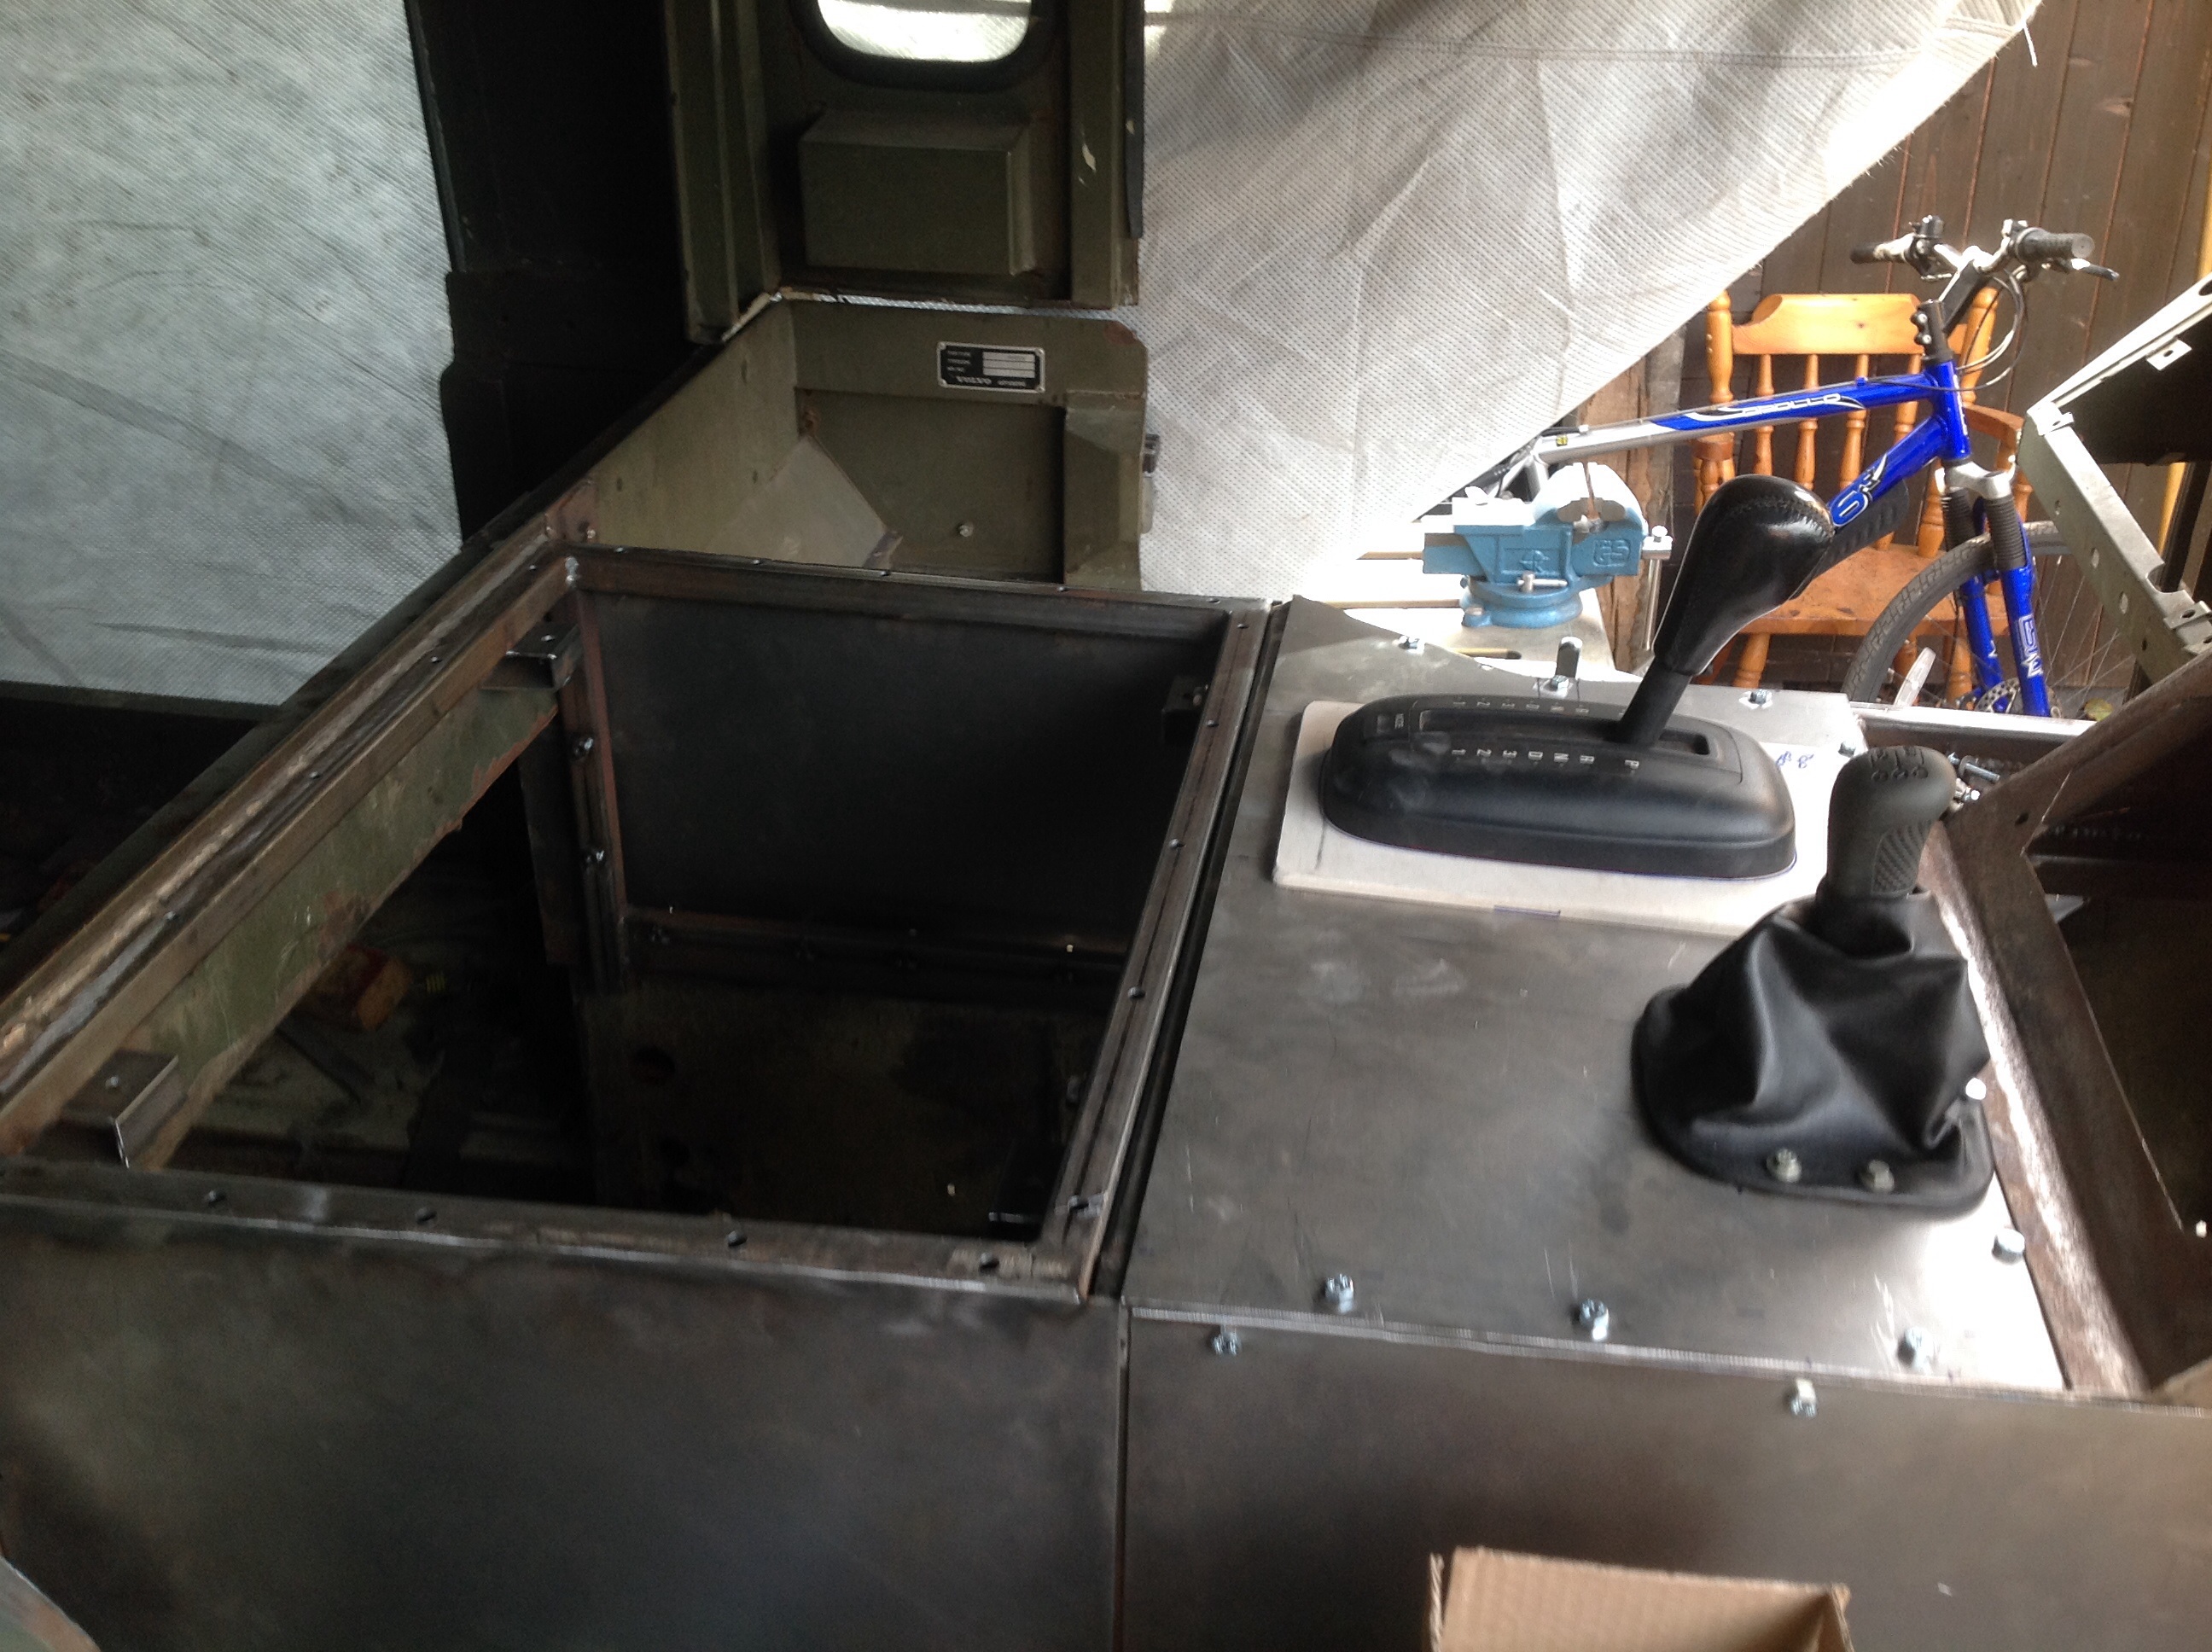
Finished the tunnel. Ran out of screws and screw cups but all done.
 (4065)
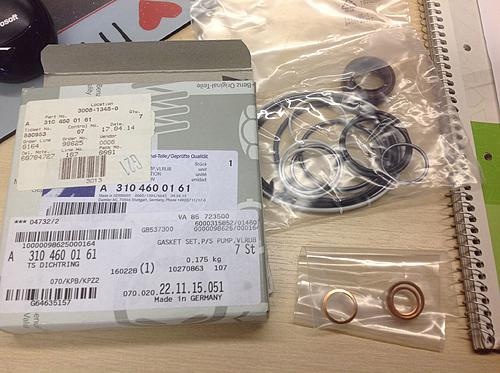
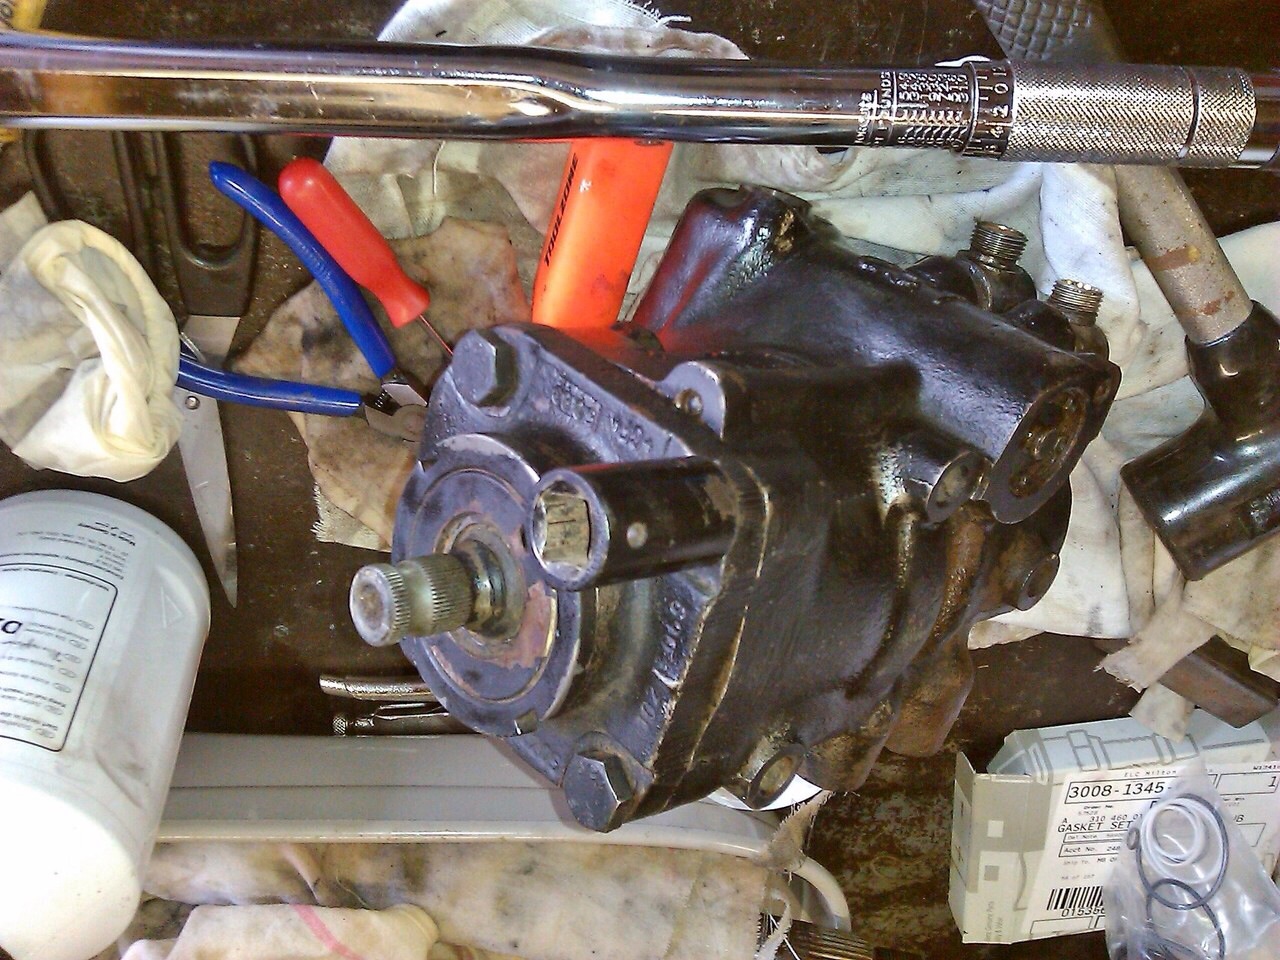
(14)Dislikes(0)While I wait to give the shaft to my mate for turning my attention goes back to the rest of the box.
Seals and teflon rings swapped. Then put back together. 65 Nm and blue threadlock
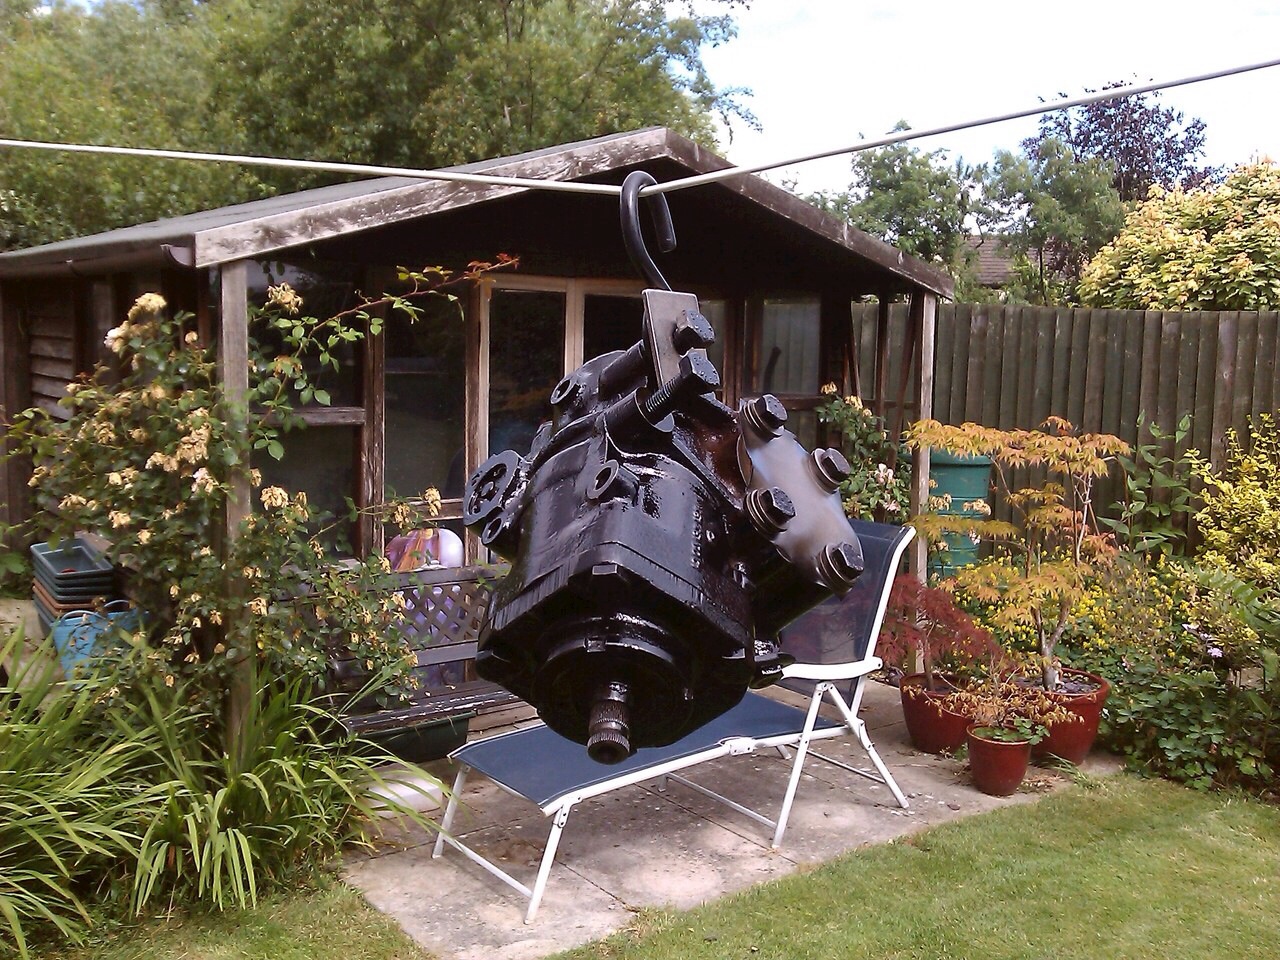
Quick bit of plastic over the main shaft hole and a good spray of paint. Thanks to the washing line

(3083)
(1)Dislikes(0)